
Streak Free Glass Cleaning – it’s the holy grail of home maintenance, isn’t it? We’ve all been there, armed with spray and a cloth, only to be left with a frustrating, streaky mess. But fear not, fellow cleaning enthusiasts! This isn’t just another article promising the impossible; I’m about to share some tried-and-true DIY tricks that will leave your windows sparkling and your mirrors gleaming.
The quest for perfectly clean glass has been around for ages. Think about the grand palaces of Europe, with their massive windows reflecting light and grandeur. Maintaining that pristine shine was a point of pride, and while they might have had armies of servants, we can achieve similar results with a few simple hacks. The art of streak free glass cleaning has evolved, and I’m here to bring you the best of the best.
Why is this so important? Because clean windows and mirrors do more than just look good. They let in more natural light, brightening your home and boosting your mood. Plus, a sparkling clean space just feels…better. In today’s busy world, who has time to spend hours scrubbing and still ending up with streaks? That’s why these DIY tricks are essential. They’re quick, easy, and use ingredients you probably already have at home. So, let’s ditch the expensive cleaners and embrace the power of DIY for truly streak-free results!
DIY Streak-Free Glass Cleaner: My Secret Weapon!
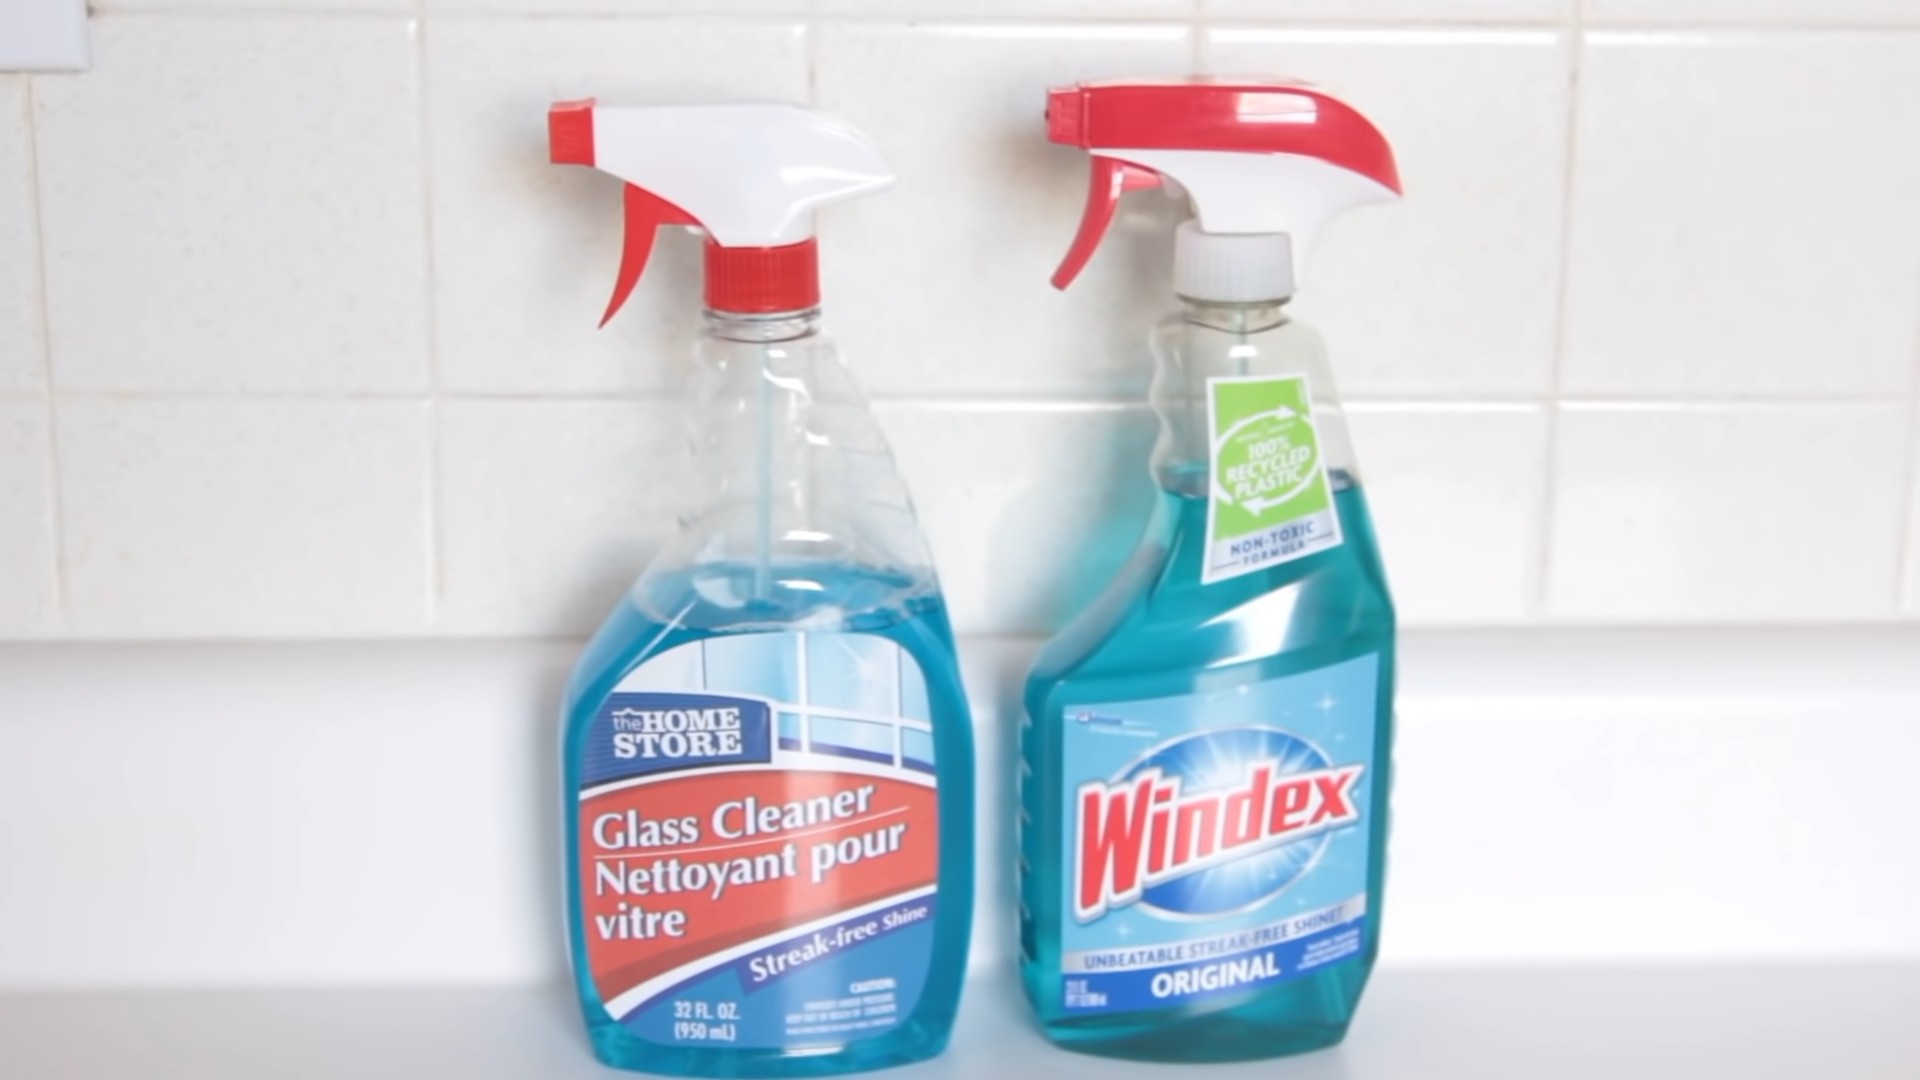
Okay, friends, let’s talk about something that drives us all crazy: streaky windows and mirrors! I’ve tried countless store-bought glass cleaners, and honestly, I’ve always been left disappointed. They either leave a hazy film, streaks galore, or smell like a chemical factory exploded in my house. So, I decided to take matters into my own hands and create my own DIY streak-free glass cleaner. And guess what? It works like a charm! It’s cheap, effective, and uses ingredients you probably already have in your pantry. I’m so excited to share my recipe and method with you!
What You’ll Need: The Magic Ingredients
Before we dive into the how-to, let’s gather our supplies. This is a super simple recipe, so you won’t need much!
* Spray Bottle: A clean, empty spray bottle is essential. I prefer a 16-ounce bottle, but any size will do, just adjust the recipe accordingly. Make sure it’s clean to avoid contaminating your cleaner.
* Distilled Water: This is key for streak-free results! Tap water often contains minerals that can leave spots and streaks. Distilled water is pure and clean.
* White Vinegar: The star of the show! Vinegar is a natural cleaner and degreaser. Its acidity helps cut through grime and dirt without leaving a residue.
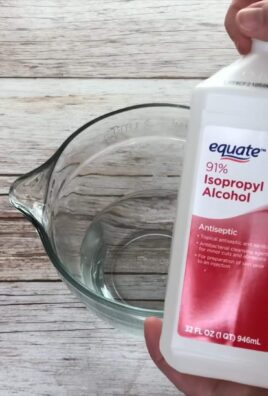
* Rubbing Alcohol (Isopropyl Alcohol): This helps the cleaner evaporate quickly, preventing streaks. I use 70% isopropyl alcohol, but 90% works even better.
* Essential Oil (Optional): This is purely for fragrance. I like to add a few drops of lemon, lavender, or tea tree oil to mask the vinegar smell. But if you don’t mind the vinegar scent, you can skip this.
* Microfiber Cloths: These are your best friends for streak-free cleaning! Microfiber cloths are super absorbent and won’t leave lint behind. Avoid using paper towels, as they can leave streaks and lint.
The Recipe: My Secret Formula
Here’s the recipe I’ve perfected over time. It’s simple, but the proportions are important for achieving that streak-free shine.
* 1 cup distilled water
* 1 cup white vinegar
* 1/4 cup rubbing alcohol (70% or 90%)
* 5-10 drops of essential oil (optional)
Mixing It Up: Step-by-Step Instructions
Now, let’s get down to business and make our amazing glass cleaner!
1. Prepare Your Spray Bottle: Make sure your spray bottle is clean and dry. Any residue inside the bottle can affect the performance of your cleaner. I usually rinse mine out with hot water and let it air dry.
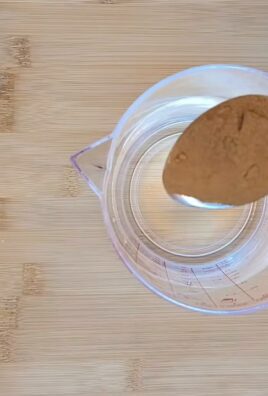
2. Add Distilled Water: Pour 1 cup of distilled water into your spray bottle. Using a measuring cup ensures accurate proportions.
3. Add White Vinegar: Next, add 1 cup of white vinegar to the spray bottle. Don’t worry about the smell; it will dissipate quickly.
4. Add Rubbing Alcohol: Now, pour in 1/4 cup of rubbing alcohol. This is what helps the cleaner evaporate quickly and prevents streaks.
5. Add Essential Oil (Optional): If you’re using essential oil, add 5-10 drops to the spray bottle. Be careful not to add too much, as it can leave a residue.
6. Shake Well: Secure the spray nozzle onto the bottle and shake well to combine all the ingredients.
7. Label Your Bottle: It’s always a good idea to label your spray bottle so you know what’s inside. I usually write “DIY Glass Cleaner” on a piece of tape and stick it to the bottle.
Cleaning Like a Pro: The Technique Matters
Okay, so you’ve got your amazing DIY glass cleaner. Now, let’s talk about the best way to use it for streak-free results. The technique is just as important as the recipe!
1. Prepare the Surface: Before you start spraying, remove any loose dirt or debris from the glass surface. You can use a dry microfiber cloth or a brush to do this. This prevents you from just smearing the dirt around.
2. Spray Sparingly: Don’t over-saturate the glass! A light mist is all you need. Too much cleaner can actually cause streaks. Hold the spray bottle about 6-8 inches away from the surface and spray evenly.
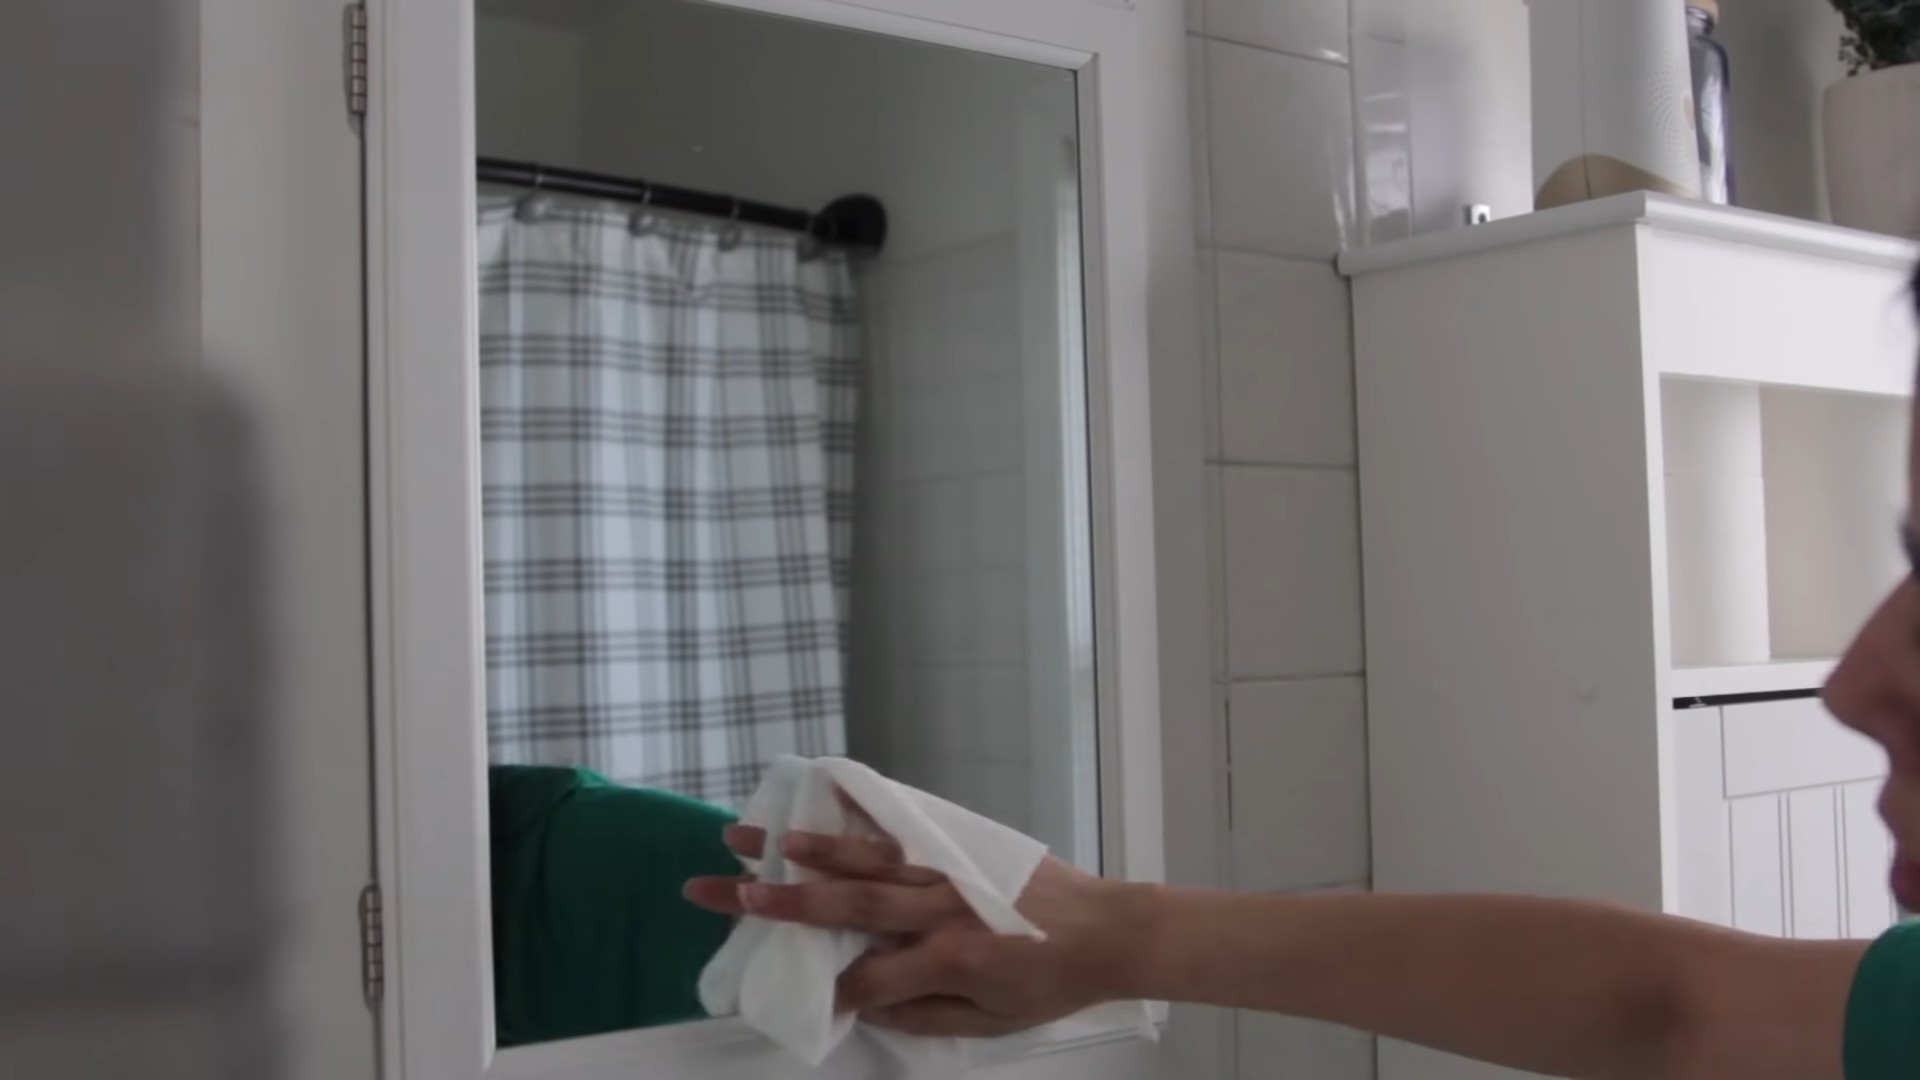
3. Wipe with a Clean Microfiber Cloth: Immediately after spraying, wipe the glass with a clean, dry microfiber cloth. Use a circular motion to spread the cleaner evenly, then switch to a vertical or horizontal motion to remove the cleaner.
4. Buff to a Shine: For the ultimate streak-free finish, buff the glass with a second clean, dry microfiber cloth. This will remove any remaining residue and leave your glass sparkling.
5. Tackle Stubborn Spots: If you have any stubborn spots or streaks, re-spray the area and wipe again with a clean microfiber cloth. You might need to apply a little extra pressure to remove tough stains.
Cleaning Different Surfaces: A Quick Guide
This DIY glass cleaner works great on a variety of surfaces, but here are a few tips for specific applications:
* Windows: Follow the steps above for cleaning windows. Pay extra attention to the edges and corners, where dirt tends to accumulate. If you’re cleaning exterior windows, choose a cloudy day to avoid the cleaner drying too quickly in the sun.
* Mirrors: This cleaner is perfect for mirrors! Just be careful not to spray too much cleaner near the edges, as it can seep behind the mirror and damage the backing.
* Glass Shower Doors: This cleaner can help remove soap scum from glass shower doors. Spray the cleaner on the doors, let it sit for a few minutes, then scrub with a non-abrasive sponge or brush. Rinse with water and dry with a microfiber cloth.
* Car Windows: This cleaner is safe to use on car windows, but avoid spraying it on the dashboard or other interior surfaces.
* Electronics Screens: I **do not recommend** using this cleaner on electronics screens (TVs, computers, phones). The vinegar and alcohol can damage the screen’s coating. Use a cleaner specifically designed for electronics screens.
Troubleshooting: Common Issues and Solutions
Even with the best recipe and technique, you might encounter a few issues. Here are some common problems and how to fix them:
* Streaks: If you’re still getting streaks, make sure you’re using distilled water and clean microfiber cloths. Also, try using less cleaner and buffing the glass with a dry cloth.
* Hazy Film: A hazy film can be caused by using too much cleaner or not buffing the glass properly. Try using less cleaner and buffing more thoroughly.
* Smell: If you don’t like the smell of vinegar, add more essential oil or try using a different type of vinegar, such as apple cider vinegar.
* Spots: Spots can be caused by hard water or mineral deposits. Try using a water softener or adding a small amount of lemon juice to the cleaner.
Extra Tips and Tricks: My Cleaning Secrets
Here are a few extra tips and tricks I’ve learned over the years:
* Use Two Microfiber Cloths: As mentioned before, using two microfiber cloths – one for wiping and one for buffing – is key for streak-free results.
* Wash Your Microfiber Cloths Regularly: Dirty microfiber cloths can leave streaks and lint. Wash them in hot water with a mild detergent and avoid using fabric softener, as it can reduce their absorbency.
* Clean Windows on a Cloudy Day: Direct sunlight can cause the cleaner to dry too quickly, leaving streaks.
* Store Your Cleaner Properly: Store your DIY glass cleaner in a cool, dark place. This will help preserve its effectiveness.
* Make a Smaller Batch: If you’re not sure how much cleaner you’ll need, start with a smaller batch and adjust the recipe as needed.
* Experiment with Essential Oils: Try different essential oils to find your favorite scent. Lemon, lavender, tea tree, and eucalyptus are all great options.
* Don’t Be Afraid to Adjust the Recipe: This recipe is a starting point. Feel free to adjust the proportions to suit your needs. For example, if you have particularly dirty windows, you might want to add a little more vinegar.
I hope you found this guide helpful! With a little bit of effort and the right ingredients, you can achieve streak-free glass without breaking the bank or using harsh chemicals. Happy cleaning!
Conclusion
So, there you have it! Achieving sparkling, streak-free glass doesn’t require expensive, chemical-laden cleaners. This simple, cost-effective DIY trick for streak-free glass cleaning is a game-changer for anyone looking to maintain a pristine home without breaking the bank or harming the environment. We’ve shown you how to harness the power of readily available ingredients to create a solution that rivals, and often surpasses, commercial products.
Why is this DIY method a must-try? Firstly, it’s incredibly economical. You likely already have the necessary ingredients – white vinegar, water, and perhaps a few drops of your favorite essential oil – sitting in your pantry. Secondly, it’s environmentally friendly. By ditching harsh chemicals, you’re reducing your exposure to potentially harmful substances and minimizing your contribution to environmental pollution. Thirdly, it’s remarkably effective. The acidity of the vinegar cuts through grease and grime, leaving your glass surfaces gleaming.
But the benefits don’t stop there. This DIY solution is also incredibly versatile. Feel free to experiment with variations to suit your specific needs and preferences. For instance, if you find the scent of vinegar too strong, add a few drops of lemon, lavender, or eucalyptus essential oil. These not only mask the vinegar smell but also add a pleasant fragrance to your home. You can also adjust the vinegar-to-water ratio depending on the severity of the grime. For heavily soiled glass, try a 1:1 ratio; for routine cleaning, a 1:3 ratio may suffice.
Another variation involves using rubbing alcohol instead of vinegar. This can be particularly effective for removing stubborn streaks and fingerprints. Simply substitute the vinegar with an equal amount of rubbing alcohol in the recipe. Remember to always test any new cleaning solution on a small, inconspicuous area first to ensure it doesn’t damage the surface.
Consider using microfiber cloths for the best results. These cloths are designed to trap dirt and grime without leaving streaks or lint behind. Avoid using paper towels, as they can often leave behind fibers that detract from the overall shine.
Furthermore, this DIY solution isn’t just for windows and mirrors. It’s also fantastic for cleaning glass shower doors, car windows, and even eyeglasses. Just be sure to dilute the solution appropriately for delicate surfaces.
We are confident that once you try this DIY streak-free glass cleaning method, you’ll never go back to store-bought cleaners. It’s simple, effective, affordable, and environmentally friendly – a winning combination for any homeowner.
So, what are you waiting for? Gather your ingredients, mix up a batch of this amazing cleaning solution, and prepare to be amazed by the results. We encourage you to try this DIY trick and share your experience with us in the comments below. Let us know what variations you tried, what worked best for you, and any tips you have to share with other readers. We can’t wait to hear from you and see your sparkling clean glass! Don’t forget to share this article with your friends and family so they can also enjoy the benefits of this fantastic DIY cleaning solution. Let’s all work together to create a cleaner, healthier, and more sustainable home environment.
Frequently Asked Questions (FAQ)
What kind of vinegar should I use?
White distilled vinegar is the best choice for streak-free glass cleaning. It’s clear, inexpensive, and has a high acidity level, making it effective at cutting through grease and grime. Avoid using other types of vinegar, such as apple cider vinegar or balsamic vinegar, as they may contain sugars or other substances that can leave streaks.
Can I use this solution on tinted windows?
It’s generally safe to use this DIY solution on tinted windows, but it’s always a good idea to test it on a small, inconspicuous area first. Some window tints can be sensitive to acidic cleaners, so it’s best to err on the side of caution. If you’re unsure, consult with a professional window tinting specialist.
How often should I clean my windows with this solution?
The frequency of cleaning depends on several factors, such as the location of your windows, the weather conditions, and your personal preferences. In general, cleaning your windows every few months is sufficient to maintain a streak-free shine. However, if your windows are exposed to a lot of dirt, dust, or pollen, you may need to clean them more frequently.
What if I don’t have vinegar? Can I use something else?
If you don’t have vinegar, you can substitute it with rubbing alcohol (isopropyl alcohol). Use the same ratio as you would with vinegar. Rubbing alcohol is also a great degreaser and can help remove stubborn streaks. Another alternative is lemon juice, which also has acidic properties. However, lemon juice may leave a slight residue, so be sure to rinse the glass thoroughly after cleaning.
Why are my windows still streaky after cleaning?
There could be several reasons why your windows are still streaky after cleaning. One common cause is using too much cleaning solution. A little goes a long way, so avoid oversaturating the glass. Another reason could be using the wrong type of cloth. As mentioned earlier, microfiber cloths are the best choice for streak-free cleaning. Avoid using paper towels, as they can leave behind fibers. Finally, make sure you’re cleaning the windows on a cloudy day or in the shade. Cleaning in direct sunlight can cause the solution to dry too quickly, leaving streaks behind.
Can I add essential oils to the cleaning solution?
Yes, you can definitely add essential oils to the cleaning solution. Essential oils not only add a pleasant fragrance but also have antibacterial and antifungal properties. Some popular choices include lemon, lavender, eucalyptus, and tea tree oil. Add a few drops of your favorite essential oil to the solution and shake well before using.
Is this solution safe for pets and children?
This DIY cleaning solution is generally safe for pets and children, as it doesn’t contain harsh chemicals. However, it’s still important to keep the solution out of reach of children and pets, as ingestion could cause irritation. If you’re concerned about the vinegar smell, you can add essential oils to mask the odor.
Can I use this solution to clean my car windows?
Yes, this solution is safe and effective for cleaning car windows. However, be sure to avoid getting the solution on the car’s paint, as it could potentially damage the finish. It’s also a good idea to test the solution on a small, inconspicuous area of the car window first to ensure it doesn’t cause any discoloration or damage.
How should I store the cleaning solution?
Store the cleaning solution in a clean, airtight spray bottle. Label the bottle clearly to avoid confusion. Keep the bottle in a cool, dry place away from direct sunlight. The solution should last for several months if stored properly.
What are the benefits of using a DIY glass cleaner over commercial cleaners?
There are numerous benefits to using a DIY glass cleaner over commercial cleaners. DIY cleaners are typically more affordable, environmentally friendly, and safer for your health. They don’t contain harsh chemicals that can irritate your skin, eyes, and respiratory system. DIY cleaners also allow you to customize the ingredients to suit your specific needs and preferences. Plus, making your own cleaning solution is a fun and rewarding experience!

Leave a Comment