
Wet Mopping Cloths Floor Cleaning: Are you tired of streaks, lingering dirt, and the endless cycle of rinsing and wringing when you’re trying to get your floors sparkling? I know I was! For centuries, keeping floors clean has been a chore, from ancient Romans using rudimentary scrubbing tools to the modern-day mop. But let’s face it, traditional mopping can be a real drag. It’s time-consuming, messy, and often doesn’t deliver the truly clean results we crave.
That’s why I’m so excited to share these game-changing DIY wet mopping cloths floor cleaning hacks with you! Imagine effortlessly gliding across your floors, picking up dirt and grime with ease, and then simply tossing the used cloth in the wash. No more buckets of dirty water, no more backaches, and no more lingering odors.
In this article, I’ll walk you through simple, cost-effective ways to create your own reusable wet mopping cloths that will revolutionize your floor cleaning routine. Whether you’re battling pet hair, sticky spills, or just everyday dirt, these DIY solutions will leave your floors looking and feeling their absolute best. Get ready to ditch the old mop and bucket and embrace a cleaner, easier, and more sustainable way to shine!
DIY Reusable Wet Mopping Cloths: Save Money and the Planet!
Hey there, fellow cleaning enthusiasts! I’m always on the lookout for ways to save money and reduce waste, and that’s how I stumbled upon this fantastic DIY project: making my own reusable wet mopping cloths. Forget those expensive disposable pads – with a few simple materials and a little bit of elbow grease, you can create your own eco-friendly and cost-effective cleaning solution. Trust me, your wallet and the planet will thank you!
What You’ll Need
Before we dive in, let’s gather our supplies. The beauty of this project is that you probably already have many of these items lying around your house!
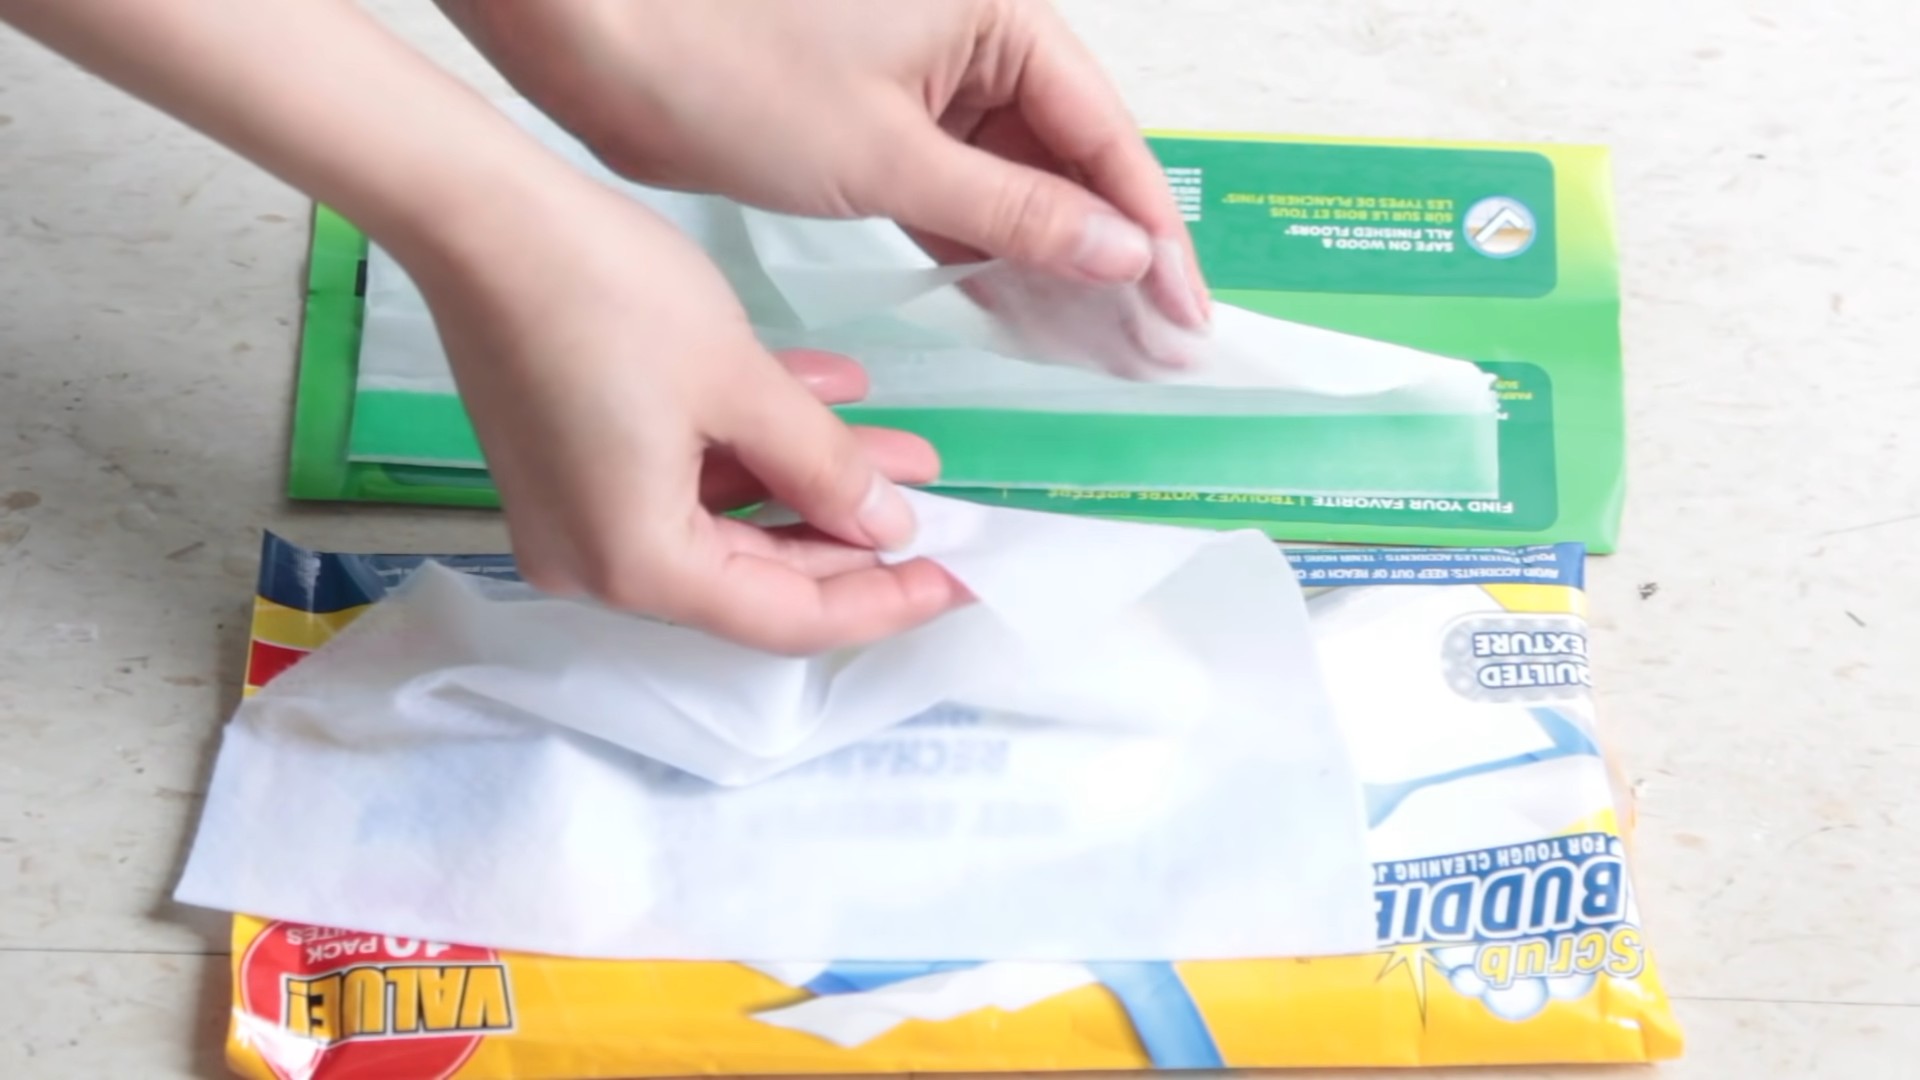
* Old Towels or Fabric Scraps: This is the foundation of our mopping cloths. Microfiber towels, old t-shirts (cotton or blends), flannel sheets, or even fleece scraps work great. The key is to choose absorbent materials that can withstand repeated washing. I personally love using old microfiber cleaning cloths that have seen better days.
* Scissors: A sharp pair of scissors is essential for cutting the fabric to the right size.
* Sewing Machine (Optional): While a sewing machine will give your cloths a more professional finish and prevent fraying, you can definitely hand-sew them or even skip the sewing altogether if you’re short on time.
* Thread (Optional): If you’re sewing, choose a thread color that complements your fabric.
* Measuring Tape or Ruler: This will help you ensure your cloths are the correct size for your mop head.
* Mop Head for Template: Use the mop head you intend to use with the cloths as a template for cutting.
* Pins (Optional): If you’re sewing, pins will help hold the fabric in place while you sew.
* Essential Oils (Optional): For a fresh, clean scent, add a few drops of your favorite essential oils to your cleaning solution. Lavender, lemon, tea tree, and eucalyptus are all great choices.
* Spray Bottle (Optional): If you prefer to pre-moisten your cloths, a spray bottle is handy for applying your cleaning solution.
* Storage Container: A plastic container or resealable bag to store your clean cloths.
Choosing the Right Fabric
The type of fabric you choose will impact the absorbency and durability of your mopping cloths. Here’s a breakdown of some popular options:
* Microfiber: This is my go-to choice! Microfiber is incredibly absorbent, great at trapping dirt and grime, and dries quickly. Old microfiber cleaning cloths are perfect for this project.
* Cotton: Cotton is another excellent option. It’s absorbent, soft, and readily available. Old t-shirts, towels, and sheets made from cotton are ideal.
* Flannel: Flannel is soft and absorbent, making it a good choice for delicate floors. Old flannel shirts or sheets work well.
* Fleece: Fleece is a synthetic fabric that’s absorbent and quick-drying. It’s a good option if you’re looking for a durable and long-lasting cloth.
Avoid using fabrics that are too thin or flimsy, as they won’t be very effective at cleaning. Also, steer clear of fabrics that are heavily textured or have embellishments that could scratch your floors.
Step-by-Step Instructions: Creating Your Reusable Mopping Cloths
Alright, let’s get down to business! Here’s how to make your own reusable wet mopping cloths:
1. Prepare Your Fabric: Wash and dry your chosen fabric before you start cutting. This will pre-shrink the fabric and remove any loose fibers. I always wash my old towels and t-shirts before repurposing them.
2. Measure and Cut: Place your mop head on top of your fabric. Trace around the mop head, adding an extra inch or two around the edges for seam allowance (if you’re sewing) or just for extra coverage. If your mop head has specific attachment points (like Velcro), be sure to mark those as well. Cut out the fabric using your scissors. I find it helpful to cut out a template from cardboard first, especially if I’m making a large batch of cloths.
3. Sew the Edges (Optional): If you have a sewing machine, sew around the edges of the fabric to prevent fraying. A simple straight stitch or a zigzag stitch will do the trick. If you don’t have a sewing machine, you can hand-sew the edges using a basic running stitch or blanket stitch. Alternatively, you can use pinking shears to trim the edges, which will help minimize fraying. If you’re really short on time, you can skip the sewing altogether, but be aware that the edges may fray over time.
4. Add Attachment Points (If Necessary): If your mop head has Velcro or other attachment points, you’ll need to add corresponding attachments to your cloths. You can sew on Velcro strips, snaps, or buttons, depending on the type of mop head you have. I usually just sew on Velcro strips that match the ones on my mop head.
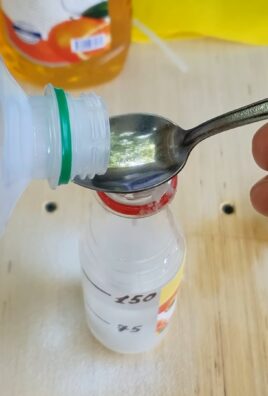
5. Prepare Your Cleaning Solution: While you can use plain water to wet mop, I prefer to add a little bit of cleaning solution for extra cleaning power and a fresh scent. Here’s my favorite DIY cleaning solution recipe:
* 1 cup water
* 1/4 cup white vinegar (for disinfecting and removing odors)
* 1 tablespoon dish soap (for cutting through grease and grime)
* 5-10 drops essential oil (optional, for fragrance)
Mix all the ingredients together in a spray bottle or bucket. You can adjust the amounts to suit your preferences and the size of your cleaning area.
6. Moisten Your Cloth: There are two ways to moisten your cloth:
* Spray Method: Spray the cloth with your cleaning solution until it’s damp but not soaking wet.
* Bucket Method: Dip the cloth into your bucket of cleaning solution, wring it out thoroughly, and attach it to your mop head.
I usually prefer the spray method because it allows me to control the amount of moisture and avoid over-wetting my floors.
7. Attach the Cloth to Your Mop Head: Securely attach the cloth to your mop head using the Velcro or other attachment points. Make sure the cloth is snug and won’t slip off during use.
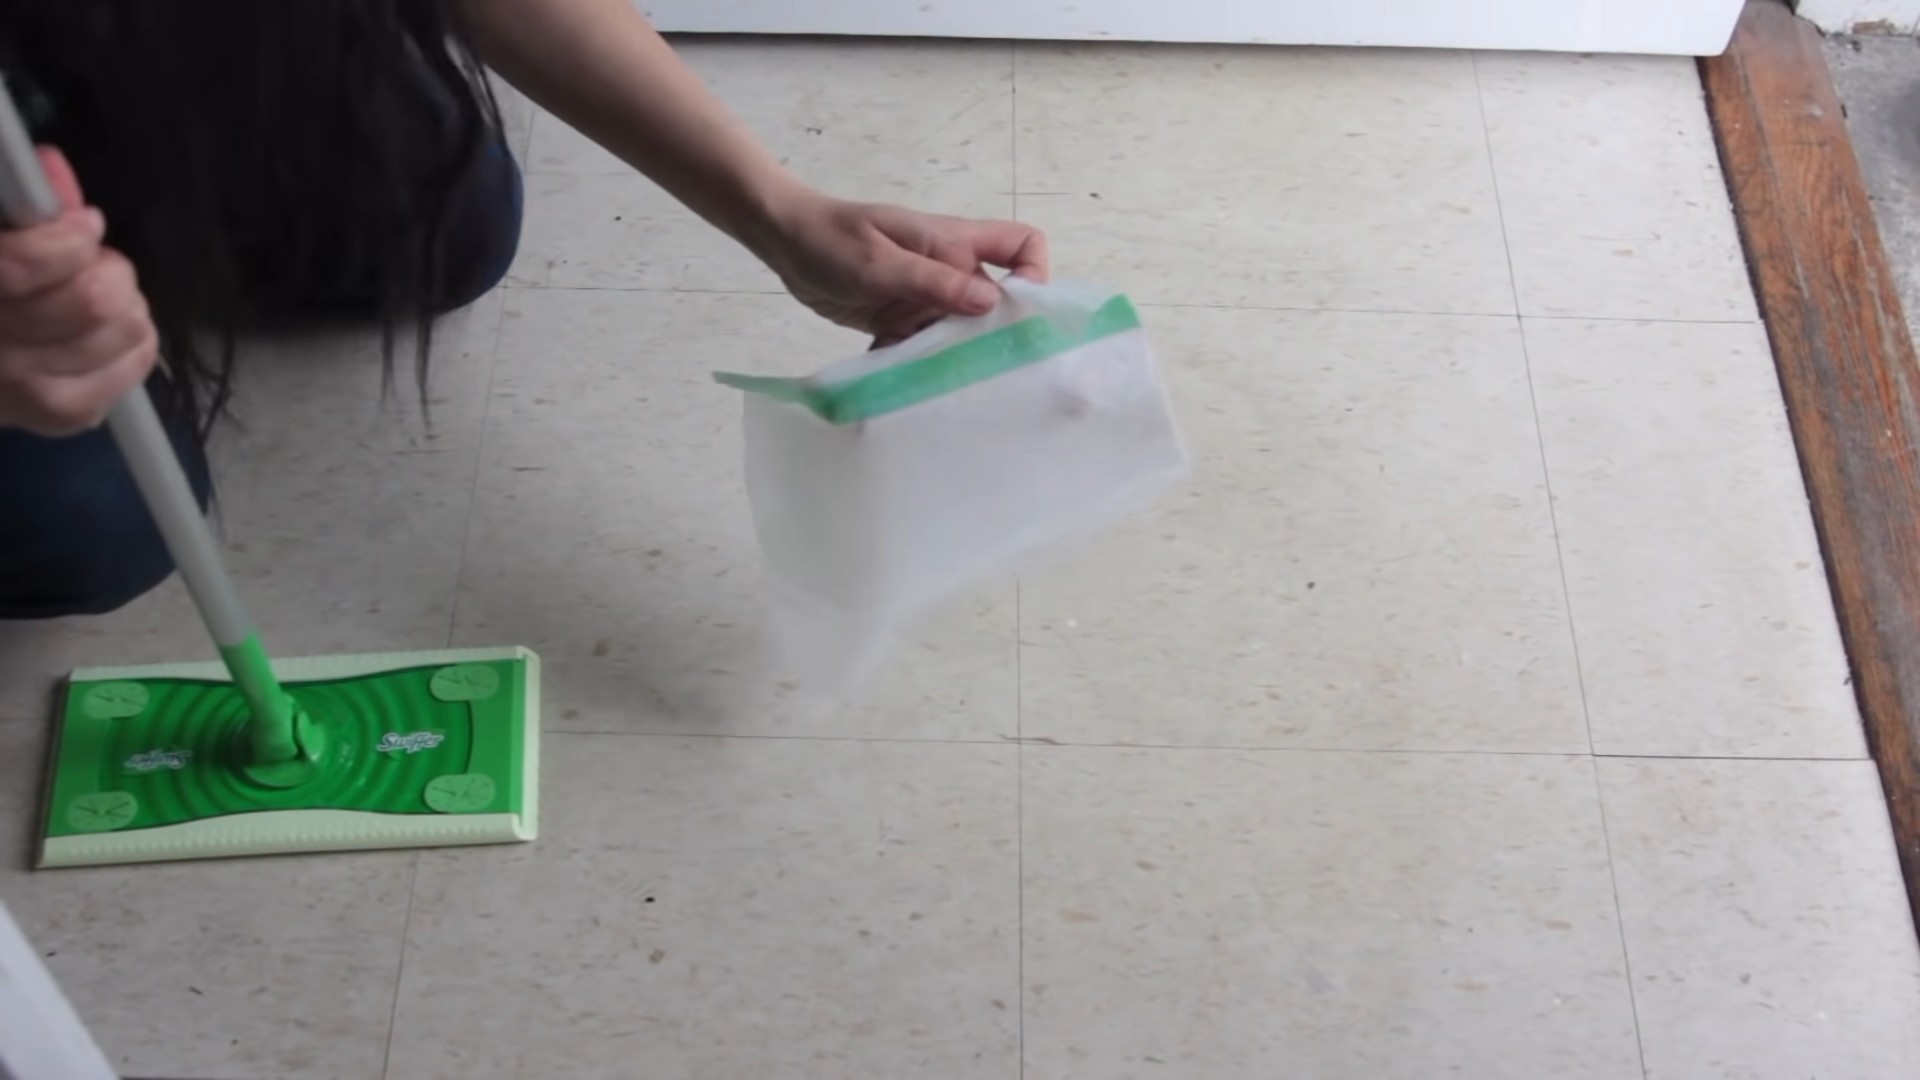
8. Start Mopping! Now you’re ready to start mopping! Use your mop as you normally would, applying gentle pressure to remove dirt and grime.
9. Rinse and Repeat: As the cloth becomes dirty, remove it from the mop head, rinse it under running water, and wring it out. Reattach it to the mop head and continue mopping. You may need to use multiple cloths depending on the size and dirtiness of your floors.
10. Wash and Dry: After you’re finished mopping, wash your cloths in the washing machine with your regular laundry. Use a mild detergent and avoid using fabric softener, as it can reduce the absorbency of the cloths. Tumble dry on low heat or hang them to dry.
Tips and Tricks for Success
Here are a few extra tips to help you get the most out of your DIY reusable mopping cloths:
* Pre-Treat Stains: For stubborn stains, pre-treat the area with a stain remover before mopping.
* Use Different Cloths for Different Areas: I like to use different colored cloths for different areas of my house to avoid cross-contamination. For example, I use blue cloths for the kitchen and green cloths for the bathrooms.
* Store Your Cloths Properly: Store your clean cloths in a clean, dry container or resealable bag. This will help prevent them from getting dusty or musty.
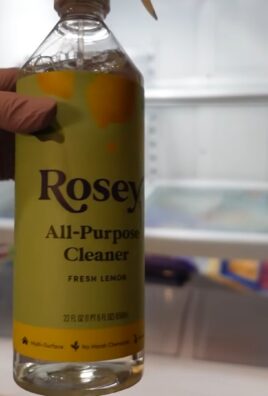
* Experiment with Different Cleaning Solutions: Don’t be afraid to experiment with different cleaning solutions to find what works best for your floors and your preferences. You can try adding different essential oils, using different types of vinegar, or even making your own all-purpose cleaner.
* Consider the Floor Type: Different floor types require different cleaning solutions. For example, hardwood floors should be cleaned with a pH-neutral cleaner to avoid damaging the finish. Always test your cleaning solution in an inconspicuous area before using it on your entire floor.
* Make a Batch: Once you get the hang of it, make a big batch of cloths so you always have some on hand. This will save you time and effort in the long run.
* Don’t Over-We
Hey there, fellow cleaning enthusiasts! I’m always on the lookout for ways to save money and reduce waste, and that’s how I stumbled upon this fantastic DIY project: making my own reusable wet mopping cloths. Forget those expensive disposable pads – with a few simple materials and a little bit of elbow grease, you can create your own eco-friendly and cost-effective cleaning solution. Trust me, your wallet and the planet will thank you!
What You’ll Need
Before we dive in, let’s gather our supplies. The beauty of this project is that you probably already have many of these items lying around your house!
* Old Towels or Fabric Scraps: This is the foundation of our mopping cloths. Microfiber towels, old t-shirts (cotton or blends), flannel sheets, or even fleece scraps work great. The key is to choose absorbent materials that can withstand repeated washing. I personally love using old microfiber cleaning cloths that have seen better days.
* Scissors: A sharp pair of scissors is essential for cutting the fabric to the right size.
* Sewing Machine (Optional): While a sewing machine will give your cloths a more professional finish and prevent fraying, you can definitely hand-sew them or even skip the sewing altogether if you’re short on time.
* Thread (Optional): If you’re sewing, choose a thread color that complements your fabric.
* Measuring Tape or Ruler: This will help you ensure your cloths are the correct size for your mop head.
* Mop Head for Template: Use the mop head you intend to use with the cloths as a template for cutting.
* Pins (Optional): If you’re sewing, pins will help hold the fabric in place while you sew.
* Essential Oils (Optional): For a fresh, clean scent, add a few drops of your favorite essential oils to your cleaning solution. Lavender, lemon, tea tree, and eucalyptus are all great choices.
* Spray Bottle (Optional): If you prefer to pre-moisten your cloths, a spray bottle is handy for applying your cleaning solution.
* Storage Container: A plastic container or resealable bag to store your clean cloths.
Choosing the Right Fabric
The type of fabric you choose will impact the absorbency and durability of your mopping cloths. Here’s a breakdown of some popular options:
* Microfiber: This is my go-to choice! Microfiber is incredibly absorbent, great at trapping dirt and grime, and dries quickly. Old microfiber cleaning cloths are perfect for this project.
* Cotton: Cotton is another excellent option. It’s absorbent, soft, and readily available. Old t-shirts, towels, and sheets made from cotton are ideal.
* Flannel: Flannel is soft and absorbent, making it a good choice for delicate floors. Old flannel shirts or sheets work well.
* Fleece: Fleece is a synthetic fabric that’s absorbent and quick-drying. It’s a good option if you’re looking for a durable and long-lasting cloth.
Avoid using fabrics that are too thin or flimsy, as they won’t be very effective at cleaning. Also, steer clear of fabrics that are heavily textured or have embellishments that could scratch your floors.
Step-by-Step Instructions: Creating Your Reusable Mopping Cloths
Alright, let’s get down to business! Here’s how to make your own reusable wet mopping cloths:
1. Prepare Your Fabric: Wash and dry your chosen fabric before you start cutting. This will pre-shrink the fabric and remove any loose fibers. I always wash my old towels and t-shirts before repurposing them.
2. Measure and Cut: Place your mop head on top of your fabric. Trace around the mop head, adding an extra inch or two around the edges for seam allowance (if you’re sewing) or just for extra coverage. If your mop head has specific attachment points (like Velcro), be sure to mark those as well. Cut out the fabric using your scissors. I find it helpful to cut out a template from cardboard first, especially if I’m making a large batch of cloths.
3. Sew the Edges (Optional): If you have a sewing machine, sew around the edges of the fabric to prevent fraying. A simple straight stitch or a zigzag stitch will do the trick. If you don’t have a sewing machine, you can hand-sew the edges using a basic running stitch or blanket stitch. Alternatively, you can use pinking shears to trim the edges, which will help minimize fraying. If you’re really short on time, you can skip the sewing altogether, but be aware that the edges may fray over time.
4. Add Attachment Points (If Necessary): If your mop head has Velcro or other attachment points, you’ll need to add corresponding attachments to your cloths. You can sew on Velcro strips, snaps, or buttons, depending on the type of mop head you have. I usually just sew on Velcro strips that match the ones on my mop head.
5. Prepare Your Cleaning Solution: While you can use plain water to wet mop, I prefer to add a little bit of cleaning solution for extra cleaning power and a fresh scent. Here’s my favorite DIY cleaning solution recipe:
* 1 cup water
* 1/4 cup white vinegar (for disinfecting and removing odors)
* 1 tablespoon dish soap (for cutting through grease and grime)
* 5-10 drops essential oil (optional, for fragrance)
Mix all the ingredients together in a spray bottle or bucket. You can adjust the amounts to suit your preferences and the size of your cleaning area.
6. Moisten Your Cloth: There are two ways to moisten your cloth:
* Spray Method: Spray the cloth with your cleaning solution until it’s damp but not soaking wet.
* Bucket Method: Dip the cloth into your bucket of cleaning solution, wring it out thoroughly, and attach it to your mop head.
I usually prefer the spray method because it allows me to control the amount of moisture and avoid over-wetting my floors.
7. Attach the Cloth to Your Mop Head: Securely attach the cloth to your mop head using the Velcro or other attachment points. Make sure the cloth is snug and won’t slip off during use.
8. Start Mopping! Now you’re ready to start mopping! Use your mop as you normally would, applying gentle pressure to remove dirt and grime.
9. Rinse and Repeat: As the cloth becomes dirty, remove it from the mop head, rinse it under running water, and wring it out. Reattach it to the mop head and continue mopping. You may need to use multiple cloths depending on the size and dirtiness of your floors.
10. Wash and Dry: After you’re finished mopping, wash your cloths in the washing machine with your regular laundry. Use a mild detergent and avoid using fabric softener, as it can reduce the absorbency of the cloths. Tumble dry on low heat or hang them to dry.
Tips and Tricks for Success
Here are a few extra tips to help you get the most out of your DIY reusable mopping cloths:
* Pre-Treat Stains: For stubborn stains, pre-treat the area with a stain remover before mopping.
* Use Different Cloths for Different Areas: I like to use different colored cloths for different areas of my house to avoid cross-contamination. For example, I use blue cloths for the kitchen and green cloths for the bathrooms.
* Store Your Cloths Properly: Store your clean cloths in a clean, dry container or resealable bag. This will help prevent them from getting dusty or musty.
* Experiment with Different Cleaning Solutions: Don’t be afraid to experiment with different cleaning solutions to find what works best for your floors and your preferences. You can try adding different essential oils, using different types of vinegar, or even making your own all-purpose cleaner.
* Consider the Floor Type: Different floor types require different cleaning solutions. For example, hardwood floors should be cleaned with a pH-neutral cleaner to avoid damaging the finish. Always test your cleaning solution in an inconspicuous area before using it on your entire floor.
* Make a Batch: Once you get the hang of it, make a big batch of cloths so you always have some on hand. This will save you time and effort in the long run.
* Don’t Over-Wet: Avoid over-wetting your floors, as this can damage them. Wring out your cloths thoroughly before attaching them to your mop head.
* Regular Cleaning: Regular mopping is key to keeping your floors clean and healthy. Aim to mop your floors at least once a week, or more often if you have pets or children.
Benefits of Using Reusable Mopping Cloths
Switching to reusable mopping cloths offers a ton of benefits:
* Save Money
Conclusion
So, there you have it! Ditching those expensive, chemical-laden store-bought mopping cloths and embracing these DIY wet mopping cloths is a game-changer for your cleaning routine. Not only will you save money in the long run, but you’ll also have complete control over the ingredients you’re using, ensuring a safer and healthier environment for your family and pets. The beauty of this method lies in its simplicity and adaptability.
Think about it: no more running to the store when you’re out of cloths, no more wondering what harsh chemicals are lingering on your floors, and no more contributing to unnecessary waste. This is a win-win-win situation!
But the benefits don’t stop there. The versatility of these DIY wet mopping cloths allows you to customize them to suit your specific needs and preferences. For instance, if you have hardwood floors, you might want to add a few drops of essential oils like cedarwood or sandalwood for a gentle, wood-friendly clean. If you’re tackling a particularly grimy area, a splash of white vinegar can work wonders. And for a refreshing scent, lemon or orange essential oils are always a great choice.
The key takeaway here is that these DIY wet mopping cloths are not just a cleaning solution; they’re a customizable cleaning experience. You can tailor the ingredients to address specific cleaning challenges, create your favorite scents, and even adjust the absorbency of the cloths themselves.
We’ve found that using old t-shirts or towels that are past their prime is a fantastic way to repurpose them and give them a new life. Just cut them into the appropriate size for your mop head, and you’re good to go. You can even sew the edges for added durability, although it’s not strictly necessary.
Ready to ditch the store-bought stuff and embrace the power of DIY? We encourage you to give these DIY wet mopping cloths a try. Experiment with different essential oil combinations, adjust the ratio of water to vinegar, and find what works best for your floors and your preferences.
Once you’ve tried it, we’d love to hear about your experience! Share your tips, tricks, and favorite recipes in the comments below. Let’s build a community of eco-conscious cleaners who are passionate about creating a healthier and more sustainable home. Don’t forget to share this article with your friends and family who might also benefit from this simple yet effective cleaning hack. Let’s spread the word about the amazing benefits of making your own wet mopping cloths!
Frequently Asked Questions (FAQ)
What kind of cloths are best for making DIY wet mopping cloths?
The best cloths to use are absorbent and durable. Old t-shirts, towels (especially microfiber), and even flannel sheets work exceptionally well. Cut them into squares or rectangles that fit your mop head. Avoid using cloths with excessive lint, as this can leave residue on your floors. If you’re using old towels, consider using thinner ones, as thicker towels can be too bulky and difficult to wring out.
What cleaning solution should I use for my DIY wet mopping cloths?
The cleaning solution is highly customizable! A basic recipe includes water, a small amount of dish soap (preferably a natural or eco-friendly brand), and white vinegar. You can also add essential oils for fragrance and added cleaning power. For example, tea tree oil has antibacterial properties, while lemon oil can help cut through grease. Avoid using harsh chemicals like bleach, as these can damage your floors and are not environmentally friendly. Always test your cleaning solution on a small, inconspicuous area of your floor first to ensure it doesn’t cause any discoloration or damage.
How do I store my DIY wet mopping cloths?
You have a couple of options for storing your DIY wet mopping cloths. You can store them dry in a container and wet them with your cleaning solution just before use. Alternatively, you can pre-soak them in your cleaning solution and store them in an airtight container in the refrigerator. This keeps them fresh and ready to go whenever you need them. If you choose to pre-soak them, make sure to use a container that won’t react with the cleaning solution. Glass or food-grade plastic containers are ideal.
Can I use these DIY wet mopping cloths on all types of floors?
While these DIY wet mopping cloths are generally safe for most floor types, it’s always best to exercise caution and test your cleaning solution on a small, inconspicuous area first. Avoid using excessive amounts of water on hardwood floors, as this can cause damage over time. For delicate floors like marble or natural stone, use a pH-neutral cleaning solution and avoid using vinegar, as it can etch the surface. Always follow the manufacturer’s recommendations for cleaning your specific type of flooring.
How often should I wash my DIY wet mopping cloths?
You should wash your DIY wet mopping cloths after each use to prevent the buildup of bacteria and dirt. Simply toss them in the washing machine with your regular laundry. Use a mild detergent and avoid using fabric softener, as it can reduce the absorbency of the cloths. You can also add a cup of white vinegar to the wash to help remove any lingering odors or stains. Tumble dry on low heat or hang them to dry.
Can I reuse the cleaning solution?
It’s generally not recommended to reuse the cleaning solution, especially if you’ve mopped a particularly dirty area. Reusing the solution can spread dirt and bacteria around your floors. It’s best to make a fresh batch of cleaning solution each time you mop. This ensures that you’re using a clean and effective solution to remove dirt and grime.
What if my floors are streaky after mopping?
Streaky floors can be caused by a few different factors. One common cause is using too much soap in your cleaning solution. Try reducing the amount of dish soap you’re using. Another cause can be hard water. If you have hard water, consider using distilled water in your cleaning solution. Finally, make sure you’re wringing out the cloths thoroughly before mopping. Excess water can leave streaks on your floors.
How can I make my DIY wet mopping cloths more eco-friendly?
There are several ways to make your DIY wet mopping cloths even more eco-friendly. Use recycled cloths, such as old t-shirts or towels. Choose natural and biodegradable cleaning products. Avoid using harsh chemicals like bleach or ammonia. Dispose of your used cleaning solution responsibly. Consider composting your used cloths if they are made from natural fibers. By making small changes to your cleaning routine, you can significantly reduce your environmental impact.
What essential oils are best to use in my DIY wet mopping cloths?
The best essential oils to use depend on your personal preferences and the specific cleaning benefits you’re looking for. Lemon and orange essential oils are great for cutting through grease and leaving a fresh scent. Tea tree oil has antibacterial and antifungal properties. Lavender oil has a calming scent and can help to disinfect surfaces. Peppermint oil can help to repel insects. Eucalyptus oil has a refreshing scent and can help to clear congestion. Experiment with different essential oil combinations to find your favorite scent and cleaning power. Always use essential oils safely and dilute them properly before adding them to your cleaning solution.
How do I get rid of stubborn stains on my floors using DIY wet mopping cloths?
For stubborn stains, pre-treat the area with a paste made from baking soda and water. Let it sit for a few minutes, then scrub gently with a damp DIY wet mopping cloth. For grease stains, try using a solution of equal parts white vinegar and water. For scuff marks, try rubbing the area with a clean tennis ball. Always test any cleaning solution on a small, inconspicuous area first to ensure it doesn’t damage your floors.
Leave a Comment