
Cleaning Routine Secrets: Unlocking a sparkling home doesn’t have to feel like a Herculean task! Are you tired of spending your weekends scrubbing away, only to feel like the mess magically reappears by Monday? I get it! We all crave a clean and inviting space, but the thought of endless chores can be incredibly daunting.
For centuries, cultures around the world have developed unique and ingenious methods for maintaining their homes. From ancient Roman bathhouses meticulously cleaned by slaves to the traditional Japanese emphasis on minimalist living and daily tidying, the pursuit of cleanliness is deeply ingrained in human history. But let’s be honest, we don’t have slaves or the time for daily tidying! That’s where smart cleaning routine secrets come in.
This article is your ultimate guide to transforming your cleaning routine from a dreaded chore into a manageable and even enjoyable part of your week. I’m going to share my favorite DIY cleaning hacks, time-saving tips, and organizational strategies that will leave your home sparkling and your schedule free. Imagine having more time to relax, pursue your hobbies, and simply enjoy your beautifully clean space. Ready to ditch the overwhelm and embrace a smarter, more effective approach to cleaning? Let’s dive in!
DIY Indoor Mushroom Growing: A Beginner’s Guide
Hey there, fellow fungi enthusiasts! Ever dreamt of harvesting your own delicious mushrooms right in your home? Well, dream no more! I’m going to walk you through a simple and rewarding DIY project: growing mushrooms indoors. It’s easier than you might think, and the satisfaction of eating something you’ve nurtured from spore to plate is truly amazing.
Choosing Your Mushroom Variety
Before we dive into the nitty-gritty, let’s talk about which mushrooms are best suited for indoor growing. Some varieties are much easier to cultivate than others, especially for beginners. Here are a few of my top recommendations:
* Oyster Mushrooms (Pleurotus spp.): These are arguably the easiest to grow. They’re fast-growing, versatile in the kitchen, and tolerate a wide range of conditions. You can find different strains like Pearl Oyster, Blue Oyster, and Pink Oyster, each with its own unique flavor and appearance.
* Shiitake Mushrooms (Lentinula edodes): While a bit more demanding than oysters, shiitakes are still manageable for beginners. They have a rich, savory flavor that’s perfect for stir-fries and soups.
* Lion’s Mane (Hericium erinaceus): This unique-looking mushroom is gaining popularity for its potential health benefits and delicious, crab-like flavor. It requires slightly more specific conditions, but it’s definitely worth the effort.
Once you’ve chosen your mushroom, you’ll need to acquire a mushroom spawn. Spawn is essentially mushroom “seeds” – a substrate (usually grain or sawdust) that has been inoculated with mushroom mycelium (the vegetative part of the fungus). You can purchase spawn online from reputable mushroom suppliers.
Materials You’ll Need
Okay, let’s gather our supplies. Here’s a comprehensive list of everything you’ll need for this project:
* Mushroom Spawn: Choose your desired mushroom variety and purchase a quality spawn.
* Substrate: This is what your mushrooms will grow on. For oyster mushrooms, straw is an excellent choice. For shiitakes, you’ll need hardwood sawdust. Lion’s Mane can grow on a mixture of sawdust and bran.
* Large Container: A bucket, tub, or even a large plastic bag will work. The size depends on how much you want to grow.
* Spray Bottle: For misting your mushrooms to maintain humidity.
* Bleach: For sterilizing your container and substrate.
* Gloves: To prevent contamination.
* Optional:
* Humidity Tent: A clear plastic bag or container to create a humid environment.
* Perlite: To increase humidity in your growing area.
* Hydrometer: To monitor humidity levels.
* Thermometer: To monitor temperature.
Step-by-Step Instructions: Growing Oyster Mushrooms on Straw
I’m going to focus on growing oyster mushrooms on straw because it’s the easiest method for beginners. The process for other mushrooms is similar, but the substrate and specific conditions may vary.
Phase 1: Preparing the Substrate
This is arguably the most crucial step, as it prevents contamination from unwanted molds and bacteria.
1. Pasteurize the Straw: This process kills off competing organisms without completely sterilizing the straw (which would eliminate beneficial microbes as well). There are a few ways to do this:
* Hot Water Pasteurization: This is my preferred method. Fill a large pot or tub with water and heat it to around 160-180°F (71-82°C). Submerge the straw completely in the hot water for 1-2 hours. Use a weight to keep the straw submerged.
* Lime Bath Pasteurization: This method involves soaking the straw in a lime solution. Mix hydrated lime (calcium hydroxide) with water to achieve a pH of around 12. Soak the straw in the lime solution for 12-24 hours. This method is less effective than hot water pasteurization but can be useful if you don’t have access to a heat source.
2. Drain the Straw: After pasteurization, drain the straw thoroughly. You want it to be moist but not soaking wet. A good test is to squeeze a handful of straw – you should only get a few drops of water.
3. Clean and Sanitize Your Container: Wash your container thoroughly with soap and water, then sanitize it with a diluted bleach solution (1 part bleach to 9 parts water). Rinse well and let it air dry.
Phase 2: Inoculating the Substrate
Now comes the fun part – introducing the mushroom spawn to the straw!
1. Layer the Straw and Spawn: In your sanitized container, create alternating layers of straw and spawn. Start with a layer of straw, then sprinkle a layer of spawn on top. Repeat this process until you’ve used all the straw and spawn. The final layer should be straw. Aim for a spawn rate of around 5-10% of the weight of the straw.
2. Mix Thoroughly (Optional): Some growers prefer to mix the straw and spawn thoroughly instead of layering. This can help the mycelium colonize the substrate more quickly.
3. Cover the Container: Cover the container with a lid or plastic wrap to help retain moisture. You can poke a few small holes in the cover for ventilation.
Phase 3: Incubation
This is the period where the mushroom mycelium colonizes the straw.
1. Maintain the Right Temperature: Oyster mushrooms generally prefer temperatures between 65-75°F (18-24°C) for colonization. Keep the container in a dark, well-ventilated area.
2. Monitor Humidity: The straw should remain moist throughout the incubation period. If it starts to dry out, mist it lightly with water.
3. Wait Patiently: The incubation period typically lasts 2-3 weeks. You’ll know the mycelium is colonizing the straw when you see white, fuzzy growth spreading throughout the substrate.
Phase 4: Fruiting
Once the straw is fully colonized, it’s time to trigger fruiting – the development of mushrooms.
1. Increase Light Exposure: Move the container to a location with indirect light. Oyster mushrooms need light to fruit properly.
2. Increase Humidity: Oyster mushrooms require high humidity (80-90%) to fruit. You can increase humidity by:
* Misting Regularly: Mist the mushrooms several times a day with water.
* Using a Humidity Tent: Place a clear plastic bag or container over the growing area to trap moisture.
* Using Perlite: Place a layer of perlite in the bottom of the container and keep it moist.
3. Maintain Ventilation: While high humidity is important, good ventilation is also crucial to prevent mold growth. Make sure there’s adequate airflow around the mushrooms.
4. Monitor for Pinning: After a few days, you should start to see small mushroom “pins” forming. These are the beginnings of your mushrooms!
5. Harvest Your Mushrooms: Harvest your mushrooms when the caps are fully developed but before they start to release spores. This is usually when the edges of the caps start to flatten out. To harvest, simply twist or cut the mushrooms off the substrate.
Troubleshooting
Even with the best preparation, things can sometimes go wrong. Here are a few common problems and how to address them:
* Contamination (Mold Growth): If you see green, black, or other colored molds growing on your substrate, it’s likely contaminated. Unfortunately, there’s not much you can do at this point except discard the contaminated substrate. To prevent contamination, make sure to pasteurize your substrate properly and maintain a clean growing environment.
* Slow Colonization: If the mycelium is colonizing the substrate slowly, it could be due to low temperatures, low humidity, or poor spawn quality. Make sure the temperature and humidity are within the optimal range for your mushroom variety.
* Lack of Fruiting: If the substrate is fully colonized but you’re not seeing any mushrooms, it could be due to insufficient light, low humidity, or poor ventilation. Make sure to provide adequate light, humidity, and ventilation.
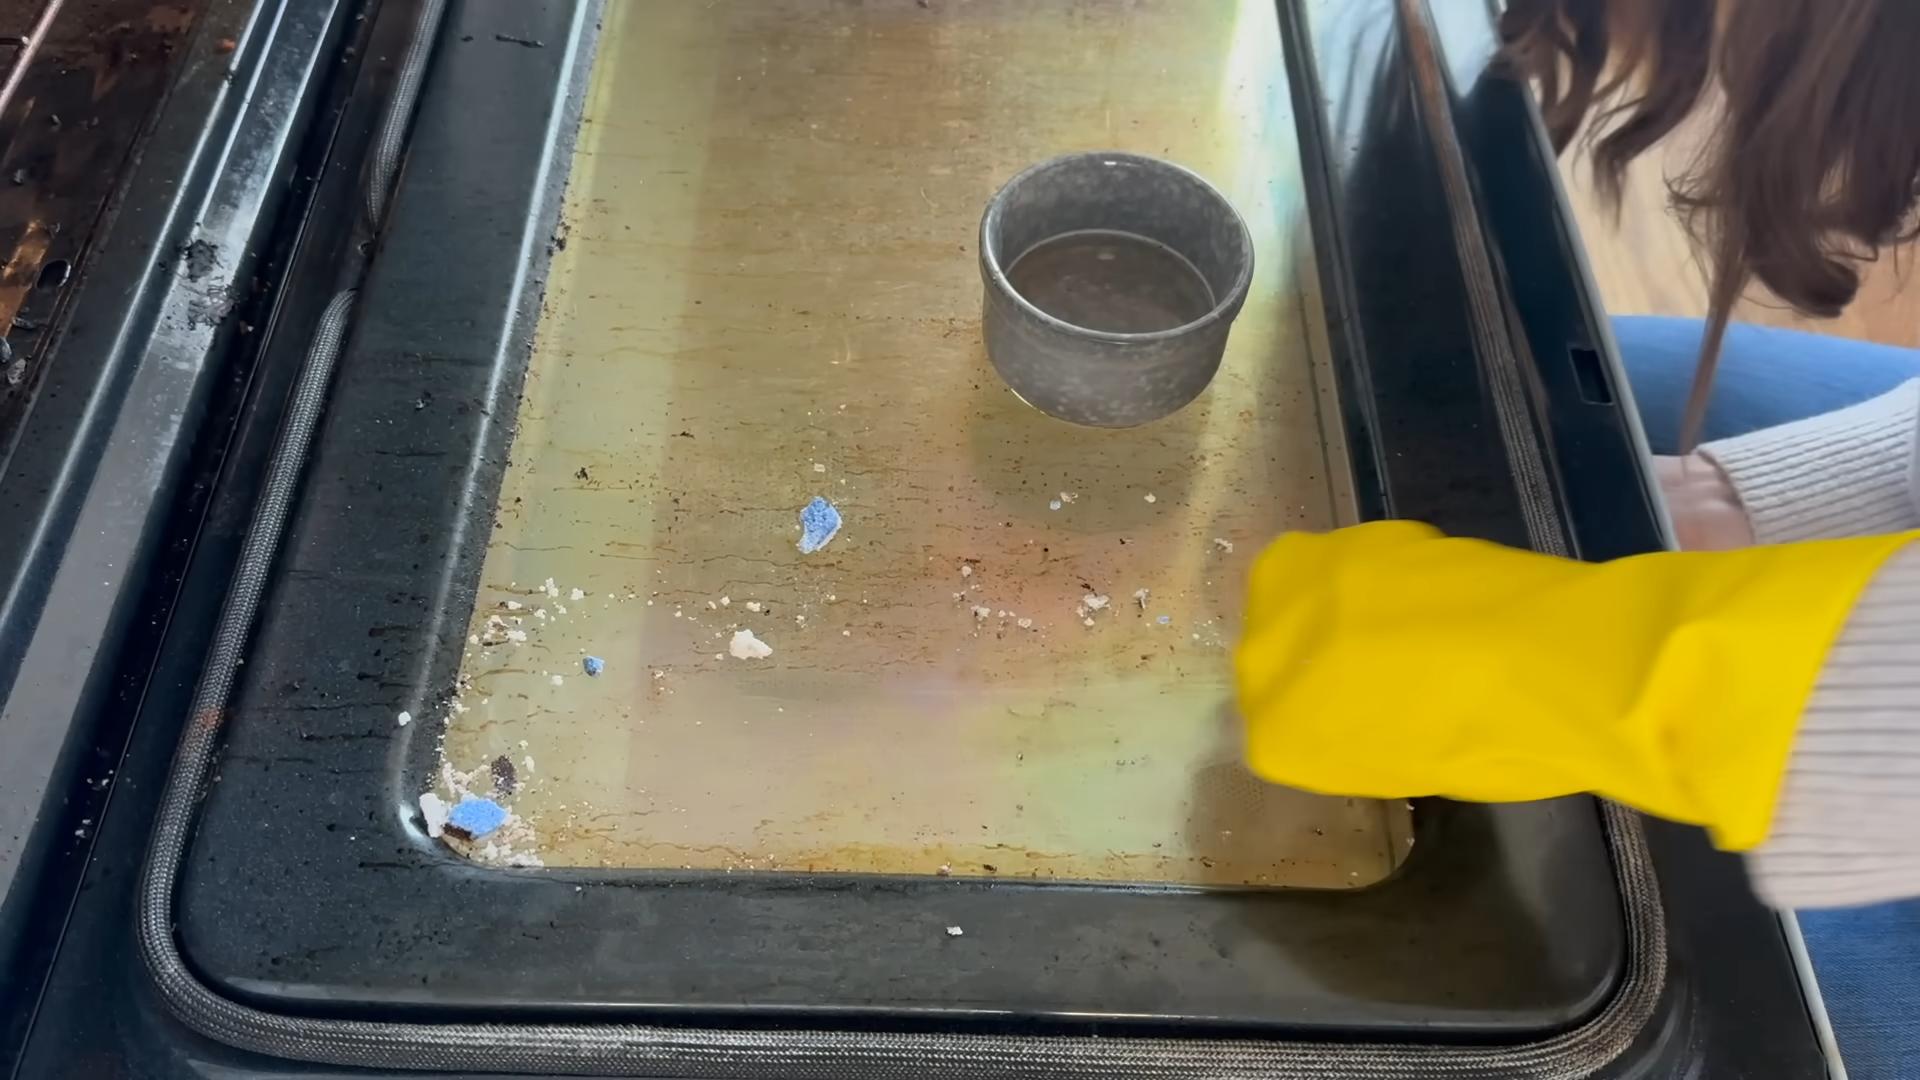
* Small Mushrooms: If your mushrooms are small and stunted, it could be due to insufficient nutrients or water. Make sure the substrate is moist and consider adding a small amount of nutrient-rich material, such as coffee grounds, to the substrate.
Tips for Success
Here are a few extra tips to help you succeed in your indoor mushroom growing adventure:
* Start Small: Don’t try to grow too much at once. Start with a small container and a small amount of spawn.
* Be Patient: Mushroom growing takes time. Don’t get discouraged if you don’t see results immediately.
* Keep Records: Keep track of your growing conditions, such as temperature, humidity
Conclusion
So, there you have it! Unveiling these cleaning routine secrets isn’t just about tidying up; it’s about reclaiming your time, reducing stress, and creating a healthier, happier living space. We’ve explored simple yet powerful techniques that can transform your approach to cleaning, making it less of a chore and more of a manageable part of your daily or weekly routine.
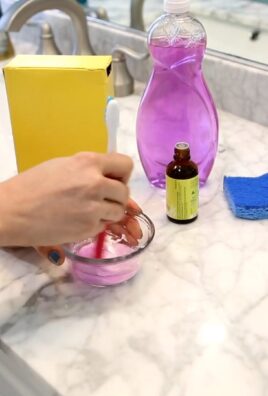
The beauty of these secrets lies in their adaptability. Feel free to experiment with different essential oil blends for your all-purpose cleaner, tailoring the scent to your personal preferences and mood. Lavender and lemon offer a calming and refreshing aroma, while tea tree and eucalyptus provide antibacterial benefits and a more invigorating scent. You can also adjust the ratios of ingredients in your cleaning solutions to suit the specific needs of your home and the level of grime you’re tackling. For instance, if you’re dealing with particularly stubborn grease, you might want to increase the amount of vinegar or baking soda in your cleaning paste.
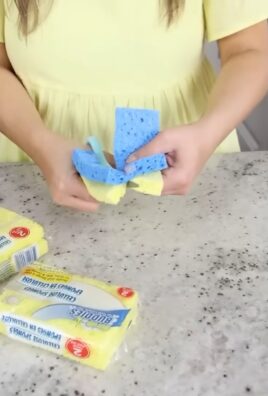
Don’t be afraid to get creative with your cleaning tools, too. Repurpose old t-shirts into cleaning rags, use a toothbrush to scrub grout, or invest in a microfiber mop for efficient floor cleaning. The key is to find what works best for you and your lifestyle.
Remember, consistency is key. Implementing these cleaning routine secrets gradually and consistently will yield the best results. Start with one or two techniques and gradually incorporate more as you become comfortable. Before you know it, you’ll have a streamlined cleaning routine that saves you time and effort.
We truly believe that these cleaning routine secrets are a game-changer for anyone looking to simplify their cleaning process and create a more enjoyable living environment. We encourage you to try them out and see the difference they can make in your own home.
But the real magic happens when you share your experiences! We’d love to hear about your successes, challenges, and any variations you’ve discovered along the way. Share your tips and tricks in the comments below, and let’s build a community of clean-living enthusiasts who support and inspire each other. Together, we can transform cleaning from a dreaded task into a rewarding and fulfilling activity. So, go ahead, give these cleaning routine secrets a try, and let us know what you think! Your feedback is invaluable, and it helps us continue to provide you with the best possible cleaning advice. Happy cleaning!
Frequently Asked Questions (FAQs)
Q: How often should I be cleaning my home using these cleaning routine secrets?
A: The frequency of cleaning depends on your lifestyle, the size of your home, and your personal preferences. However, a good starting point is to aim for a quick daily tidy-up, focusing on high-traffic areas like the kitchen and bathroom. A more thorough cleaning session, incorporating all of these cleaning routine secrets, can be done weekly or bi-weekly. Remember, consistency is more important than marathon cleaning sessions. Breaking down cleaning tasks into smaller, manageable chunks can make the process less overwhelming and more sustainable in the long run.
Q: Are these cleaning routine secrets safe for children and pets?
A: Generally, yes, especially if you’re using natural cleaning solutions like vinegar, baking soda, and essential oils. However, it’s always best to exercise caution when cleaning around children and pets. Ensure that cleaning solutions are stored out of their reach and that surfaces are thoroughly rinsed after cleaning to remove any residue. When using essential oils, be mindful of potential sensitivities or allergies. Some essential oils, such as tea tree oil, can be toxic to pets if ingested. Always research the safety of essential oils before using them around animals. If you have any concerns, consult with your pediatrician or veterinarian.
Q: Can I use these cleaning routine secrets on all surfaces?
A: While many of these cleaning routine secrets are versatile, it’s essential to test them on a small, inconspicuous area first, especially on delicate surfaces like wood, marble, or granite. Vinegar, for example, can be too acidic for some natural stone surfaces and may cause etching. Baking soda can be abrasive and should be used with caution on polished surfaces. Always read the manufacturer’s instructions for your cleaning products and surfaces before applying any new cleaning solutions.
Q: What are some essential cleaning supplies I should have on hand?
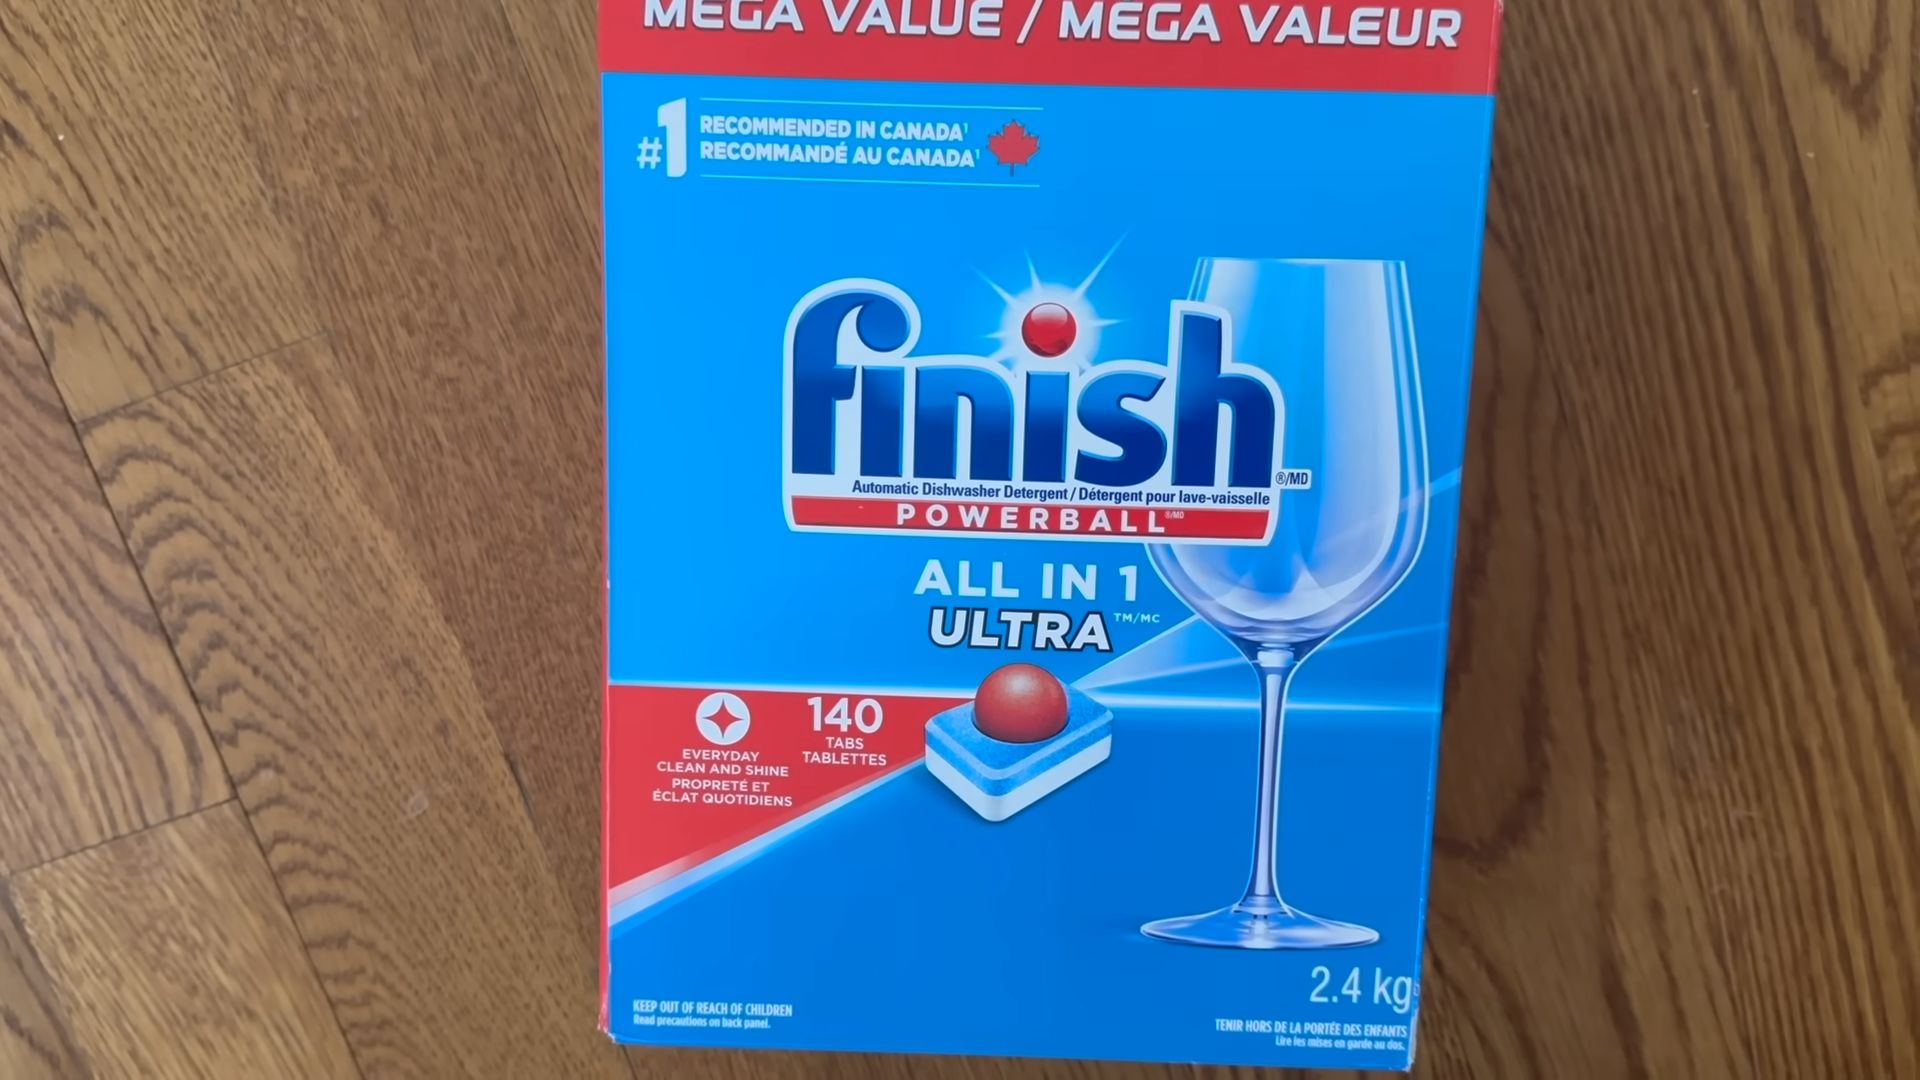
A: A well-stocked cleaning caddy can make your cleaning routine much more efficient. Some essential cleaning supplies include:
* Microfiber cloths: These are excellent for dusting, wiping surfaces, and cleaning windows.
* Spray bottles: For storing your homemade cleaning solutions.
* Baking soda: A versatile cleaning agent for scrubbing, deodorizing, and unclogging drains.
* White vinegar: A natural disinfectant and degreaser.
* Essential oils: For adding fragrance and antibacterial properties to your cleaning solutions.
* A scrub brush: For tackling stubborn grime and stains.
* A mop and bucket: For cleaning floors.
* Rubber gloves: To protect your hands from harsh chemicals and bacteria.
* A vacuum cleaner: For removing dust and debris from carpets and floors.
Q: How can I make my cleaning routine more eco-friendly?
A: There are many ways to make your cleaning routine more eco-friendly. Here are a few tips:
* Use natural cleaning solutions: As mentioned earlier, vinegar, baking soda, and essential oils are excellent natural alternatives to harsh chemical cleaners.
* Reduce your use of paper towels: Opt for reusable microfiber cloths instead.
* Buy cleaning products in bulk: This reduces packaging waste.
* Recycle your cleaning product containers: Check with your local recycling program for guidelines.
* Choose eco-friendly cleaning brands: Look for products that are biodegradable, non-toxic, and made with sustainable ingredients.
* Make your own cleaning products: This allows you to control the ingredients and reduce your reliance on commercially produced cleaners.
Q: What if I don’t have time for a full cleaning routine?
A: Even if you’re short on time, you can still maintain a clean and tidy home by focusing on the most important areas. Prioritize tasks like wiping down kitchen counters, cleaning the bathroom sink, and sweeping or vacuuming floors. A quick 15-minute tidy-up each day can make a big difference in the overall cleanliness of your home. You can also break down larger cleaning tasks into smaller, more manageable chunks and tackle them over several days. Remember, even a little bit of cleaning is better than none at all.
Q: How do I deal with stubborn stains?
A: Stubborn stains can be frustrating, but with the right approach, you can often remove them. Here are a few tips for dealing with common stains:
* Act quickly: The sooner you treat a stain, the easier it will be to remove.
* Identify the stain: Different stains require different cleaning methods.
* Use the appropriate cleaning solution: For example, vinegar can be effective for removing hard water stains, while baking soda can help absorb grease stains.
* Pre-treat the stain: Apply the cleaning solution to the stain and let it sit for a few minutes before scrubbing.
* Blot the stain: Avoid rubbing, as this can spread the stain.
* Rinse thoroughly: After removing the stain, rinse the area with clean water to remove any residue.
* Repeat if necessary: Some stains may require multiple treatments.
Q: How can I make my home smell fresh and clean?
A: A fresh-smelling home can create a more inviting and enjoyable living environment. Here are a few tips for making your home smell great:
* Open windows: Fresh air can help to ventilate your home and remove stale odors.
* Use essential oil diffusers: Diffuse your favorite essential oils to create a pleasant aroma.
* Bake something: The smell of freshly baked goods can make your home feel warm and inviting.
* Simmer a pot of water with citrus peels and spices: This is a natural and effective way to freshen the air.
* Place bowls of baking soda around your home: Baking soda can absorb odors.
* Clean your garbage disposal: A dirty garbage disposal can be a source of unpleasant odors.
* Wash your bedding regularly: Clean bedding can make your bedroom smell fresh and inviting.
* Use air fresheners sparingly: Opt for natural air fresheners or make your own.

Leave a Comment