
Acid Toilet Cleaner Uses: Unlocking the Power for a Sparkling Clean Bathroom!
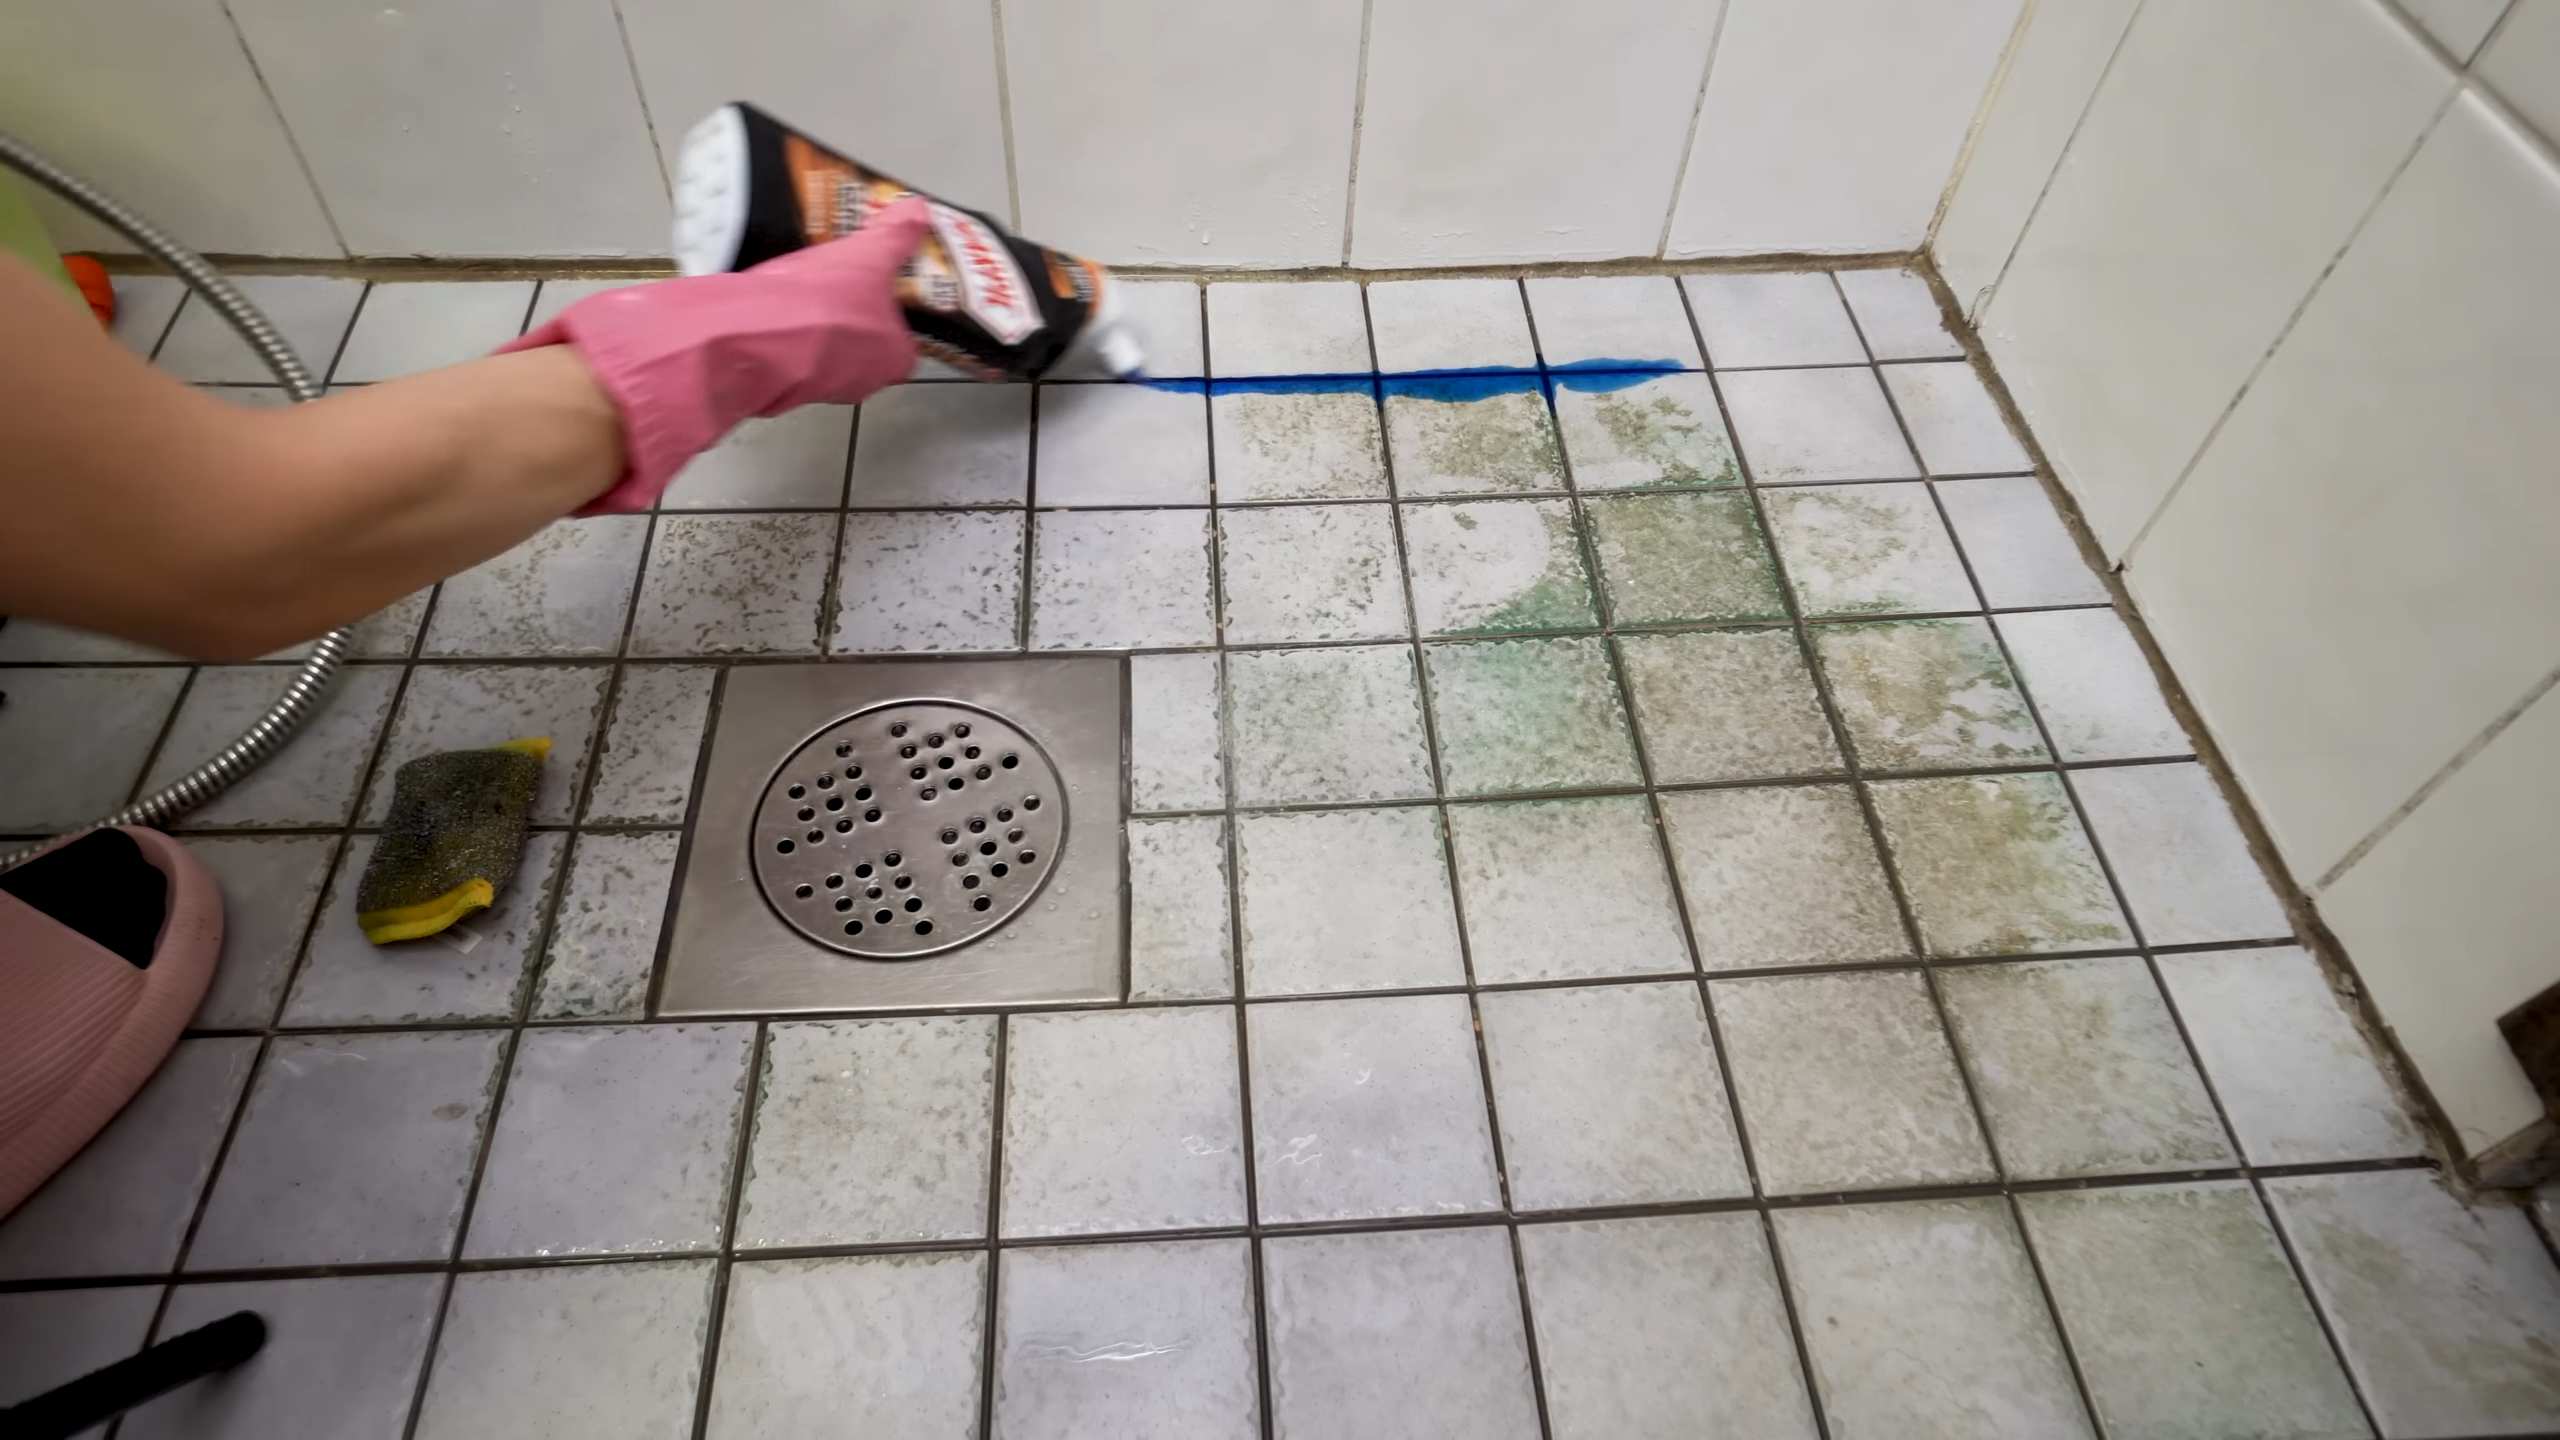
Let’s face it, cleaning the toilet isn’t exactly anyone’s favorite chore. But what if I told you there’s a way to make it easier, faster, and more effective? For generations, people have sought the ultimate solution for banishing stubborn stains and grime from their toilets. While commercial cleaners abound, understanding acid toilet cleaner uses can empower you to tackle even the toughest cleaning challenges with confidence.
The use of acids for cleaning isn’t new. Historically, natural acids like vinegar and lemon juice have been employed for their cleaning properties. Today, we have access to more potent acid-based cleaners specifically formulated for toilet bowls. But with great power comes great responsibility! Knowing how to safely and effectively utilize these cleaners is crucial.
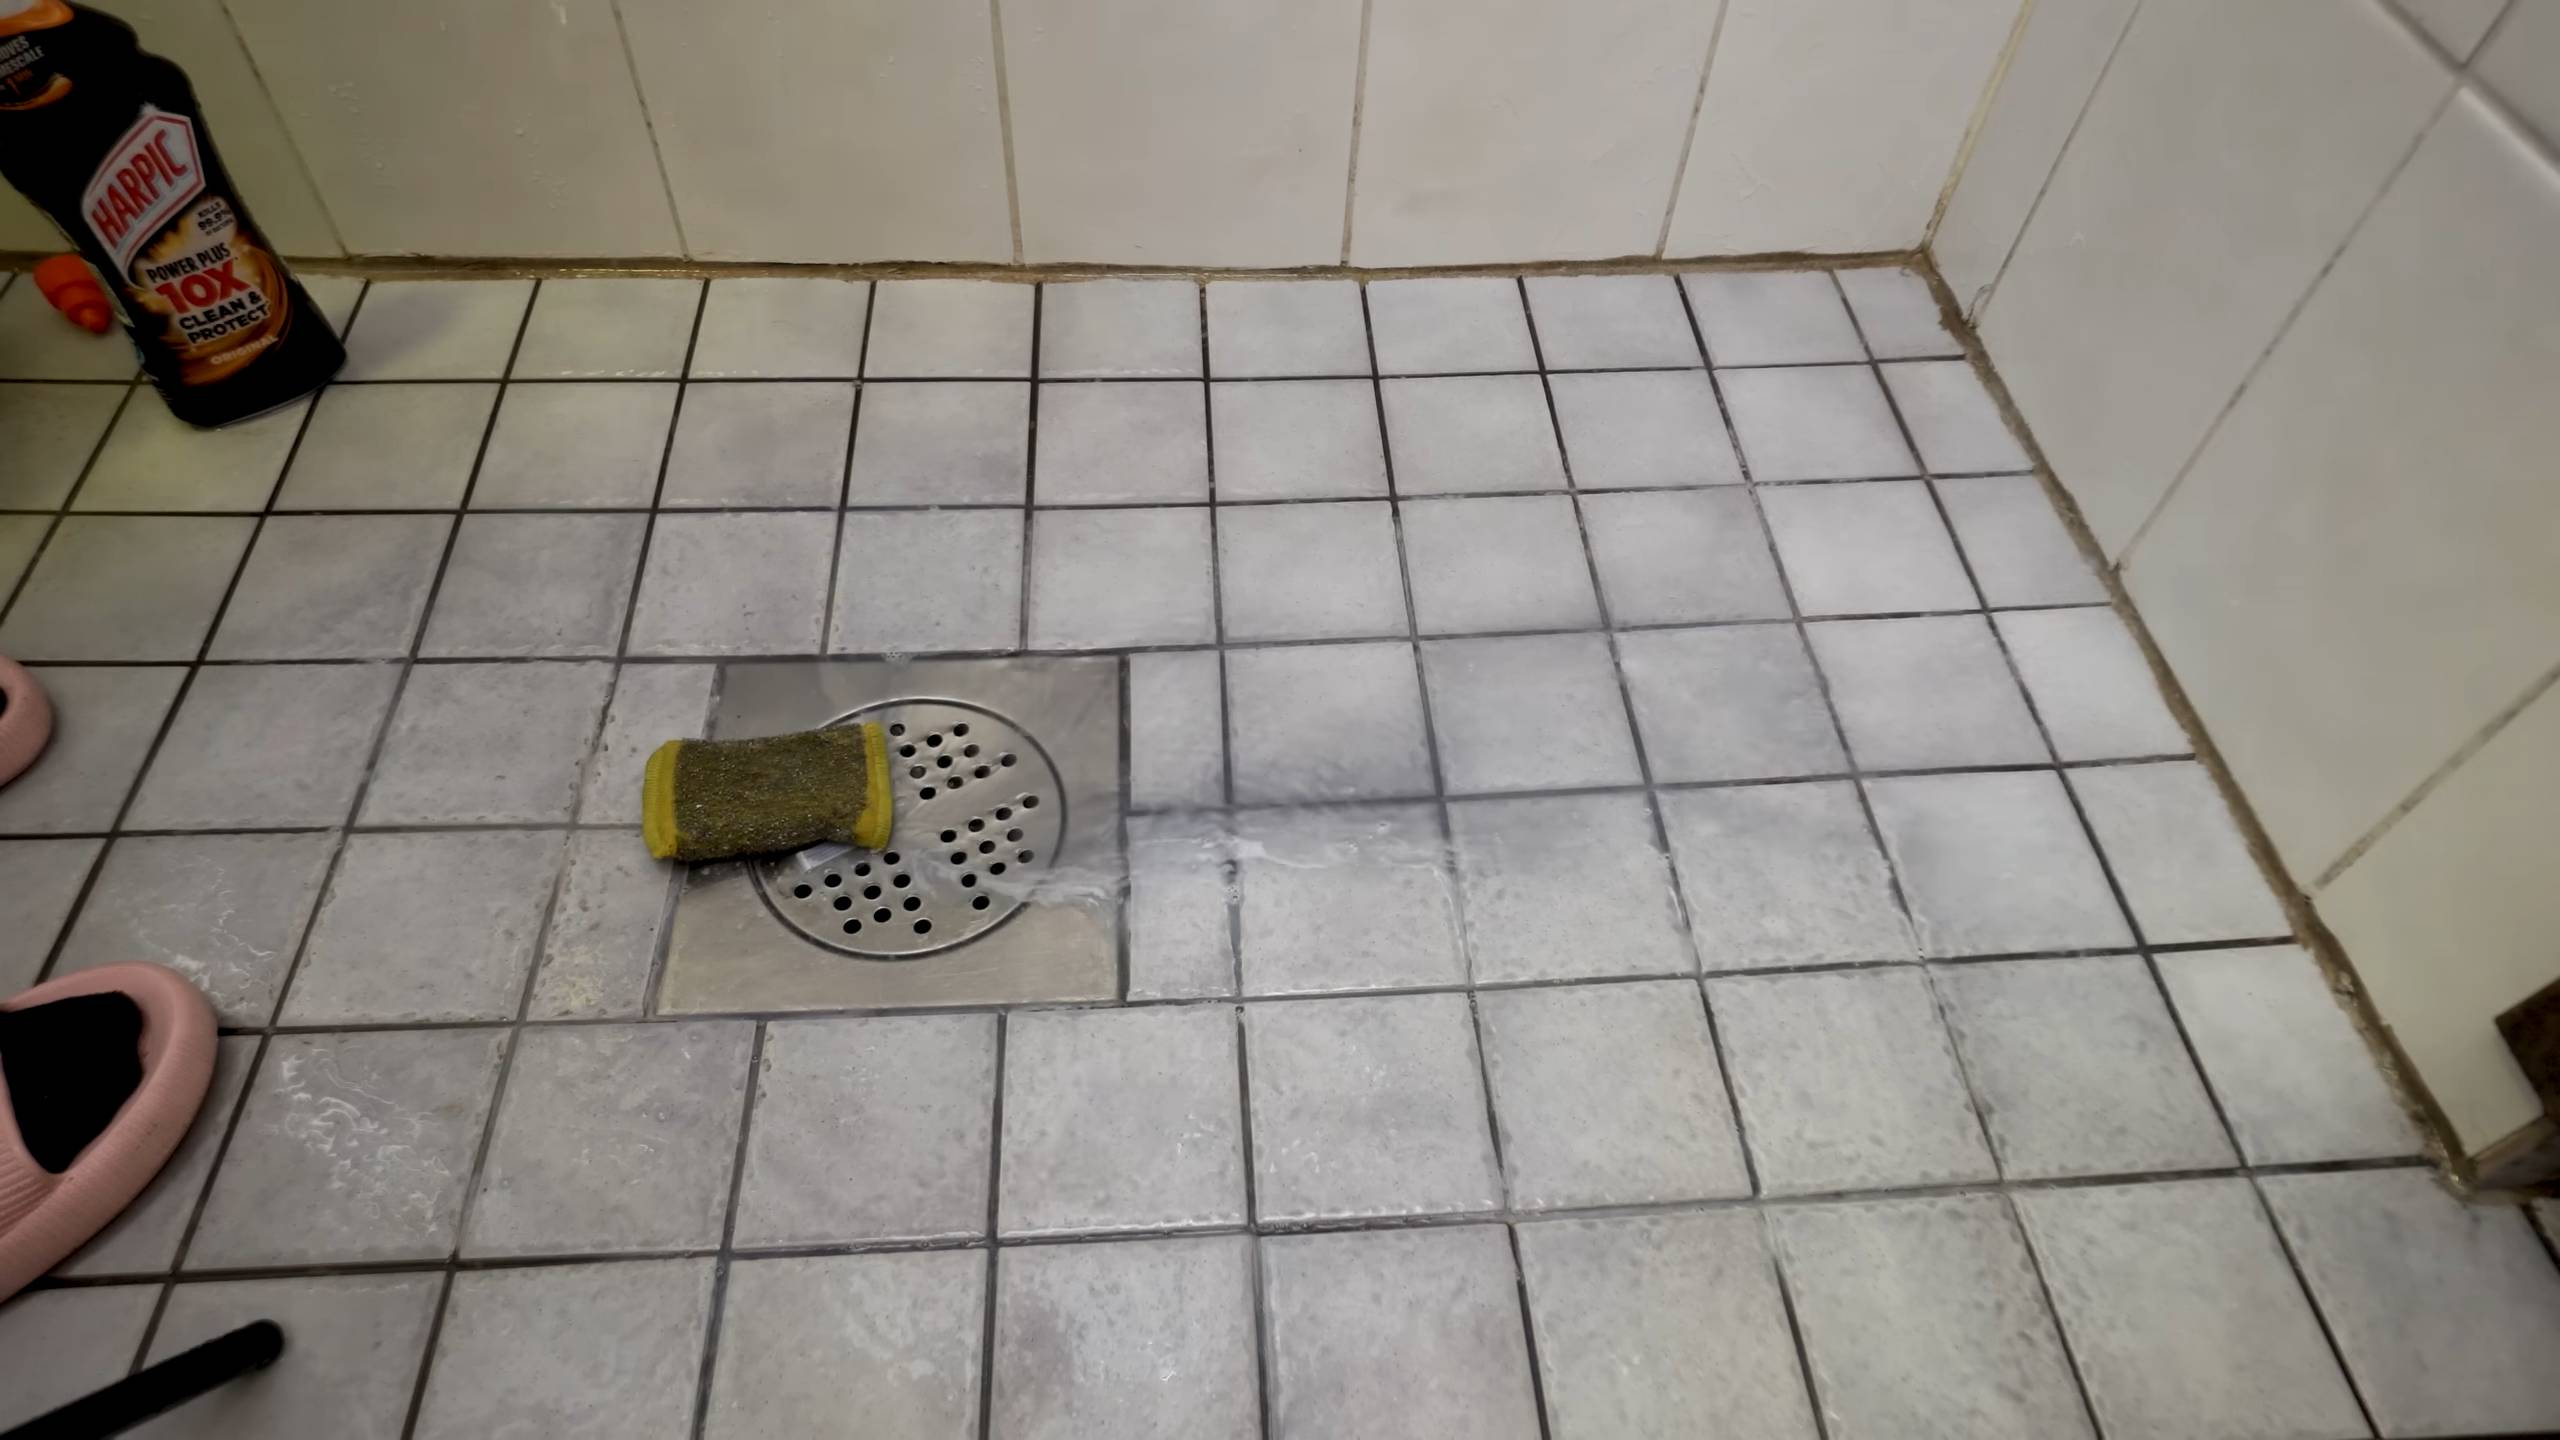
Why do you need this DIY guide? Because a clean toilet isn’t just about aesthetics; it’s about hygiene and health. Lingering stains and mineral deposits can harbor bacteria and create unpleasant odors. This article will equip you with the knowledge to choose the right acid cleaner, apply it safely, and achieve a sparkling clean toilet bowl that you can be proud of. I’ll walk you through the process step-by-step, ensuring you get the best results without damaging your toilet or putting yourself at risk. Get ready to transform your toilet cleaning routine!
DIY Floating Potato Garden: From Kitchen Scraps to Bountiful Harvest!
Hey there, fellow gardening enthusiasts! Ever thought about growing potatoes in water, using just a styrofoam container and a leftover potato? It sounds crazy, right? But trust me, it’s a super fun and surprisingly effective way to get a decent potato harvest, especially if you’re short on space or just looking for a unique gardening project. I’ve done this myself, and I’m here to guide you through every step of the process. Let’s dive in!
What You’ll Need: The Essential Supplies
Before we get started, let’s gather our supplies. This is a pretty low-cost project, which is always a win in my book!
* **A Large Styrofoam Container:** Think of those big coolers or even the styrofoam packaging that sometimes comes with large appliances. The bigger, the better, as it will give your potato plants more room to grow. Make sure it’s clean!
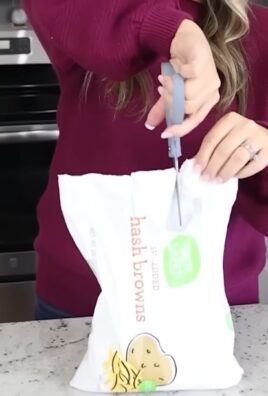
* **A Potato (with Eyes!):** This is the star of the show! You’ll need a potato that has “eyes” – those little buds that sprout. Older potatoes that have been sitting in your pantry for a while are perfect. If your potato is large, you can even cut it into pieces, making sure each piece has at least one or two eyes. Let the cut pieces callous over for a day or two before planting to prevent rot.
* **Potting Mix:** You’ll need a good quality potting mix to provide nutrients for your growing potatoes. Don’t use garden soil, as it can be too heavy and compact.
* **Water:** Obviously! You’ll need plenty of water to keep your potato plants happy and hydrated.
* **A Sharp Knife or Box Cutter:** For cutting the styrofoam and the potato (if needed). Be careful!
* **Drill or Punching Tool:** To create drainage holes in the styrofoam container.
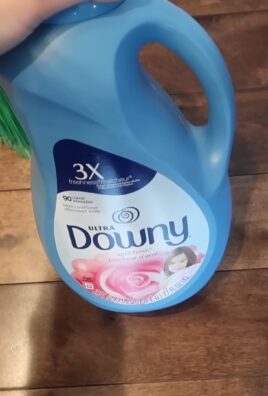
* **Optional: Fertilizer:** A balanced liquid fertilizer can help boost growth, but it’s not strictly necessary.
* **Optional: Landscape Fabric or Burlap:** To line the inside of the styrofoam container and help retain moisture.
Step-by-Step Guide: Building Your Floating Potato Paradise
Okay, now for the fun part! Let’s get our hands dirty (or, well, maybe just a little wet).
Phase 1: Preparing the Styrofoam Container
1. **Clean the Container:** Make sure your styrofoam container is clean and free of any debris. Give it a good rinse with water.
2. **Drill Drainage Holes:** This is crucial! Potatoes don’t like sitting in soggy soil. Drill several drainage holes in the bottom of the container. I usually go for about 6-8 holes, evenly spaced.
3. **Line the Container (Optional):** If you want to help retain moisture and prevent the potting mix from washing out, you can line the inside of the container with landscape fabric or burlap. Simply cut the fabric to size and secure it with staples or glue (though staples are easier).
Phase 2: Planting the Potato
1. **Add Potting Mix:** Fill the bottom of the styrofoam container with about 4-6 inches of potting mix. This will be the base for your potato plant.
2. **Place the Potato:** Place your potato (or potato pieces) on top of the potting mix, with the eyes facing upwards. If you’re using multiple pieces, space them out evenly.
3. **Cover with More Potting Mix:** Cover the potato with another 4-6 inches of potting mix. Gently pat it down.
4. **Water Thoroughly:** Water the potting mix thoroughly until water drains out of the drainage holes. This will help settle the soil and get the potato off to a good start.
Phase 3: The Waiting Game (and Initial Care)
1. **Find a Sunny Spot:** Place your styrofoam container in a sunny location. Potatoes need at least 6-8 hours of sunlight per day to thrive.
2. **Water Regularly:** Keep the potting mix consistently moist, but not soggy. Check the soil moisture level regularly by sticking your finger into the soil. If it feels dry an inch or two down, it’s time to water.
3. **Watch for Sprouts:** Be patient! It may take a week or two for sprouts to emerge from the soil. Once you see sprouts, you know your potato is growing!
Phase 4: Hilling the Potatoes (The Key to a Good Harvest!)
This is where the magic happens! Hilling is the process of adding more soil around the potato plants as they grow. This encourages the plant to produce more potatoes along the stem.
1. **When to Hill:** When the potato plants are about 6-8 inches tall, it’s time to start hilling.
2. **How to Hill:** Add more potting mix around the base of the plants, covering the lower part of the stems. Leave the top few inches of the plants exposed.
3. **Repeat the Process:** Continue hilling every few weeks as the plants grow taller. You can use the remaining potting mix you have. The goal is to keep burying the stems as they grow, encouraging more potato production.
4. **Fertilize (Optional):** If you want to give your potato plants a boost, you can fertilize them with a balanced liquid fertilizer every few weeks. Follow the instructions on the fertilizer label.
Phase 5: Maintaining Your Potato Garden
1. **Watering:** Continue to water regularly, keeping the potting mix consistently moist.
2. **Sunlight:** Make sure your potato plants are still getting plenty of sunlight.
3. **Pest Control:** Keep an eye out for pests, such as aphids or potato beetles. If you spot any pests, you can try spraying them with insecticidal soap or hand-picking them off the plants.
4. **Weeding:** Remove any weeds that may pop up in the container.
Phase 6: Harvesting Your Potatoes!
This is the moment you’ve been waiting for!
1. **When to Harvest:** Potatoes are typically ready to harvest about 80-100 days after planting. You’ll know they’re ready when the plants start to flower and the foliage begins to turn yellow and die back.
2. **How to Harvest:** Gently dig around the base of the plants with your hands or a small trowel. Be careful not to damage the potatoes. You should find a cluster of potatoes growing around the roots.
3. **Cure the Potatoes:** After harvesting, let the potatoes cure for a week or two in a cool, dry, and dark place. This will help them develop a thicker skin and improve their storage life.
Troubleshooting: Common Issues and Solutions
Even with the best planning, things can sometimes go wrong. Here are a few common issues you might encounter and how to fix them:
* **Yellowing Leaves:** This could be a sign of overwatering, underwatering, or nutrient deficiency. Check the soil moisture level and adjust your watering accordingly. If the soil is consistently moist, you may be overwatering. If the soil is dry, you may need to water more frequently. You can also try fertilizing with a balanced fertilizer.
* **No Potatoes:** This could be due to a lack of sunlight, improper hilling, or poor soil quality. Make sure your potato plants are getting at least 6-8 hours of sunlight per day. Hill the plants regularly as they grow. Use a good quality potting mix.
* **Pests:** Aphids, potato beetles, and other pests can damage your potato plants. Inspect your plants regularly for pests and take action as soon as you spot them. You can try spraying them with insecticidal soap or hand-picking them off the plants.
* **Rotting Potatoes:** This is usually caused by overwatering or poor drainage. Make sure your styrofoam container has plenty of drainage holes. Avoid overwatering.
Tips and Tricks for a Bumper Crop
Here are a few extra tips to help you maximize your potato harvest:
* Choose the Right Potato Variety: Some potato varieties are better suited for container gardening than others. Look for varieties that are compact and early-maturing.
* Start with Seed Potatoes: Seed potatoes are potatoes that are specifically grown for planting. They are typically disease-free and will produce a better crop than potatoes from the grocery store.
* Rotate Your Crops: Don’t plant potatoes in the same container year after year. Rotate your crops to help prevent soilborne diseases.
* Add Compost: Adding compost to your potting mix will improve its fertility and drainage.
* Water in the Morning: Watering in the morning allows the foliage to dry out during the day, which can help prevent fungal diseases.
Why This Method Works: The Science Behind the Spuds
You might be wondering why this seemingly simple method actually works. Here’s a little bit of the science behind it:
* Potatoes are Stem Tubers: Potatoes are not roots, but rather modified stems called tubers. They grow underground along the stem of the plant.
* Hilling Encourages
Conclusion
So, there you have it! Mastering the art of creating your own acid toilet cleaner is not just about saving money; it’s about taking control of the cleanliness and hygiene of your bathroom with a powerful, effective solution you can tailor to your specific needs. We’ve explored the benefits, the precautions, and the step-by-step process, equipping you with the knowledge to confidently tackle even the most stubborn toilet stains and build-up.
Why is this DIY trick a must-try? Because it empowers you to create a cleaner that’s often more potent than store-bought alternatives, without the hefty price tag or the mystery ingredients. You know exactly what’s going into your cleaner, allowing you to avoid harsh chemicals you might be sensitive to or concerned about. Plus, the satisfaction of creating something effective yourself is incredibly rewarding.
But the journey doesn’t end here! Feel free to experiment with variations to find the perfect formula for your toilet. For example, if you prefer a more fragrant clean, consider adding a few drops of your favorite essential oil, such as tea tree oil (known for its antibacterial properties) or lemon oil (for a fresh, citrusy scent). Just be sure to add the essential oils *after* the acid has been diluted, as some oils can react negatively with concentrated acids. Another variation involves adjusting the concentration of the acid solution. If you’re dealing with particularly tough stains, you might cautiously increase the acid concentration, but always remember to prioritize safety and wear appropriate protective gear. Conversely, for routine cleaning, a slightly weaker solution might suffice.
Don’t be afraid to get creative and adapt the recipe to your preferences and the specific challenges your toilet presents. The key is to start with the recommended proportions and then make small adjustments based on your observations. Remember to always test your cleaner in an inconspicuous area first to ensure it doesn’t damage the toilet bowl.
We are confident that once you experience the cleaning power of your homemade acid toilet cleaner, you’ll never go back to store-bought brands. It’s effective, economical, and allows you to customize the formula to your liking.
Now, it’s your turn! We encourage you to try this DIY trick and share your experience with us. Did you find it effective? Did you experiment with any variations? What challenges did you encounter, and how did you overcome them? Your feedback is invaluable and will help other readers benefit from your insights. Leave a comment below and let us know how your DIY acid toilet cleaner project turned out. We can’t wait to hear from you!
Frequently Asked Questions (FAQ)
Is it safe to make my own acid toilet cleaner?
Yes, it can be safe if you follow the instructions carefully and take all necessary precautions. The most important thing is to wear appropriate protective gear, including gloves, eye protection, and a mask, to avoid contact with the acid. Work in a well-ventilated area to prevent inhaling fumes. Always add the acid to water, never the other way around, to prevent a dangerous reaction. Keep the cleaner out of reach of children and pets. If you are unsure about any step, consult a professional.
What kind of acid should I use?
The most commonly used acid for DIY toilet cleaner is muriatic acid (hydrochloric acid), which is readily available at most hardware stores. However, it’s crucial to handle it with extreme care due to its corrosive nature. Always read and follow the manufacturer’s instructions on the acid container. Some people also use citric acid, which is a weaker acid and a more environmentally friendly option, but it may not be as effective for removing tough stains.
How do I store my homemade acid toilet cleaner?
Store your homemade acid toilet cleaner in a clearly labeled, airtight container made of a material that is resistant to acids, such as high-density polyethylene (HDPE). Keep it in a cool, dry, and well-ventilated area, away from direct sunlight and heat sources. Ensure the container is out of reach of children and pets. Never store it near other cleaning products, especially those containing bleach, as mixing acids and bleach can create toxic fumes.
Can I use this cleaner on all types of toilets?
While acid toilet cleaner is generally safe for porcelain toilets, it’s not recommended for use on toilets with certain types of finishes or materials, such as those with gold-plated fixtures or delicate enamel surfaces. Always test the cleaner in an inconspicuous area first to ensure it doesn’t cause any damage or discoloration. If you’re unsure about the compatibility of the cleaner with your toilet, consult the manufacturer’s instructions or contact a professional plumber.
How often should I use this cleaner?
The frequency of use depends on the severity of the stains and build-up in your toilet. For heavily stained toilets, you may need to use the cleaner once a week initially. For routine cleaning, once a month or even less frequently may be sufficient. Avoid overuse, as excessive exposure to acid can potentially damage the toilet bowl over time.
What if I accidentally get acid on my skin or in my eyes?
If you get acid on your skin, immediately flush the affected area with plenty of water for at least 15 minutes. Remove any contaminated clothing. If irritation persists, seek medical attention. If acid gets into your eyes, immediately flush them with plenty of water for at least 15 minutes, holding your eyelids open. Seek immediate medical attention.
What should I do if I inhale acid fumes?
If you inhale acid fumes, immediately move to a well-ventilated area and get fresh air. If you experience difficulty breathing, dizziness, or nausea, seek immediate medical attention.
Can I add bleach to my acid toilet cleaner?
Never, ever mix acid and bleach! This combination creates chlorine gas, which is extremely toxic and can be fatal. Always use acid toilet cleaner separately from any products containing bleach.
Is there a more environmentally friendly alternative to muriatic acid?
Yes, citric acid is a more environmentally friendly alternative to muriatic acid. It’s a weaker acid, so it may not be as effective for removing tough stains, but it’s a safer and more sustainable option. You can also try using natural cleaning agents like vinegar and baking soda for less severe stains.
What if the cleaner doesn’t remove all the stains?
If the cleaner doesn’t remove all the stains on the first try, you can try repeating the process, allowing the cleaner to sit in the toilet bowl for a longer period (up to 30 minutes) before scrubbing. For particularly stubborn stains, you may need to use a stronger acid concentration, but always proceed with caution and prioritize safety. You can also try using a pumice stone to gently scrub away the stains, but be careful not to scratch the toilet bowl.

Leave a Comment