
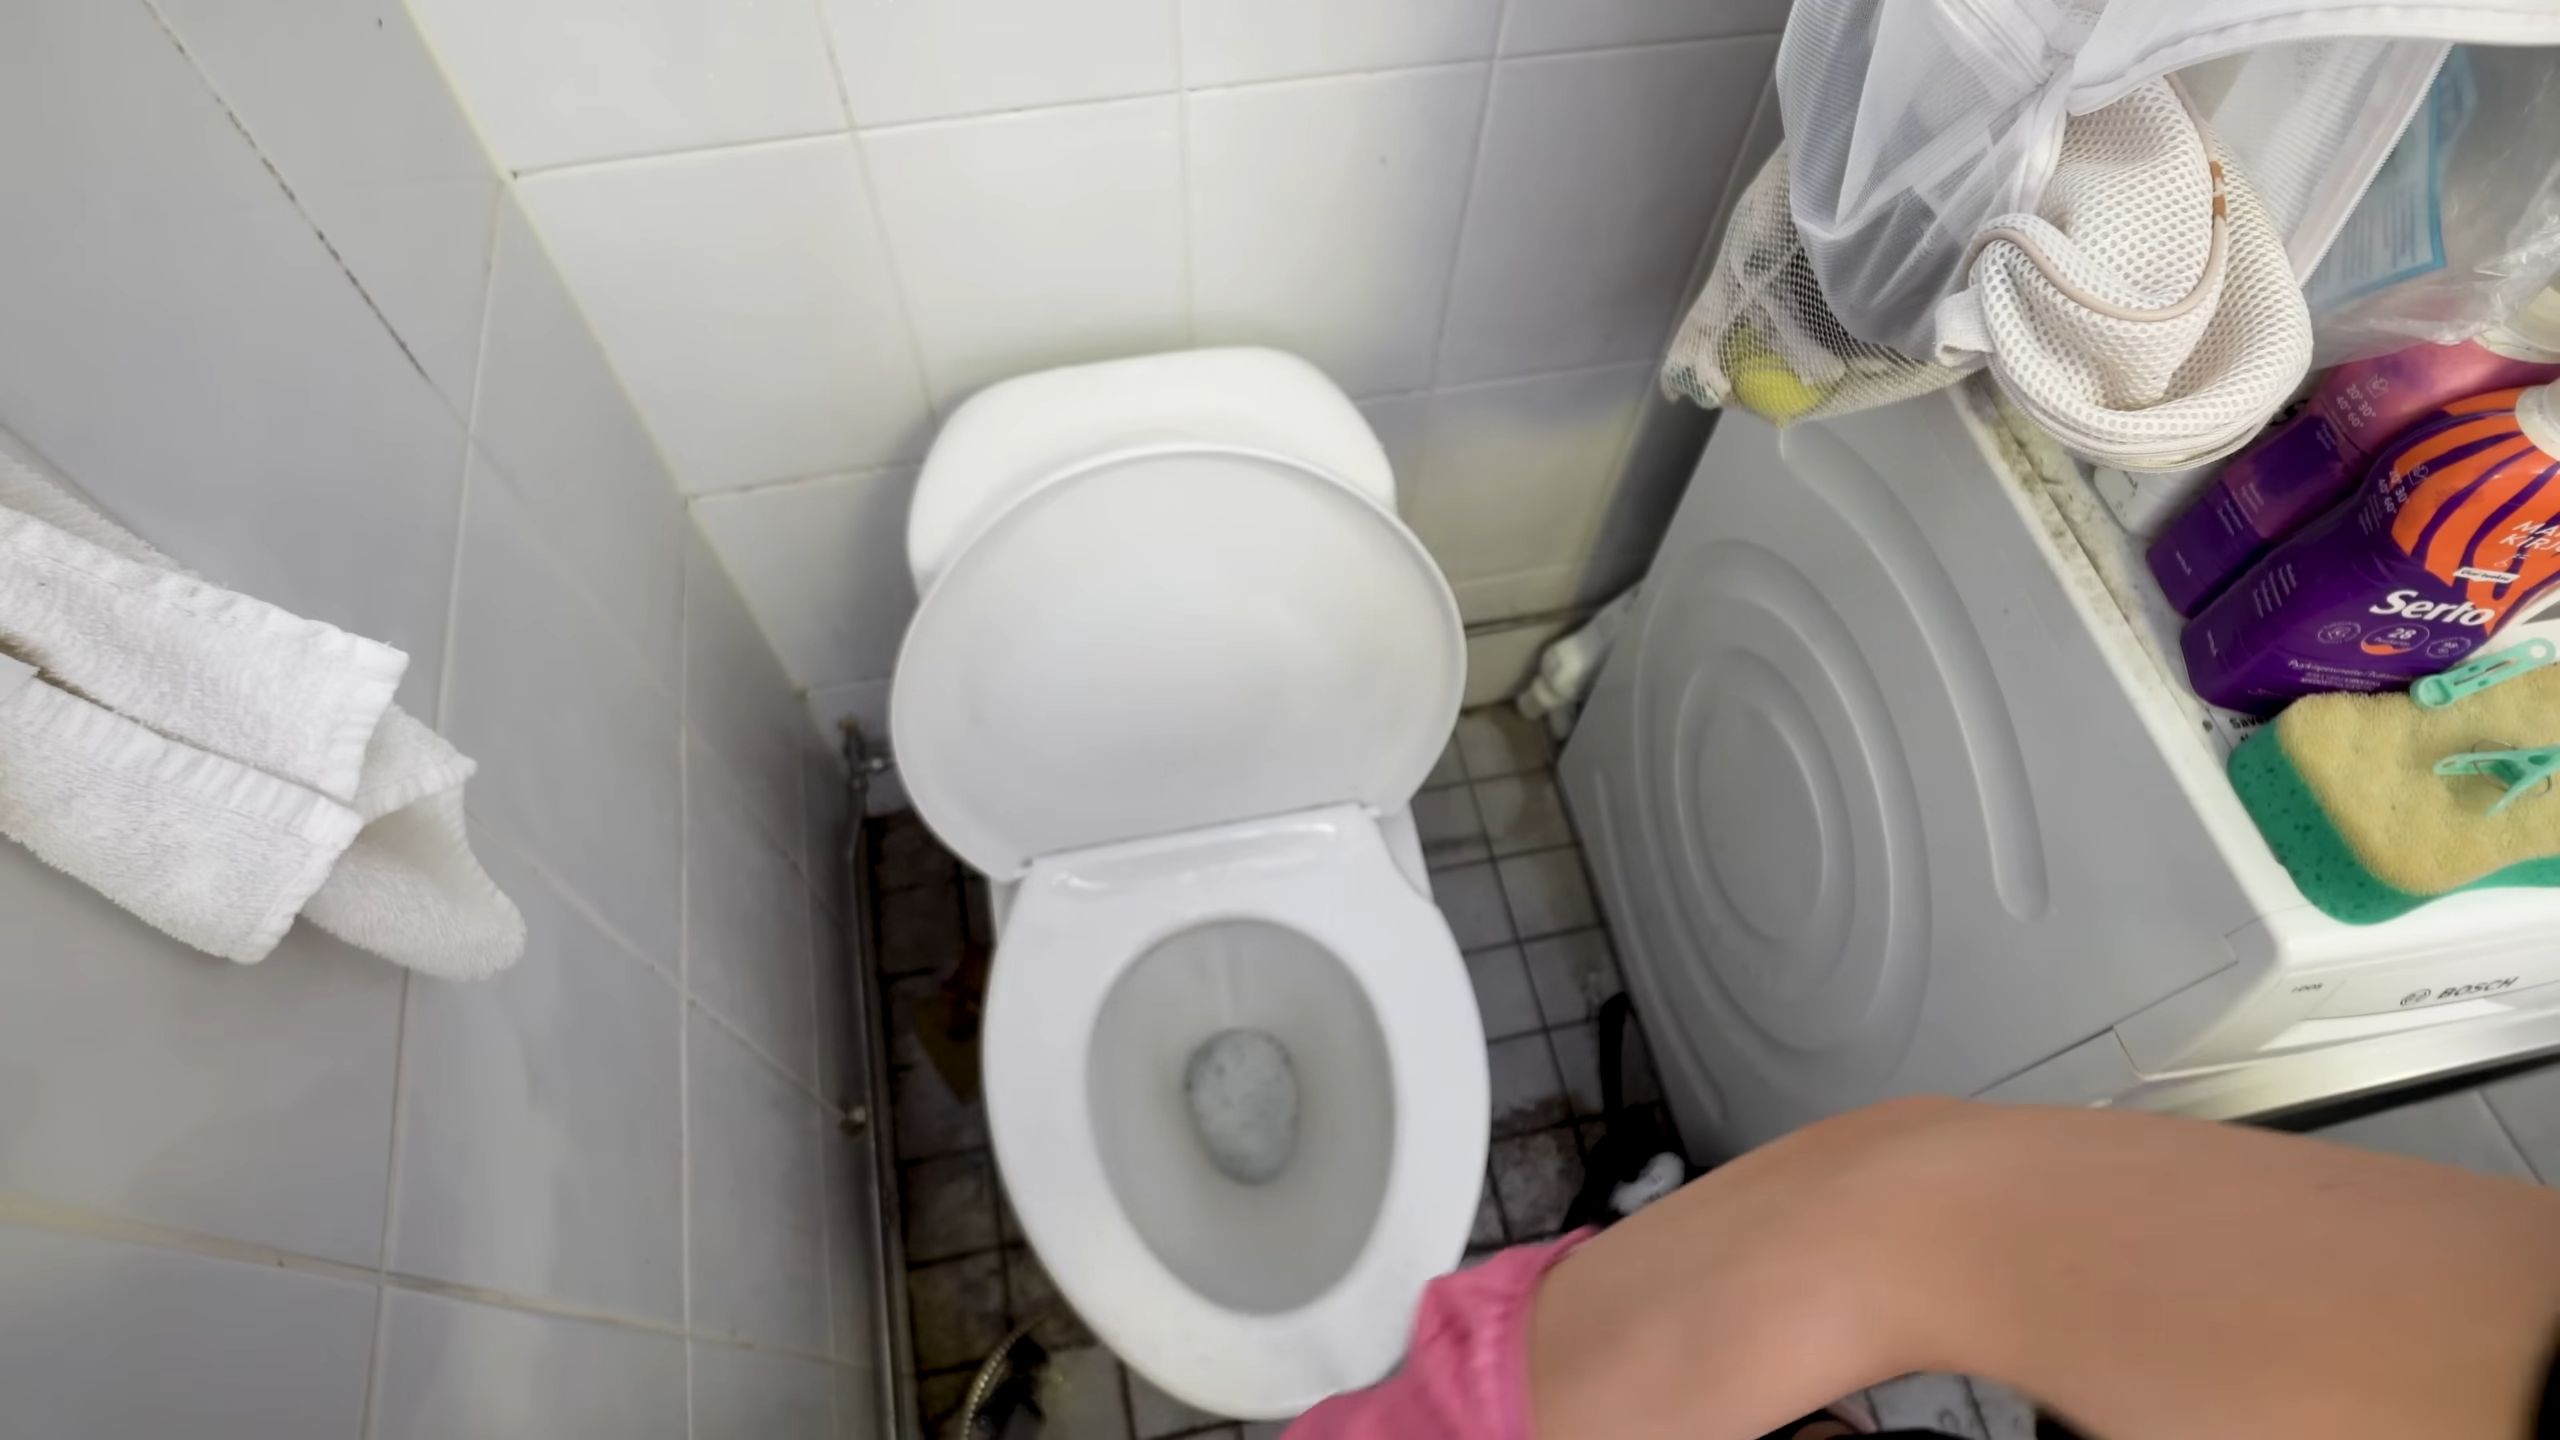
Acid Toilet Cleaner Hacks: Are you tired of battling stubborn stains and lingering odors in your toilet bowl? I know I was! Let’s face it, cleaning the toilet is nobody’s favorite chore, but it’s a necessary one. But what if I told you there were ways to make this dreaded task easier, more effective, and even a little bit… dare I say… satisfying?
For generations, people have sought out clever solutions to keep their homes sparkling clean. From ancient Roman bathhouses to modern-day households, maintaining hygiene has always been a priority. While the tools and techniques have evolved, the underlying goal remains the same: a clean and healthy living space. And that includes a sparkling toilet!
That’s where these acid toilet cleaner hacks come in. We’re not just talking about your average scrub-and-flush routine. I’m going to share some insider tips and DIY tricks that will transform your toilet cleaning experience. These hacks will not only save you time and effort but also help you achieve a level of cleanliness you never thought possible. Say goodbye to stubborn stains and hello to a sparkling, fresh-smelling bathroom! So, grab your gloves, and let’s dive into the world of acid toilet cleaner hacks!

DIY: From Seed to Supper – Growing Long Beans Like a Pro!
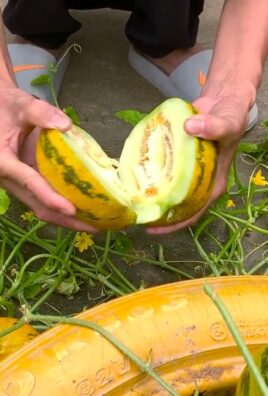
Okay, so you want to grow long beans? Awesome! They’re not only delicious but also super rewarding to cultivate in your own backyard. I’m going to walk you through everything you need to know, from prepping the soil to harvesting those impressive, yard-long veggies. Get ready to impress your friends and family with your green thumb!
Choosing Your Long Bean Variety
First things first, let’s talk varieties. There are a few different types of long beans you can choose from, each with slightly different characteristics. Here are a few popular options:
* Yardlong Asparagus Bean: This is probably the most common type. It’s known for its impressive length (reaching up to 3 feet!) and tender, slightly sweet flavor.
* Chinese Red Noodle Bean: This variety is visually stunning with its vibrant red pods. It has a slightly nuttier flavor than the asparagus bean.
* Thai Purple Podded Bean: Another visually appealing option, this bean boasts beautiful purple pods. It’s known for its crisp texture and slightly earthy flavor.
I personally love the Yardlong Asparagus Bean because it’s so prolific and easy to grow, but feel free to experiment and find your favorite!
Preparing the Soil: The Foundation for Success
Long beans are relatively easy to grow, but they do appreciate well-prepared soil. Here’s what I do to get my soil ready:
* Sunlight: Long beans need at least 6-8 hours of direct sunlight per day. Choose a spot in your garden that gets plenty of sunshine.
* Soil Type: They prefer well-draining soil that’s rich in organic matter. If your soil is heavy clay, amend it with compost, aged manure, or peat moss to improve drainage. Sandy soil can be improved by adding compost to help retain moisture.
* Soil pH: Aim for a soil pH between 6.0 and 7.0. You can test your soil pH with a simple soil testing kit from your local garden center. If your soil is too acidic, add lime to raise the pH. If it’s too alkaline, add sulfur to lower the pH.
* Fertilizing: Long beans are heavy feeders, so it’s important to fertilize them regularly. Before planting, I like to incorporate a slow-release fertilizer into the soil. You can also side-dress them with a nitrogen-rich fertilizer every few weeks during the growing season.
Planting Long Beans: Getting Started
You can either start long beans indoors or direct sow them in your garden. I prefer direct sowing because it’s less work and the plants tend to be stronger.
* Timing: Wait until the soil has warmed up to at least 65°F (18°C) before planting. This is usually a few weeks after the last frost in your area.
* Spacing: Plant seeds about 1 inch deep and 4-6 inches apart. If you’re planting in rows, space the rows about 2-3 feet apart.
* Soaking: Soaking the seeds in water for 24 hours before planting can help improve germination rates.
* Watering: Water the seeds thoroughly after planting. Keep the soil moist but not waterlogged until the seedlings emerge.
Step-by-Step Planting Guide:
1. Choose your location: Select a sunny spot with well-draining soil.
2. Prepare the soil: Amend the soil with compost or other organic matter.
3. Sow the seeds: Plant seeds 1 inch deep and 4-6 inches apart.
4. Water thoroughly: Keep the soil moist until the seedlings emerge.
5. Thin seedlings: Once the seedlings are a few inches tall, thin them to about 6-8 inches apart.
Providing Support: Trellising is Key!
Long beans are climbing plants, so they need a trellis or other support structure to grow on. This is crucial for maximizing your yield and keeping the beans off the ground.
* Types of Trellises: There are many different types of trellises you can use, including bamboo stakes, wire mesh, and A-frame trellises. I personally like using a simple A-frame trellis made from wooden stakes and chicken wire.
* Installation: Install the trellis before the plants start to vine. This will prevent you from damaging the plants later on.
* Training: As the plants grow, gently guide them onto the trellis. They will eventually start to climb on their own.
Building a Simple A-Frame Trellis:
1. Gather your materials: You’ll need wooden stakes, chicken wire, and wire cutters.
2. Drive the stakes into the ground: Drive two stakes into the ground about 3 feet apart, angled towards each other.
3. Attach the chicken wire: Wrap the chicken wire around the stakes, securing it with staples or wire.
4. Repeat: Repeat steps 2 and 3 to create the other side of the A-frame.
5. Secure the top: Connect the two sides of the A-frame at the top with wire or rope.
Caring for Your Long Bean Plants: Watering, Fertilizing, and Pest Control
Once your long bean plants are established, it’s important to provide them with proper care to ensure a bountiful harvest.
* Watering: Water regularly, especially during hot, dry weather. Long beans need about 1 inch of water per week. Avoid overhead watering, as this can lead to fungal diseases.
* Fertilizing: Side-dress the plants with a nitrogen-rich fertilizer every few weeks during the growing season. You can also use a liquid fertilizer, such as fish emulsion or seaweed extract.
* Weeding: Keep the area around the plants free of weeds. Weeds compete with the plants for nutrients and water.
* Pest Control: Long beans are susceptible to a few pests, including aphids, bean beetles, and spider mites. Inspect your plants regularly for signs of pests. You can control pests with insecticidal soap, neem oil, or by hand-picking them off the plants.
* Disease Control: Fungal diseases, such as powdery mildew and bean rust, can also affect long beans. To prevent fungal diseases, avoid overhead watering, provide good air circulation, and apply a fungicide if necessary.
Troubleshooting Common Problems:
* Yellowing leaves: This could be a sign of nutrient deficiency, overwatering, or pest infestation.
* Stunted growth: This could be caused by poor soil, lack of sunlight, or pest infestation.
* Lack of flowers: This could be due to insufficient sunlight, over-fertilizing, or extreme temperatures.
* Bean pods not developing: This could be caused by poor pollination, lack of water, or pest infestation.
Harvesting Long Beans: The Moment of Truth!
The best part of growing long beans is, of course, harvesting them!
* Timing: Harvest the beans when they are young and tender, usually about 60-70 days after planting. They should be about the thickness of a pencil and snap easily when bent.
* Technique: Use scissors or pruning shears to cut the beans from the vine. Be careful not to damage the plant.
* Frequency: Harvest the beans regularly to encourage continued production. The more you harvest, the more the plants will produce.
Tips for Harvesting:
1. Check daily: Long beans grow quickly, so check them daily for ripeness.
2. Harvest in the morning: The beans are usually at their peak flavor in the morning.
3. Don’t let them get too big: Overripe beans can be tough and stringy.
4. Store properly: Store harvested beans in the refrigerator for up to a week.
Enjoying Your Harvest: From Garden to Table
Long beans are incredibly versatile in the kitchen. You can eat them raw in salads, stir-fry them, steam them, or add them to soups and stews.
* Stir-Fries: Long beans are a classic ingredient in Asian stir-fries. They pair well with garlic, ginger, soy sauce, and chili peppers.
* Salads: Thinly sliced long beans can add a refreshing crunch to salads.
* Steaming: Steamed long beans are a simple and healthy side dish.
* Soups and Stews: Long beans can add flavor and texture to soups and stews.
My Favorite Long Bean Recipe: Garlic Long Beans Stir-Fry
1. Ingredients: 1 pound long beans, 2 cloves garlic (minced), 1 tablespoon soy sauce, 1 tablespoon oyster sauce (optional), 1 teaspoon sesame oil, 1/2 teaspoon sugar, vegetable oil.
2. Instructions:
* Wash and trim the long beans
Conclusion
So, there you have it! Mastering the art of DIY acid toilet cleaner is not just about saving money; it’s about taking control of the cleanliness and hygiene of your bathroom with a powerful, effective solution you can customize. We’ve explored the ins and outs of creating your own potent cleaner, highlighting the benefits of knowing exactly what goes into the products you use in your home.
Why is this a must-try? Because commercial acid toilet cleaners, while effective, often come with a hefty price tag and a list of ingredients that can be concerning. By crafting your own, you gain the ability to adjust the strength, add your preferred scents, and avoid harsh chemicals that might irritate sensitive skin or damage your plumbing over time. Plus, it’s incredibly satisfying to know you’re tackling tough stains and mineral buildup with a solution you made yourself!
But the benefits don’t stop there. Think of the possibilities! Want a cleaner with a refreshing citrus scent? Add a few drops of lemon or orange essential oil. Prefer a more powerful disinfectant? A touch of tea tree oil can do the trick. You can even experiment with different ratios of ingredients to find the perfect balance for your specific toilet cleaning needs. Remember to always prioritize safety and proper ventilation when working with any cleaning solution, especially those containing acids.
Consider these variations to elevate your DIY acid toilet cleaner game:
* The Stain Buster: For particularly stubborn stains, pre-treat the area with a paste made from baking soda and water before applying your homemade cleaner. Let it sit for a few minutes to loosen the grime.
* The Scent Booster: Infuse your cleaner with natural fragrances by adding citrus peels to the mixture while it’s brewing. This will not only add a pleasant aroma but also contribute to the cleaning power with the natural acids found in citrus fruits.
* The Eco-Friendly Option: Explore using citric acid as a primary ingredient. It’s a naturally occurring acid found in citrus fruits and is a more environmentally friendly alternative to some harsher chemicals.
We wholeheartedly encourage you to give this DIY acid toilet cleaner trick a try. It’s a game-changer for maintaining a sparkling clean and hygienic bathroom. Don’t be intimidated by the idea of making your own cleaner; with the right precautions and a little experimentation, you’ll be amazed at the results.
Once you’ve tried it, we’d love to hear about your experience! Share your tips, variations, and success stories in the comments below. Let’s build a community of DIY cleaning enthusiasts who are passionate about creating effective and affordable solutions for a cleaner, healthier home. Your insights could help others discover the power of homemade cleaning products and revolutionize their bathroom cleaning routine. So, go ahead, unleash your inner chemist and create a toilet cleaner that’s perfectly tailored to your needs!
FAQ
Q: Is it safe to make my own acid toilet cleaner?
A: Safety is paramount when working with any cleaning solution, especially those containing acids. Always wear gloves and eye protection to prevent skin and eye irritation. Ensure proper ventilation by opening windows or using a fan. Never mix acid-based cleaners with bleach, as this can create toxic fumes. Store your homemade cleaner in a clearly labeled container, out of reach of children and pets. If you are unsure about any ingredient or step, consult a professional before proceeding.
Q: What kind of acid should I use for my DIY toilet cleaner?
A: The most common acids used in DIY toilet cleaners are muriatic acid (hydrochloric acid) and citric acid. Muriatic acid is a stronger option, ideal for tackling tough stains and mineral buildup, but it requires extra caution due to its corrosive nature. Citric acid is a milder, more environmentally friendly alternative that’s effective for general cleaning and descaling. Choose the acid that best suits your needs and comfort level, always prioritizing safety.
Q: Can I use vinegar as an acid in my toilet cleaner?
A: While vinegar is acidic, it’s a much weaker acid than muriatic or citric acid. It can be effective for light cleaning and deodorizing, but it may not be strong enough to remove stubborn stains or mineral deposits. If you prefer a natural option, vinegar is a good choice for regular maintenance cleaning, but for more heavy-duty cleaning, you’ll likely need a stronger acid.
Q: How often should I use my DIY acid toilet cleaner?
A: The frequency of use depends on the severity of staining and mineral buildup in your toilet. For regular maintenance, cleaning once a week may be sufficient. If you have hard water or experience frequent staining, you may need to clean more often. Avoid overusing acid cleaners, as they can potentially damage your plumbing over time. Always follow the instructions and use the cleaner sparingly.
Q: Can I use this DIY cleaner in other parts of my bathroom?
A: Acid toilet cleaners are specifically formulated for use in toilets, where they can effectively remove mineral deposits and stains. Avoid using them on other surfaces in your bathroom, such as tiles, grout, or fixtures, as they can potentially damage these materials. For general bathroom cleaning, use a cleaner specifically designed for those surfaces.
Q: How do I store my homemade acid toilet cleaner?
A: Store your DIY acid toilet cleaner in a tightly sealed, clearly labeled container made of acid-resistant material, such as plastic. Keep it in a cool, dry place, away from direct sunlight and heat. Most importantly, store it out of reach of children and pets to prevent accidental ingestion or contact.
Q: What if I accidentally get the cleaner on my skin or in my eyes?
A: If the cleaner comes into contact with your skin, immediately rinse the affected area with plenty of water for at least 15 minutes. If irritation persists, seek medical attention. If the cleaner gets into your eyes, flush them immediately with cool water for at least 20 minutes, holding your eyelids open. Seek immediate medical attention.
Q: Can I add bleach to my DIY acid toilet cleaner for extra cleaning power?
A: Absolutely not! Mixing acid-based cleaners with bleach can create toxic chlorine gas, which is extremely dangerous and can cause serious respiratory problems or even death. Never mix these two types of cleaners. Always use them separately and follow the instructions carefully.
Q: What are some signs that I’m using too much acid in my toilet cleaner?
A: Signs of using too much acid include etching or discoloration of the toilet bowl, damage to the plumbing, and a strong, lingering chemical odor. If you notice any of these signs, reduce the amount of acid you’re using or switch to a milder cleaner.
Q: My DIY acid toilet cleaner isn’t working as well as I expected. What can I do?
A: If your cleaner isn’t working effectively, try increasing the concentration of acid, but do so cautiously and always prioritize safety. You can also try pre-treating stubborn stains with a paste made from baking soda and water before applying the cleaner. Make sure to let the cleaner sit in the bowl for a sufficient amount of time before scrubbing and flushing. If the problem persists, you may need to consider using a stronger commercial cleaner or consulting a professional plumber.


Leave a Comment