
Coffee and Dish Soap Mix: Sounds like an odd combination, right? But trust me, this unlikely duo is about to become your new best friend in the garden! I know, I know, you’re probably thinking, “What could coffee and dish soap possibly do for my precious plants?” Well, get ready to be amazed because this simple DIY trick is a game-changer for tackling common garden pests and promoting healthy growth.
The use of household items in gardening isn’t exactly new. For generations, gardeners have relied on resourceful solutions passed down through families. Think about it – our grandparents didn’t have access to the vast array of chemical pesticides we see today. They had to get creative, using what they had on hand to protect their crops. This resourceful spirit is what makes home gardening so rewarding!
Why do you need this coffee and dish soap mix in your gardening arsenal? Because pests like aphids, spider mites, and even ants can wreak havoc on your plants, sucking the life out of them and leaving you with a disappointing harvest. Instead of reaching for harsh chemicals, this natural solution offers a gentle yet effective way to keep those pesky critters at bay. Plus, it’s incredibly easy and inexpensive to make! I’m going to show you how to create this simple solution and reclaim your garden from unwanted pests.
Grow Your Own Peanuts: From Seed to Snack!
Hey there, fellow gardening enthusiasts! Ever thought about growing your own peanuts? It’s surprisingly easy and incredibly rewarding. Imagine the satisfaction of harvesting your own homegrown peanuts, roasting them up, and enjoying a delicious, healthy snack. I’m going to walk you through the entire process, from choosing the right peanuts to planting, caring for, and finally, harvesting your very own peanut crop. Let’s get started!
Choosing Your Peanut Variety
Before we dive into the planting process, let’s talk about peanut varieties. Not all peanuts are created equal, and some are better suited for home gardens than others. Here’s a quick rundown of the most popular types:
* Virginia Peanuts: These are the large, often roasted-in-the-shell peanuts you see at ball games. They have a large kernel and are great for roasting.
* Spanish Peanuts: These have smaller kernels and a reddish-brown skin. They’re known for their high oil content and are often used in candies and peanut butter.
* Runner Peanuts: These are the most commonly grown type in the United States and are primarily used for peanut butter. They have a uniform size and good flavor.
* Valencia Peanuts: These have three or more small kernels per shell and are known for their sweet flavor. They’re great for boiling or roasting.
For home gardens, I recommend Virginia or Valencia peanuts. They’re relatively easy to grow and offer a good yield. You can find peanut seeds at most garden centers or online retailers. Just make sure you’re buying raw, unroasted peanuts – roasted peanuts won’t germinate!
Preparing for Planting
Okay, now that we’ve chosen our peanut variety, let’s get our garden ready. Peanuts need plenty of sunshine and well-drained soil to thrive.
* Sunlight: Peanuts need at least 6-8 hours of direct sunlight per day. Choose a sunny spot in your garden where they’ll get plenty of light.
* Soil: Peanuts prefer sandy loam soil that’s loose and well-draining. Heavy clay soil can be problematic, as it can prevent the peanut pegs (the stems that grow down into the soil to form the peanuts) from penetrating the ground.
* Soil pH: The ideal soil pH for peanuts is between 6.0 and 6.5. You can test your soil pH using a soil testing kit, which you can find at most garden centers. If your soil is too acidic (pH below 6.0), you can add lime to raise the pH. If it’s too alkaline (pH above 6.5), you can add sulfur to lower the pH.
* Fertilizing: Peanuts are legumes, which means they can fix nitrogen from the air. However, they still benefit from a little fertilizer. Before planting, amend your soil with compost or well-rotted manure. You can also add a balanced fertilizer, such as 10-10-10, according to the package directions.
Planting Your Peanuts
Alright, it’s planting time! This is where the magic happens.
1. Timing: Peanuts are warm-weather crops, so you’ll need to wait until the soil has warmed up to at least 65°F (18°C) before planting. This is usually a few weeks after the last frost. I usually plant mine in late spring or early summer.
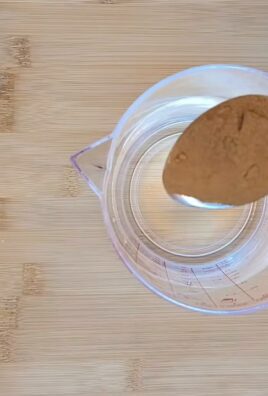
2. Soaking the Seeds: To speed up germination, you can soak the peanut seeds in water for 24 hours before planting. This will help soften the shells and make it easier for the seedlings to emerge.
3. Planting Depth: Plant the peanut seeds about 1-2 inches deep and 6-8 inches apart in rows that are 2-3 feet apart.
4. Watering: After planting, water the soil thoroughly. Keep the soil consistently moist until the seedlings emerge, which should take about 7-10 days.
5. Marking Rows: Make sure to mark your rows clearly so you know where you planted your peanuts. This will help you avoid accidentally weeding them out later.
Caring for Your Peanut Plants
Now that your peanuts are planted, it’s time to give them some TLC. Here’s what you need to do to keep them happy and healthy:
* Watering: Peanuts need consistent moisture, especially during flowering and pegging (when the stems start growing down into the soil). Water deeply and regularly, but avoid overwatering, which can lead to root rot. I usually water mine every few days, depending on the weather.
* Weeding: Keep the area around your peanut plants free of weeds. Weeds can compete with the peanuts for nutrients and water. Hand-weeding is the best option, as herbicides can damage the peanut plants.
* Hilling: As the peanut plants grow, you’ll need to hill the soil around them. This involves mounding soil around the base of the plants. Hilling helps support the plants and encourages pegging. I usually hill mine every few weeks.
* Fertilizing: After the plants start flowering, you can give them another dose of fertilizer. Use a fertilizer that’s low in nitrogen and high in phosphorus and potassium. This will help promote flowering and peanut development.
* Pest Control: Peanuts are relatively pest-resistant, but they can be susceptible to certain pests, such as aphids, spider mites, and leafhoppers. If you notice any pests on your plants, you can treat them with insecticidal soap or neem oil.
Harvesting Your Peanuts
The moment we’ve all been waiting for – harvest time! This is the most exciting part of growing peanuts.
1. Timing: Peanuts are usually ready to harvest about 120-150 days after planting. The leaves will start to turn yellow and the plants will begin to die back. You can also dig up a few plants to check the peanuts. If the shells are mature and the kernels are plump, it’s time to harvest.
2. Digging: To harvest the peanuts, use a garden fork or shovel to carefully dig up the plants. Be gentle, as you don’t want to damage the peanuts.
3. Shaking: Once you’ve dug up the plants, shake off as much soil as possible.
4. Drying: Hang the plants upside down in a well-ventilated area to dry for 2-3 weeks. This will allow the peanuts to cure and develop their flavor. I usually hang mine in my garage.
5. Picking: After the plants have dried, you can pick the peanuts off the vines.
6. Cleaning: Wash the peanuts in water to remove any remaining soil.
7. Drying (Again!): Spread the peanuts out on a screen or tray to dry completely. This will take another few days.
Storing Your Peanuts
Once your peanuts are completely dry, you can store them in an airtight container in a cool, dry place. They should last for several months. You can also freeze them for longer storage.
Roasting Your Peanuts
Now for the best part – roasting your peanuts! Here’s how I like to do it:
1. Preheat: Preheat your oven to 350°F (175°C).
2. Spread: Spread the peanuts out in a single layer on a baking sheet.
3. Roast: Roast the peanuts for 20-25 minutes, or until they’re golden brown and fragrant. Stir them occasionally to ensure even roasting.
4. Cool: Let the peanuts cool completely before eating.
You can also roast your peanuts in a skillet on the stovetop. Just heat a skillet over medium heat and add the peanuts. Cook, stirring constantly, until they’re golden brown and fragrant.
Enjoying Your Homegrown Peanuts
Congratulations! You’ve successfully grown and harvested your own peanuts. Now it’s time to enjoy the fruits (or rather, the nuts) of your labor. You can eat them roasted, boiled, or raw. You can also use them in your favorite recipes, such as peanut butter, peanut brittle, or peanut sauce.
Growing peanuts at home is a fun and rewarding experience. It’s a great way to connect with nature and enjoy fresh, healthy food. So, what are you waiting for? Get out there and start planting! I promise, you won’t regret it. Happy gardening!
Conclusion
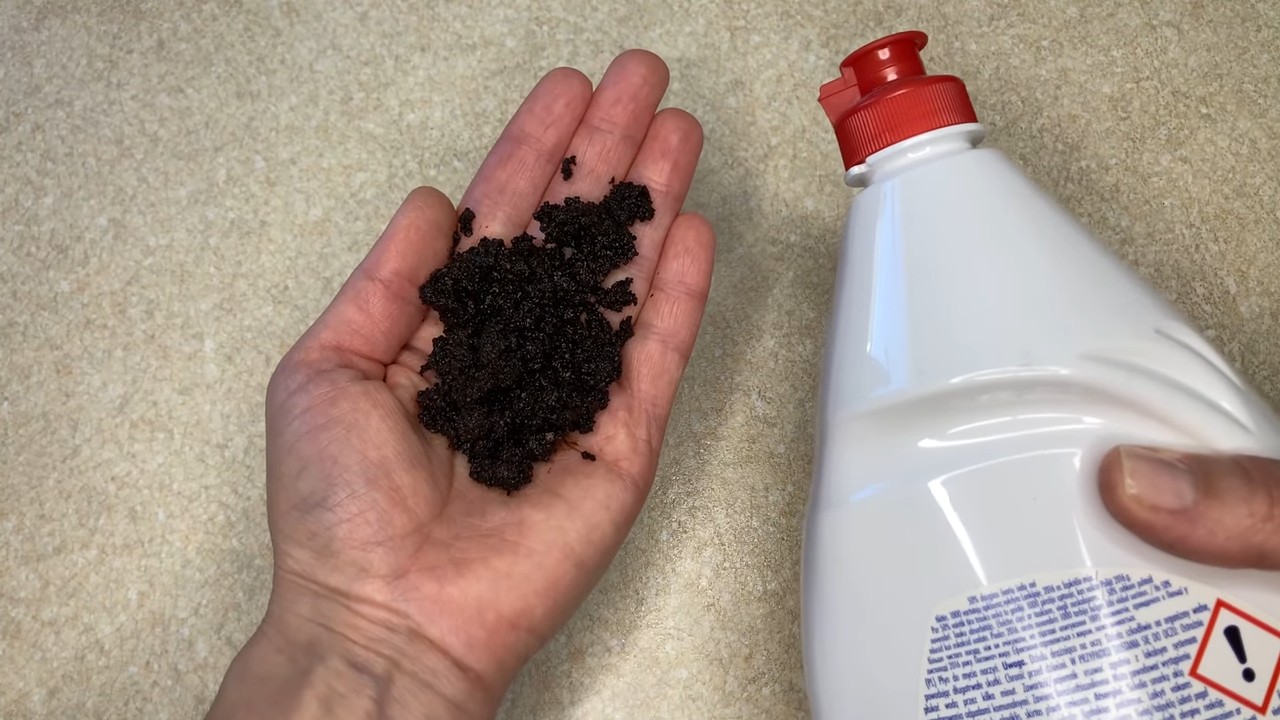
So, there you have it! The seemingly unconventional, yet surprisingly effective, coffee and dish soap mix. This isn’t just another cleaning hack; it’s a testament to resourcefulness and a clever way to repurpose everyday items. We’ve explored how the abrasive nature of coffee grounds, combined with the degreasing power of dish soap, creates a potent cleaning solution that tackles grime, stubborn stains, and even lingering odors.
Why is this DIY trick a must-try? Because it’s economical, eco-friendly, and incredibly versatile. You’re likely already tossing used coffee grounds, so why not give them a second life as a powerful cleaning agent? It reduces waste, saves you money on expensive cleaning products, and minimizes your exposure to harsh chemicals. Plus, the subtle coffee aroma left behind is a welcome change from the overpowering scents of many commercial cleaners.
But the beauty of this DIY solution lies in its adaptability. Feel free to experiment with different ratios of coffee grounds to dish soap to find what works best for your specific cleaning needs. For particularly stubborn stains, consider letting the mixture sit for a few minutes before scrubbing. You can also add a few drops of essential oil, like lemon or tea tree, for an extra boost of cleaning power and a more pronounced fragrance.
Variations and Suggestions:
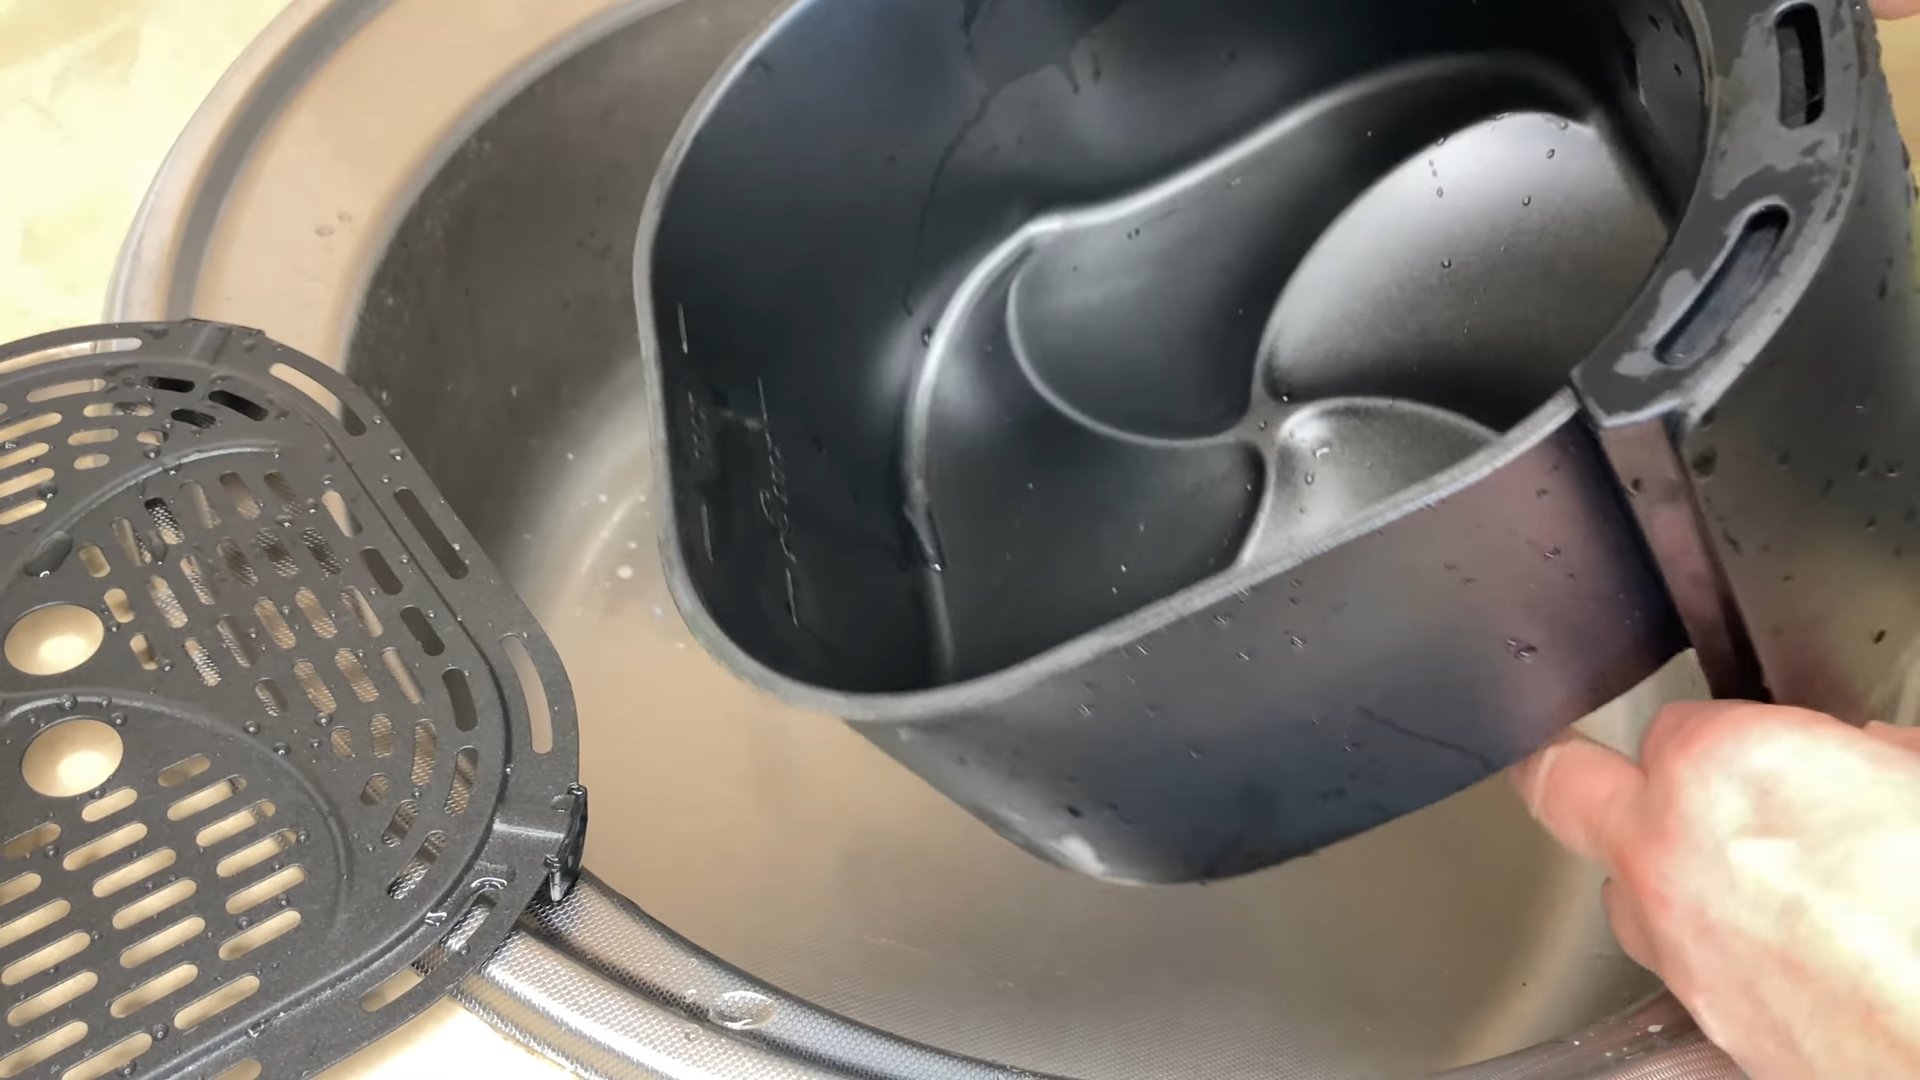
* For Burnt Pots and Pans: Create a thicker paste of coffee grounds and dish soap and apply it directly to the burnt areas. Let it sit for 15-20 minutes before scrubbing.
* For Cleaning Grills: This mixture works wonders on greasy grill grates. Use a stiff brush to scrub away the grime.
* For Sinks and Tubs: The coffee grounds will help scrub away soap scum and water stains, leaving your surfaces sparkling.
* For Garden Tools: Remove dirt and rust from your garden tools with this powerful cleaning solution.
* For Removing Sticky Residue: Use the mixture to remove sticky residue left behind by labels or tape.
We’re confident that once you try this simple yet effective cleaning hack, you’ll be amazed by the results. It’s a game-changer for anyone looking for a natural, affordable, and effective way to keep their home clean and fresh.
Don’t just take our word for it, though. We encourage you to try this coffee and dish soap mix yourself and see the difference it makes. Share your experiences with us in the comments below! We’d love to hear about your successes, any variations you’ve tried, and any other creative uses you’ve discovered. Let’s build a community of resourceful cleaners who are passionate about finding sustainable and effective solutions for everyday cleaning challenges. Your feedback will not only help others but also inspire us to continue exploring and sharing innovative DIY cleaning tips. So, go ahead, give it a try, and let us know what you think!
Frequently Asked Questions (FAQ)
Is it safe to use coffee grounds and dish soap on all surfaces?
While the coffee and dish soap mix is generally safe for most surfaces, it’s always a good idea to test it in an inconspicuous area first, especially on delicate or easily scratched materials like polished wood or certain types of plastic. The abrasiveness of the coffee grounds could potentially scratch some surfaces, so proceed with caution. Avoid using it on surfaces that are prone to staining, such as unsealed grout.
What type of dish soap works best?
Any standard dish soap will work for this DIY cleaning solution. However, for extra degreasing power, consider using a dish soap specifically formulated for grease cutting. You can also opt for an eco-friendly dish soap to further reduce your environmental impact. Avoid using dish soaps that contain bleach, as this could react negatively with the coffee grounds.
Can I use fresh coffee grounds instead of used ones?
While you can technically use fresh coffee grounds, it’s generally recommended to use used coffee grounds for this cleaning hack. Used coffee grounds are less oily and less likely to stain surfaces. Plus, using used coffee grounds is a great way to repurpose them and reduce waste.
How do I prevent the coffee grounds from clogging my drain?
To prevent clogging your drain, avoid pouring large amounts of coffee grounds down the drain. Instead, collect the used coffee grounds in a container and dispose of them in the trash or compost bin. When cleaning sinks or tubs, use a strainer or drain cover to catch any stray coffee grounds. You can also dilute the mixture with water to make it easier to rinse away.
Does the coffee and dish soap mix leave a coffee smell?
The coffee and dish soap mix will leave a subtle coffee aroma, which many people find pleasant. However, if you’re not a fan of the coffee smell, you can add a few drops of essential oil, such as lemon, orange, or lavender, to mask the coffee scent. The essential oils will also add extra cleaning power and a refreshing fragrance.
How long can I store the coffee and dish soap mix?
It’s best to use the coffee and dish soap mix immediately after preparing it. However, if you have leftovers, you can store them in an airtight container in a cool, dark place for up to a week. Be sure to label the container clearly to avoid any confusion. Over time, the coffee grounds may settle to the bottom of the container, so give it a good shake before using.
Can I use this mixture to clean my coffee maker?
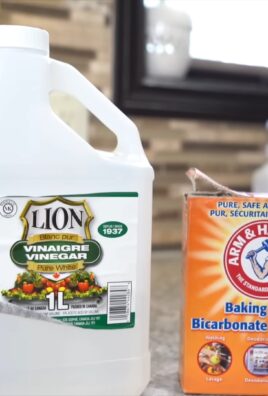
While the coffee and dish soap mix can be used to clean some parts of your coffee maker, such as the carafe and filter basket, it’s not recommended for cleaning the internal components. The coffee grounds could clog the machine’s internal mechanisms. Instead, follow the manufacturer’s instructions for cleaning your coffee maker. You can typically use a mixture of vinegar and water to descale the machine.
Is this mixture safe for septic systems?
While small amounts of coffee grounds are generally safe for septic systems, it’s best to avoid pouring large quantities down the drain. The coffee grounds can accumulate in the septic tank and potentially cause problems. If you have a septic system, dispose of the coffee grounds in the trash or compost bin instead.
Can I use this mixture to clean my car?
The coffee and dish soap mix can be used to clean some parts of your car, such as the tires and floor mats. However, avoid using it on the car’s paint, as the abrasive coffee grounds could scratch the surface. Always test the mixture in an inconspicuous area first before applying it to a larger area.
What other DIY cleaning solutions can I make with coffee grounds?
Besides the coffee and dish soap mix, you can also use coffee grounds to deodorize your refrigerator, exfoliate your skin, and fertilize your garden. Coffee grounds are a versatile and eco-friendly resource that can be used in a variety of ways around the home.
Leave a Comment