
Olive oil cleaning hacks – who knew these three words could unlock a world of sparkling surfaces and eco-friendly cleaning solutions? I’m so excited to share some of my favorite DIY tricks with you! For centuries, olive oil has been a staple in Mediterranean cultures, not just for cooking, but also for its incredible versatility. Think back to ancient times – Romans used it for everything from skincare to lamp fuel!
But did you know that this golden liquid can also be your secret weapon against grime and dirt around the house? Forget harsh chemicals and expensive cleaning products. I’ve discovered that olive oil offers a natural, effective, and surprisingly simple way to tackle a variety of cleaning tasks.
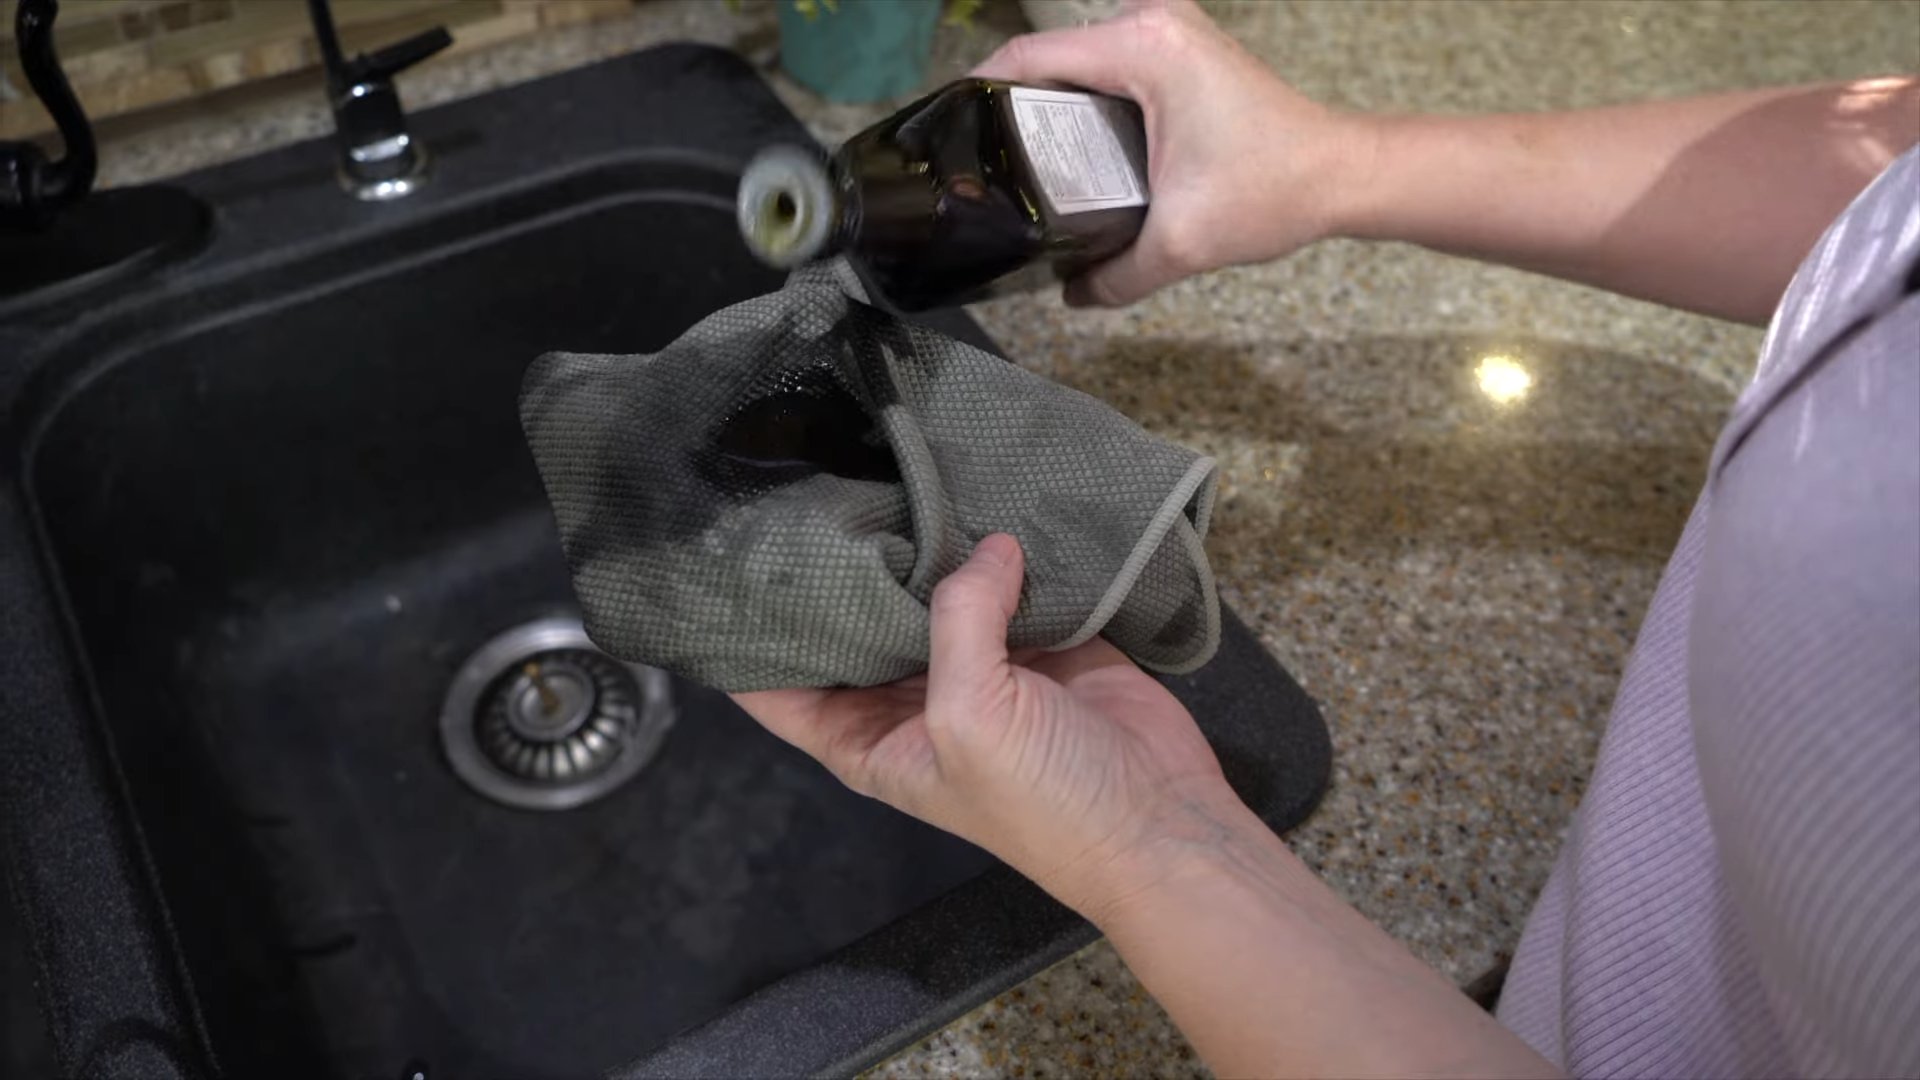
In today’s world, we’re all looking for ways to simplify our lives, save money, and reduce our environmental impact. That’s where these olive oil cleaning hacks come in. Whether you’re trying to polish wood furniture, remove sticky residue, or even shine your stainless steel appliances, I’m confident that these DIY tricks will become your new go-to solutions. So, let’s dive in and discover the magic of olive oil – your home (and your wallet) will thank you!
Growing Watermelons in Your Backyard: A Step-by-Step Guide
Okay, so you want to grow watermelons in your backyard? Awesome! It’s totally doable, and there’s nothing quite like biting into a juicy, homegrown watermelon on a hot summer day. I’ve done it myself, and trust me, the satisfaction is immense. But, like any gardening project, it takes a little planning and effort. Don’t worry, though, I’m here to walk you through the whole process.
Choosing the Right Watermelon Variety
Before we even think about digging, let’s talk about watermelon varieties. Not all watermelons are created equal, and some are definitely better suited for smaller gardens than others.
* Consider your space: Bush varieties like ‘Bush Sugar Baby’ or ‘Spaceless’ are perfect if you’re short on space. They produce smaller vines but still give you delicious watermelons. Vining varieties, like ‘Crimson Sweet’ or ‘Charleston Gray’, need a lot more room to sprawl.
* Think about your climate: Watermelons need warm weather to thrive. Check the days to maturity for the variety you’re interested in and make sure you have enough warm days in your growing season.
* Personal preference: Do you like red or yellow flesh? Seeded or seedless? There are so many options! Do a little research and choose a variety that appeals to your taste buds.
Preparing the Soil
Watermelons are heavy feeders, meaning they need a lot of nutrients to grow big and juicy. Soil preparation is key to a successful harvest.
* Sunlight is crucial: Watermelons need at least 6-8 hours of direct sunlight per day. Choose a spot in your yard that gets plenty of sun.
* Well-drained soil is a must: Watermelons don’t like soggy feet. Make sure your soil drains well. If you have heavy clay soil, amend it with compost or other organic matter to improve drainage.
* Soil testing (optional, but recommended): A soil test will tell you the pH of your soil and what nutrients are lacking. Watermelons prefer a slightly acidic soil pH of 6.0 to 6.8. You can buy a soil testing kit at most garden centers or send a sample to your local extension office.
* Amending the soil: Whether you do a soil test or not, it’s always a good idea to amend your soil with compost or well-rotted manure. This will add nutrients and improve drainage. Dig in a generous amount of compost (at least 4 inches) into the top 12 inches of soil.
* Creating mounds or rows: Watermelons grow best on slightly raised mounds or rows. This helps with drainage and warms the soil faster in the spring. Create mounds that are about 12 inches high and 3-4 feet apart.
Planting Watermelon Seeds or Transplants
Now for the fun part – planting! You have two options: starting from seed or buying transplants.
* Starting from seed: This is the more economical option, but it requires a little more patience.
1. Start seeds indoors (optional): If you live in a cooler climate, you can start your seeds indoors 4-6 weeks before the last expected frost. Sow seeds about 1 inch deep in seed-starting trays or pots. Keep the soil moist and warm (around 80-85°F).
2. Direct sowing: Once the soil has warmed up to at least 70°F, you can direct sow seeds into the garden. Plant seeds about 1 inch deep and 3-4 feet apart.
3. Water thoroughly: After planting, water the seeds or seedlings thoroughly.
* Buying transplants: This is the easier option, but it can be more expensive.
1. Choose healthy transplants: Look for transplants that are stocky and green, with no signs of disease or pests.
2. Harden off transplants: Before planting transplants in the garden, you need to harden them off. This means gradually exposing them to outdoor conditions over a period of 7-10 days. Start by placing them in a sheltered spot for a few hours each day, gradually increasing the amount of time they spend outdoors.
3. Plant transplants: Dig a hole that is slightly larger than the root ball of the transplant. Gently remove the transplant from its container and place it in the hole. Backfill with soil and water thoroughly. Space transplants 3-4 feet apart.
Watering and Fertilizing
Watermelons need consistent watering, especially during hot, dry weather.
* Water deeply and regularly: Water deeply at the base of the plant, avoiding wetting the foliage. Aim for about 1-2 inches of water per week.
* Use a soaker hose or drip irrigation: These methods deliver water directly to the roots, which helps to conserve water and prevent fungal diseases.
* Fertilize regularly: Watermelons are heavy feeders, so you’ll need to fertilize them regularly.
1. Initial fertilization: When planting, mix a slow-release fertilizer into the soil.
2. Side-dressing: Side-dress the plants with a nitrogen-rich fertilizer when the vines start to run.
3. Fruiting stage: Switch to a fertilizer that is higher in phosphorus and potassium when the fruits start to develop.
4. Follow package instructions: Always follow the instructions on the fertilizer package.
Controlling Pests and Diseases
Watermelons can be susceptible to a variety of pests and diseases.
* Common pests: Aphids, squash bugs, cucumber beetles, and vine borers are common watermelon pests.
1. Inspect plants regularly: Check your plants regularly for signs of pests.
2. Handpick pests: Handpick pests off the plants whenever possible.
3. Use insecticidal soap or neem oil: These are effective organic controls for many common pests.
4. Row covers: Use row covers to protect young plants from pests.
* Common diseases: Powdery mildew, downy mildew, and fusarium wilt are common watermelon diseases.
1. Choose disease-resistant varieties: When possible, choose varieties that are resistant to common diseases.
2. Provide good air circulation: Space plants properly to allow for good air circulation.
3. Avoid overhead watering: Water at the base of the plant to avoid wetting the foliage.
4. Use a fungicide: If necessary, use a fungicide to control fungal diseases.
Pollinating Watermelons
Watermelons need to be pollinated in order to produce fruit.
* Attract pollinators: Plant flowers near your watermelons to attract pollinators like bees and butterflies.
* Hand-pollination (if necessary): If you’re not seeing a lot of bee activity, you may need to hand-pollinate your watermelons.
1. Identify male and female flowers: Male flowers have a long, thin stem, while female flowers have a small, immature watermelon at the base.
2. Transfer pollen: Use a small paintbrush to transfer pollen from the male flower to the female flower.
3. Pollinate in the morning: Pollinate in the morning, when the pollen is most viable.
Supporting the Fruit
As your watermelons grow, they may need some support to prevent them from rotting on the ground.
* Use straw or cardboard: Place a layer of straw or cardboard under the watermelons to keep them off the soil.
* Use slings (for smaller varieties): For smaller varieties, you can use slings made from old pantyhose or netting to support the fruit.
Harvesting Watermelons
Knowing when to harvest a watermelon can be tricky.
* Days to maturity: Check the days to maturity for your variety and start checking the watermelons around that time.
* Tendril test: The tendril closest to the watermelon should be brown and dry.
* Ground spot: The ground spot (the spot where the watermelon rests on the ground) should be yellow or cream-colored.
* Thump test: A ripe watermelon will sound hollow when you thump it. This takes some practice, but you’ll get the hang of it!
* Cut the stem: Use a sharp knife to cut the stem close to the watermelon.
Enjoying Your Homegrown Watermelon
Congratulations! You’ve successfully grown watermelons in your backyard. Now it’s time to enjoy the fruits (or rather, vegetables) of your labor.
* Chill the watermelon: Chill the watermelon in the refrigerator for a few hours before cutting it.
* Cut and serve: Cut the watermelon into wedges or cubes and serve.
* Share with friends and family: Share your homegrown watermelon with friends
Conclusion
So, there you have it! This simple yet incredibly effective olive oil cleaning hack is a game-changer for anyone looking to ditch harsh chemicals and embrace a more natural, sustainable approach to cleaning. We’ve explored how this pantry staple can be used to polish wood furniture, shine stainless steel appliances, and even remove stubborn stickers. The versatility of olive oil as a cleaning agent is truly remarkable, and its gentle nature makes it safe for use on a variety of surfaces.
Why is this DIY trick a must-try? Because it’s cost-effective, readily available, and environmentally friendly. You’re likely to already have a bottle of olive oil in your kitchen, eliminating the need to purchase expensive and often toxic cleaning products. Plus, you’re reducing your carbon footprint by opting for a natural alternative. The results speak for themselves – a gleaming home without the harsh chemical smells or potential health risks.
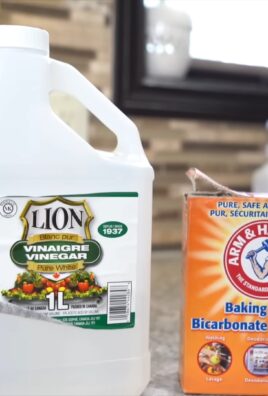
But the possibilities don’t stop there! Feel free to experiment with variations to suit your specific needs. For example, add a few drops of lemon essential oil to your olive oil wood polish for a refreshing scent and extra cleaning power. Or, mix olive oil with baking soda to create a gentle abrasive paste for tackling tough stains on your stovetop. You can even use olive oil to condition leather shoes and bags, keeping them supple and protected.
We encourage you to try this olive oil cleaning hack and discover the magic for yourself. Start with a small, inconspicuous area to test the solution before applying it to larger surfaces. Once you’ve experienced the transformative power of olive oil, you’ll wonder why you didn’t try it sooner!
Don’t just take our word for it. We want to hear about your experiences! Share your before-and-after photos, tips, and variations in the comments below. Let’s create a community of eco-conscious cleaners who are passionate about using natural solutions to keep their homes sparkling. We are confident that you will find that this **olive oil cleaning hack** is a valuable addition to your cleaning routine.
Frequently Asked Questions (FAQs)
Is olive oil safe to use on all surfaces?
While olive oil is generally safe for most surfaces, it’s always best to test it in an inconspicuous area first. Avoid using olive oil on porous surfaces like unfinished wood or unsealed stone, as it can potentially stain. For delicate surfaces like antique furniture, consult with a professional before using any cleaning product, including olive oil.
What type of olive oil should I use for cleaning?
Extra virgin olive oil is generally recommended for cleaning due to its higher quality and purity. However, you can also use regular olive oil or even light olive oil for most cleaning tasks. Avoid using flavored olive oils, as they may leave a residue or scent.
Will olive oil leave a greasy residue?
If used sparingly and properly buffed, olive oil should not leave a greasy residue. The key is to use a small amount and thoroughly wipe away any excess with a clean, dry cloth. If you do notice a slight residue, try using a microfiber cloth for buffing, as it’s more absorbent and effective at removing excess oil.
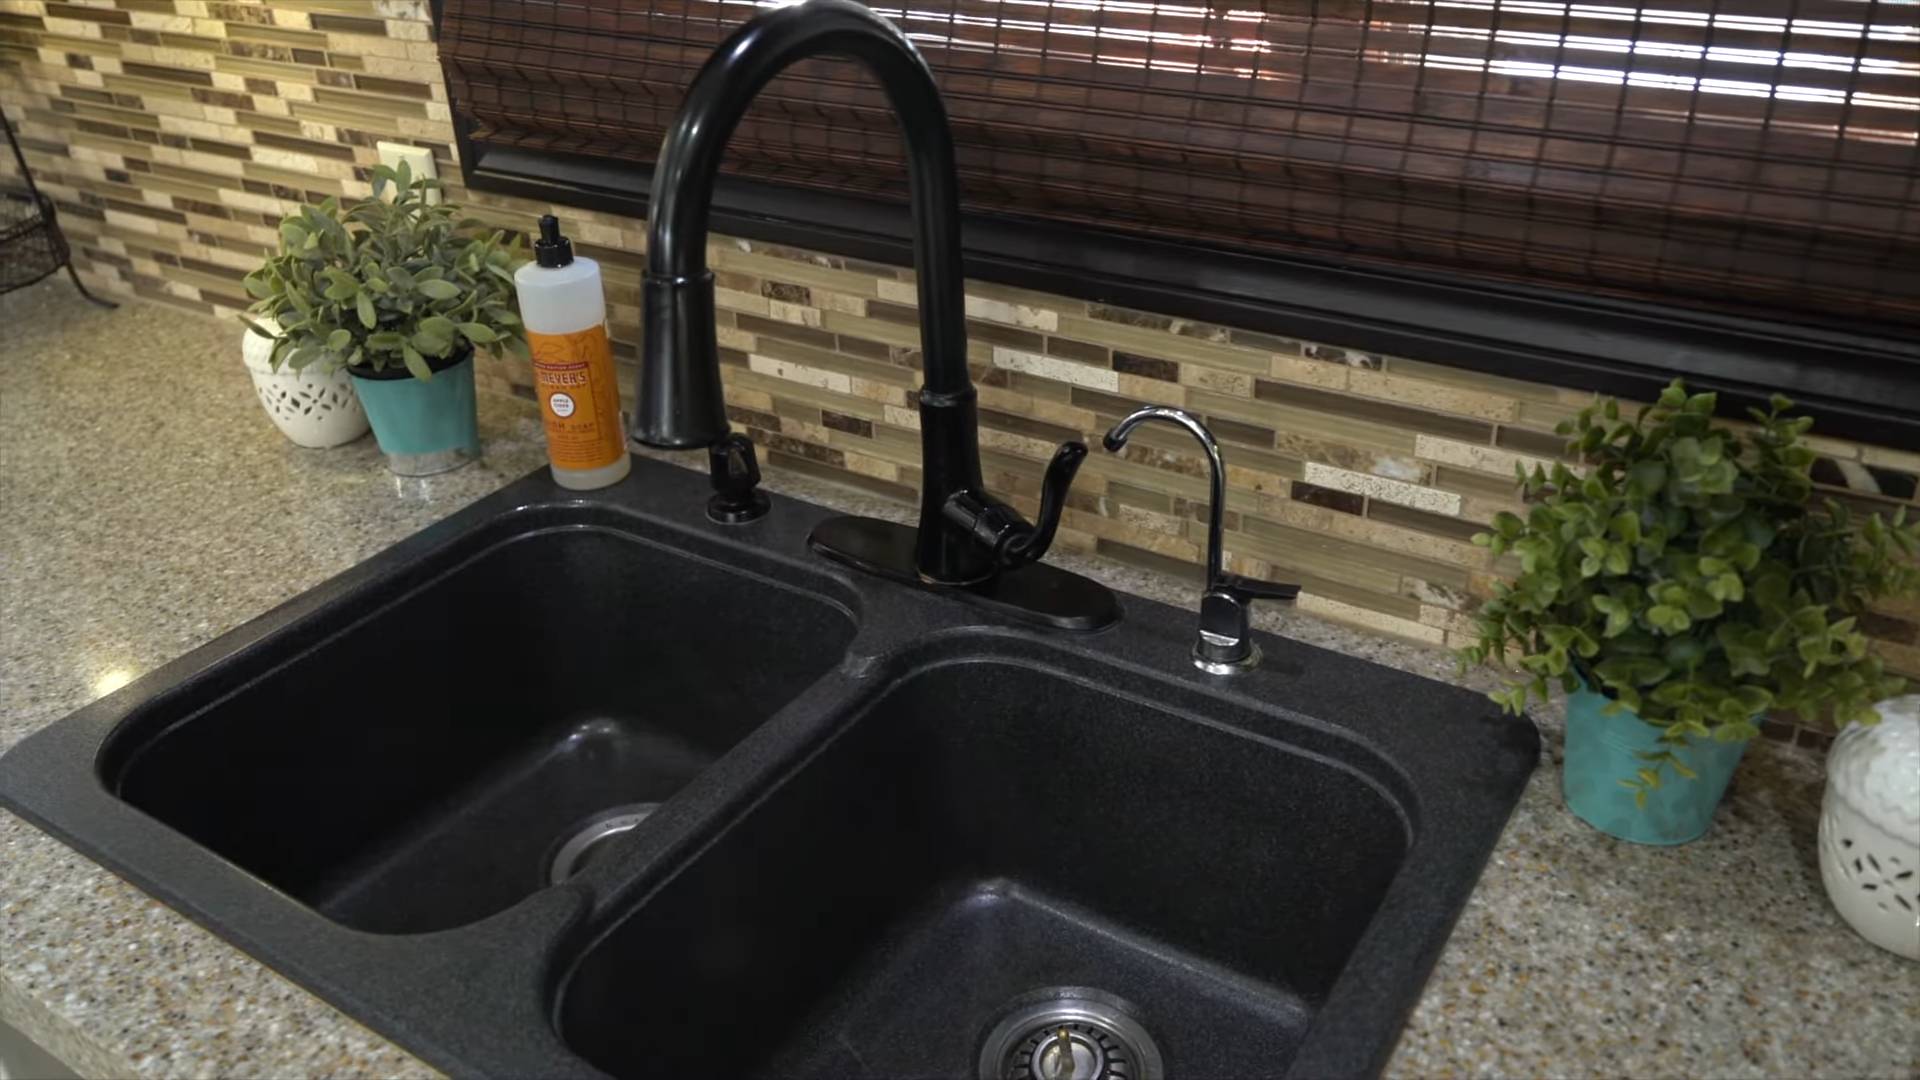
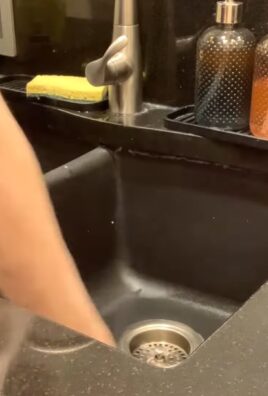
Can I use olive oil to clean my kitchen countertops?
Olive oil can be used to clean and polish certain types of kitchen countertops, such as granite and stainless steel. However, avoid using it on marble or other porous stone countertops, as it can stain. Always test in an inconspicuous area first. For granite, a mixture of olive oil and a few drops of essential oil can help to clean and shine the surface.
How do I remove stickers with olive oil?
To remove stickers with olive oil, simply apply a generous amount of olive oil to the sticker and let it sit for 15-30 minutes. The oil will penetrate the adhesive, making it easier to peel off. Once the sticker is removed, wipe away any remaining residue with a clean cloth. For stubborn stickers, you may need to repeat the process or gently scrub with a soft sponge.
Can olive oil be used to clean leather?
Yes, olive oil can be used to condition and clean leather items such as shoes, bags, and furniture. Apply a small amount of olive oil to a clean cloth and gently rub it into the leather. Allow the oil to absorb for a few minutes, then buff with a clean, dry cloth. This will help to moisturize the leather and prevent it from cracking.
How often should I use olive oil to clean my wood furniture?
The frequency of cleaning wood furniture with olive oil depends on the type of wood and the level of use. Generally, you can polish your wood furniture with olive oil every few months to maintain its shine and protect it from drying out. Avoid over-polishing, as this can lead to a buildup of residue.
Can I mix olive oil with other cleaning ingredients?
Yes, olive oil can be mixed with other cleaning ingredients to create more effective cleaning solutions. For example, you can mix olive oil with lemon juice to create a natural wood polish, or with baking soda to create a gentle abrasive cleaner. Be sure to research the compatibility of the ingredients before mixing them, and always test the solution in an inconspicuous area first.
Is olive oil safe for pets and children?
Olive oil is generally considered safe for pets and children, as it is a natural and non-toxic substance. However, it’s always best to keep cleaning products out of reach of children and pets, regardless of their ingredients. If your pet or child ingests a large amount of olive oil, consult with a veterinarian or doctor.
What are the benefits of using olive oil as a cleaning agent compared to commercial cleaners?
The benefits of using olive oil as a cleaning agent include its natural, non-toxic nature, its cost-effectiveness, and its versatility. Olive oil is a sustainable and environmentally friendly alternative to harsh chemical cleaners, which can be harmful to your health and the environment. It is also gentle on surfaces and can help to protect and condition them. By using this **olive oil cleaning hack**, you are choosing a healthier and more sustainable way to clean your home.

Leave a Comment