
Backyard Tomato Growing: Imagine biting into a sun-warmed, juicy tomato, bursting with flavor, that you grew yourself, just steps from your back door. Sounds idyllic, right? For centuries, cultivating tomatoes has been a cherished tradition, evolving from their origins in South America to becoming a staple in gardens worldwide. From Italian nonnas carefully tending their vines to modern urban gardeners maximizing small spaces, the love for homegrown tomatoes transcends generations.
But let’s be honest, sometimes getting those perfect, plump tomatoes feels more like a battle than a blissful experience. Pests, diseases, and unpredictable weather can quickly turn your tomato dreams into a frustrating reality. That’s where these DIY tricks and hacks come in! I’m here to share some simple, yet effective, methods to help you achieve a bountiful harvest, even if you’re a beginner.
This article is your guide to mastering backyard tomato growing. We’ll explore easy-to-implement techniques that will not only save you time and money but also significantly improve the health and yield of your tomato plants. So, ditch the store-bought, bland tomatoes and get ready to enjoy the unparalleled taste of homegrown goodness. Let’s get started!
Backyard Tomato Growing: From Seed to Sauce (and Everything In Between!)
Okay, tomato lovers, gather ’round! I’m going to spill all my secrets for growing the juiciest, most flavorful tomatoes right in your own backyard. Forget those bland grocery store tomatoes – we’re talking sun-ripened perfection that will make your taste buds sing. This guide is packed with everything you need to know, from starting seeds indoors to dealing with pesky pests. Let’s get growing!
Choosing Your Tomato Varieties
Before we even think about dirt, let’s talk tomatoes! The sheer variety can be overwhelming, but don’t worry, I’ll break it down. Consider these factors:
* Space: Do you have a sprawling garden or a small patio? Determinate varieties are bush-like and ideal for containers, while indeterminate varieties are vining and need staking or caging.
* Use: Are you dreaming of slicing tomatoes for sandwiches, sauce-making extravaganzas, or snacking on cherry tomatoes straight from the vine?
* Climate: Check your local growing zone and choose varieties that thrive in your area.
* Personal Preference: Do you like sweet, tangy, or acidic tomatoes? Experiment and find your favorites!
Here are a few of my go-to varieties:
* ‘Early Girl’: A reliable early producer, perfect for cooler climates. Great for slicing.
* ‘Roma’: The classic paste tomato, ideal for sauces and canning.
* ‘Sungold’: These golden cherry tomatoes are bursting with sweetness – addictive!
* ‘Brandywine’: An heirloom variety known for its rich, complex flavor. Requires staking.
* ‘San Marzano’: Another excellent paste tomato, with a slightly sweeter flavor than Roma.
Starting Seeds Indoors (Optional, but Recommended!)
Starting your tomato seeds indoors gives you a head start on the growing season, especially if you live in a cooler climate. I highly recommend it!
* Timing is Key: Start your seeds 6-8 weeks before the last expected frost in your area.
* Gather Your Supplies:
* Seed starting trays or small pots
* Seed starting mix (this is different from regular potting soil – it’s lighter and sterile)
* Tomato seeds
* Spray bottle
* Heat mat (optional, but helpful)
* Grow lights (essential if you don’t have a very sunny window)
* Sowing the Seeds:
1. Moisten the seed starting mix. It should be damp, but not soggy.
2. Fill the seed starting trays or pots with the moistened mix.
3. Make a small indentation (about 1/4 inch deep) in the center of each cell or pot.
4. Place 2-3 seeds in each indentation. This increases your chances of at least one seed germinating.
5. Gently cover the seeds with the seed starting mix.
6. Lightly mist the surface with water.
7. Cover the trays or pots with a clear plastic dome or plastic wrap to create a humid environment.
8. Place the trays or pots on a heat mat (if using) and under grow lights.
* Germination and Seedling Care:
1. Keep the seed starting mix consistently moist, but not waterlogged. Mist regularly.
2. Once the seeds germinate (usually within 5-10 days), remove the plastic dome or wrap.
3. Lower the heat mat temperature (if using) or remove it altogether.
4. Ensure the seedlings receive at least 14-16 hours of light per day. Adjust the grow lights as needed to keep them close to the seedlings without burning them.
5. Once the seedlings have their first set of true leaves (the leaves that look like tiny tomato leaves, not just the initial seed leaves), thin them out by snipping off the weaker seedlings at the soil line, leaving only one strong seedling per cell or pot.
6. Water the seedlings from the bottom to prevent fungal diseases. You can do this by placing the trays in a shallow dish of water and allowing the soil to absorb the water.
7. Fertilize the seedlings with a diluted liquid fertilizer (specifically formulated for seedlings) every 1-2 weeks.
Hardening Off Your Seedlings
This is a crucial step! Hardening off gradually acclimates your seedlings to the outdoor environment, preventing transplant shock.
* The Process:
1. About a week before you plan to transplant your seedlings outdoors, start taking them outside for short periods each day.
2. Begin with just an hour or two in a sheltered location, protected from direct sunlight and wind.
3. Gradually increase the amount of time they spend outdoors each day, and slowly expose them to more sunlight and wind.
4. By the end of the week, they should be able to tolerate a full day outdoors.
5. If the weather is particularly harsh (strong winds, heavy rain, or frost), bring the seedlings back indoors.
Preparing Your Garden Bed or Containers
Tomatoes are heavy feeders, so rich, well-drained soil is essential.
* Choosing a Location: Tomatoes need at least 6-8 hours of direct sunlight per day. Choose a sunny spot in your garden.
* Soil Preparation:
1. Amend the soil with plenty of compost or well-rotted manure. This will improve drainage, fertility, and water retention.
2. Loosen the soil to a depth of at least 12 inches.
3. Consider adding a slow-release fertilizer specifically formulated for tomatoes.
4. Test your soil pH. Tomatoes prefer a slightly acidic pH of 6.0-6.8. Amend the soil with lime if it’s too acidic or sulfur if it’s too alkaline.
* Container Gardening:
1. Choose large containers (at least 15-20 gallons) with drainage holes.
2. Use a high-quality potting mix specifically formulated for vegetables.
3. Consider adding a slow-release fertilizer to the potting mix.
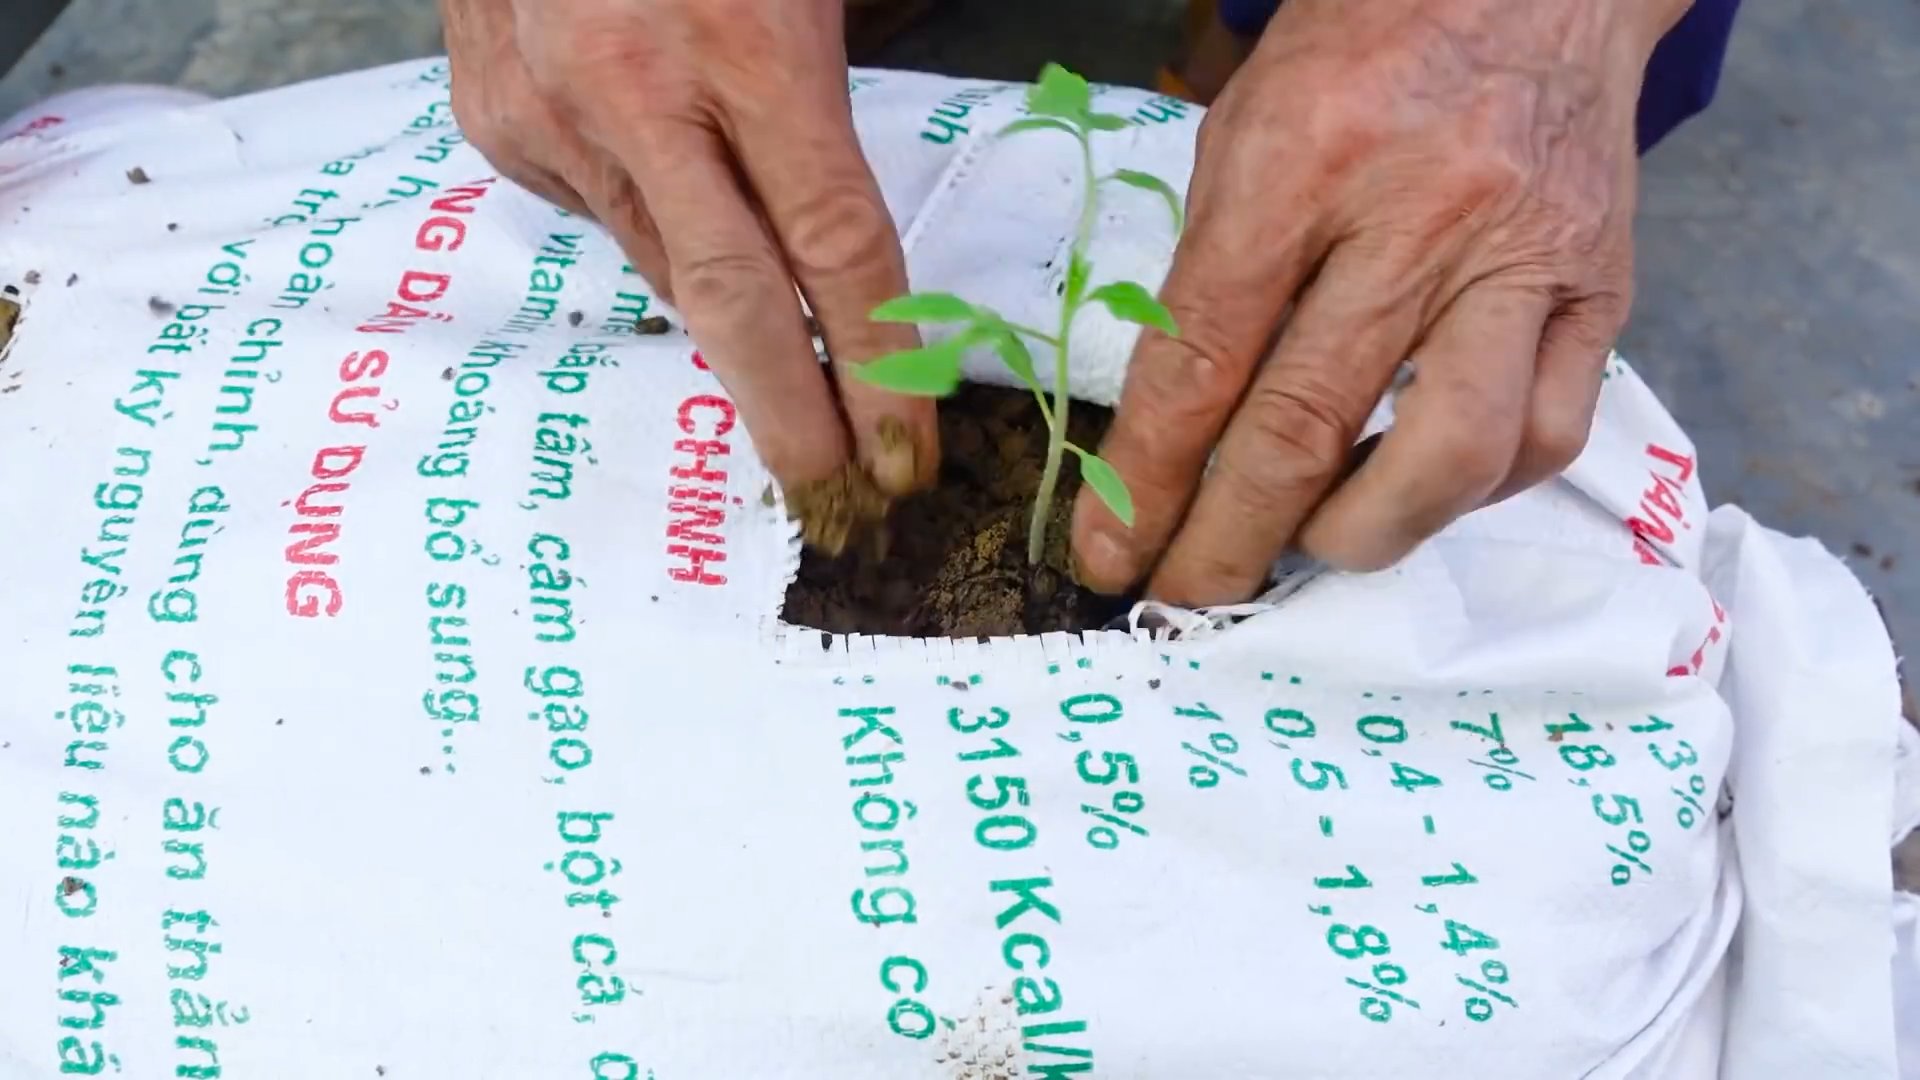
Transplanting Your Tomato Seedlings
The big day! Time to get those babies in the ground.
1. Timing: Transplant your seedlings after the last expected frost and when the soil has warmed up to at least 60°F (15°C).
2. Planting Depth: Dig a hole deep enough to bury the bottom two-thirds of the stem. This encourages the plant to develop more roots along the buried stem, resulting in a stronger, healthier plant.
3. Spacing: Space determinate varieties 2-3 feet apart and indeterminate varieties 3-4 feet apart.
4. Planting Technique:
* Gently remove the seedling from its pot or tray.
* Loosen the roots slightly.
* Place the seedling in the hole, burying the bottom two-thirds of the stem.
* Fill the hole with soil and gently firm it around the plant.
* Water thoroughly.
5. Staking or Caging: Install stakes or cages at the time of planting to support the plants as they grow. This is especially important for indeterminate varieties.
6. Mulching: Apply a layer of mulch (such as straw, wood chips, or shredded leaves) around the plants to help retain moisture, suppress weeds, and regulate soil temperature.
Caring for Your Tomato Plants
Consistent care is key to a bountiful harvest.
* Watering: Water deeply and regularly, especially during hot, dry weather. Aim to water at the base of the plant to avoid wetting the foliage, which can lead to fungal diseases.
* Fertilizing: Fertilize your tomato plants every 2-3 weeks with a balanced liquid fertilizer or a fertilizer specifically formulated for tomatoes. Follow the instructions on the fertilizer label.
* Pruning: Pruning is essential for indeterminate varieties. Remove suckers (the small shoots that grow between the main stem and the branches) to encourage the plant to focus its energy on producing fruit. Determinate varieties generally don’t need pruning.
* Pest and Disease Control: Regularly inspect your plants for pests and diseases. Common tomato pests include aphids, tomato hornworms, and whiteflies. Common tomato diseases include early blight, late blight, and blossom end rot.
* Pest Control: Use insecticidal soap or neem oil to control aphids, whiteflies, and other soft-bodied insects. Handpick tomato hornworms.
* Disease Control: Remove and destroy any infected leaves or plants. Apply a fungicide if necessary. Ensure good air circulation around the plants to prevent fungal diseases.
* Blossom End Rot: This is caused by a calcium deficiency. Ensure the soil has adequate calcium and water consistently to prevent it. You can also add crushed eggshells to the soil.
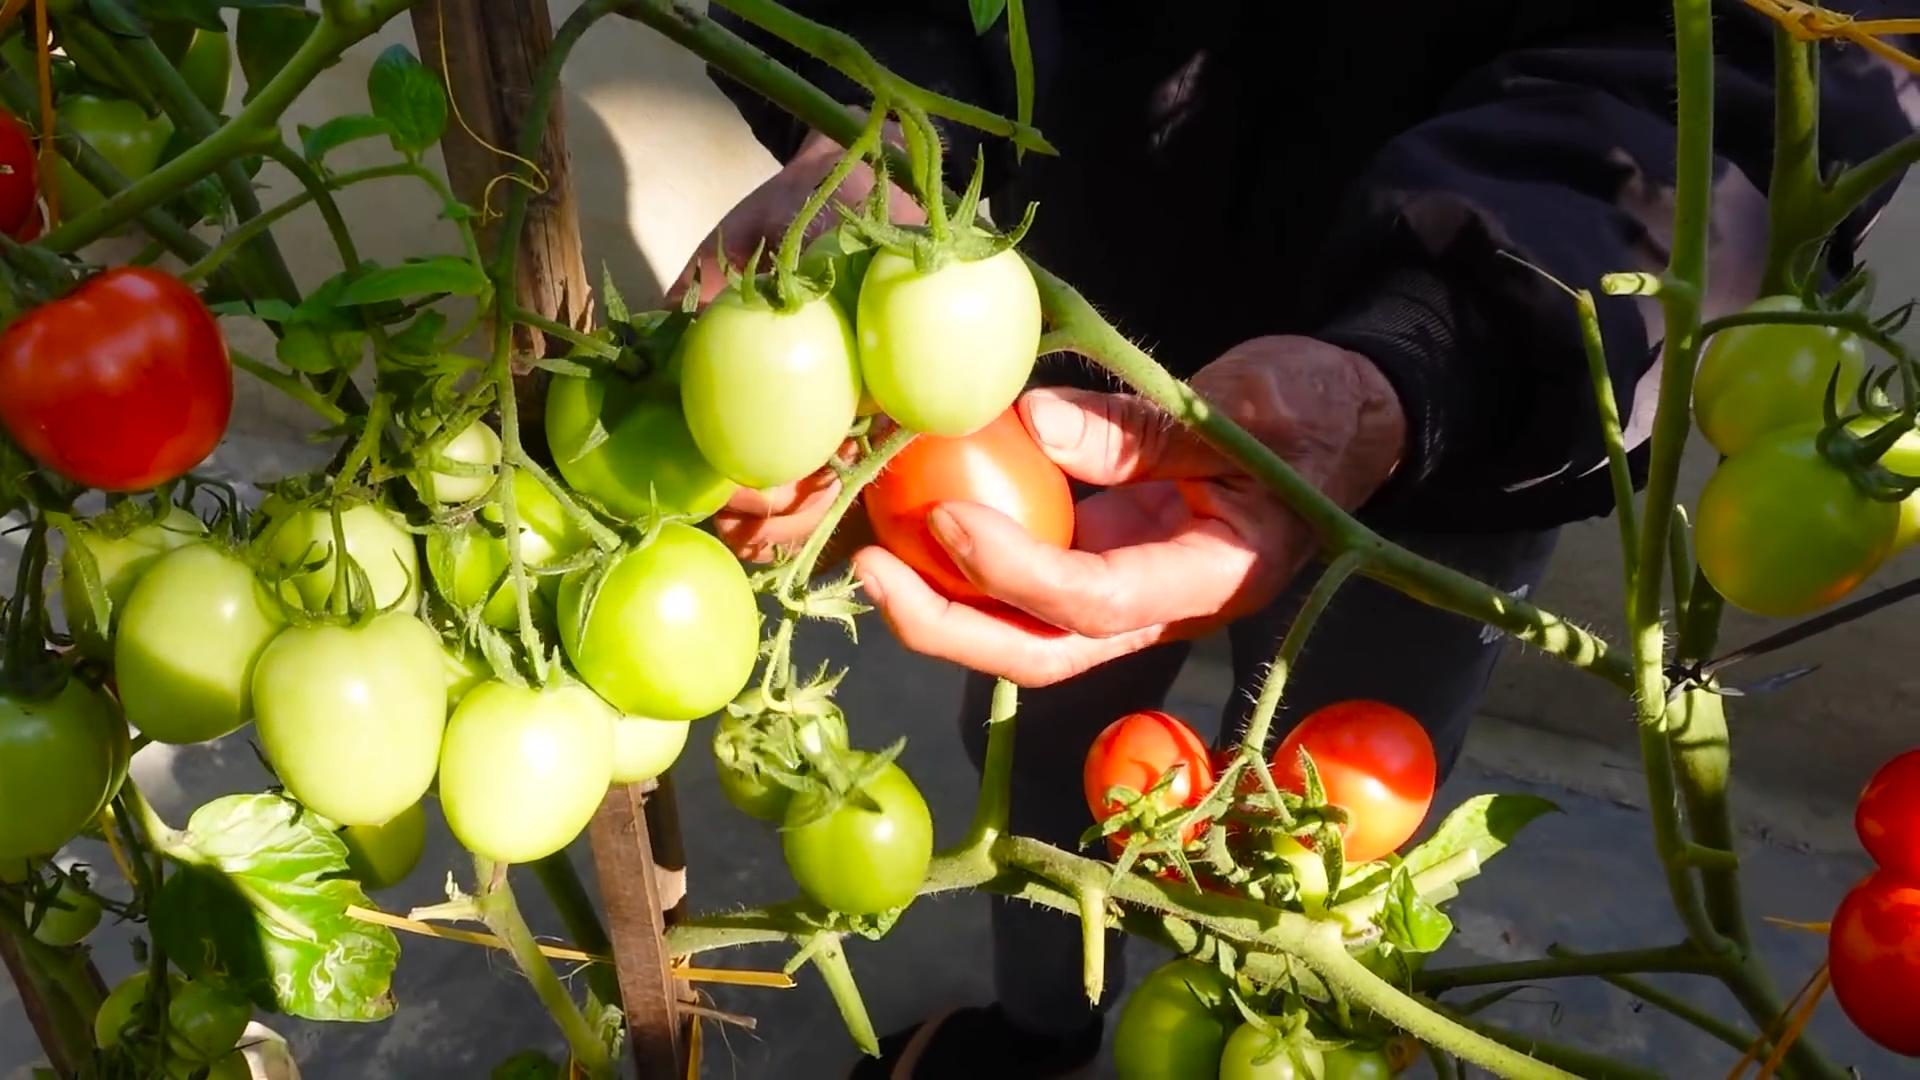
Harvest
Conclusion
So, there you have it! Transforming your backyard into a thriving tomato haven is not only achievable but incredibly rewarding. This DIY approach to backyard tomato growing offers a multitude of benefits, from saving money and reducing your reliance on store-bought produce to enjoying the unparalleled flavor of homegrown tomatoes bursting with sunshine and freshness.
But why is this DIY method a must-try? It’s about more than just tomatoes; it’s about connecting with nature, understanding the growing process, and taking control of what you eat. You’ll witness the miracle of life unfold before your eyes, from tiny seedlings to plump, juicy fruits. Plus, you’ll know exactly what went into your tomatoes – no hidden pesticides or questionable practices.
This method empowers you to cultivate a sustainable and healthy food source right outside your door. Imagine the satisfaction of serving a salad made entirely from your own garden, the vibrant colors and intense flavors a testament to your hard work and dedication.
And the best part? You can customize this DIY approach to suit your specific needs and preferences.
Here are a few suggestions and variations to get you started:
* Experiment with different tomato varieties: From classic beefsteaks to sweet cherry tomatoes and tangy Roma tomatoes, the possibilities are endless. Try heirloom varieties for unique flavors and colors.
* Companion planting: Enhance your tomato growth by planting basil, marigolds, or other beneficial herbs and flowers nearby. These companions can deter pests, attract pollinators, and even improve the flavor of your tomatoes.
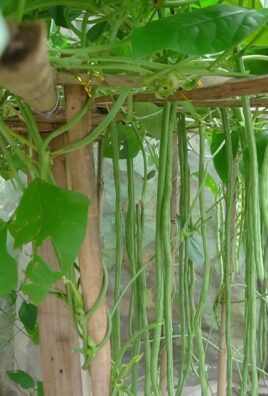
* Vertical gardening: If you’re short on space, consider growing your tomatoes vertically using trellises, cages, or hanging baskets. This method maximizes your yield and adds visual appeal to your backyard.
* Soil amendments: Regularly amend your soil with compost, aged manure, or other organic matter to provide your tomatoes with the nutrients they need to thrive.
* Watering techniques: Implement efficient watering methods like drip irrigation or soaker hoses to conserve water and ensure your tomatoes receive consistent moisture.
Don’t be afraid to experiment and adapt this DIY method to your unique environment and growing conditions. Every backyard is different, and what works for one gardener may not work for another. The key is to observe your plants, learn from your mistakes, and enjoy the process.
We wholeheartedly encourage you to give this DIY backyard tomato growing trick a try. It’s an investment in your health, your well-being, and your connection to the natural world.
Once you’ve experienced the joy of harvesting your own homegrown tomatoes, we’d love to hear about your experience! Share your tips, tricks, and photos with us in the comments below. Let’s create a community of backyard tomato growers and inspire others to embark on this rewarding journey. Happy gardening!
Frequently Asked Questions (FAQ)
Q: What is the best time to start growing tomatoes in my backyard?
A: The best time to start growing tomatoes depends on your local climate and growing zone. Generally, you should start seeds indoors 6-8 weeks before the last expected frost. Once the danger of frost has passed and the soil has warmed up, you can transplant your seedlings outdoors. A soil thermometer can be helpful to ensure the soil temperature is consistently above 60°F (15°C). If you live in a warmer climate with a longer growing season, you may be able to start seeds directly in the ground.
Q: What kind of soil is best for growing tomatoes?
A: Tomatoes thrive in well-drained, fertile soil that is rich in organic matter. The ideal soil pH for tomatoes is between 6.0 and 6.8. Before planting, amend your soil with compost, aged manure, or other organic matter to improve its drainage, fertility, and water-holding capacity. You can also add a slow-release fertilizer specifically formulated for tomatoes. Avoid heavy clay soils, as they can become waterlogged and inhibit root growth. If you have clay soil, consider growing your tomatoes in raised beds or containers.
Q: How much sunlight do tomatoes need?
A: Tomatoes require at least 6-8 hours of direct sunlight per day to produce a bountiful harvest. Choose a location in your backyard that receives full sun throughout the day. If you live in a particularly hot climate, some afternoon shade may be beneficial to prevent sunscald.
Q: How often should I water my tomato plants?
A: Tomatoes need consistent moisture to thrive. Water deeply and regularly, especially during hot, dry weather. Aim to water at the base of the plant to avoid wetting the foliage, which can increase the risk of fungal diseases. A good rule of thumb is to water when the top inch of soil feels dry to the touch. Mulching around your tomato plants can help retain moisture and suppress weeds. Drip irrigation or soaker hoses are efficient ways to deliver water directly to the roots.
Q: What are some common tomato pests and diseases, and how can I prevent them?
A: Tomatoes are susceptible to a variety of pests and diseases, including aphids, whiteflies, tomato hornworms, blossom end rot, early blight, and late blight. To prevent these problems, practice good garden hygiene, such as removing weeds and debris, and avoid overcrowding your plants. Companion planting with basil or marigolds can help deter pests. Regularly inspect your plants for signs of pests or diseases and take action promptly. Organic pest control methods, such as insecticidal soap or neem oil, can be effective for controlling aphids and other pests. To prevent blossom end rot, ensure your plants receive consistent watering and calcium. Choose disease-resistant tomato varieties to minimize the risk of fungal diseases.
Q: How do I prune my tomato plants?
A: Pruning tomato plants can improve air circulation, promote fruit production, and prevent diseases. The best pruning method depends on the type of tomato you are growing. Determinate tomatoes, which grow to a certain size and then stop, require minimal pruning. Simply remove any suckers (small shoots that grow between the main stem and the branches) below the first flower cluster. Indeterminate tomatoes, which continue to grow throughout the season, require more extensive pruning. Remove all suckers that grow below the first flower cluster, and then prune the remaining suckers regularly to maintain a single main stem. This will encourage the plant to focus its energy on producing fruit rather than foliage.
Q: When should I harvest my tomatoes?
A: Tomatoes are ready to harvest when they are fully colored, slightly soft to the touch, and easily detach from the vine. The exact color will depend on the variety of tomato you are growing. Avoid picking tomatoes that are still green or hard, as they will not ripen properly off the vine. If you need to harvest tomatoes before they are fully ripe due to frost or other reasons, you can ripen them indoors by placing them in a paper bag with a ripe banana or apple.
Q: Can I grow tomatoes in containers?
A: Yes, you can successfully grow tomatoes in containers, especially if you have limited space in your backyard. Choose a large container that is at least 18 inches in diameter and 18 inches deep. Use a high-quality potting mix that is well-draining and rich in organic matter. Select determinate or dwarf tomato varieties, as they are better suited for container growing. Provide your container tomatoes with plenty of sunlight, water, and fertilizer. You may also need to stake or cage your plants to provide support.
Q: How can I save seeds from my homegrown tomatoes?
A: Saving seeds from your homegrown tomatoes is a great way to preserve your favorite varieties and save money. Choose tomatoes from healthy, disease-free plants that have produced high-quality fruit. Scoop out the seeds and pulp and place them in a jar with a little water. Let the mixture ferment for 3-4 days, stirring occasionally. This process will help remove the gelatinous coating around the seeds. After fermentation, rinse the seeds thoroughly and spread them out on a paper towel to dry completely. Store the dried seeds in an airtight container in a cool, dark, and dry place.
Leave a Comment