
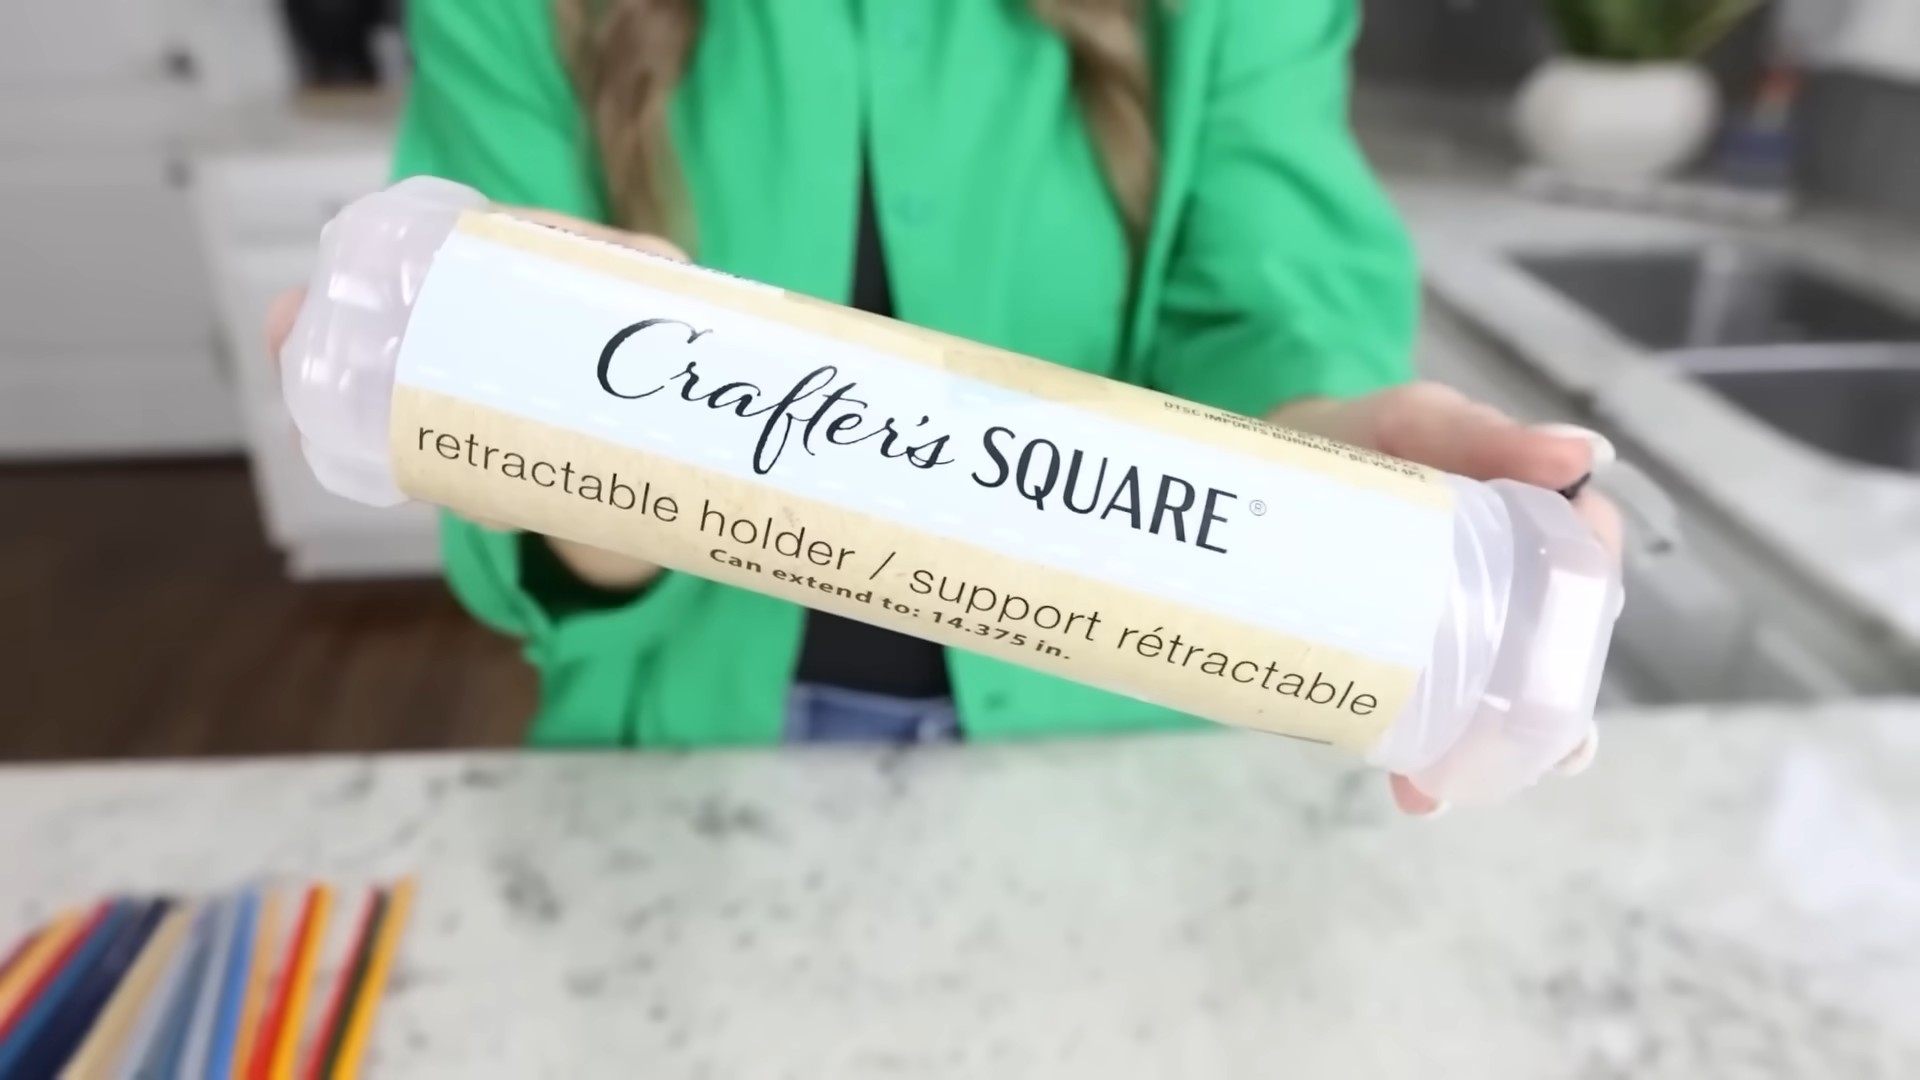
DIY Paint Brush Holder: Tired of your paint brushes rolling around, bristles getting bent, and your workspace looking like a chaotic art explosion? I get it! As a fellow DIY enthusiast, I’ve been there, battling the brush clutter. But fear not, because I’m about to share a super simple and incredibly effective DIY paint brush holder project that will transform your crafting corner from messy to marvelous.
Throughout history, artists and craftspeople have sought clever ways to organize their tools. From ancient Egyptians storing pigments in meticulously crafted containers to Renaissance painters carefully arranging their brushes, the need for organization is timeless. While we might not be painting the Sistine Chapel, keeping our tools in order allows us to focus on the creative process, not the frustration of searching for the right brush.
This DIY paint brush holder isn’t just about tidiness; it’s about protecting your investment. Quality paint brushes can be expensive, and proper storage is crucial for extending their lifespan. By creating a dedicated holder, you’ll prevent damage, maintain their shape, and ensure they’re always ready for your next masterpiece. Plus, let’s be honest, a well-organized workspace is a happy workspace, and that translates to more enjoyable and productive crafting sessions. So, grab your supplies, and let’s get started on this quick and easy project!
Growing Eggplants at Home: A Beginner’s Guide
Hey there, fellow gardening enthusiasts! Ever dreamt of plucking fresh, glossy eggplants straight from your own backyard? Well, dream no more! Growing eggplants at home is totally achievable, even if you’re a newbie. I’m going to walk you through everything you need to know, from seed to harvest. Get ready to impress your friends and family with your homegrown eggplant creations!
Choosing Your Eggplant Variety
Before we dive into the nitty-gritty, let’s talk about eggplant varieties. There’s a whole world beyond the classic dark purple globe eggplant! Consider these options:
* Black Beauty: The classic, reliable choice. Produces large, dark purple fruits.
* Japanese Eggplant (Ichiban): Long, slender, and mild-flavored. Great for grilling and stir-fries.
* Italian Eggplant (Rosa Bianca): Round, lavender-pink with a creamy texture. Beautiful and delicious!
* Thai Eggplant: Small, round, and green or white. Adds a unique flavor and texture to Asian dishes.
* White Eggplant (Casper): Produces white, mild-flavored fruits. A fun and unusual addition to your garden.
Think about your climate and what you like to cook. Some varieties are better suited for certain regions. Check your local garden center for recommendations.
Starting Your Eggplant Seeds (or Buying Seedlings)
Eggplants need a long growing season, so starting seeds indoors is usually the best bet, especially if you live in a cooler climate.
Here’s how to start your eggplant seeds indoors:
1. Gather Your Supplies: You’ll need seed starting trays or small pots, seed starting mix (not regular potting soil!), eggplant seeds, a spray bottle, and a heat mat (optional, but helpful).
2. Prepare the Seed Starting Mix: Moisten the seed starting mix with water until it’s damp but not soggy.
3. Sow the Seeds: Fill the trays or pots with the moistened mix. Make a small indentation (about 1/4 inch deep) in the center of each cell or pot. Place 2-3 seeds in each indentation.
4. Cover the Seeds: Gently cover the seeds with more seed starting mix.
5. Water Gently: Use a spray bottle to lightly water the surface. Avoid overwatering, which can cause the seeds to rot.
6. Provide Warmth: Eggplant seeds need warmth to germinate. Place the trays or pots on a heat mat or in a warm location (around 80-85°F).
7. Maintain Moisture: Keep the seed starting mix consistently moist but not soggy. Check daily and mist with water as needed.
8. Wait for Germination: Eggplant seeds typically germinate in 7-14 days.
9. Provide Light: Once the seedlings emerge, move them to a sunny location or under grow lights. They need at least 6 hours of light per day.
10. Thin the Seedlings: Once the seedlings have a few true leaves (the second set of leaves), thin them to one seedling per cell or pot. Choose the strongest, healthiest-looking seedling and snip off the others at the soil line.
11. Harden Off the Seedlings: Before transplanting the seedlings outdoors, you need to “harden them off.” This gradually acclimates them to outdoor conditions. Start by placing the seedlings outdoors in a sheltered location for a few hours each day, gradually increasing the amount of time they spend outside over the course of a week or two.
If you’re buying seedlings from a nursery:
* Choose healthy-looking plants with sturdy stems and no signs of pests or diseases.
* Avoid plants that are root-bound (roots circling tightly around the bottom of the pot).
Preparing Your Garden Bed
Eggplants need a sunny spot with well-drained soil.
1. Choose a Sunny Location: Eggplants need at least 6-8 hours of direct sunlight per day.
2. Prepare the Soil: Eggplants prefer well-drained, fertile soil with a pH of 6.0-7.0. Amend the soil with compost or other organic matter to improve drainage and fertility.
3. Remove Weeds: Clear the area of weeds and grass.
4. Consider Raised Beds: If your soil is heavy clay or poorly drained, consider growing eggplants in raised beds.
Transplanting Your Eggplant Seedlings
Once the danger of frost has passed and the soil has warmed up, it’s time to transplant your eggplant seedlings into the garden.
1. Choose a Cloudy Day: Transplanting on a cloudy day will help prevent the seedlings from getting stressed.
2. Dig Holes: Dig holes that are slightly larger than the root balls of the seedlings. Space the holes 18-24 inches apart.
3. Gently Remove Seedlings: Carefully remove the seedlings from their trays or pots. Gently loosen the roots if they are circling the bottom of the pot.
4. Plant the Seedlings: Place the seedlings in the holes and backfill with soil. Make sure the top of the root ball is level with the surrounding soil.
5. Water Thoroughly: Water the seedlings thoroughly after planting.
6. Mulch: Apply a layer of mulch around the plants to help retain moisture, suppress weeds, and regulate soil temperature. Straw, wood chips, or shredded leaves are good choices.
7. Stake or Cage: Eggplants can get quite heavy with fruit, so it’s a good idea to stake or cage them to provide support. This will prevent the branches from breaking.
Caring for Your Eggplant Plants
Now that your eggplants are in the ground, it’s time to give them some TLC.
1. Watering: Water deeply and regularly, especially during hot, dry weather. Eggplants need consistent moisture to produce good fruit. Aim for about 1-2 inches of water per week. Water at the base of the plant to avoid wetting the foliage, which can lead to fungal diseases.
2. Fertilizing: Feed your eggplants with a balanced fertilizer every 2-3 weeks. Look for a fertilizer that is specifically formulated for vegetables. You can also use compost tea or fish emulsion.
3. Weeding: Keep the area around your eggplants free of weeds. Weeds compete with the plants for water and nutrients.
4. Pest Control: Eggplants can be susceptible to pests such as aphids, flea beetles, and tomato hornworms. Inspect your plants regularly for signs of pests. You can control aphids with insecticidal soap or neem oil. Flea beetles can be controlled with row covers or diatomaceous earth. Tomato hornworms can be hand-picked off the plants.
5. Disease Control: Eggplants can also be susceptible to diseases such as blossom-end rot and fungal diseases. Blossom-end rot is caused by a calcium deficiency. You can prevent it by adding calcium to the soil or by using a calcium spray. Fungal diseases can be prevented by providing good air circulation and avoiding overhead watering. If you notice signs of fungal disease, treat the plants with a fungicide.
6. Pruning: Pruning eggplants can help improve air circulation and encourage fruit production. Remove any suckers (small shoots that grow from the base of the plant) and any yellowing or diseased leaves. You can also pinch off the tips of the branches to encourage branching.
Harvesting Your Eggplants
The moment you’ve been waiting for!
1. Timing is Key: Eggplants are typically ready to harvest 60-80 days after transplanting. The fruit should be firm, glossy, and have a deep, rich color. The skin should be smooth and unblemished.
2. Check the Size: The size of the eggplant will depend on the variety. Check the seed packet or plant tag for information on the expected size of the fruit.
3. Gently Squeeze: Gently squeeze the eggplant. If it feels firm and slightly yields to pressure, it’s ready to harvest. If it feels hard and unripe, leave it on the plant for a few more days.
4. Use Pruning Shears: Use pruning shears or a sharp knife to cut the eggplant from the plant. Leave about an inch of stem attached to the fruit.
5. Handle with Care: Eggplants are delicate and can bruise easily. Handle them with care to avoid damaging the skin.
6. Harvest Regularly: Harvest eggplants regularly to encourage the plant to produce more fruit.
Troubleshooting Common Eggplant Problems
Even with the best care, you might encounter some problems along the way. Here are a few common issues and how to address them:
* Blossom-End Rot: This is a common problem caused by a calcium deficiency. The bottom of the eggplant will develop a dark, sunken spot. To prevent blossom-end rot, add calcium
Conclusion
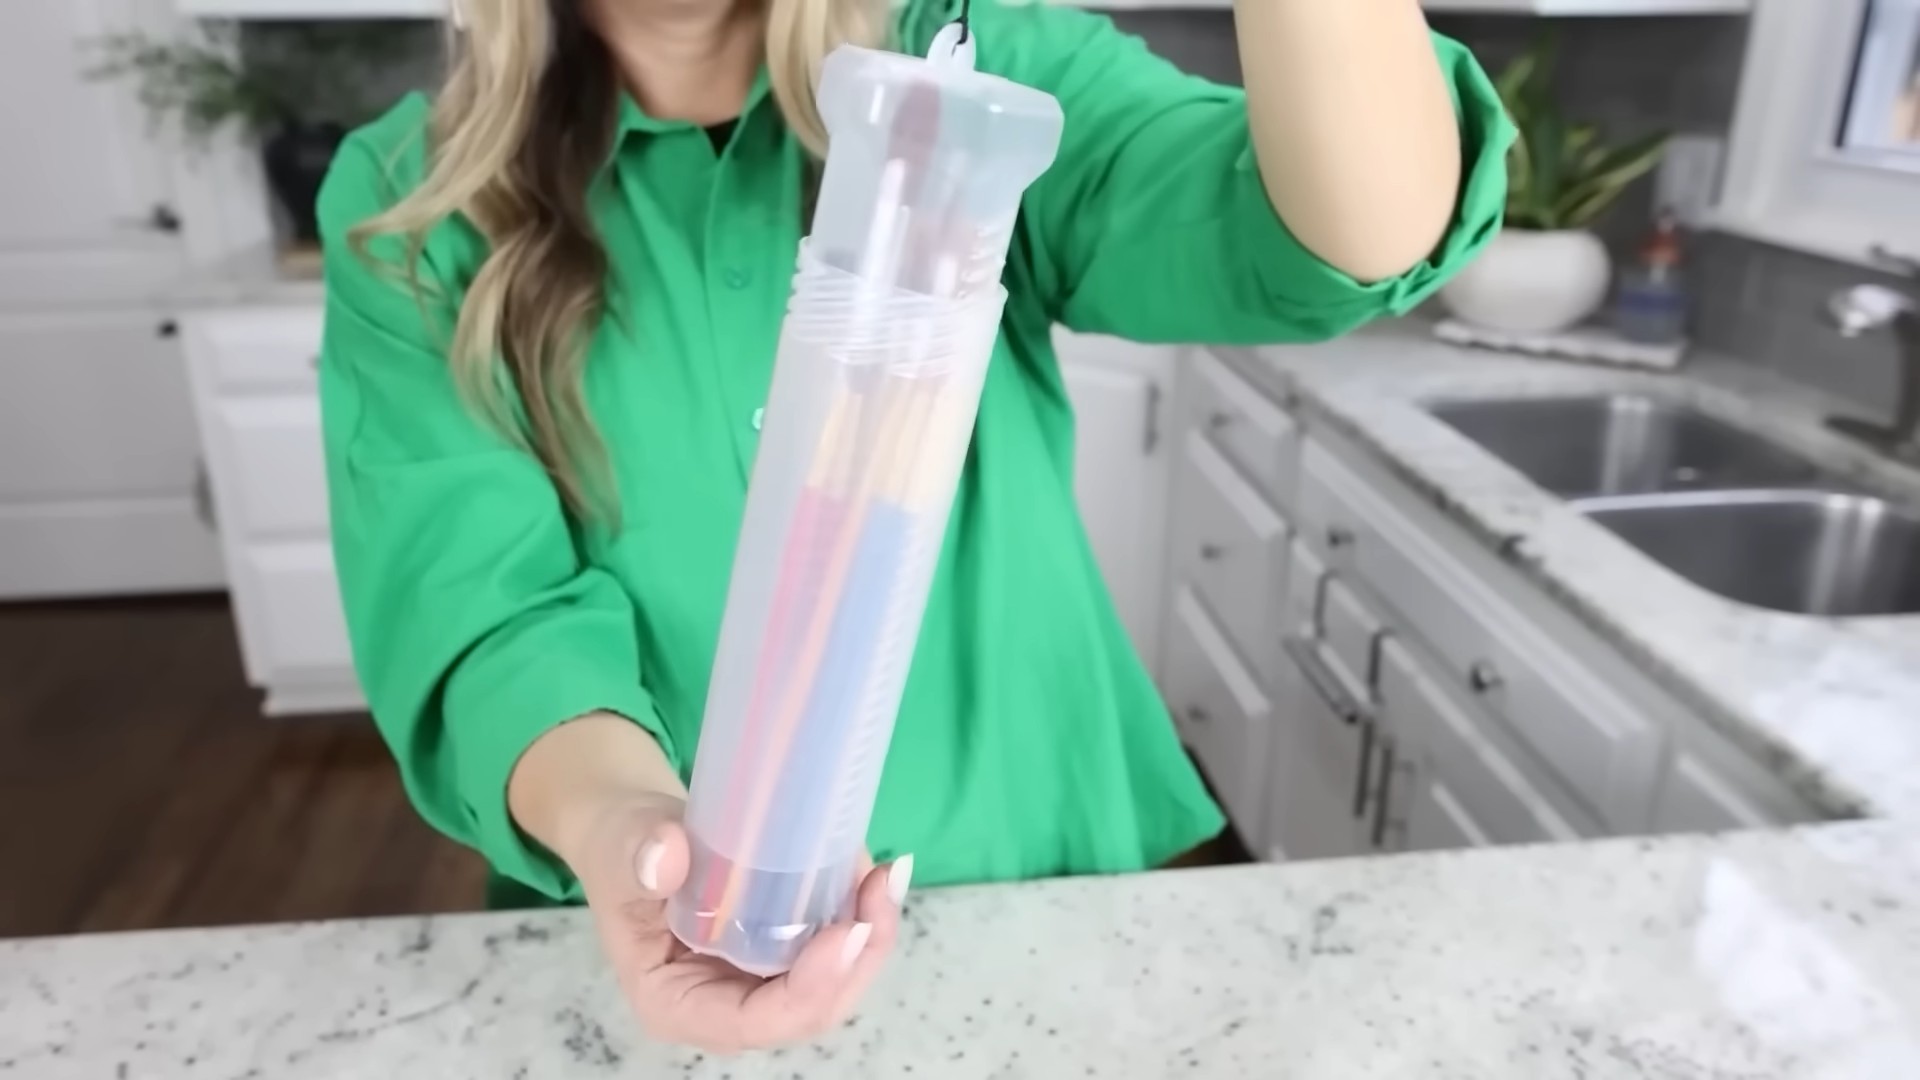
So, there you have it! Creating your own DIY paint brush holder isn’t just a fun afternoon project; it’s a game-changer for your art space. Forget about cluttered desks, dried-out brushes, and the constant frustration of searching for the right tool. This simple solution offers a personalized, cost-effective way to organize your brushes and extend their lifespan.
But why is this DIY trick a must-try? Because it’s more than just storage; it’s about efficiency and creativity. Imagine having all your brushes neatly displayed, ready to inspire your next masterpiece. No more wasted time digging through drawers or struggling with flimsy containers. This holder keeps your brushes upright, preventing bristles from bending and fraying, which ultimately saves you money in the long run. Plus, the act of creating something yourself adds a personal touch to your workspace, making it a more enjoyable and inspiring environment.
Looking for variations? Absolutely! If you’re using recycled cans, consider painting them with vibrant colors or adding decorative paper for a personalized touch. For a more rustic look, use reclaimed wood and drill holes to accommodate the brushes. You could even incorporate different sized holes to accommodate brushes of varying thicknesses. If you’re feeling ambitious, try adding a rotating base to your holder for easy access to all your brushes. Another great idea is to add small compartments for storing other art supplies like pencils, erasers, and palette knives. The possibilities are endless!
Don’t be intimidated by the “DIY” aspect. This project is incredibly beginner-friendly and requires minimal tools and materials. The satisfaction of creating something functional and beautiful with your own hands is truly rewarding. It’s a chance to unleash your creativity and customize a solution that perfectly fits your needs.
We wholeheartedly encourage you to give this DIY paint brush holder a try. It’s a small investment of time and effort that will yield significant benefits in terms of organization, brush longevity, and overall artistic enjoyment. Once you experience the difference a well-organized workspace can make, you’ll wonder why you didn’t do it sooner.
And most importantly, we want to hear about your experience! Share your creations with us – post photos of your DIY paint brush holders on social media using #DIYBrushHolder and tell us about any modifications or creative twists you added. Let’s inspire each other and build a community of organized and creative artists! We are eager to see your unique designs and learn from your experiences. Your feedback will help others discover the joy and practicality of this simple yet effective DIY project. So, grab your materials, get creative, and transform your art space today!
Frequently Asked Questions (FAQ)
What materials do I need to make a DIY paint brush holder?
The beauty of this project is its versatility! You can use a variety of materials depending on your preference and what you have readily available. Some popular options include:
* Recycled cans (soup cans, coffee cans, etc.)
* Wooden blocks or planks
* PVC pipes
* Mason jars
* Cardboard tubes
* Drill (if using wood or PVC)
* Hot glue gun or strong adhesive
* Paint, decorative paper, or other embellishments (optional)
The key is to choose a material that is sturdy enough to hold your brushes upright and can be easily customized to fit your aesthetic.
How do I ensure the brushes don’t fall out of the holder?
The stability of your brush holder depends on a few factors. First, make sure the base is wide and heavy enough to prevent tipping. If you’re using cans or jars, you can add weight to the bottom by filling them with pebbles, sand, or even plaster of Paris. Second, ensure the holes or compartments are appropriately sized for your brushes. They should be snug enough to hold the brushes securely but not so tight that they damage the bristles. For wooden holders, consider drilling slightly angled holes to provide a more secure grip.
Can I use this holder for other art supplies besides paint brushes?
Absolutely! This DIY holder is incredibly versatile and can be adapted to store a wide range of art supplies. You can create smaller compartments for pencils, pens, erasers, and palette knives. You can also use larger sections for storing tubes of paint, markers, or even small sketchbooks. Consider adding dividers to create separate sections for different types of supplies. The key is to customize the holder to fit your specific needs and the types of art supplies you use most frequently.
How do I clean the paint brush holder if it gets paint on it?
The cleaning process will depend on the material you used to create your holder. For cans or jars, you can usually wipe off wet paint with a damp cloth. For dried paint, you may need to use a paint thinner or scraper. Wooden holders can be cleaned with a damp cloth and mild soap. If you’ve used decorative paper or fabric, be careful not to get it too wet. Consider applying a sealant or varnish to protect the surface and make it easier to clean. Regularly wiping down your holder will prevent paint buildup and keep it looking its best.
What if I don’t have a drill for making holes in wood or PVC?
If you don’t have a drill, there are still ways to create a functional brush holder. You can use pre-made wooden blocks with existing holes or purchase a hand drill, which is a more affordable option. Alternatively, you can use alternative materials like cardboard tubes or mason jars, which don’t require drilling. For cardboard tubes, simply glue them together in a desired arrangement. For mason jars, you can add pebbles or marbles to the bottom for weight and then arrange your brushes inside.
How can I make my DIY paint brush holder more visually appealing?
Personalization is key! Consider painting your holder with vibrant colors or using decorative paper to add patterns and textures. You can also add embellishments like ribbons, beads, or buttons. If you’re using recycled materials, embrace their unique character and incorporate them into your design. For example, you could leave the labels on the cans for a vintage look or distress the wood for a rustic feel. The goal is to create a holder that reflects your personal style and enhances your art space.
How do I prevent mold or mildew from growing in the holder, especially if I store wet brushes?
Proper ventilation is crucial. Avoid storing wet brushes in a completely enclosed container. Instead, allow them to air dry partially before placing them in the holder. You can also add a small packet of silica gel to absorb moisture. Regularly clean the holder with a disinfectant solution to prevent the growth of mold or mildew. If you live in a humid environment, consider using a dehumidifier in your art space to reduce moisture levels.
Is this DIY project suitable for children?
With proper supervision, this project can be a fun and educational activity for children. However, it’s important to choose age-appropriate materials and tools. Avoid using sharp objects or power tools with young children. Instead, focus on simpler materials like cardboard tubes or pre-cut wooden shapes. Let them decorate the holder with paint, stickers, or other embellishments. This project can help children develop their creativity, fine motor skills, and organizational habits.
How much does it cost to make a DIY paint brush holder?
One of the biggest advantages of this DIY project is its affordability. The cost will depend on the materials you choose, but you can often create a functional and stylish holder for very little money. If you’re using recycled materials, the cost will be even lower. Even if you need to purchase some supplies, such as paint or glue, the overall cost will likely be significantly less than buying a pre-made brush holder. This makes it a great option for artists on a budget.

Leave a Comment