
Lime cleaning hack: who knew such a simple citrus fruit could be your secret weapon to a sparkling clean home? I’m always on the lookout for natural and effective cleaning solutions, and let me tell you, this one is a game-changer! For generations, our grandmothers have sworn by the power of lemons and limes, not just for their zesty flavor in cooking, but for their incredible cleaning abilities. Think about it – from ancient civilizations using citrus oils for hygiene to modern-day eco-conscious cleaning movements, the humble lime has always been a star.
But why should you ditch those harsh chemicals and embrace this lime cleaning hack? Well, for starters, it’s incredibly budget-friendly! Limes are often cheaper than specialized cleaning products, and you might even have some lying around already. More importantly, it’s a fantastic way to reduce your exposure to harmful chemicals, creating a healthier and safer environment for you and your family. Plus, the fresh, citrusy scent is a delightful bonus! In this article, I’m going to share my favorite DIY lime cleaning tricks that will leave your home spotless and smelling amazing. Get ready to unlock the cleaning power of this zesty fruit!
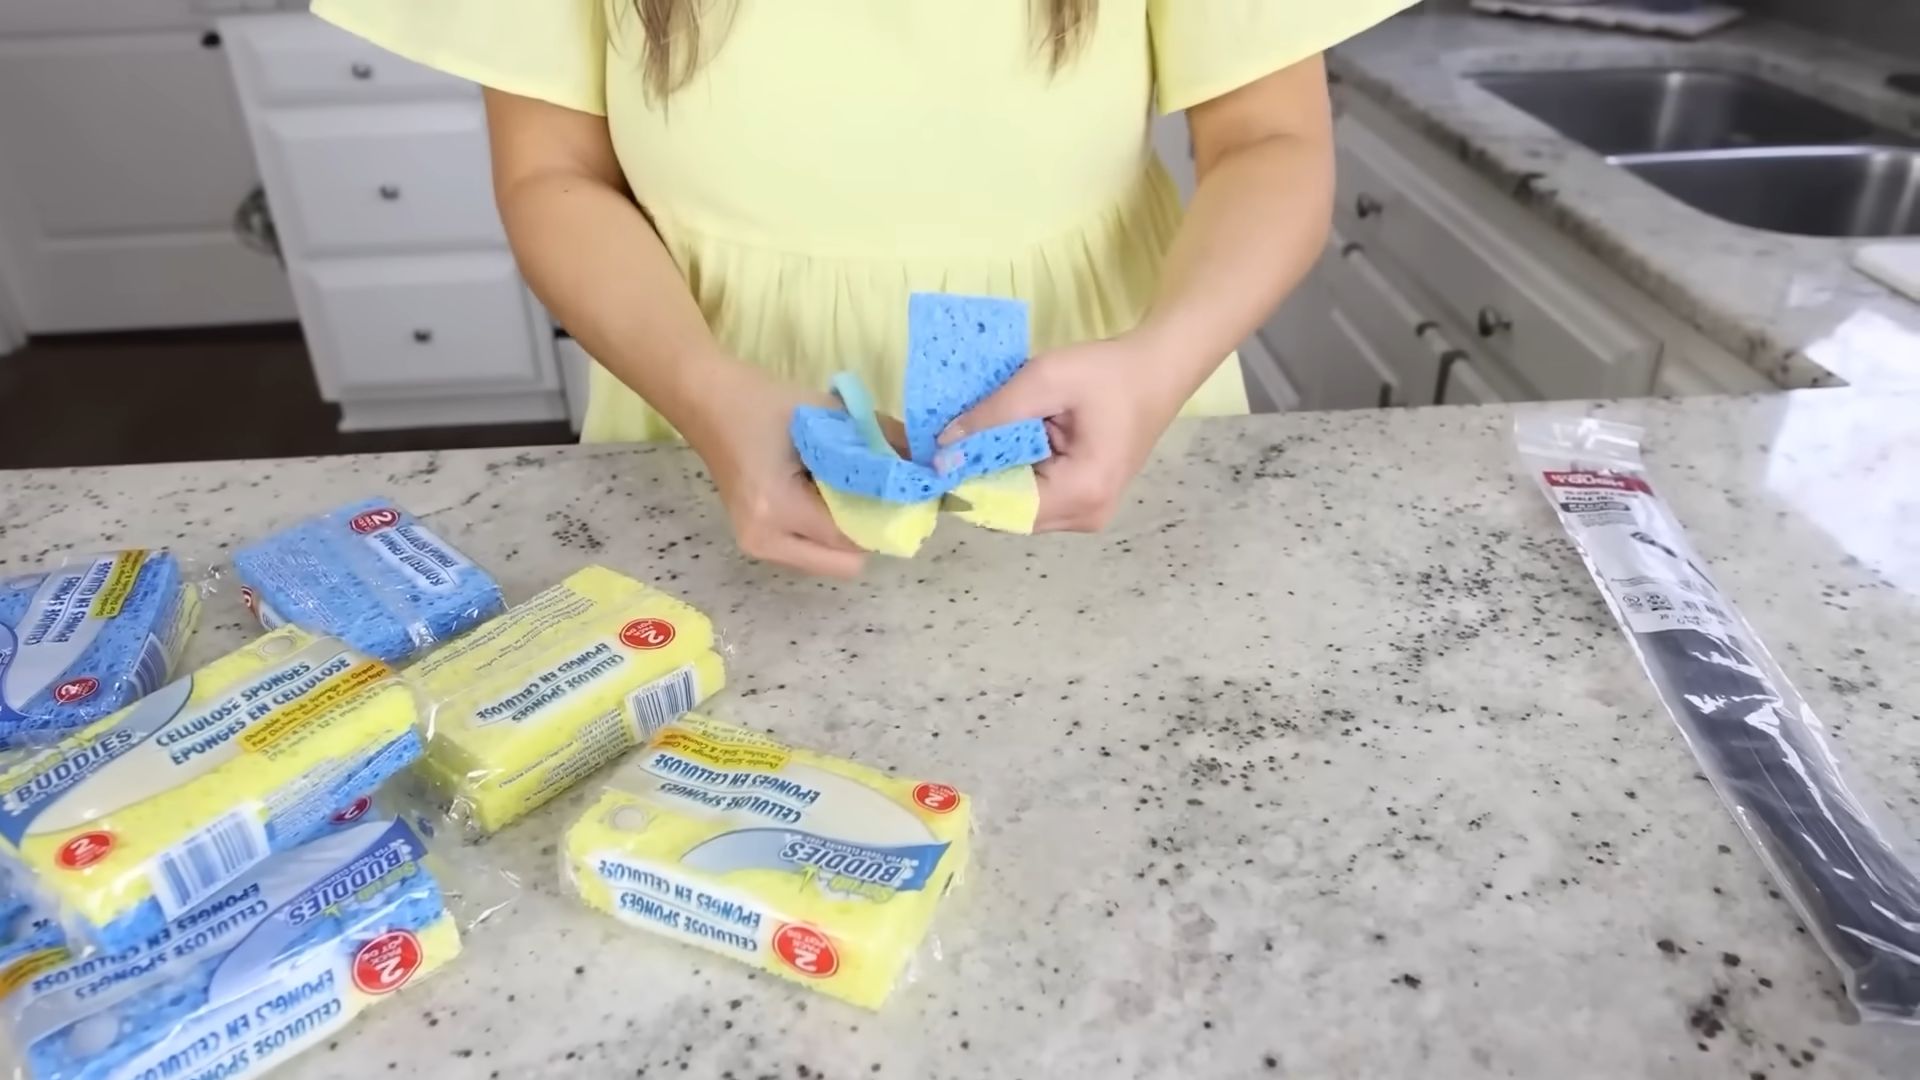
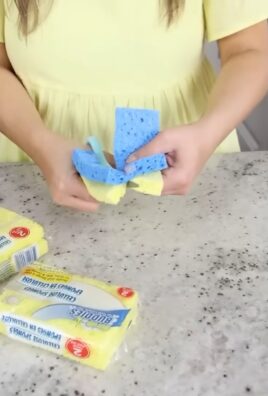
DIY Sponge Cleaning Hacks: Extend the Life of Your Hardworking Sponges!
Hey everyone! Let’s face it, sponges are the unsung heroes of our kitchens. They tackle grime, wipe up spills, and generally keep things clean. But they also get pretty gross, pretty fast. Instead of constantly tossing them, I’m going to share some awesome DIY hacks to keep your sponges clean, fresh, and lasting longer. These methods are easy, budget-friendly, and will save you money in the long run!
Understanding Sponge Hygiene
Before we dive into the cleaning methods, let’s quickly understand why sponges get so nasty. Sponges are porous, which means they’re perfect breeding grounds for bacteria, mold, and mildew. Food particles get trapped inside, providing a feast for these unwanted guests. That’s why it’s crucial to clean and disinfect your sponges regularly.
Hack 1: The Microwave Method (Quick & Easy Disinfection)
This is probably the quickest and easiest way to disinfect your sponges. It uses the power of microwave radiation to kill bacteria.
Important Safety Note: Make sure your sponge is thoroughly wet before microwaving. A dry sponge can catch fire! Also, avoid microwaving sponges with metal scrubbing pads.
What you’ll need:
* Your dirty sponge
* Water
* Microwave-safe bowl (optional)
Step-by-step instructions:
1. Rinse the sponge: Thoroughly rinse your sponge under running water to remove any loose food particles. Squeeze out excess water, but leave it damp.
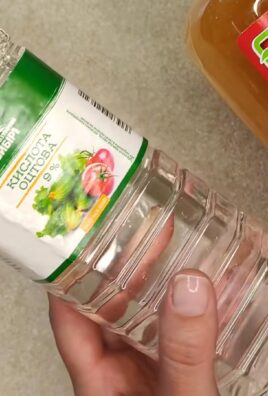
2. Soak the sponge (optional): For extra cleaning power, you can soak the sponge in a microwave-safe bowl filled with water. You can also add a tablespoon of white vinegar or lemon juice to the water for added disinfection.
3. Microwave the sponge: Place the wet sponge (either directly or in the bowl of water) in the microwave.
4. Microwave for 2 minutes: Microwave on high power for 2 minutes. This should be enough to kill most of the bacteria.
5. Let it cool: Carefully remove the sponge from the microwave. It will be very hot! Let it cool down for a few minutes before handling it.
6. Rinse and squeeze: Rinse the sponge under running water to remove any remaining debris and squeeze out the excess water.
Frequency: I recommend microwaving your sponge at least once a day, especially if you use it frequently.
Hack 2: The Bleach Solution (Powerful Disinfection)
Bleach is a powerful disinfectant that can effectively kill bacteria and mold in your sponges. However, it’s important to use it safely and in the correct concentration.
Important Safety Note: Always wear gloves when working with bleach. Avoid getting bleach on your skin or clothes. Never mix bleach with ammonia or other cleaning products, as this can create toxic fumes. Ensure proper ventilation.
What you’ll need:
* Your dirty sponge
* Bleach
* Water
* Bucket or sink
Step-by-step instructions:
1. Prepare the bleach solution: In a bucket or sink, mix 3/4 cup of bleach with one gallon of water. It’s crucial to get the ratio right! Too much bleach can damage the sponge and leave a strong odor.
2. Soak the sponge: Submerge the sponge in the bleach solution. Make sure it’s completely covered.
3. Soak for 5 minutes: Let the sponge soak in the bleach solution for 5 minutes. This is enough time to kill most of the bacteria and mold.
4. Rinse thoroughly: Remove the sponge from the bleach solution and rinse it thoroughly under running water until all traces of bleach are gone.
5. Squeeze out excess water: Squeeze out the excess water from the sponge.
Frequency: I recommend using the bleach solution method once or twice a week, depending on how frequently you use your sponge.
Hack 3: The Vinegar Soak (Natural Disinfection & Odor Removal)
Vinegar is a natural disinfectant and deodorizer that can help to kill bacteria and remove unpleasant odors from your sponges. It’s a great alternative to bleach if you’re looking for a more eco-friendly option.
What you’ll need:
* Your dirty sponge
* White vinegar
* Water
* Bowl or sink
Step-by-step instructions:
1. Prepare the vinegar solution: In a bowl or sink, mix equal parts white vinegar and water.
2. Soak the sponge: Submerge the sponge in the vinegar solution. Make sure it’s completely covered.
3. Soak overnight: Let the sponge soak in the vinegar solution overnight. This will give the vinegar enough time to work its magic.
4. Rinse thoroughly: Remove the sponge from the vinegar solution and rinse it thoroughly under running water.
5. Squeeze out excess water: Squeeze out the excess water from the sponge.
Frequency: I recommend using the vinegar soak method once or twice a week.
Hack 4: The Dishwasher Method (Convenient Cleaning)
If you have a dishwasher, you can easily clean your sponges along with your dishes. The hot water and detergent will help to kill bacteria and remove food particles.
What you’ll need:
* Your dirty sponge
* Dishwasher
Step-by-step instructions:
1. Rinse the sponge: Rinse your sponge under running water to remove any loose food particles.
2. Place the sponge in the dishwasher: Place the sponge in the top rack of your dishwasher. Make sure it’s not blocking any of the spray arms.
3. Run the dishwasher: Run the dishwasher on a normal cycle with hot water and detergent.
4. Let it dry: Once the dishwasher cycle is complete, let the sponge dry completely before using it again.
Frequency: I recommend cleaning your sponge in the dishwasher every few days.
Hack 5: The Baking Soda Paste (Deep Cleaning & Stain Removal)
Baking soda is a natural abrasive that can help to remove stubborn stains and grime from your sponges. It’s also a great deodorizer.
What you’ll need:
* Your dirty sponge
* Baking soda
* Water
Step-by-step instructions:
1. Make a baking soda paste: In a small bowl, mix baking soda with a little bit of water to form a thick paste.
2. Apply the paste to the sponge: Apply the baking soda paste to the sponge, focusing on any stained or grimy areas.
3. Scrub the sponge: Use your fingers or a brush to scrub the sponge with the baking soda paste.
4. Rinse thoroughly: Rinse the sponge thoroughly under running water until all traces of baking soda are gone.
5. Squeeze out excess water: Squeeze out the excess water from the sponge.
Frequency: I recommend using the baking soda paste method as needed, especially for stubborn stains or odors.
Hack 6: The Freezing Method (Odor Control)
While freezing won’t necessarily kill all bacteria, it can help to slow down their growth and reduce unpleasant odors.
What you’ll need:
* Your dirty sponge
* Freezer-safe bag or container
Step-by-step instructions:
1. Rinse the sponge: Rinse your sponge under running water to remove any loose food particles.
2. Squeeze out excess water: Squeeze out as much water as possible from the sponge.
3. Place the sponge in a freezer bag: Place the sponge in a freezer-safe bag or container.
4. Freeze for at least 24 hours: Freeze the sponge for at least 24 hours.
5. Thaw and rinse: Thaw the sponge completely before using it again. Rinse it thoroughly under running water.
Frequency: You can freeze your sponge as often as you like to help control odors.
Extending the Life of Your Sponges: Pro Tips
Besides cleaning, here are some extra tips to help your sponges last longer:
* Rinse after every use: This is the most important thing you can do! Rinse your sponge thoroughly under running water after every use to remove food particles.
* Squeeze out excess water: After rinsing, squeeze out as much water as possible. This will help to prevent bacteria from growing.
* Store properly: Store your sponge in a well-ventilated area where it can dry completely. Avoid leaving it in a damp sink or container. I like to use a small sponge holder with good airflow.
* Use different sponges for different tasks: Consider using separate sponges for different tasks, such as washing dishes, cleaning countertops, and wiping up spills. This will help to prevent cross-contamination.

Conclusion
So, there you have it! This simple, yet incredibly effective, lime cleaning hack is a game-changer for anyone looking to ditch harsh chemicals and embrace a more natural and sustainable cleaning routine. We’ve walked you through the process, highlighting just how easy it is to transform ordinary limes into a powerful cleaning agent.
Why is this a must-try? Because it’s not just about cleaning; it’s about cleaning smarter. It’s about leveraging the natural power of citric acid to cut through grease, grime, and hard water stains without exposing yourself or your family to potentially harmful chemicals. Think about the peace of mind knowing that you’re sanitizing your surfaces with a solution that’s safe for your kids, your pets, and the environment. Plus, let’s be honest, the fresh, citrusy scent is a welcome bonus compared to the overpowering smell of commercial cleaners.
But the benefits don’t stop there. This lime cleaning hack is also incredibly versatile. While we’ve focused on using it for general surface cleaning, consider these variations:
* **Lime-Infused Vinegar:** Combine equal parts lime juice and white vinegar for an extra-strength cleaning solution, perfect for tackling stubborn stains in the bathroom or kitchen.
* **Lime Peel Scrub:** Don’t throw away those lime peels! Use them as a natural abrasive to scrub sinks, bathtubs, and even stainless steel appliances. The rough texture combined with the citric acid will leave surfaces sparkling.
* **Lime and Baking Soda Paste:** Create a paste by mixing lime juice with baking soda for a powerful cleaning agent that’s ideal for removing baked-on food from pots and pans.
* Lime-Scented Dish Soap Booster: Add a few tablespoons of lime juice to your regular dish soap for an extra boost of grease-cutting power and a refreshing citrus scent.
The possibilities are truly endless! The key is to experiment and find what works best for you and your specific cleaning needs.
We understand that trying new things can sometimes feel daunting, but we promise you, this lime cleaning hack is worth the effort. It’s cost-effective, eco-friendly, and incredibly satisfying to see the results of your own homemade cleaning solution.
So, what are you waiting for? Grab a few limes, gather your cleaning supplies, and give this hack a try. We’re confident that you’ll be amazed by the results. And more importantly, we want to hear about your experience! Share your before-and-after photos, your favorite variations, and any tips or tricks you discover along the way. Let’s build a community of eco-conscious cleaners who are passionate about using natural solutions to keep our homes sparkling clean.
Don’t forget to tag us in your social media posts using #LimeCleaningHack and #NaturalCleaning. We can’t wait to see your results and learn from your experiences. Let’s make cleaning a little greener, a little healthier, and a whole lot more fun!
Frequently Asked Questions (FAQ)
1. What types of limes are best for this cleaning hack?
Any type of lime will work for this cleaning hack, including Key limes, Persian limes, and even lime juice concentrate. However, fresh limes generally provide the best results due to their higher concentration of citric acid and natural oils. If you’re using lime juice concentrate, you may need to use a slightly larger amount to achieve the same cleaning power. Also, consider using limes that are slightly past their prime – they’re still perfectly effective for cleaning and it’s a great way to reduce food waste.
2. Can I use lemon juice instead of lime juice?
Yes, you can absolutely use lemon juice instead of lime juice. Both lemons and limes contain citric acid, which is the active ingredient that makes this cleaning hack so effective. In fact, some people prefer the scent of lemon to lime. The cleaning power will be very similar, so feel free to use whichever citrus fruit you have on hand or prefer.
3. What surfaces can I safely clean with this lime cleaning solution?
This lime cleaning solution is generally safe for use on most non-porous surfaces, including countertops, sinks, bathtubs, tiles, glass, and stainless steel. However, it’s always a good idea to test the solution on a small, inconspicuous area first to ensure that it doesn’t damage or discolor the surface. Avoid using it on natural stone surfaces like marble or granite, as the citric acid can etch or dull the finish. Also, be cautious when using it on painted surfaces, as it may cause the paint to fade or peel.
4. How long does the lime cleaning solution last?
The lime cleaning solution is best used fresh, as the citric acid can degrade over time. Ideally, you should use it within a few days of making it. If you need to store it for longer, keep it in an airtight container in the refrigerator. However, be aware that the cleaning power may diminish over time. If you notice that the solution is no longer as effective, it’s best to make a fresh batch.
5. Is this lime cleaning hack safe for pets and children?
Yes, this lime cleaning hack is generally considered safe for pets and children, as it uses natural ingredients and doesn’t contain harsh chemicals. However, it’s still important to keep the solution out of reach of children and pets to prevent accidental ingestion. While lime juice is not toxic, it can cause stomach upset if consumed in large quantities. Also, avoid spraying the solution directly into the eyes or mouth.
6. Can I add essential oils to the lime cleaning solution?
Yes, you can definitely add essential oils to the lime cleaning solution to enhance its cleaning power and scent. Some popular essential oils for cleaning include tea tree oil (for its antibacterial properties), lavender oil (for its calming scent), and eucalyptus oil (for its disinfectant properties). Add a few drops of your favorite essential oil to the lime cleaning solution and shake well before using.
7. How do I get rid of the lime scent after cleaning?
The lime scent typically dissipates on its own within a few hours. However, if you prefer a different scent, you can simply wipe down the cleaned surfaces with a damp cloth and a few drops of your favorite essential oil. You can also open windows to ventilate the area and help the scent dissipate more quickly.
8. What if the lime cleaning solution doesn’t remove a stain completely?
For stubborn stains, you may need to use a stronger cleaning solution or a combination of cleaning methods. Try applying a paste of baking soda and water to the stain and letting it sit for a few minutes before scrubbing it away. You can also try using a commercial stain remover, but be sure to test it on a small, inconspicuous area first to ensure that it doesn’t damage the surface.
9. Can I use this lime cleaning hack to clean my toilet?
Yes, you can use this lime cleaning hack to clean your toilet. Simply pour some lime juice into the toilet bowl and let it sit for a few minutes before scrubbing with a toilet brush. The citric acid will help to remove stains and mineral deposits. You can also add a few drops of tea tree oil for its antibacterial properties.
10. What are some other uses for leftover lime peels?
Leftover lime peels can be used for a variety of purposes, including:
* **Garbage Disposal Freshener:** Toss a few lime peels into your garbage disposal to freshen it up and eliminate odors.
* **Insect Repellent:** Place lime peels around your home to repel insects like ants and mosquitoes.
* **Potpourri:** Dry lime peels and add them to potpourri for a refreshing citrus scent.
* **Skin Exfoliant:** Rub lime peels on your skin to exfoliate and brighten your complexion (avoid if you have sensitive skin).
* **Composting:** Add lime peels to your compost pile to add nutrients and acidity.
Leave a Comment