
DIY Home Repair Projects: Ever feel that twinge of frustration when something breaks around the house? That leaky faucet, a wobbly shelf, or a chipped tile staring back at you? I know I have! For centuries, humans have been fixing and improving their homes, a testament to our resourcefulness and desire for comfortable living spaces. From ancient civilizations using rudimentary tools to build shelters to modern homeowners tackling complex renovations, the spirit of DIY has always been alive.
But let’s be honest, calling a professional for every minor issue can quickly drain your wallet. That’s where the magic of DIY Home Repair Projects comes in! This isn’t just about saving money; it’s about gaining valuable skills, boosting your confidence, and taking pride in your home. Imagine the satisfaction of fixing that dripping faucet yourself, knowing you not only saved a few bucks but also learned a new skill.
In this article, I’m going to share some essential DIY home repair tricks and hacks that will empower you to tackle common household problems with ease. We’ll cover everything from basic plumbing fixes to simple carpentry repairs, all explained in a clear, step-by-step manner. So, grab your toolbox, and let’s get started on transforming your house into a well-maintained and comfortable home, one DIY project at a time!
DIY Lime Cleaning Power: A Natural Cleaning Hack That Will Blow Your Mind!
Hey everyone! Are you tired of harsh chemicals and expensive cleaning products? I know I was! That’s why I’m so excited to share this amazing DIY lime cleaning hack with you. It’s natural, effective, and uses ingredients you probably already have in your kitchen. Get ready to ditch those store-bought cleaners and embrace the power of lime!
This hack is perfect for tackling hard water stains, soap scum, grease, and general grime around your home. Plus, it smells fantastic!
What You’ll Need
Before we dive in, let’s gather our supplies. This is a super simple recipe, so you won’t need much:
* Limes (the star of the show!)
* Baking soda
* White vinegar (optional, but adds extra cleaning power)
* Salt (coarse salt works best)
* Spray bottle (for the lime juice solution)
* Cleaning cloths or sponges
* Old toothbrush (for scrubbing tight spots)
* Gloves (optional, but recommended if you have sensitive skin)
* A bowl or container for mixing
How It Works: The Science Behind the Sparkle
Limes are naturally acidic, and that acidity is what makes them such a fantastic cleaning agent. The citric acid in limes helps to break down grease, dissolve mineral deposits (like hard water stains), and kill bacteria. Baking soda is a mild abrasive that helps to scrub away grime without scratching surfaces. White vinegar is another acid that boosts the cleaning power of the lime juice and helps to disinfect. Salt acts as a gentle abrasive, perfect for tackling stubborn stains.
Lime Cleaning Hack: Step-by-Step Guide
Okay, let’s get down to business! Here’s how to use limes to clean your home:
Section 1: Making the Lime Cleaning Solutions
This is where we prepare our lime-powered arsenal!
1. Lime Juice Spray: First, we’ll make a simple lime juice spray. Cut several limes in half and squeeze the juice into a spray bottle. You can use a citrus juicer or just squeeze them by hand. Aim to fill the spray bottle about halfway with lime juice. Top it off with water. This diluted lime juice is perfect for general cleaning and disinfecting.
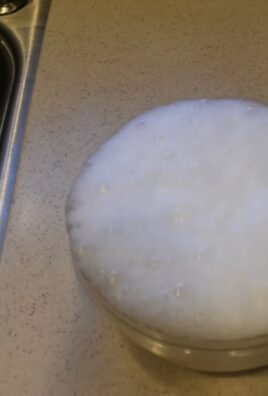
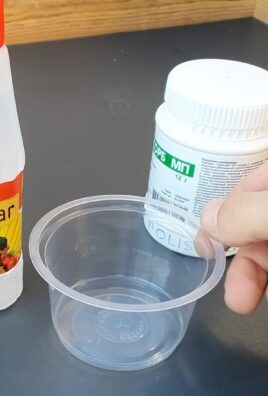
2. Lime and Baking Soda Paste: Next, we’ll create a powerful cleaning paste. In a bowl, mix together baking soda and lime juice until you form a thick paste. The consistency should be similar to toothpaste. This paste is great for tackling tough stains and grime.
3. Lime, Salt, and Vinegar Scrub (Optional): For extra stubborn messes, we’ll make a super-charged scrub. In a separate bowl, combine lime juice, coarse salt, and a splash of white vinegar. The salt will provide extra scrubbing power, and the vinegar will boost the cleaning action. Be careful using this on delicate surfaces, as the salt can be abrasive.
Section 2: Cleaning Different Areas of Your Home
Now that we have our cleaning solutions ready, let’s put them to work!
Cleaning the Kitchen
The kitchen is a prime candidate for lime cleaning!
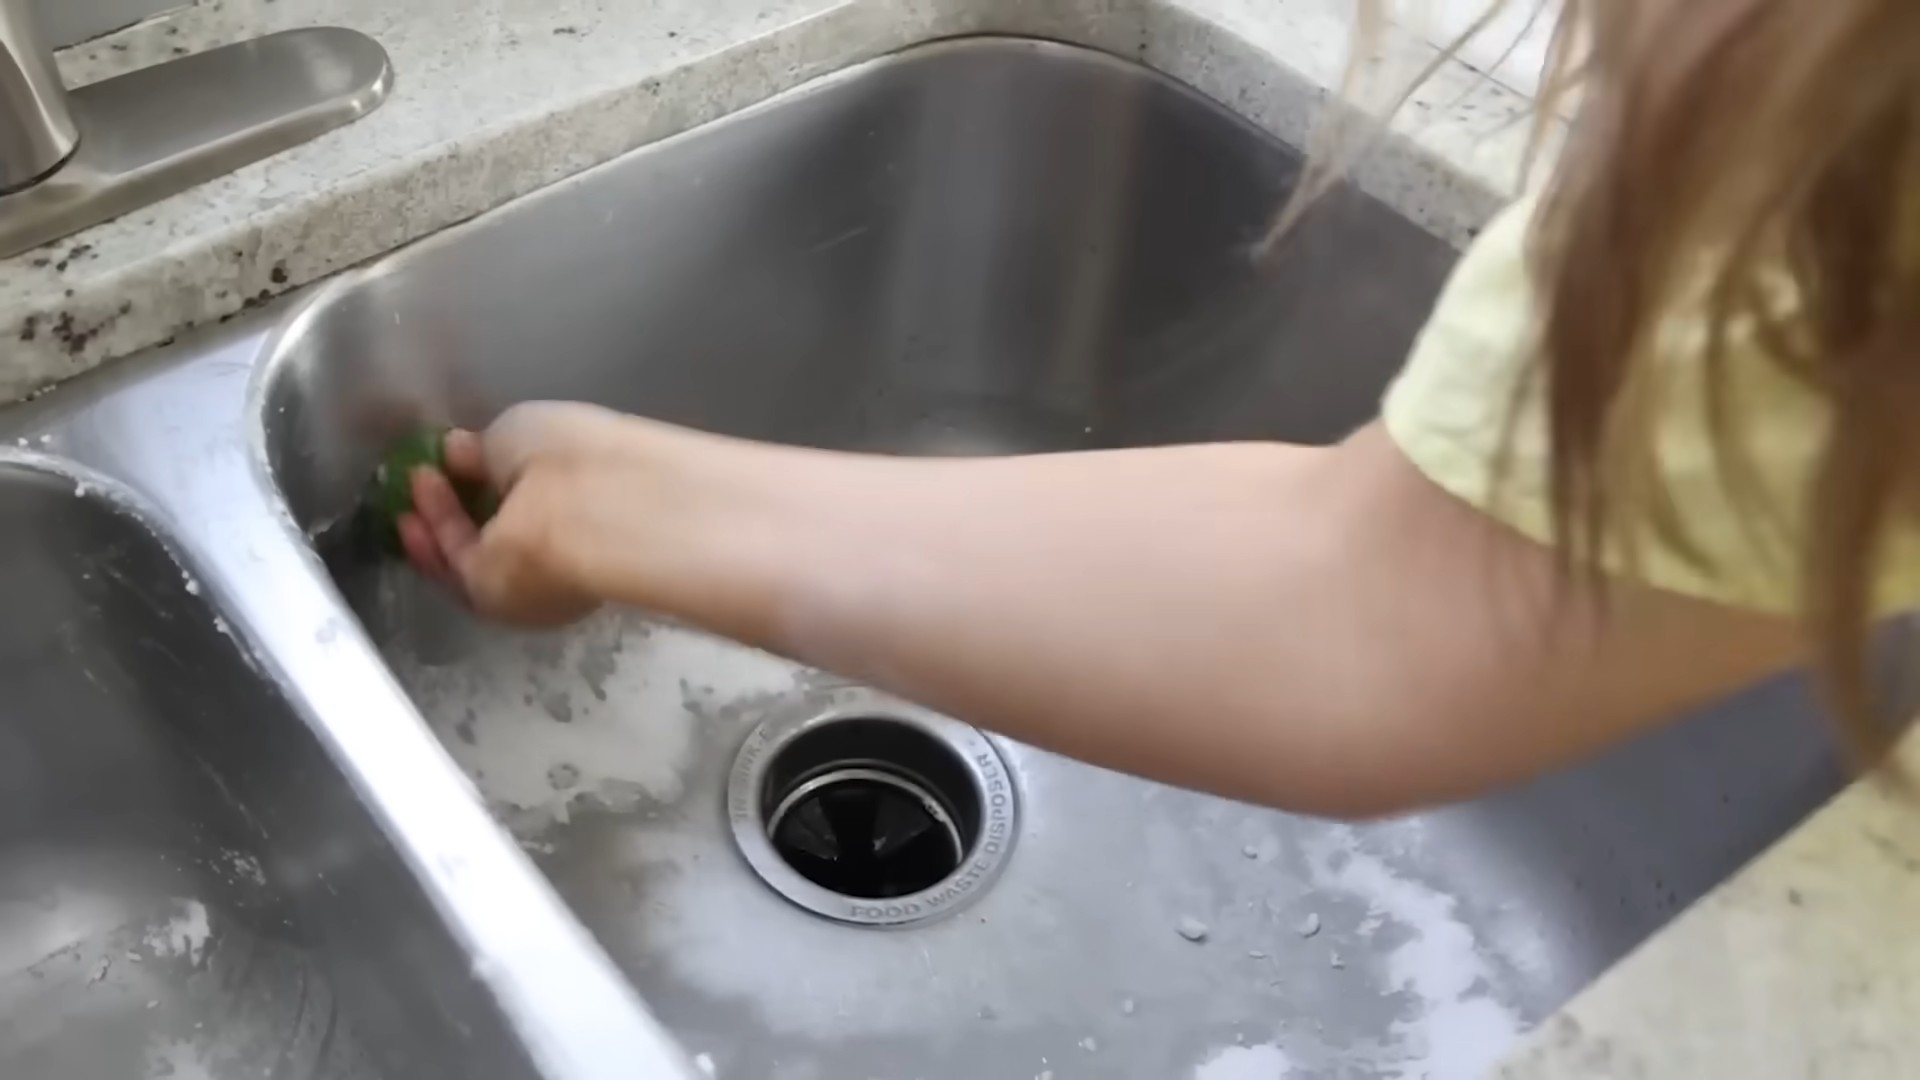
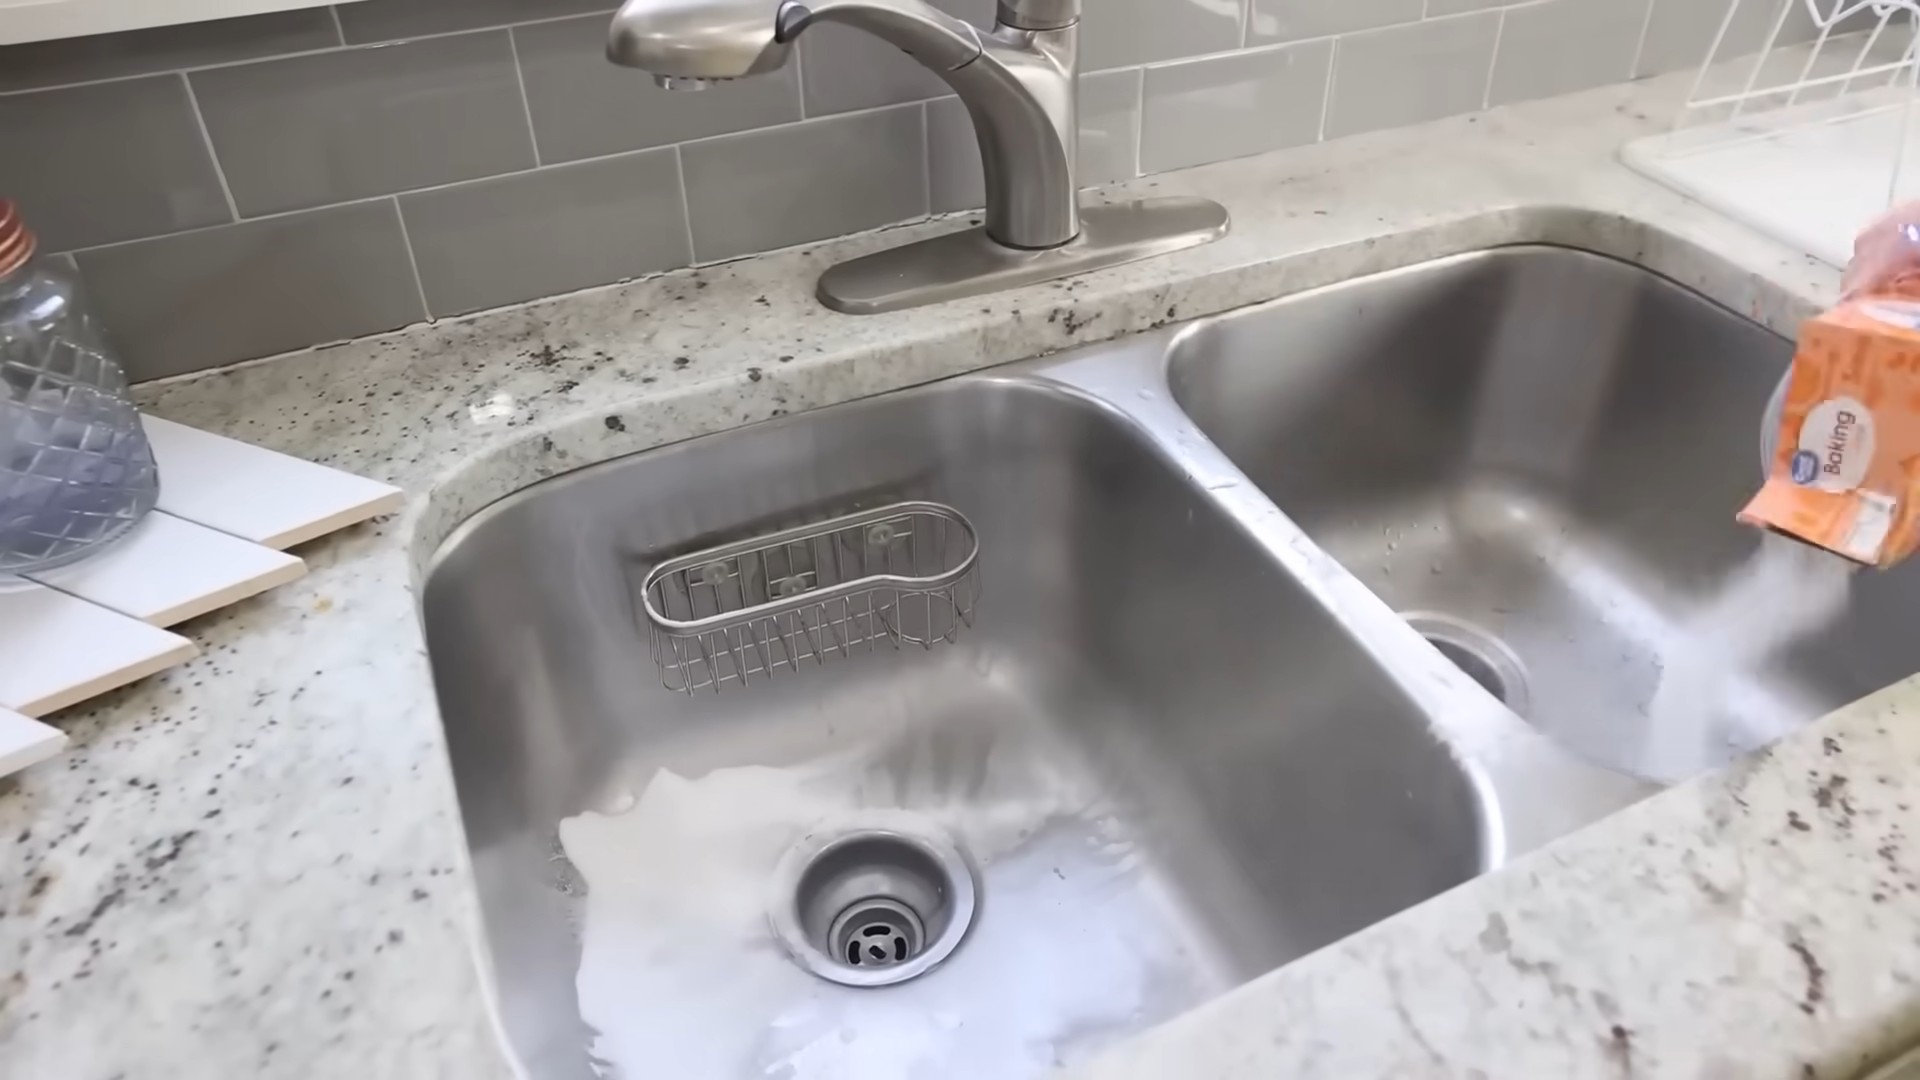
1. Cleaning the Sink: Sprinkle baking soda into your sink. Cut a lime in half and use it to scrub the sink surface. The lime juice will react with the baking soda, creating a fizzing action that helps to lift dirt and grime. Rinse thoroughly with water. For stubborn stains, use the lime and baking soda paste.
2. Cleaning the Faucet: Hard water stains on your faucet? No problem! Soak a cloth in lime juice and wrap it around the faucet. Let it sit for about 30 minutes, then scrub with an old toothbrush. Rinse with water and dry with a clean cloth.
3. Cleaning the Countertops: Spray your countertops with the lime juice spray and wipe clean with a cloth. Be sure to test a small, inconspicuous area first to ensure the lime juice doesn’t damage the surface. Avoid using lime juice on marble or granite countertops, as the acidity can etch the stone.
4. Cleaning the Microwave: Cut a lime in half and place it in a microwave-safe bowl with about a cup of water. Microwave on high for 3-5 minutes. The steam will loosen any splatters and grime, making it easy to wipe clean. Let the bowl cool slightly before removing it.
5. Cleaning Cutting Boards: After washing your cutting board, rub it with a cut lime half. The lime juice will help to disinfect the surface and remove any lingering odors. Rinse thoroughly with water.
Cleaning the Bathroom
The bathroom is another area where limes can really shine!
1. Cleaning the Shower: Spray the shower walls and door with the lime juice spray. Let it sit for a few minutes, then scrub with a sponge or brush. Rinse with water. For stubborn soap scum, use the lime and baking soda paste.
2. Cleaning the Toilet: Pour a cup of lime juice into the toilet bowl. Let it sit for about 30 minutes, then scrub with a toilet brush and flush.
3. Cleaning the Bathroom Sink: Follow the same steps as cleaning the kitchen sink. Baking soda and a lime half are your best friends here!
4. Cleaning Showerheads: If your showerhead is clogged with mineral deposits, remove it and soak it in a bowl of lime juice overnight. Rinse thoroughly with water before reattaching.
Other Cleaning Uses
Limes aren’t just for the kitchen and bathroom!
1. Cleaning Copper: Cut a lime in half and sprinkle it with salt. Use the lime to scrub your copper pots and pans. The salt will act as an abrasive, and the lime juice will help to remove tarnish. Rinse thoroughly with water and dry with a clean cloth.
2. Freshening the Garbage Disposal: Toss a few lime wedges into your garbage disposal and run it with cold water. The lime will help to freshen the disposal and remove any unpleasant odors.
3. Removing Rust: Apply lime juice to rust stains on fabric or metal. Let it sit for a few minutes, then scrub with a brush or cloth. Rinse thoroughly with water. You may need to repeat this process several times for stubborn rust stains.
4. Cleaning Stainless Steel: Use the lime juice spray to clean stainless steel appliances. Wipe with a clean cloth to remove any streaks.
Important Considerations and Safety Tips
While lime cleaning is generally safe and natural, there are a few things to keep in mind:
* Test on a small area first: Before cleaning an entire surface, always test the lime juice or paste on a small, inconspicuous area to ensure it doesn’t damage the material.
* Avoid certain surfaces: As mentioned earlier, avoid using lime juice on marble, granite, or other delicate stone surfaces. The acidity can etch the stone.
* Protect your skin: While lime juice is natural, it can still irritate sensitive skin. Wear gloves when cleaning with lime juice, especially if you’re using it for extended periods.
* Rinse thoroughly: After cleaning with lime juice or paste, always rinse the surface thoroughly with water to remove any residue.
* Don’t mix with bleach: Never mix lime juice with bleach, as this can create harmful fumes.
* Storage: Store your lime juice spray in a cool, dark place. It’s best to use it within a few weeks, as the lime juice can lose its potency over time. The lime and baking soda paste should be made fresh each time you use it.
Troubleshooting: What to Do If It Doesn’t Work
Sometimes, even the best cleaning hacks don’t work perfectly the first time. Here are a few troubleshooting tips:
* Stubborn stains: If you’re struggling with a stubborn stain, try letting the lime juice or paste sit on the stain for a longer period of time before scrubbing. You may also need to repeat the cleaning process several times.
* Hard water stains: Hard water stains can be particularly difficult to remove. For these stains, try using the lime, salt, and vinegar scrub. The salt will provi
Hey everyone! Are you tired of harsh chemicals and expensive cleaning products? I know I was! That’s why I’m so excited to share this amazing DIY lime cleaning hack with you. It’s natural, effective, and uses ingredients you probably already have in your kitchen. Get ready to ditch those store-bought cleaners and embrace the power of lime!
This hack is perfect for tackling hard water stains, soap scum, grease, and general grime around your home. Plus, it smells fantastic!
What You’ll Need
Before we dive in, let’s gather our supplies. This is a super simple recipe, so you won’t need much:
* Limes (the star of the show!)
* Baking soda
* White vinegar (optional, but adds extra cleaning power)
* Salt (coarse salt works best)
* Spray bottle (for the lime juice solution)
* Cleaning cloths or sponges
* Old toothbrush (for scrubbing tight spots)
* Gloves (optional, but recommended if you have sensitive skin)
* A bowl or container for mixing
How It Works: The Science Behind the Sparkle
Limes are naturally acidic, and that acidity is what makes them such a fantastic cleaning agent. The citric acid in limes helps to break down grease, dissolve mineral deposits (like hard water stains), and kill bacteria. Baking soda is a mild abrasive that helps to scrub away grime without scratching surfaces. White vinegar is another acid that boosts the cleaning power of the lime juice and helps to disinfect. Salt acts as a gentle abrasive, perfect for tackling stubborn stains.
Lime Cleaning Hack: Step-by-Step Guide
Okay, let’s get down to business! Here’s how to use limes to clean your home:
Section 1: Making the Lime Cleaning Solutions
This is where we prepare our lime-powered arsenal!
1. Lime Juice Spray: First, we’ll make a simple lime juice spray. Cut several limes in half and squeeze the juice into a spray bottle. You can use a citrus juicer or just squeeze them by hand. Aim to fill the spray bottle about halfway with lime juice. Top it off with water. This diluted lime juice is perfect for general cleaning and disinfecting.
2. Lime and Baking Soda Paste: Next, we’ll create a powerful cleaning paste. In a bowl, mix together baking soda and lime juice until you form a thick paste. The consistency should be similar to toothpaste. This paste is great for tackling tough stains and grime.
3. Lime, Salt, and Vinegar Scrub (Optional): For extra stubborn messes, we’ll make a super-charged scrub. In a separate bowl, combine lime juice, coarse salt, and a splash of white vinegar. The salt will provide extra scrubbing power, and the vinegar will boost the cleaning action. Be careful using this on delicate surfaces, as the salt can be abrasive.
Section 2: Cleaning Different Areas of Your Home
Now that we have our cleaning solutions ready, let’s put them to work!
Cleaning the Kitchen
The kitchen is a prime candidate for lime cleaning!
1. Cleaning the Sink: Sprinkle baking soda into your sink. Cut a lime in half and use it to scrub the sink surface. The lime juice will react with the baking soda, creating a fizzing action that helps to lift dirt and grime. Rinse thoroughly with water. For stubborn stains, use the lime and baking soda paste.
2. Cleaning the Faucet: Hard water stains on your faucet? No problem! Soak a cloth in lime juice and wrap it around the faucet. Let it sit for about 30 minutes, then scrub with an old toothbrush. Rinse with water and dry with a clean cloth.
3. Cleaning the Countertops: Spray your countertops with the lime juice spray and wipe clean with a cloth. Be sure to test a small, inconspicuous area first to ensure the lime juice doesn’t damage the surface. Avoid using lime juice on marble or granite countertops, as the acidity can etch the stone.
4. Cleaning the Microwave: Cut a lime in half and place it in a microwave-safe bowl with about a cup of water. Microwave on high for 3-5 minutes. The steam will loosen any splatters and grime, making it easy to wipe clean. Let the bowl cool slightly before removing it.
5. Cleaning Cutting Boards: After washing your cutting board, rub it with a cut lime half. The lime juice will help to disinfect the surface and remove any lingering odors. Rinse thoroughly with water.
Cleaning the Bathroom
The bathroom is another area where limes can really shine!
1. Cleaning the Shower: Spray the shower walls and door with the lime juice spray. Let it sit for a few minutes, then scrub with a sponge or brush. Rinse with water. For stubborn soap scum, use the lime and baking soda paste.
2. Cleaning the Toilet: Pour a cup of lime juice into the toilet bowl. Let it sit for about 30 minutes, then scrub with a toilet brush and flush.
3. Cleaning the Bathroom Sink: Follow the same steps as cleaning the kitchen sink. Baking soda and a lime half are your best friends here!
4. Cleaning Showerheads: If your showerhead is clogged with mineral deposits, remove it and soak it in a bowl of lime juice overnight. Rinse thoroughly with water before reattaching.
Other Cleaning Uses
Limes aren’t just for the kitchen and bathroom!
1. Cleaning Copper: Cut a lime in half and sprinkle it with salt. Use the lime to scrub your copper pots and pans. The salt will act as an abrasive, and the lime juice will help to remove tarnish. Rinse thoroughly with water and dry with a clean cloth.
2. Freshening the Garbage Disposal: Toss a few lime wedges into your garbage disposal and run it with cold water. The lime will help to freshen the disposal and remove any unpleasant odors.
3. Removing Rust: Apply lime juice to rust stains on fabric or metal. Let it sit for a few minutes, then scrub with a brush or cloth. Rinse thoroughly with water. You may need to repeat this process several times for stubborn rust stains.
4. Cleaning Stainless Steel: Use the lime juice spray to clean stainless steel appliances. Wipe with a clean cloth to remove any streaks.
Important Considerations and Safety Tips
While lime cleaning is generally safe and natural, there are a few things to keep in mind:
* Test on a small area first: Before cleaning an entire surface, always test the lime juice or paste on a small, inconspicuous area to ensure it doesn’t damage the material.
* Avoid certain surfaces: As mentioned earlier, avoid using lime juice on marble, granite, or other delicate stone surfaces. The acidity can etch the stone.
* Protect your skin: While lime juice is natural, it can still irritate sensitive skin. Wear gloves when cleaning with lime juice, especially if you’re using it for extended periods.
* Rinse thoroughly: After cleaning with lime juice or paste, always rinse the surface thoroughly with water to remove any residue.
* Don’t mix with bleach: Never mix lime juice with bleach, as this can create harmful fumes.
* Storage: Store your lime juice spray in a cool, dark place. It’s best to use it within a few weeks, as the lime juice can lose its potency over time. The lime and baking soda paste should be made fresh each time you use it.
Troubleshooting: What to Do If It Doesn’t Work
Sometimes, even the best cleaning hacks don’t work perfectly the first time. Here are a few troubleshooting tips:
* Stubborn stains: If you’re struggling with a stubborn stain, try letting the lime juice or paste sit on the stain for a longer period of time before scrubbing. You may also need to repeat the cleaning process several times.
* Hard water stains: Hard water stains can be particularly difficult to remove. For these stains, try using the lime, salt, and vinegar scrub. The salt will provide extra scrubbing power, and the vinegar will help to dissolve the mineral deposits.
* Grease: For greasy messes, try using hot water along with the lime juice or paste. Hot water helps to break down grease, making it easier to clean.
* Surface damage: If you accidentally damage a surface with lime juice, rinse it immediately with water and dry with a clean cloth. You may also need to apply a sealant or polish to restore the surface.
Why I Love This Hack
I absolutely love this lime cleaning hack because it’s so simple, effective, and eco-friendly. I feel good knowing that I’m cleaning my home with natural ingredients that are safe for my family and the environment. Plus, the fresh citrus scent is so much more pleasant than the harsh chemical smells of store-bought cleaners. I hope you give this hack a try and discover the amazing cleaning power of limes! Happy cleaning!
Conclusion
So, there you have it! Mastering these simple DIY home repair projects isn’t just about saving money; it’s about empowering yourself to take control of your living space and fostering a deeper connection with your home. We’ve covered some essential techniques, from patching drywall to silencing squeaky floors, all designed to be accessible to even the most novice DIYer.
Why is this a must-try? Because the satisfaction of fixing something yourself is unparalleled. It’s a confidence booster, a stress reliever, and a tangible accomplishment all rolled into one. Plus, you’ll gain a valuable skillset that will serve you well for years to come. Imagine the pride you’ll feel when you can confidently tackle minor repairs without having to call a professional.
But don’t stop there! These are just starting points. Feel free to experiment and adapt these techniques to suit your specific needs and style. For example, when patching drywall, consider using textured paint to blend the repair seamlessly with the surrounding wall. Or, if you’re dealing with stubborn squeaky floors, try using a specialized floor squeak elimination kit for a more permanent solution.
Here are some suggestions and variations to consider:
* Personalize your paint projects: Don’t be afraid to get creative with color and design. Use stencils, tape off patterns, or try a faux finish to add a unique touch to your walls.
* Upgrade your hardware: Replacing old, outdated hardware on cabinets and drawers is a simple and inexpensive way to refresh the look of your kitchen or bathroom.
* Add weather stripping: Improve your home’s energy efficiency by adding weather stripping around doors and windows to seal out drafts.
* Explore different types of caulk: There are various types of caulk available, each designed for specific applications. Choose the right caulk for the job to ensure a long-lasting and watertight seal.
We strongly encourage you to give these DIY home repair projects a try. Start with a small, manageable project and gradually work your way up to more complex tasks. Remember to take your time, follow the instructions carefully, and don’t be afraid to ask for help if you need it.
Most importantly, we want to hear about your experiences! Share your successes (and even your challenges) in the comments below. What DIY home repair projects have you tackled? What tips and tricks have you learned along the way? Your insights could be invaluable to other readers who are just starting their DIY journey. Let’s build a community of empowered homeowners who are confident in their ability to maintain and improve their living spaces. So, grab your tools, roll up your sleeves, and get ready to experience the satisfaction of DIY!
FAQ
What are the most essential tools I need for basic DIY home repair projects?
A good starting point includes a hammer, screwdrivers (Phillips and flathead), a measuring tape, a level, pliers, a utility knife, a putty knife, sandpaper, safety glasses, and work gloves. As you tackle more projects, you may want to add a drill, a saw, and a stud finder to your toolkit. Investing in quality tools will make your projects easier and more enjoyable.
How do I know if a repair is something I can DIY or if I should call a professional?
Assess the complexity of the repair, your skill level, and the potential risks involved. If the repair involves electrical work, plumbing, or structural issues, it’s generally best to call a professional. If you’re unsure, err on the side of caution. Also, consider whether the repair requires specialized tools or knowledge that you don’t possess. Start with smaller, less complex projects to build your confidence and skills.
What’s the best way to prepare a surface before painting?
Proper preparation is key to a successful paint job. Start by cleaning the surface thoroughly to remove dirt, dust, and grease. Repair any imperfections, such as holes or cracks, with spackle or drywall compound. Sand the surface smooth and prime it with a good quality primer. Priming helps the paint adhere better and provides a uniform surface for the paint to cover. Allow the primer to dry completely before applying the paint.
How do I fix a leaky faucet?
Fixing a leaky faucet can often be a simple DIY project. First, identify the type of faucet you have (e.g., compression, cartridge, ball, or ceramic disc). Turn off the water supply to the faucet before you begin. Disassemble the faucet and inspect the O-rings, washers, and cartridges for wear and tear. Replace any worn parts with new ones. Reassemble the faucet and turn the water supply back on. If the leak persists, you may need to consult a plumber.
How can I prevent future home repair issues?
Regular maintenance is crucial for preventing future home repair issues. Inspect your home regularly for signs of damage, such as leaks, cracks, or loose shingles. Address minor issues promptly before they escalate into larger, more expensive problems. Clean your gutters regularly to prevent water damage. Inspect your plumbing and electrical systems periodically. By taking proactive steps, you can minimize the need for costly repairs down the road.
What are some common mistakes to avoid when doing DIY home repair projects?
Some common mistakes include not properly preparing the surface before painting, using the wrong tools for the job, not following instructions carefully, and attempting repairs that are beyond your skill level. Always take your time, read the instructions thoroughly, and don’t be afraid to ask for help if you need it. Safety should always be your top priority. Wear appropriate safety gear, such as safety glasses and work gloves, and be aware of potential hazards.
Where can I find reliable information and resources for DIY home repair projects?
There are many reliable sources of information and resources available online and in print. Look for reputable websites, blogs, and forums that offer step-by-step instructions, videos, and tips. Home improvement stores often offer workshops and classes on various DIY topics. You can also consult books and magazines on home repair and maintenance. When researching online, be sure to verify the credibility of the source before following their advice.

Leave a Comment