
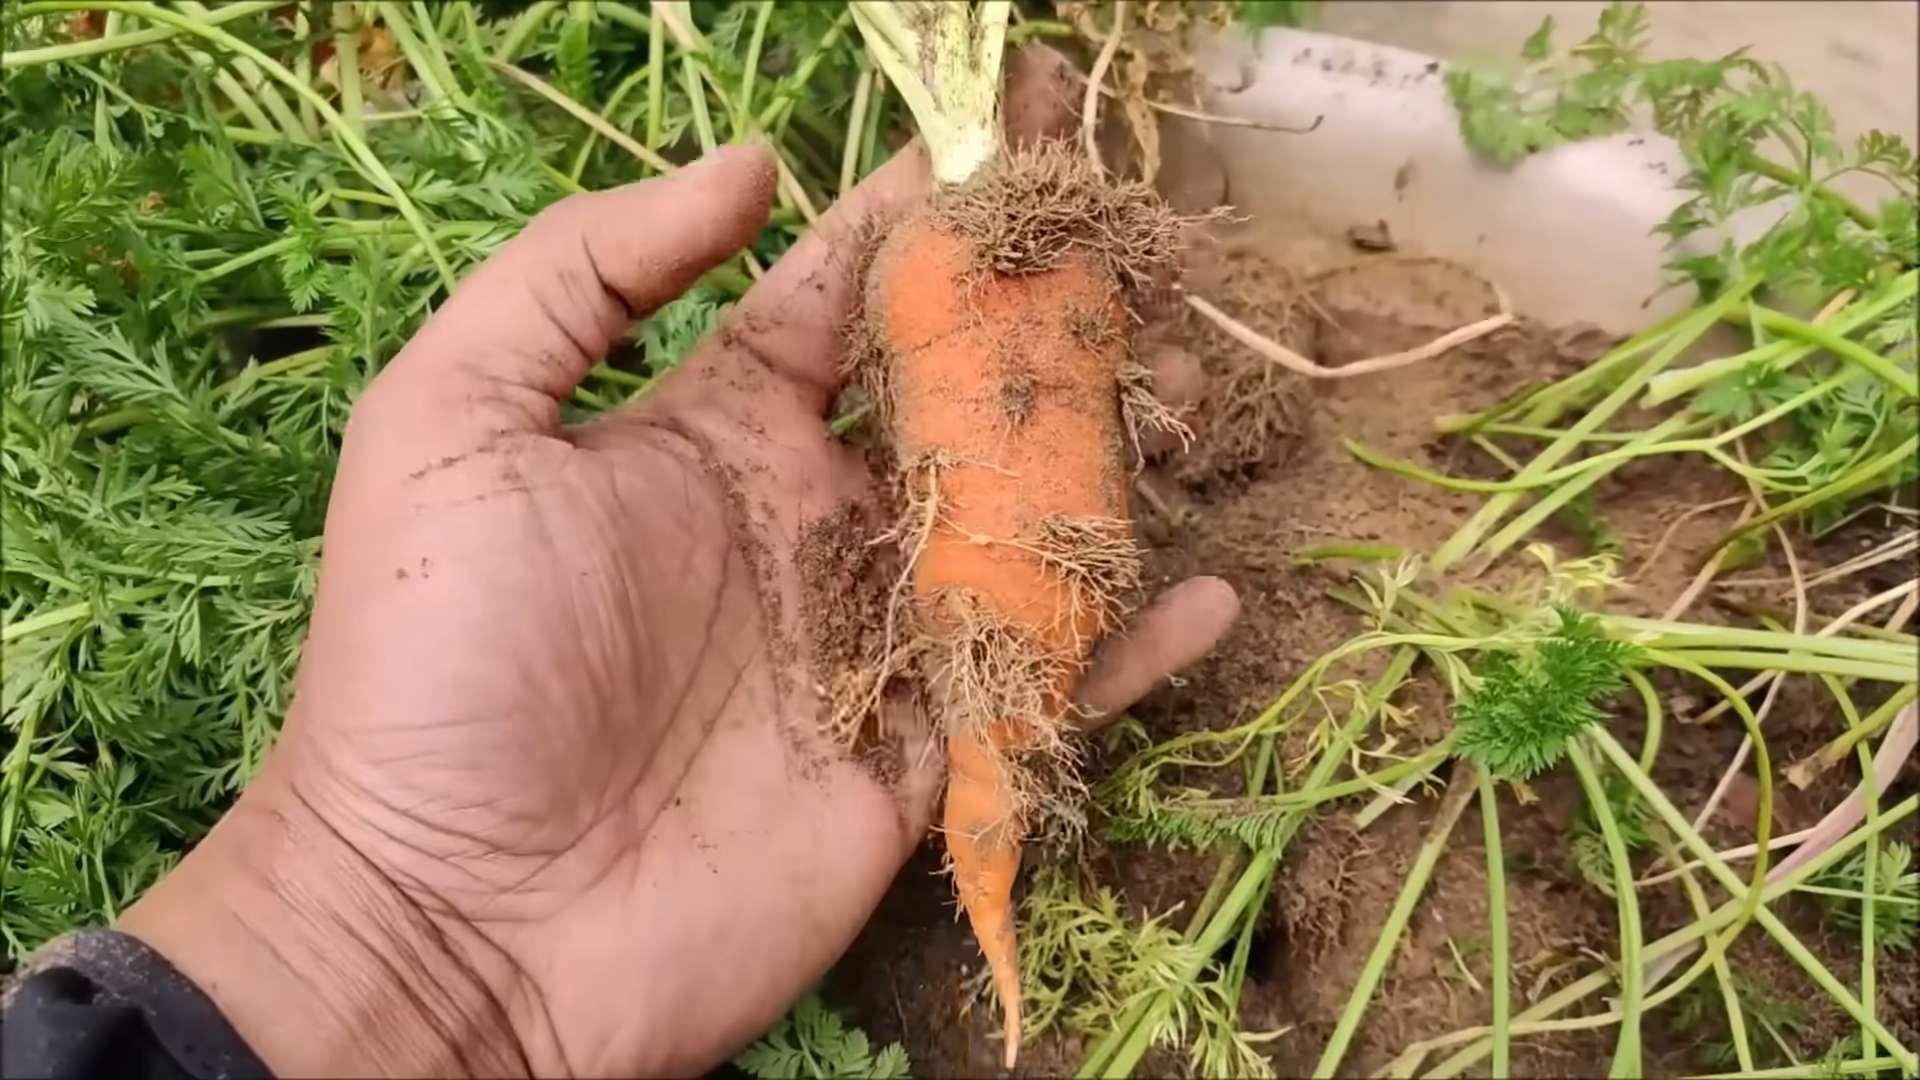
Planting Carrots at Home: Imagine pulling vibrant, crunchy carrots straight from your own backyard, bursting with flavor that no store-bought carrot can match. Sounds dreamy, right? Well, it’s absolutely achievable, even if you’re a complete beginner! This isn’t just about growing vegetables; it’s about connecting with nature, enjoying the freshest produce, and experiencing the satisfaction of nurturing something from seed to table.
Carrots have a rich history, dating back thousands of years. Originally, they weren’t even orange! Purple, yellow, and white varieties were common before the orange carrot we know and love was popularized in the Netherlands in the 17th century. Today, they’re a staple in cuisines worldwide, celebrated for their versatility and nutritional benefits.
But why bother with the effort of planting carrots at home when you can easily buy them at the grocery store? Because the taste difference is undeniable! Homegrown carrots are sweeter, crisper, and packed with more nutrients. Plus, you control exactly what goes into their growth, ensuring they’re free from harmful pesticides and chemicals. In this article, I’m going to share some simple, effective DIY tricks and hacks that will make planting carrots at home a breeze, even if you have limited space or a less-than-green thumb. Get ready to enjoy the rewarding experience of growing your own delicious carrots!
Growing French Beans Indoors: A Complete DIY Guide
Hey there, fellow plant enthusiasts! Ever dreamt of enjoying fresh, homegrown French beans even when the weather outside is frightful? Well, dream no more! I’m going to walk you through the entire process of growing these delicious veggies indoors, from seed to harvest. It’s easier than you think, and the reward of snapping a bean fresh from your indoor garden is simply unbeatable.
Choosing the Right French Bean Variety
Not all French bean varieties are created equal, especially when it comes to indoor growing. You’ll want to opt for bush varieties rather than pole beans, as they stay compact and don’t require extensive climbing support. Here are a few of my favorites that have thrived indoors:
* ‘Provider’: This is a classic choice, known for its early maturity and high yields. The beans are tender and flavorful.
* ‘Contender’: As the name suggests, this variety is a strong performer, producing stringless beans that are perfect for salads or steaming.
* ‘Blue Lake Bush’: A popular choice for its rich flavor and disease resistance. It’s a reliable option for beginners.
* ‘Maxibel’: This variety produces long, slender beans with a crisp texture. It’s a great choice if you prefer a more refined bean.
Gathering Your Supplies
Before we dive into the planting process, let’s make sure you have everything you need. Here’s a checklist of essential supplies:
* French Bean Seeds: Choose your preferred bush variety from the list above.
* Pots or Containers: Select pots that are at least 6-8 inches deep and wide. Good drainage is crucial, so make sure they have drainage holes.
* Potting Mix: Use a high-quality, well-draining potting mix. Avoid using garden soil, as it can compact and hinder drainage.
* Grow Lights (Optional but Recommended): French beans need plenty of light to thrive. If you don’t have a sunny windowsill, invest in a grow light.
* Watering Can or Spray Bottle: For gentle and even watering.
* Fertilizer: A balanced liquid fertilizer or slow-release fertilizer to provide essential nutrients.
* Small Trellis or Stakes (Optional): While bush beans don’t climb, they might benefit from some support as they grow.
* Seed Starting Tray (Optional): If you prefer to start your seeds indoors before transplanting.
Planting Your French Bean Seeds
Now for the fun part! Let’s get those seeds in the soil and watch them sprout.
1. Soaking the Seeds (Optional): I like to soak my bean seeds in water for 2-4 hours before planting. This helps to soften the seed coat and speed up germination. Don’t soak them for longer than 4 hours, as they can rot.
2. Filling the Pots: Fill your pots with potting mix, leaving about an inch of space at the top. Gently tap the pot to settle the soil.
3. Sowing the Seeds: Make small holes about 1 inch deep and 2-3 inches apart. Place 2-3 seeds in each hole. This increases the chances of at least one seed germinating in each spot.
4. Covering the Seeds: Gently cover the seeds with potting mix and lightly pat down the soil.
5. Watering: Water the soil thoroughly until it’s evenly moist but not waterlogged.
6. Placement: Place the pots in a warm location with plenty of sunlight or under a grow light. The ideal temperature for germination is between 65-75°F (18-24°C).
Germination and Early Growth
Keep a close eye on your pots! Germination usually takes place within 5-10 days.
1. Maintaining Moisture: Keep the soil consistently moist but not soggy. Water when the top inch of soil feels dry to the touch.
2. Thinning Seedlings: Once the seedlings emerge and have a few sets of leaves, thin them out, leaving only the strongest seedling in each spot. Snip off the weaker seedlings at the soil line to avoid disturbing the roots of the remaining plant.
3. Providing Light: If you’re using a grow light, position it about 6-12 inches above the seedlings. Adjust the height as the plants grow. Aim for 12-16 hours of light per day.
4. Ventilation: Ensure good air circulation around the plants to prevent fungal diseases. A small fan can help with this.
Caring for Your French Bean Plants
As your French bean plants grow, they’ll need ongoing care to thrive and produce a bountiful harvest.
1. Watering: Water regularly, especially during hot weather. Check the soil moisture daily and water when the top inch feels dry. Avoid overwatering, as this can lead to root rot.
2. Fertilizing: Start fertilizing your plants about 2-3 weeks after germination. Use a balanced liquid fertilizer diluted to half strength every 2-3 weeks. Alternatively, you can use a slow-release fertilizer according to the package instructions.
3. Providing Support (Optional): While bush beans are compact, they can sometimes benefit from some support, especially as they start producing beans. You can use small stakes or a mini trellis to help keep the plants upright.
4. Pest Control: Keep an eye out for common pests like aphids, spider mites, and whiteflies. If you spot any pests, treat them promptly with insecticidal soap or neem oil.
5. Pollination: French beans are self-pollinating, but you can help the process along by gently shaking the plants or using a small brush to transfer pollen from one flower to another. This is especially important if you’re growing your beans indoors, where there are no natural pollinators.
Harvesting Your French Beans
The moment you’ve been waiting for! Harvesting your homegrown French beans is incredibly rewarding.
1. Timing: French beans are typically ready to harvest about 50-60 days after planting. The beans should be firm, plump, and snap easily when bent.
2. Harvesting Technique: Gently snap the beans off the plant, being careful not to damage the stems or leaves.
3. Frequency: Harvest your beans regularly, every 2-3 days, to encourage continued production. The more you harvest, the more beans the plant will produce.
4. Storage: Freshly harvested French beans are best enjoyed immediately. However, you can store them in the refrigerator for up to a week. Place them in a plastic bag or container to prevent them from drying out.
Troubleshooting Common Issues
Even with the best care, you might encounter some challenges along the way. Here are some common issues and how to address them:
* Yellowing Leaves: This could be a sign of overwatering, underwatering, or nutrient deficiency. Check the soil moisture and adjust your watering accordingly. If the soil is consistently moist, reduce watering. If the soil is dry, water more frequently. You can also try fertilizing your plants with a balanced fertilizer.
* Lack of Flowers: This could be due to insufficient light, high temperatures, or nutrient deficiency. Make sure your plants are getting enough light (at least 6 hours of direct sunlight or 12-16 hours of grow light). Keep the temperature between 65-75°F (18-24°C). Fertilize your plants with a fertilizer that is high in phosphorus.
* Pest Infestations: Regularly inspect your plants for pests. If you spot any, treat them promptly with insecticidal soap or neem oil.
* Root Rot: This is caused by overwatering and poor drainage. Make sure your pots have drainage holes and avoid overwatering. If you suspect root rot, repot your plants in fresh potting mix.
Enjoying Your Homegrown French Beans
Congratulations! You’ve successfully grown French beans indoors. Now it’s time to enjoy the fruits (or rather, vegetables) of your labor. Here are a few ideas for using your homegrown French beans:
* Steamed or Boiled: A simple and classic way to enjoy the fresh flavor of French beans.
* Sautéed: Sauté them with garlic, olive oil, and a pinch of salt for a delicious side dish.
* Salads: Add them to salads for a crunchy and nutritious boost.
* Casseroles: Use them in casseroles for a hearty and flavorful meal.
* Pickled: Pickle them for a tangy and delicious snack.
Growing French beans indoors is a rewarding experience that allows you to enjoy fresh, homegrown vegetables year-round. With a little care and attention, you can have a bountiful harvest of delicious beans right in your own home. Happy gardening!
Conclusion
So, there you have it! Planting carrots at home isn’t just about saving a few bucks at the grocery store; it’s about connecting with nature, enjoying the unparalleled flavor of freshly harvested produce, and experiencing the satisfaction of growing your own food. This DIY trick, while seemingly simple, unlocks a world of possibilities for both novice and experienced gardeners alike.
Why is this a must-try? Because store-bought carrots simply can’t compare to the vibrant sweetness and crisp texture of homegrown ones. You control the entire process, from the soil composition to the watering schedule, ensuring that your carrots are free from harmful pesticides and packed with nutrients. Plus, it’s incredibly rewarding to pull a beautiful, orange carrot from the earth that you nurtured from a tiny seed.
But the fun doesn’t stop there! Feel free to experiment with different carrot varieties. Consider planting Nantes carrots for their cylindrical shape and sweet flavor, or try Chantenay carrots, which are shorter and stouter, making them ideal for heavier soils. Rainbow carrots, with their vibrant hues of purple, yellow, and white, add a splash of color to your garden and your plate.
Another variation to consider is companion planting. Carrots thrive when planted alongside certain herbs and vegetables. Onions and garlic, for example, deter carrot root flies, while rosemary and sage can help repel other pests. Marigolds are also excellent companion plants, attracting beneficial insects that prey on harmful ones.
Don’t be afraid to get your hands dirty and experiment with different techniques. Try succession planting, sowing seeds every few weeks, to ensure a continuous harvest throughout the growing season. Or, consider using raised beds or containers if you have limited space or poor soil quality.
We wholeheartedly encourage you to try this DIY trick for planting carrots at home. It’s an easy, affordable, and incredibly rewarding experience. Once you taste the difference between homegrown and store-bought carrots, you’ll never go back!
And most importantly, we want to hear about your experience! Share your tips, tricks, and triumphs in the comments below. Let us know what varieties you planted, what challenges you faced, and what you learned along the way. Your feedback will not only help other readers but also inspire us to continue sharing valuable gardening tips and tricks. Happy planting!
Frequently Asked Questions (FAQs)
What is the best time of year to plant carrots?
The best time to plant carrots depends on your climate. In general, carrots are a cool-season crop, meaning they thrive in temperatures between 60°F and 70°F (15°C and 21°C). For most regions, this means planting carrots in early spring or late summer for a fall harvest. In areas with mild winters, you can even plant carrots in the fall for a winter or early spring harvest. Check your local planting calendar for specific dates based on your region’s average frost dates. Avoid planting during the hottest months of summer, as high temperatures can cause the roots to become bitter and stunted.
What kind of soil is best for growing carrots?
Carrots need loose, well-drained soil to develop properly. Rocky or compacted soil can cause the roots to become misshapen or forked. The ideal soil for carrots is sandy loam, which is a mixture of sand, silt, and clay. This type of soil provides good drainage while still retaining enough moisture for the plants to thrive. Before planting, amend your soil with compost or well-rotted manure to improve its fertility and drainage. Avoid using fresh manure, as it can cause the roots to become hairy. The soil pH should be between 6.0 and 6.8 for optimal growth.
How deep should I plant carrot seeds?
Carrot seeds are very small, so they should be planted shallowly. Sow the seeds about ¼ to ½ inch deep and space them about 1 to 2 inches apart in rows that are 12 to 18 inches apart. Gently cover the seeds with soil and water thoroughly. Keep the soil consistently moist until the seeds germinate, which usually takes about 1 to 3 weeks. You can use a light layer of mulch, such as straw or grass clippings, to help retain moisture and prevent the soil from crusting over.
How often should I water my carrot plants?
Carrots need consistent moisture to grow properly, especially during germination and early growth. Water your carrot plants deeply and regularly, especially during dry periods. Aim to keep the soil consistently moist but not waterlogged. Overwatering can lead to root rot, while underwatering can cause the roots to become stunted and tough. A good rule of thumb is to water when the top inch of soil feels dry to the touch. Use a soaker hose or drip irrigation to water the plants at the base, avoiding wetting the foliage, which can promote fungal diseases.
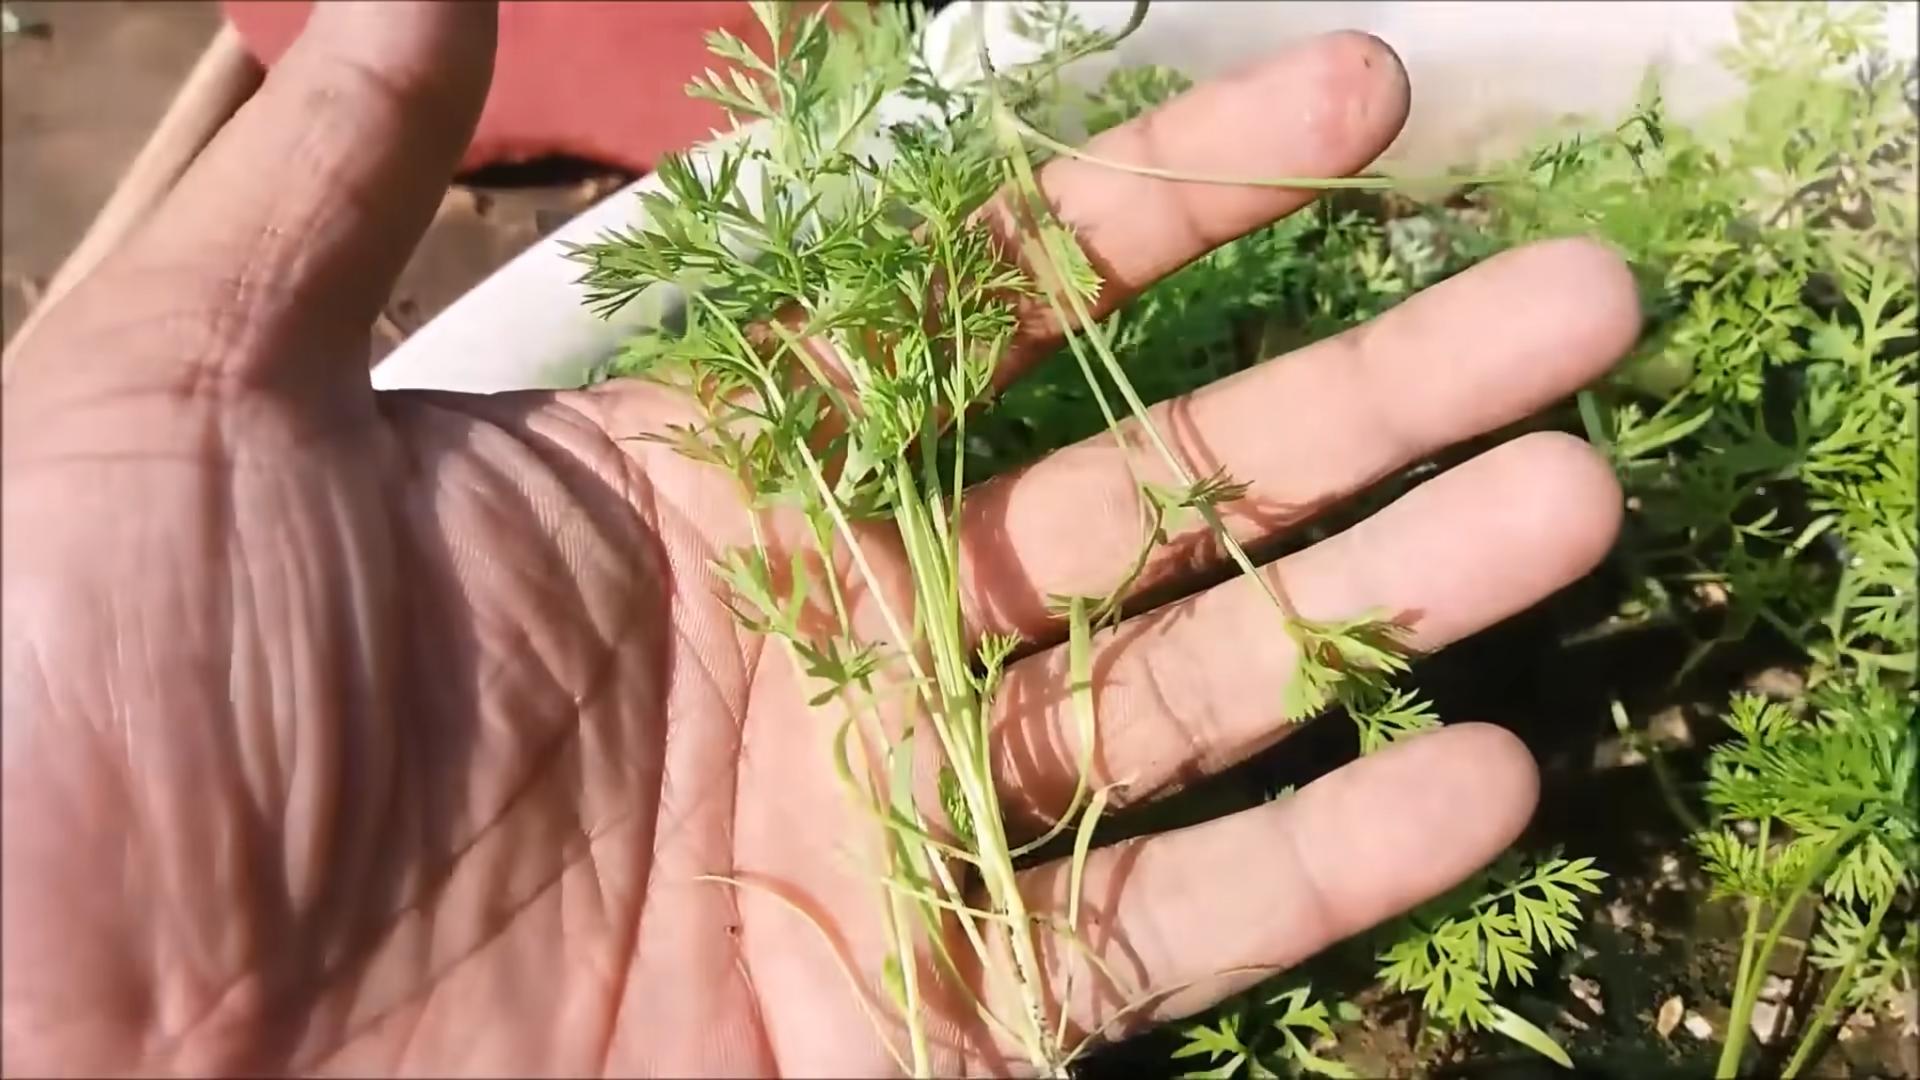
How do I thin carrot seedlings?
Thinning is essential for growing healthy carrots. If the seedlings are too crowded, they will compete for resources and produce small, misshapen roots. Once the seedlings are about 2 inches tall, thin them to about 2 to 3 inches apart. When the carrots are slightly larger, thin them again to about 3 to 4 inches apart. Gently pull out the unwanted seedlings, being careful not to disturb the roots of the remaining plants. You can eat the thinned seedlings as baby carrots or add them to salads.
What are some common pests and diseases that affect carrots?
Carrots are susceptible to several pests and diseases, including carrot root flies, aphids, nematodes, and fungal diseases. Carrot root flies are a common pest that lays their eggs near the base of the plants. The larvae then burrow into the roots, causing damage and making them unmarketable. To prevent carrot root flies, use row covers to protect the plants, practice crop rotation, and plant carrots alongside onions or garlic, which repel the flies. Aphids are small, sap-sucking insects that can weaken the plants and transmit diseases. Control aphids by spraying them with insecticidal soap or neem oil. Nematodes are microscopic worms that can damage the roots and stunt growth. Improve soil health by adding organic matter and practicing crop rotation to control nematodes. Fungal diseases, such as leaf blight and powdery mildew, can also affect carrots. Prevent fungal diseases by providing good air circulation, avoiding overhead watering, and using disease-resistant varieties.
How do I know when my carrots are ready to harvest?
Carrots are typically ready to harvest about 60 to 80 days after planting, depending on the variety. The size of the carrots will vary depending on the variety, but a good rule of thumb is to harvest them when they are about ¾ to 1 inch in diameter at the top. Gently loosen the soil around the carrots with a garden fork and pull them out by the tops. If the soil is dry, water it before harvesting to make it easier to pull the carrots out. Store harvested carrots in a cool, dark place, such as the refrigerator, for up to several weeks.
Can I grow carrots in containers?
Yes, you can absolutely grow carrots in containers! This is a great option if you have limited space or poor soil quality. Choose a container that is at least 12 inches deep and wide to allow the roots to develop properly. Use a well-draining potting mix and follow the same planting and care instructions as you would for growing carrots in the ground. Container-grown carrots may need more frequent watering than those grown in the ground, as the soil in containers tends to dry out more quickly.
What are the benefits of growing my own carrots?
There are many benefits to growing your own carrots. Homegrown carrots taste much better than store-bought ones, as they are fresher and have a sweeter flavor. You also have control over the growing process, ensuring that your carrots are free from harmful pesticides and chemicals. Growing your own carrots is also a great way to connect with nature, get some exercise, and enjoy the satisfaction of harvesting your own food. Plus, it can save you money on groceries!
Leave a Comment