
Grow French Beans Indoors? Absolutely! Imagine plucking fresh, crisp French beans right from your own indoor garden, even when the weather outside is frightful. For centuries, humans have cultivated beans, with evidence suggesting their domestication dates back over 7,000 years in the Americas. From ancient civilizations relying on them as a staple food source to modern gardeners seeking sustainable practices, beans have always held a special place in our lives.
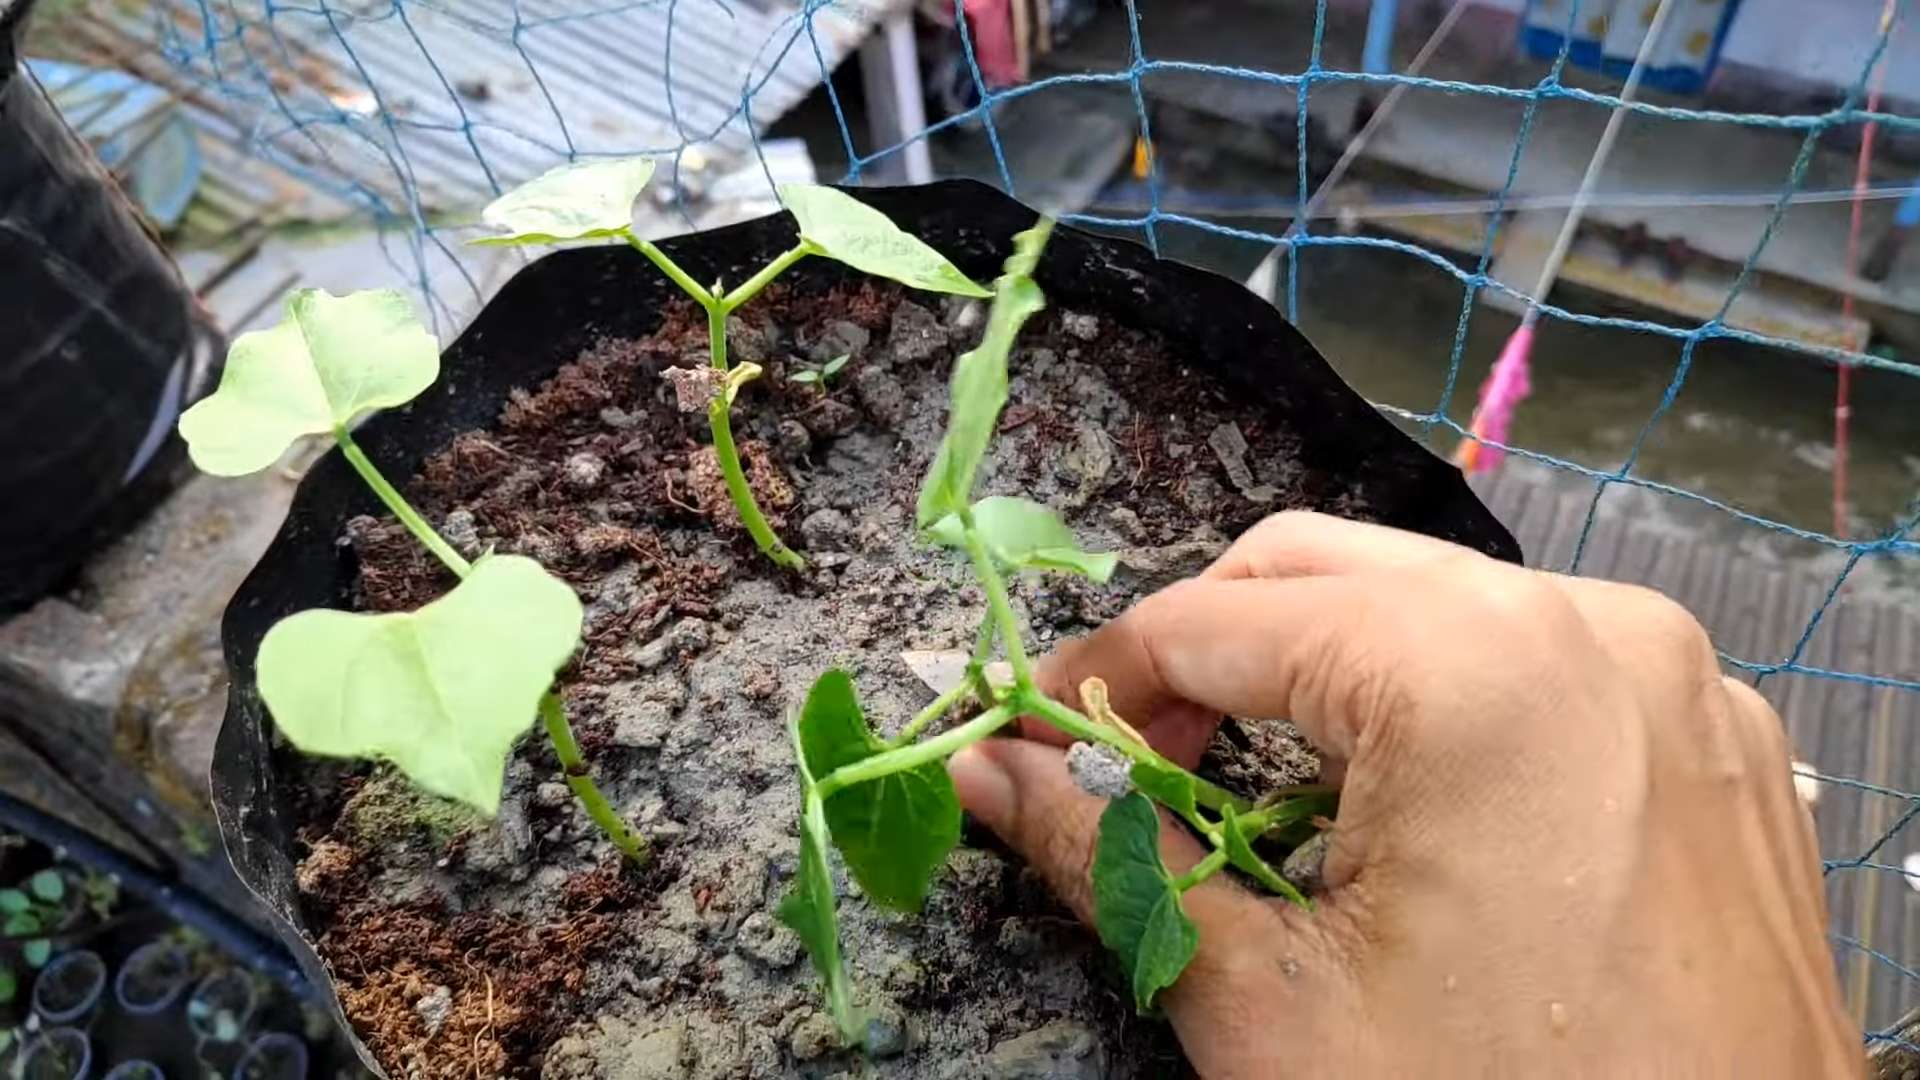
But let’s face it, not everyone has a sprawling backyard or the perfect climate for outdoor gardening. That’s where the magic of indoor gardening comes in! I’m here to show you how to successfully grow French Beans Indoors, regardless of your space or experience level. This DIY guide is packed with simple tricks and hacks that will transform your windowsill into a thriving bean haven.
Why do you need this? Because fresh, homegrown produce is not only delicious but also incredibly rewarding. Plus, knowing exactly where your food comes from and how it’s grown gives you peace of mind. So, ditch the store-bought beans and let’s embark on this exciting indoor gardening adventure together! Get ready to enjoy the satisfaction of harvesting your very own French beans, all from the comfort of your home.

Grow a Mountain of Potatoes: My Lazy Gardener’s Guide to Potato Gardening Shortcuts!
Okay, let’s be honest. I love fresh, homegrown potatoes, but I’m not exactly known for my patience or dedication to meticulous gardening. So, over the years, I’ve developed some seriously effective shortcuts for growing a bumper crop of potatoes with minimal effort. Forget back-breaking digging and endless weeding – this is potato gardening for the rest of us!
Choosing Your Potatoes and Preparing for Planting
Before we get our hands dirty, let’s talk potatoes. Not all potatoes are created equal, especially when it comes to growing them.
* Seed Potatoes are Key: Don’t just grab a potato from the grocery store! Those are often treated to prevent sprouting. You need certified seed potatoes. These are potatoes specifically grown for planting and are disease-free. You can find them at your local garden center or online.
* Variety is the Spice of Life (and Potatoes!): Consider what kind of potatoes you like to eat. Russets are great for baking and fries, Yukon Golds are fantastic all-purpose potatoes, and red potatoes are perfect for boiling and salads. Experiment!
* “Chitting” Your Potatoes (Optional, but Recommended): This is a fancy term for encouraging your seed potatoes to sprout before planting. It gives them a head start.
* A few weeks before planting, place your seed potatoes in a cool, bright location (but not direct sunlight). Egg cartons work great for this.
* You’ll start to see small, green sprouts (called “eyes”) emerge. This is exactly what we want!
* Cutting Large Seed Potatoes: If your seed potatoes are larger than a chicken egg, you can cut them into pieces. Each piece should have at least 2-3 “eyes.”
* Let the cut pieces “cure” for a day or two before planting. This allows the cut surfaces to dry and prevents rotting.
The No-Dig Potato Patch: My Favorite Method
Forget tilling and double-digging! This method is all about layering and letting nature do the work.
* Location, Location, Location: Potatoes need at least 6-8 hours of sunlight per day. Choose a sunny spot in your yard.
* Gather Your Materials: You’ll need:
* Cardboard (lots of it! Remove any tape or labels)
* Compost (or well-rotted manure)
* Straw or hay (untreated)
* Seed potatoes
* Optional: Organic fertilizer (like bone meal or kelp meal)
Step-by-Step: Building Your No-Dig Potato Patch
1. Clear the Area: Remove any grass or weeds from the area where you’ll be planting. Don’t worry about digging them up completely; we’re going to smother them!
2. Lay Down the Cardboard: Cover the entire area with a thick layer of cardboard. Overlap the edges to prevent weeds from growing through. This will kill the grass and weeds underneath and provide a nutrient-rich base for your potatoes. Wet the cardboard thoroughly to help it stay in place and start breaking down.
3. Add a Layer of Compost: Spread a 4-6 inch layer of compost over the cardboard. This will provide nutrients for your potatoes. If you don’t have compost, well-rotted manure works too. I sometimes add a sprinkle of organic fertilizer at this stage for an extra boost.
4. Plant Your Seed Potatoes:
* Dig small holes (about 4-6 inches deep) in the compost, spacing them about 12 inches apart.
* Place a seed potato (sprouts facing up) in each hole.
* Cover the potatoes with compost.
5. Mulch with Straw or Hay: Cover the entire area with a thick layer of straw or hay (about 12 inches deep). This will help retain moisture, suppress weeds, and keep the soil cool.
The Potato Tower: Vertical Gardening for Small Spaces
If you’re short on space, a potato tower is a fantastic option. It’s basically a container that you gradually fill with soil as the potato plants grow.
* Choose Your Container: You can use a large trash can, a wire cage lined with burlap, or even a stack of old tires (though I personally prefer more eco-friendly options). The container should be at least 3 feet tall and 2 feet in diameter.
* Gather Your Materials: You’ll need:
* Your chosen container
* Potting mix (a blend of compost, peat moss, and perlite works well)
* Seed potatoes
* Straw or hay
Step-by-Step: Building Your Potato Tower
1. Prepare the Base: Place a few inches of potting mix in the bottom of your container.
2. Plant Your Seed Potatoes:
* Place 3-4 seed potatoes (sprouts facing up) on top of the potting mix, spacing them evenly.
* Cover the potatoes with about 4 inches of potting mix.
3. Water Thoroughly: Water the potting mix well.
4. Add More Soil as the Plants Grow: As the potato plants grow, gradually add more potting mix to the container, burying the stems. Leave only the top few leaves exposed. This encourages the plants to produce more potatoes along the buried stems.
5. Continue Adding Soil: Repeat step 4 every few weeks until the container is almost full.
6. Mulch with Straw or Hay: Add a layer of straw or hay to the top of the container to help retain moisture.
The Potato Bag Method: Super Simple and Portable
This is probably the easiest method of all! It’s perfect for beginners and anyone who wants a super low-maintenance potato crop.
* Choose Your Bag: You can use a large burlap bag, a grow bag, or even a sturdy plastic garbage bag (just make sure to poke some drainage holes in the bottom).
* Gather Your Materials: You’ll need:
* Your chosen bag
* Potting mix
* Seed potatoes
* Straw or hay
Step-by-Step: Growing Potatoes in a Bag
1. Prepare the Bag: Roll down the top of the bag a few times to create a sturdy base.
2. Add Potting Mix: Fill the bottom of the bag with about 4-6 inches of potting mix.
3. Plant Your Seed Potatoes:
* Place 2-3 seed potatoes (sprouts facing up) on top of the potting mix, spacing them evenly.
* Cover the potatoes with about 4 inches of potting mix.
4. Water Thoroughly: Water the potting mix well.
5. Add More Soil as the Plants Grow: Just like with the potato tower, as the potato plants grow, gradually add more potting mix to the bag, burying the stems. Leave only the top few leaves exposed.
6. Continue Adding Soil: Repeat step 5 every few weeks until the bag is almost full.
7. Mulch with Straw or Hay: Add a layer of straw or hay to the top of the bag to help retain moisture.
General Potato Care: Watering, Fertilizing, and Pest Control
Regardless of which method you choose, here are some general tips for keeping your potato plants happy and healthy:
* Watering: Potatoes need consistent moisture, especially when they’re forming tubers. Water deeply whenever the soil feels dry to the touch. Avoid overwatering, which can lead to rot.
* Fertilizing: Potatoes are heavy feeders. Side-dress your plants with a balanced organic fertilizer every few weeks. Bone meal is great for promoting tuber development.
* Pest Control: Keep an eye out for pests like potato beetles and aphids. Hand-picking them off the plants is often the easiest solution. You can also use organic insecticides like neem oil or insecticidal soap.
* Hilling (For Traditional Gardens): If you’re growing potatoes in rows in a traditional garden, “hilling” is important. As the plants grow, mound soil around the stems. This encourages more tuber formation.
Harvesting Your Potatoes: The Fun Part!
The moment we’ve all been waiting for! Knowing when to harvest your potatoes is key to getting the best flavor and texture.
* New Potatoes: You can harvest “new potatoes” (small, tender potatoes) a few weeks after the plants flower. Gently dig around the base of the plant and pull out a few potatoes.
* Mature Potatoes: For mature potatoes, wait until the plants have flowered and the foliage starts to die back. This usually happens in late summer or early fall.
* Harvesting the No-Dig Patch: Simply pull back the straw or hay and dig around in the compost. You’ll be amazed at how many potatoes you find!
*
Conclusion
So, there you have it! Growing French beans indoors is not only achievable but also incredibly rewarding. We’ve walked you through the process, from selecting the right variety to providing the optimal growing conditions. But why should you bother with this DIY project?
Firstly, imagine the sheer delight of harvesting fresh, crisp French beans right from your own home, regardless of the season. No more relying on supermarket produce that may have traveled miles and lost its peak flavor. You’ll have access to organic, homegrown goodness, bursting with nutrients and taste. This is especially appealing if you live in an area with a short growing season or limited outdoor space.
Secondly, growing French beans indoors is a fantastic way to connect with nature and experience the satisfaction of nurturing a plant from seed to harvest. It’s a therapeutic activity that can reduce stress and boost your mood. Plus, it’s a great educational opportunity for children, teaching them about plant life cycles and the importance of sustainable food production.
Thirdly, this method offers a level of control you simply can’t achieve outdoors. You can regulate temperature, humidity, and light exposure, creating the perfect environment for your French beans to thrive. This means you can potentially achieve higher yields and healthier plants compared to outdoor gardening, especially if you live in an area with unpredictable weather.
Variations and Suggestions:
Don’t be afraid to experiment! Try different varieties of French beans to discover your favorites. Consider using companion planting techniques by growing herbs like basil or rosemary alongside your beans to deter pests and enhance flavor. You can also explore different growing mediums, such as coco coir or perlite, to find what works best for you.
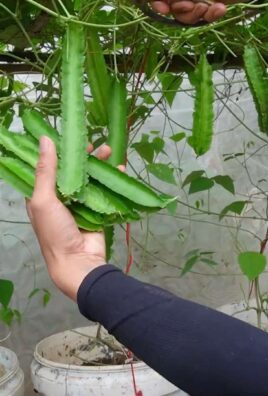
For a fun twist, try growing climbing French beans and training them up a trellis or support structure. This will not only maximize space but also create a beautiful green wall in your home. You can even use grow lights to supplement natural sunlight, especially during the winter months.
Remember to regularly check your plants for pests and diseases. Early detection and treatment are crucial for maintaining healthy growth. You can use organic pest control methods, such as neem oil or insecticidal soap, to keep your plants safe and healthy.
We are confident that with a little effort and attention, you can successfully grow French beans indoors and enjoy a bountiful harvest. So, grab your seeds, prepare your pots, and get ready to embark on this exciting gardening adventure!
We encourage you to try this DIY trick and share your experience with us. Let us know what varieties you grew, what challenges you faced, and what successes you achieved. Your feedback will help us improve this guide and inspire others to embrace the joy of indoor gardening. Share your photos and stories on our social media channels using the hashtag #IndoorFrenchBeans. We can’t wait to see your green thumbs in action!
Frequently Asked Questions (FAQ)
What is the best variety of French bean to grow indoors?
While many French bean varieties can be grown indoors, bush beans are generally preferred due to their compact size and suitability for container gardening. Some excellent choices include ‘Blue Lake Bush’, ‘Provider’, ‘Contender’, and ‘Derby’. These varieties are known for their high yields, disease resistance, and delicious flavor. Climbing varieties can also be grown indoors, but they require more space and a sturdy trellis or support structure. Consider ‘Kentucky Wonder’ or ‘Romano’ if you’re looking for a climbing option. Ultimately, the best variety depends on your personal preferences and the space you have available. Experiment with different varieties to find what works best for you.
How much light do French beans need when grown indoors?
French beans require at least 6-8 hours of direct sunlight per day to thrive. If you don’t have a sunny window, you can supplement with grow lights. LED grow lights are an excellent option as they are energy-efficient and provide the full spectrum of light that plants need. Position the grow lights a few inches above the plants and adjust the height as they grow. Insufficient light can lead to leggy growth, reduced yields, and pale leaves. Observe your plants carefully and adjust the light accordingly. If the leaves are turning yellow or the stems are stretching excessively, it’s a sign that they need more light.
What type of soil is best for growing French beans indoors?
French beans prefer well-draining soil that is rich in organic matter. A good potting mix for French beans should consist of equal parts of compost, perlite, and peat moss or coco coir. This combination provides good drainage, aeration, and nutrient retention. Avoid using garden soil, as it can be too heavy and may contain pests or diseases. You can also add a slow-release fertilizer to the potting mix to provide a steady supply of nutrients to the plants. Ensure that the pots have drainage holes to prevent waterlogging, which can lead to root rot.
How often should I water my indoor French beans?
Water your French beans regularly, keeping the soil consistently moist but not waterlogged. Check the soil moisture by sticking your finger about an inch deep into the soil. If it feels dry, it’s time to water. Water deeply, allowing the excess water to drain out of the drainage holes. Avoid watering the foliage, as this can promote fungal diseases. The frequency of watering will depend on factors such as temperature, humidity, and pot size. During hot and dry weather, you may need to water more frequently. Overwatering can be just as harmful as underwatering, so be sure to monitor the soil moisture carefully.
How do I pollinate French beans grown indoors?
French beans are self-pollinating, meaning they don’t require insects or wind to transfer pollen. However, indoor plants may benefit from a little assistance to ensure successful pollination. You can hand-pollinate your French beans by gently shaking the plants or using a small paintbrush to transfer pollen from one flower to another. Do this in the morning when the flowers are open. You can also use a fan to create a gentle breeze, which can help to distribute the pollen. Proper pollination is essential for fruit set, so make sure to take the necessary steps to ensure that your plants are adequately pollinated.
What are common pests and diseases that affect indoor French beans?
Common pests that can affect indoor French beans include aphids, spider mites, and whiteflies. These pests can suck the sap from the plants, causing them to weaken and become stunted. You can control these pests by spraying the plants with insecticidal soap or neem oil. Regularly inspect your plants for signs of infestation and take action promptly. Common diseases that can affect indoor French beans include powdery mildew and root rot. Powdery mildew is a fungal disease that causes a white, powdery coating on the leaves. Root rot is caused by overwatering and poor drainage. To prevent these diseases, ensure that your plants have good air circulation, avoid overwatering, and use well-draining soil.
When can I harvest my indoor French beans?
You can typically harvest your French beans about 50-60 days after planting. The beans are ready to harvest when they are firm, crisp, and about the size of a pencil. Harvest the beans regularly to encourage continued production. Use scissors or pruning shears to cut the beans from the plant, being careful not to damage the stems. Overripe beans will become tough and stringy, so it’s important to harvest them at the right time. With proper care and attention, you can enjoy a continuous harvest of fresh, delicious French beans from your indoor garden.
Leave a Comment