
Grow Bok Choy: Your Guide to a Bountiful Home Harvest
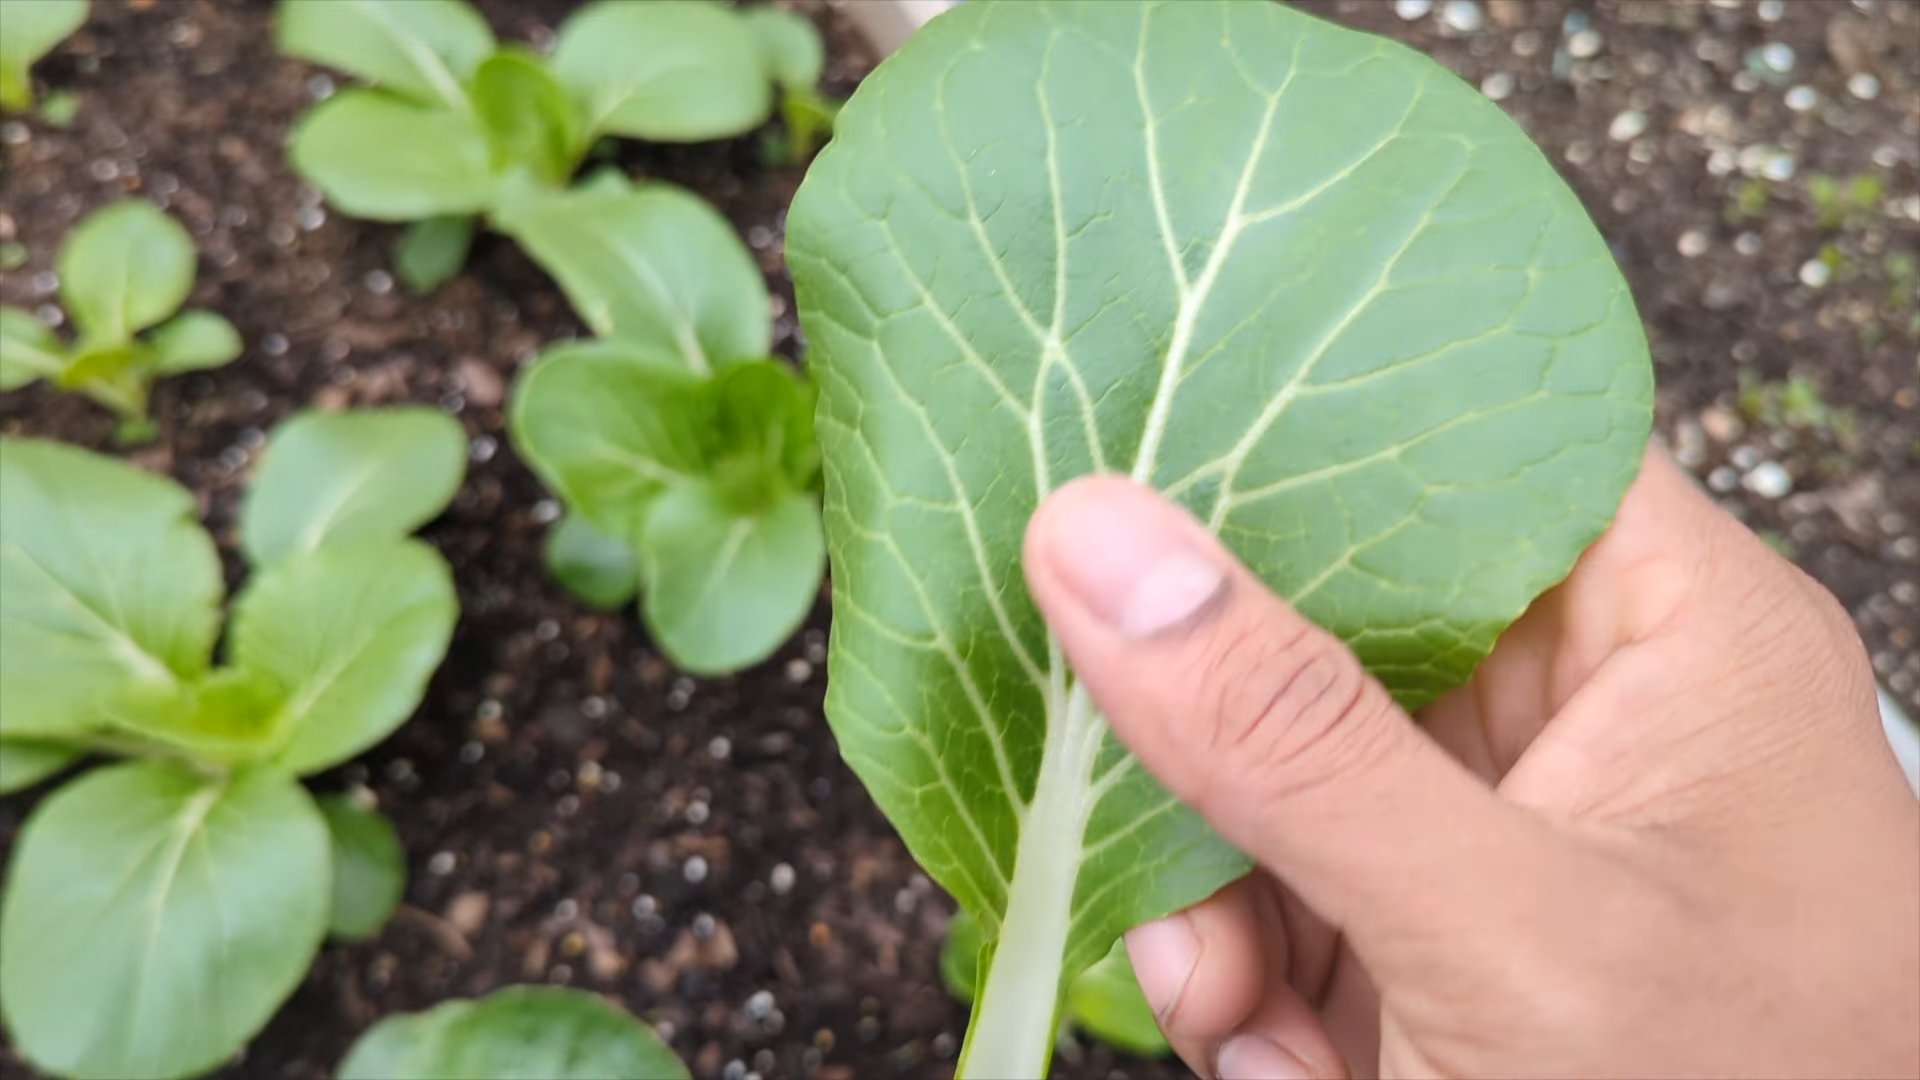
Growing your own food is incredibly rewarding, and few vegetables are as satisfying to cultivate as bok choy. This versatile leafy green, a staple in many Asian cuisines, is surprisingly easy to grow, even for beginner gardeners. In this article, I’ll share my favorite Grow Bok Choy tips and tricks, transforming your backyard (or even a sunny windowsill!) into a thriving mini-farm.
For centuries, bok choy has been a cherished ingredient, its history intertwined with the culinary traditions of China and other East Asian countries. From simple stir-fries to elegant soups, its delicate flavor and crisp texture have made it a beloved vegetable across cultures. But you don’t need to be a seasoned chef or gardener to enjoy the fresh, vibrant taste of homegrown bok choy!
Why Grow Your Own Bok Choy?
There are so many reasons to try your hand at Grow Bok Choy! Firstly, nothing beats the taste of freshly picked vegetables. Store-bought bok choy, while convenient, often lacks the intense flavor and crispness of homegrown varieties. Secondly, growing your own allows you to control the quality and avoid pesticides and other chemicals. Finally, it’s a deeply satisfying experience to nurture a plant from seed to harvest, connecting you more closely with your food and the natural world. This guide will equip you with the knowledge and confidence to achieve a bountiful harvest, no matter your gardening experience.
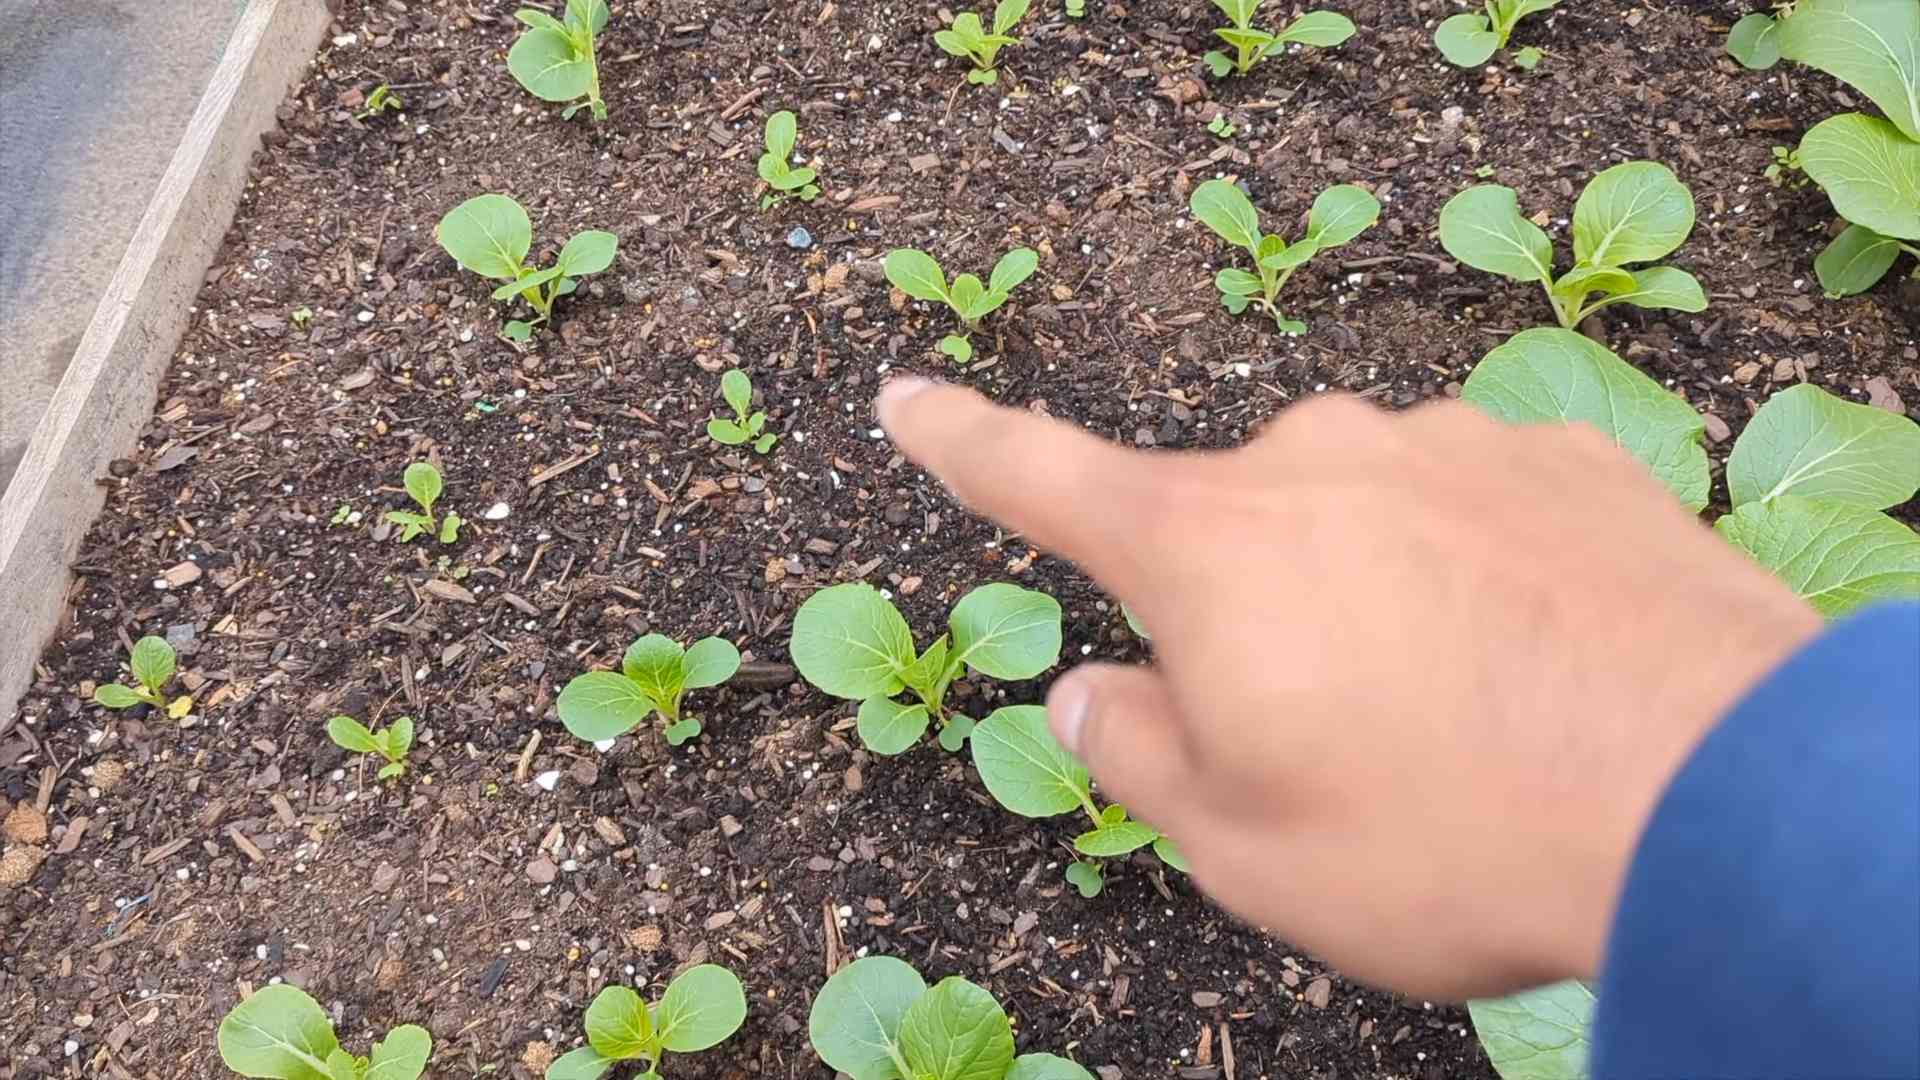
So, let’s get started on your journey to growing delicious, healthy bok choy right in your own backyard! I’ll walk you through everything from seed starting to harvesting, offering practical advice and simple DIY solutions along the way. Get ready to experience the joy of homegrown goodness!
Unlocking the Power of Baking Soda: My Go-To Cleaning Hacks
Baking soda. It’s not just for baking cookies! This inexpensive pantry staple is a cleaning powerhouse, and I’m going to share my favorite ways to use it around the house. Get ready to ditch the harsh chemicals and embrace the gentle, effective cleaning power of baking soda.
Section 1: Preparing Your Baking Soda Cleaning Solutions
Before we dive into specific cleaning tasks, let’s talk about how to prepare your baking soda solutions. The beauty of baking soda is its versatility – you can use it dry, as a paste, or mixed with water or other ingredients.
- Dry Baking Soda: Perfect for absorbing odors and gently scrubbing delicate surfaces. Simply sprinkle it on and let it sit before brushing or vacuuming away.
- Baking Soda Paste: Create a paste by mixing baking soda with a little water. The consistency should resemble toothpaste. This is ideal for scrubbing tougher stains and grime.
- Baking Soda Solution: For a liquid cleaner, mix baking soda with water in a spray bottle. Experiment with ratios to find what works best for you. I usually start with 1/4 cup baking soda per quart of water.
Section 2: Tackling Kitchen Cleaning with Baking Soda
The kitchen is where baking soda truly shines! From greasy stovetops to stubborn sink stains, it tackles it all.
- Cleaning the Stovetop: For a greasy stovetop, sprinkle a generous amount of dry baking soda onto the surface. Let it sit for at least 30 minutes, or even overnight for really stubborn grease. Then, gently scrub with a damp sponge or cloth. For baked-on spills, make a paste and apply it directly to the affected area before scrubbing.
- Deodorizing the Refrigerator: An open box of baking soda placed inside your refrigerator will absorb odors and keep it smelling fresh. Replace the box every few months for optimal results. I usually write the date on the box with a marker so I don’t forget!
- Cleaning the Sink: For a sparkling sink, sprinkle baking soda directly into the sink and scrub with a damp sponge or brush. For tougher stains, make a paste and let it sit for a few minutes before scrubbing. Rinse thoroughly.
- Cleaning the Microwave: To clean a dirty microwave, fill a microwave-safe bowl with water and add a few tablespoons of baking soda. Microwave on high for a few minutes until the water is steaming. The steam will loosen food splatters, making them easy to wipe away. If there are stubborn stains, make a paste and apply it to the affected areas before wiping.
- Cleaning the Dishwasher: Sprinkle a cup of baking soda into the bottom of your empty dishwasher and run a hot cycle. This will help remove food residue and deodorize the machine. For a deeper clean, add a cup of white vinegar to the rinse aid dispenser.
- Cleaning Oven Racks: Soak your oven racks in a tub filled with hot water and a generous amount of baking soda. Let them soak for several hours, or even overnight, then scrub with a brush or sponge. For really stubborn grime, you might need to repeat the process.
Section 3: Bathroom Cleaning with Baking Soda
Baking soda’s cleaning power extends to the bathroom too! Say goodbye to soap scum and grime.
- Cleaning the Toilet: Sprinkle baking soda into the toilet bowl and let it sit for at least 30 minutes. Then, scrub with a toilet brush and flush. For extra cleaning power, add a cup of white vinegar after the baking soda and let it fizz before scrubbing.
- Cleaning the Shower and Tub: Make a paste of baking soda and water. Apply it to the shower walls and tub, let it sit for 15-20 minutes, then scrub with a brush or sponge. Rinse thoroughly. For stubborn soap scum, you might need to let the paste sit longer or repeat the process.
- Cleaning the Sink: Similar to the kitchen sink, sprinkle baking soda into the bathroom sink and scrub with a damp sponge or brush. For tougher stains, make a paste and let it sit for a few minutes before scrubbing. Rinse thoroughly.
- Cleaning Grout: Make a paste of baking soda and water and apply it to the grout. Let it sit for 15-20 minutes, then scrub with an old toothbrush. Rinse thoroughly. For really stubborn grout stains, you might need to repeat the process or use a grout cleaner.
Section 4: Other Household Cleaning Uses for Baking Soda
Baking soda’s versatility extends beyond the kitchen and bathroom. Here are a few more of my favorite uses:
- Cleaning Carpets and Upholstery: Sprinkle baking soda onto carpets and upholstery to absorb odors. Let it sit for at least 30 minutes, then vacuum thoroughly. For stains, make a paste and apply it directly to the stain before blotting gently.
- Cleaning Silverware: Line a bowl with aluminum foil, add warm water, baking soda, and salt. Submerge your silverware and let it sit for a few minutes. The tarnish will transfer to the foil, leaving your silverware sparkling.
- Cleaning Windows and Mirrors: Mix baking soda with water in a spray bottle. Spray onto windows and mirrors, then wipe clean with a microfiber cloth for streak-free shine. I find this method leaves my windows sparkling clean!
- Deodorizing Laundry: Add 1/2 cup of baking soda to your washing machine during the wash cycle to help boost cleaning power and soften clothes. It also helps neutralize odors.
- Cleaning Garbage Disposals: Pour 1/2 cup of baking soda down the garbage disposal, followed by 1 cup of white vinegar. Let it fizz, then flush with cold water. This helps clean and deodorize the disposal.
Section 5: Important Considerations
While baking soda is generally safe for most surfaces, it’s always a good idea to test it on a small, inconspicuous area first to ensure it doesn’t damage the finish. Avoid using baking soda on delicate surfaces like polished wood or marble. Also, always rinse thoroughly after cleaning with baking soda to prevent any residue from building up.
Remember to always follow the manufacturer’s instructions for any specific cleaning products you are using in conjunction with baking soda.
Conclusion
So there you have it – a simple, effective, and rewarding method for growing your own delicious bok choy! This DIY approach to growing bok choy offers a unique connection to your food, allowing you to savor the freshness and flavor that only homegrown vegetables can provide. Beyond the incredible taste, growing your own bok choy is a surprisingly satisfying experience. It’s a fantastic way to introduce children to the wonders of gardening, fostering a love for fresh produce and an understanding of where their food comes from. The minimal effort required, coupled with the abundant harvest, makes this a truly worthwhile endeavor for gardeners of all skill levels, from seasoned pros to complete beginners. You’ll be amazed at how quickly your bok choy grows, and the sense of accomplishment you’ll feel when you harvest your first crop is truly unparalleled. This method eliminates the uncertainties of store-bought bok choy, ensuring you always have access to vibrant, healthy leaves. Forget the supermarket; embrace the satisfaction of nurturing your own plants from seed to plate. This DIY approach to growing bok choy is not just a recipe for success; it’s a recipe for a richer, more fulfilling gardening experience.
Don’t limit yourself to just one variety! Experiment with different types of bok choy – from the classic smooth-leafed varieties to the more textured and flavorful baby bok choy. You can also explore companion planting, incorporating herbs like basil or dill nearby to enhance the growth and flavor of your bok choy. Consider starting your seeds indoors a few weeks before the last expected frost for an even earlier harvest. And for those with limited space, don’t despair! Bok choy can thrive in containers, making it perfect for balconies, patios, or even window boxes. The possibilities are endless, and the rewards are even greater.
We strongly encourage you to try this growing bok choy method and share your experience with us! Post pictures of your thriving bok choy plants on social media using #DIYBokChoy and tag us – we’d love to see your success stories. Let’s build a community of home gardeners, sharing tips, tricks, and the joy of harvesting our own delicious, homegrown produce. Remember, the journey from seed to plate is just as rewarding as the final delicious bite. So grab your seeds, get your hands dirty, and embark on this exciting gardening adventure. You won’t regret it!
Frequently Asked Questions
Q: How long does it take to grow bok choy from seed?
The time it takes to harvest your bok choy depends on the variety and growing conditions. Generally, you can expect to harvest baby bok choy in about 4-6 weeks, while larger varieties may take 6-8 weeks. Consistent watering and adequate sunlight are key factors influencing growth speed.
Q: What type of soil is best for growing bok choy?
Bok choy prefers loose, well-draining soil that is rich in organic matter. Amend your soil with compost or other organic materials to ensure it’s fertile and provides adequate nutrients for healthy growth. A slightly acidic to neutral pH (6.0-7.0) is ideal.
Q: How much sunlight does bok choy need?
Bok choy thrives in full sun to partial shade. Aim for at least 6 hours of sunlight per day, but protect your plants from intense afternoon sun in hot climates to prevent wilting. In hotter regions, some afternoon shade can be beneficial.
Q: How often should I water my bok choy?
Consistent moisture is crucial for healthy bok choy growth. Water regularly, keeping the soil consistently moist but not waterlogged. The frequency of watering will depend on your climate and soil conditions. Check the soil moisture regularly and water when the top inch feels dry.
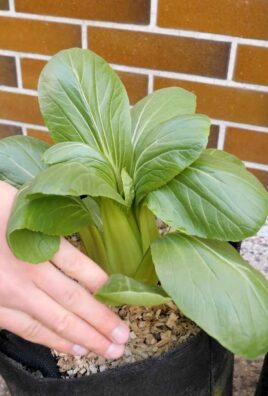
Q: Can I grow bok choy in containers?
Absolutely! Bok choy grows well in containers, making it a perfect choice for those with limited space. Choose containers at least 12 inches deep and wide to allow for adequate root development. Ensure the containers have drainage holes to prevent waterlogging.
Q: What are some common problems when growing bok choy?
Some common issues include pests like aphids and slugs, and diseases like downy mildew. Regularly inspect your plants for pests and diseases, and take appropriate action if necessary. Proper spacing and good air circulation can help prevent disease.
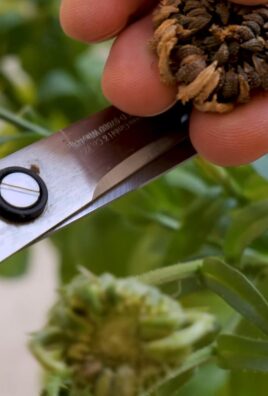
Q: Can I save seeds from my bok choy plants for next year?
While possible, saving seeds from bok choy can be challenging as it is often a hybrid variety. If you are growing an open-pollinated variety, you can allow some plants to go to seed and collect the seeds once they are fully dry. However, the resulting plants may not be identical to the parent plant.
Q: What are some creative ways to use homegrown bok choy?
The culinary possibilities are endless! Use your fresh bok choy in stir-fries, salads, soups, or as a delicious addition to noodle dishes. Experiment with different cooking methods to discover your favorite way to enjoy this versatile vegetable. The vibrant green color and crisp texture make it a beautiful and flavorful addition to any meal.
Leave a Comment