
Grow Fennel at Home: A Beginner’s Guide to Sweet Success
Growing fennel at home might seem daunting, but I’m here to tell you it’s easier than you think! This comprehensive guide is packed with simple, effective grow fennel at home tricks and DIY solutions that will transform your garden and your cooking. Forget expensive grocery store produce – imagine the fresh, vibrant flavor of homegrown fennel in your salads, stews, and even as a delightful garnish.
Fennel, with its delicate anise-like flavor and feathery foliage, holds a rich history. Used for centuries in both culinary and medicinal practices across various cultures, from ancient Greece to modern-day Italy, it’s a versatile herb with a fascinating past. But you don’t need to be a seasoned gardener to enjoy its benefits. This article is designed for everyone, from complete beginners to those looking to refine their gardening skills.
Why Grow Your Own Fennel?
There are so many reasons to embark on this rewarding journey of growing your own fennel! Firstly, the taste is unparalleled. Nothing beats the freshness and flavor of homegrown herbs. Secondly, you’ll have complete control over the growing process, ensuring your fennel is free from pesticides and other harmful chemicals. And finally, the satisfaction of nurturing a plant from seed to harvest is incredibly rewarding. This guide will equip you with the knowledge and confidence to successfully grow fennel at home, ensuring a bountiful harvest of this delicious and versatile herb.
So, let’s get started and unlock the secrets to a thriving fennel patch in your own backyard! Prepare to be amazed by how easy it is to cultivate this culinary treasure.

Vinegar Cleaning Shortcuts: A Deep Dive into Sparkling Clean
I’m a huge fan of vinegar. It’s cheap, readily available, and surprisingly effective at tackling a wide range of cleaning tasks. Forget expensive commercial cleaners – vinegar is your new best friend for a sparkling clean home!
Getting Started: Gathering Your Supplies
- White distilled vinegar (the kind you use for cooking, not apple cider vinegar)
- Spray bottles (at least two – one for general cleaning and one for glass)
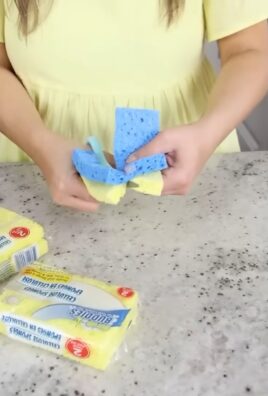
- Microfiber cloths (these are amazing for cleaning and leave no lint)
- Baking soda (optional, but highly recommended for extra cleaning power)
- Rubber gloves (optional, but a good idea to protect your hands)
- Bucket (for soaking items)
Phase 1: Mastering the Basic Vinegar Cleaning Solution
- Fill your spray bottle about halfway with white distilled vinegar.
- Top off the bottle with water. A 50/50 ratio is a great starting point, but you can adjust it depending on the task. For tougher grime, use a higher concentration of vinegar.
- Give the bottle a good shake to mix the solution thoroughly.
- Important Note: Always test your cleaning solution on an inconspicuous area first to ensure it doesn’t damage the surface. This is especially important for delicate materials like wood or certain fabrics.
Phase 2: Tackling Specific Cleaning Challenges
Cleaning Your Microwave
- Pour 1 cup of vinegar into a microwave-safe bowl.
- Add 1 cup of water to the bowl.
- Microwave on high for 5-7 minutes, or until the mixture is boiling and the steam has loosened the grime.
- Let the bowl sit in the microwave for another 5-10 minutes to allow the steam to work its magic.
- Use a microfiber cloth or sponge to wipe away the loosened food and grime. The vinegar will help to dissolve and lift the stuck-on mess.
- Wipe down the interior of the microwave with a clean, damp cloth.
Cleaning Your Coffee Maker
- Fill the reservoir of your coffee maker with equal parts water and vinegar.
- Run a full brewing cycle. You might notice a slightly vinegary smell, but it will dissipate quickly.
- Once the cycle is complete, run two or three more cycles with just plain water to rinse out the vinegar completely.
- This will remove coffee residue and mineral deposits, leaving your coffee maker sparkling clean and improving the taste of your coffee.
Cleaning Your Shower Head
- Fill a plastic bag with vinegar.
- Secure the bag around your shower head using a rubber band.
- Let it soak for at least an hour, or preferably overnight. The longer it soaks, the better the results.
- Remove the bag and wipe down the shower head with a cloth. You’ll be amazed at how much mineral buildup is removed.
- For stubborn mineral deposits, you may need to use a toothbrush to gently scrub the shower head.
Cleaning Your Windows and Mirrors
- For this task, I recommend using a separate spray bottle dedicated to glass cleaning. Fill it with a solution of 1 part vinegar to 2 parts water.
- Spray the solution onto your windows and mirrors.
- Wipe clean with a clean microfiber cloth, working in a vertical motion for windows and a horizontal motion for mirrors. This helps you see streaks more easily.
- For extra shine, use a second clean, dry microfiber cloth to buff the surface.
- Avoid spraying directly onto the glass in direct sunlight as the vinegar solution can dry too quickly, leaving streaks.
Cleaning Your Cutting Boards
- Sprinkle baking soda liberally over your cutting board.
- Pour enough vinegar over the baking soda to create a paste.
- Let the paste sit for a few minutes to allow it to work its magic.
- Scrub the cutting board with a sponge or brush.
- Rinse thoroughly with water and dry completely.
- This method is particularly effective at removing stubborn stains and odors.
Cleaning Your Washing Machine
- Pour 2 cups of vinegar into the drum of your washing machine.
- Run a hot water cycle without any laundry.
- This will help to remove detergent buildup, mildew, and odors.
- For extra cleaning power, add 1 cup of baking soda to the washing machine before starting the cycle.
Phase 3: Advanced Vinegar Cleaning Techniques
Deodorizing Your Garbage Disposal
- Pour 1 cup of baking soda down your garbage disposal.
- Follow with 1 cup of vinegar.
- Let it fizz for about 30 minutes.
- Flush with cold water for a few minutes.
- This will neutralize odors and help to clean the disposal.
Cleaning Your Dishwasher
- Place a cup of vinegar in the top rack of your dishwasher.
- Run a full cycle on the hottest setting.
- This will help to remove food residue and mineral deposits.
Removing Hard Water Stains
- Soak the affected area in a solution of equal parts water and vinegar.
- Let it soak for at least 30 minutes, or longer for stubborn stains.
- Scrub gently with a soft brush or sponge.
- Rinse thoroughly with water.
Important Safety Precautions
- Always wear rubber gloves when handling vinegar, especially for extended periods.
- Never mix vinegar with bleach. This creates a dangerous and toxic gas.
- Ventilate the area when using vinegar, especially in enclosed spaces.
- If you have any concerns about using vinegar on a particular surface, test it in an inconspicuous area first.
Conclusion
So there you have it – a comprehensive guide to growing your own delicious fennel at home! This DIY trick isn’t just about saving money on grocery bills; it’s about experiencing the unparalleled freshness and flavor of homegrown herbs. The satisfaction of nurturing a tiny seed into a vibrant fennel plant, bursting with aromatic fronds, is truly rewarding. Growing fennel at home allows you to control the quality, ensuring pesticide-free, organically grown produce that elevates your culinary creations. From the delicate anise-like flavor of the leaves to the crunchy, slightly sweet stalks, homegrown fennel is in a league of its own. This simple yet effective method makes growing this versatile herb accessible to everyone, regardless of gardening experience. Whether you’re a seasoned gardener or a complete beginner, you’ll find this process surprisingly straightforward and immensely satisfying.
Don’t limit yourself to just one variety! Experiment with different fennel types, such as Florence fennel (with its bulbous base) or bronze fennel (with its striking purplish-bronze foliage). You can also explore companion planting, pairing your fennel with herbs like basil or dill, which can enhance growth and deter pests. Consider using different containers – from simple pots to raised garden beds – to find what works best for your space and gardening style. Remember to adjust watering based on your climate and the type of container you’re using. Overwatering can lead to root rot, while underwatering will stunt growth. Regularly checking the soil moisture is key to success.
We encourage you to embark on this rewarding journey of growing your own fennel. Share your experiences with us! Post pictures of your thriving fennel plants on social media using the hashtag #GrowFennelAtHome and tag us. We’d love to see your successes and learn from your experiences. Let’s build a community of home gardeners, sharing tips and tricks to cultivate the freshest, most flavorful fennel imaginable. Remember, the journey of growing your own food is as rewarding as the delicious results. So, grab some seeds, get your hands dirty, and experience the joy of harvesting your own homegrown fennel. You won’t regret it!
Frequently Asked Questions
What type of soil is best for growing fennel?
Fennel thrives in well-drained, fertile soil. A sandy loam soil is ideal, but you can amend heavier soils with compost or other organic matter to improve drainage and fertility. Ensure the soil pH is slightly alkaline, around 6.5 to 7.0.
How much sunlight does fennel need?
Fennel needs at least six to eight hours of direct sunlight per day to grow optimally. Choose a sunny location in your garden or place your containers in a spot that receives ample sunlight. Insufficient sunlight can lead to weak growth and poor flavor development.
How often should I water my fennel?
Water your fennel regularly, keeping the soil consistently moist but not waterlogged. The frequency of watering will depend on your climate and the type of container you’re using. Check the soil moisture regularly – if the top inch feels dry, it’s time to water. Avoid overhead watering, as this can promote fungal diseases. Water deeply at the base of the plant.
When can I harvest my fennel?
You can begin harvesting fennel leaves when the plant is about 6-8 inches tall. Harvest the outer leaves, leaving the inner leaves to continue growing. For Florence fennel, harvest the bulb when it’s about 3-4 inches in diameter, before it becomes too tough. Harvesting regularly encourages bushier growth and a continuous supply of fresh fennel.
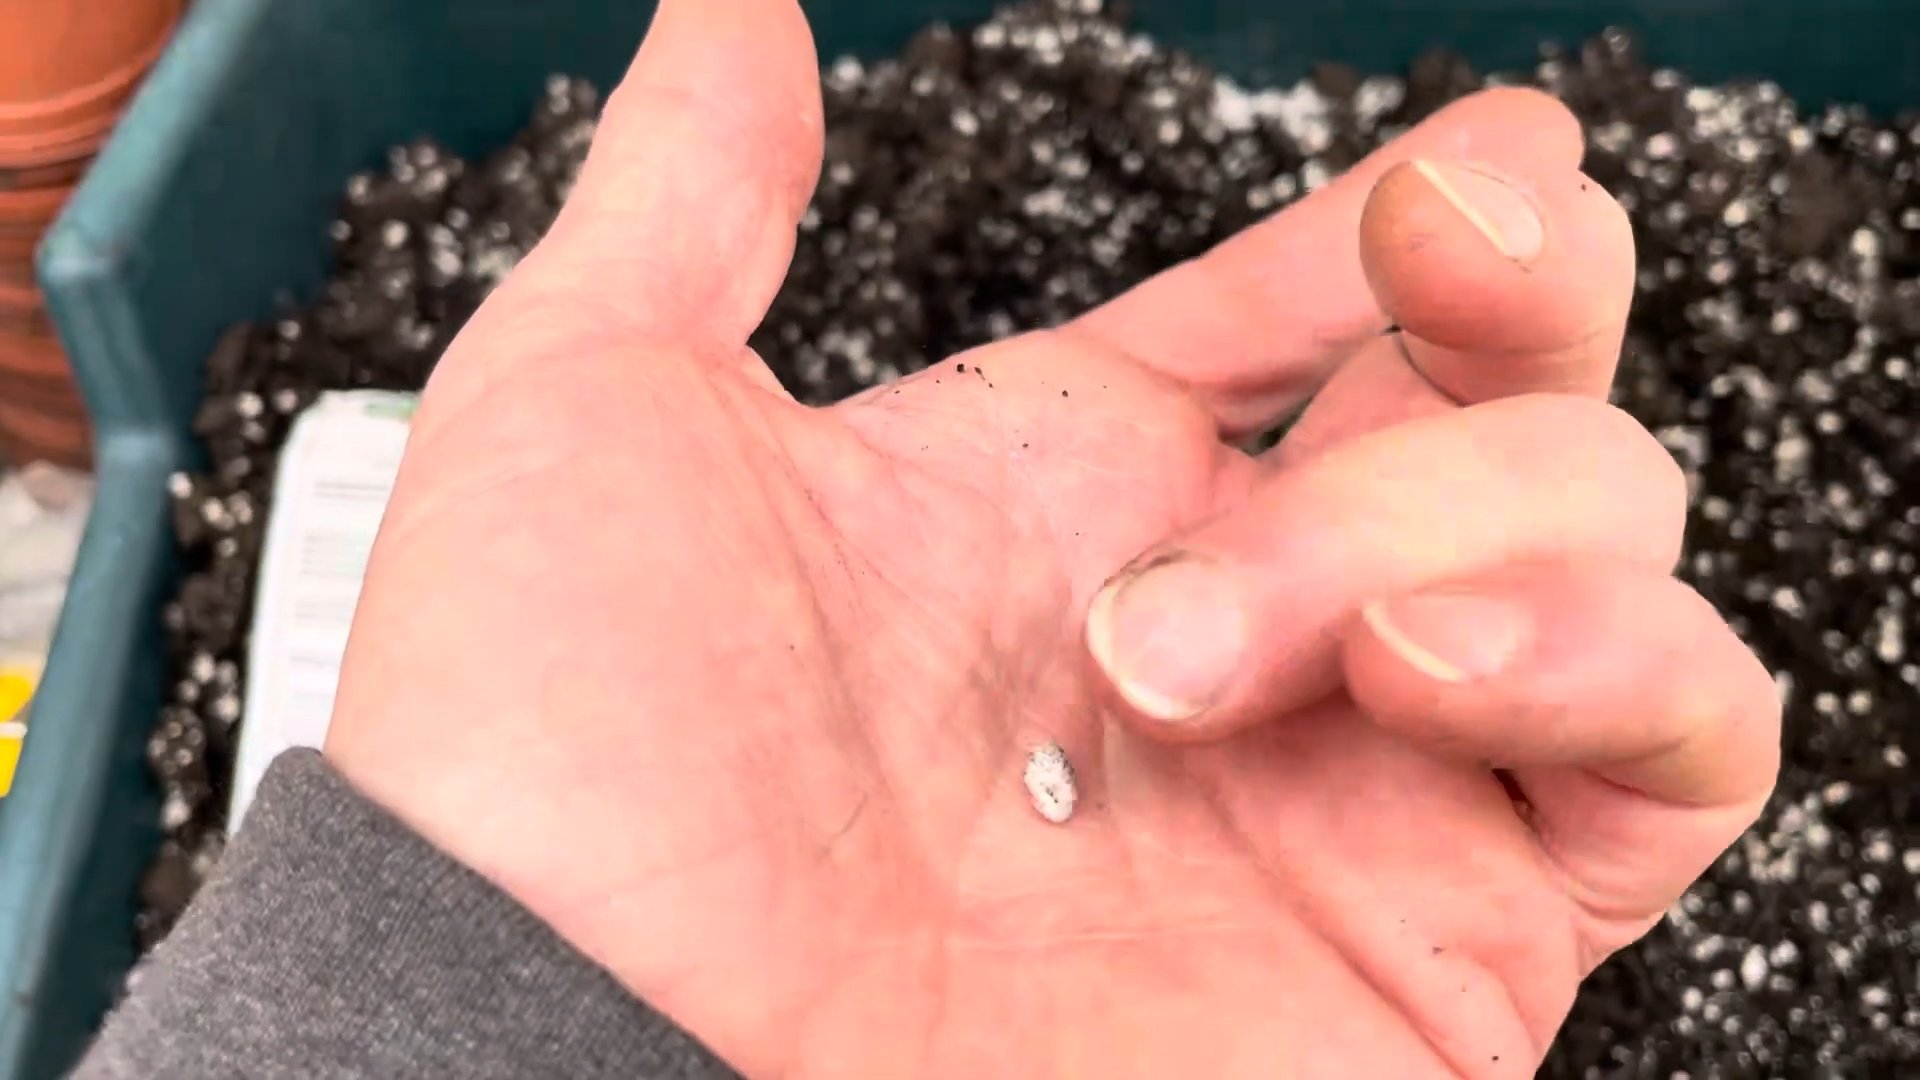
Can I grow fennel from seed or cuttings?
Fennel is most commonly grown from seed, which is a relatively easy process. Direct sowing is recommended, as fennel doesn’t transplant well. While you can technically propagate fennel from cuttings, it’s less reliable than starting from seed. Seeds are readily available online and at most garden centers.
What are some common pests and diseases that affect fennel?
Fennel is relatively pest-resistant, but it can be susceptible to aphids, spider mites, and caterpillars. Regularly inspect your plants for pests and take appropriate action if necessary. Good garden hygiene, such as removing weeds and debris, can help prevent disease. Organic pest control methods are recommended to protect beneficial insects.
Can I grow fennel in a pot or container?
Yes, absolutely! Fennel can be successfully grown in containers, making it a great option for those with limited garden space. Choose a pot that’s at least 12 inches in diameter and depth to allow for adequate root development. Ensure the pot has drainage holes to prevent waterlogging.
What are the benefits of growing my own fennel?
Growing your own fennel offers numerous benefits. You’ll enjoy the freshest, most flavorful fennel imaginable, free from pesticides and other chemicals. It’s a rewarding experience, connecting you with nature and providing a sense of accomplishment. Plus, you’ll save money on grocery bills in the long run. Growing your own fennel is a truly rewarding and sustainable gardening practice.


Leave a Comment