
Baking Soda Cleaning Tips: Your Secret Weapon for a Sparkling Clean Home
I’ve always loved the feeling of a truly clean home, that sparkling freshness that makes you breathe a little easier and feel more at peace. But let’s be honest, harsh chemicals and expensive cleaning products can be a real drag – not to mention potentially harmful to your family and the environment. That’s why I’m so excited to share my favorite baking soda cleaning tips with you!
For centuries, baking soda (sodium bicarbonate) has been a household staple, used not just for baking delicious treats but also for its incredible cleaning power. Our grandmothers knew its secrets, using it to brighten clothes, deodorize refrigerators, and even clean delicate surfaces. This versatile powder is a natural wonder, and understanding its potential unlocks a world of simple, effective, and eco-friendly cleaning solutions.
In today’s fast-paced world, we all crave efficient solutions. These baking soda cleaning tips will save you time, money, and effort. Forget about scrubbing endlessly with harsh chemicals; these DIY tricks will help you achieve a sparkling clean home without the toxic fumes or hefty price tags. Whether you’re tackling stubborn stains, deodorizing smelly spaces, or simply giving your kitchen a quick refresh, these simple methods will become your new go-to cleaning arsenal.
So, are you ready to discover the amazing cleaning power of baking soda and unlock a cleaner, healthier, and more budget-friendly home? Let’s dive into these easy-to-follow baking soda cleaning tips and transform your cleaning routine!
Building a Custom Bookshelf from Reclaimed Wood
I love the look of reclaimed wood, and I’ve always wanted a unique bookshelf. So, I decided to build my own! This project took a bit of time, but the result is a beautiful, one-of-a-kind piece of furniture that I’m incredibly proud of. Here’s how I did it:
Gathering Your Materials
- Reclaimed wood planks (I used about 10, varying in width and length – aim for a total length that suits your space). Make sure the wood is clean and relatively dry.
- Wood glue
- Wood screws (various lengths depending on plank thickness)
- Wood filler
- Sandpaper (various grits, starting with coarser and finishing with finer)
- Wood stain (your choice of color)
- Polyurethane sealant (clear or tinted)
- Measuring tape
- Level
- Drill with drill bits (matching your screw sizes)
- Safety glasses
- Work gloves
- Clamps (lots of them!)
- Putty knife
- Paintbrushes
- Rags or cloths
Preparing the Wood
1. Clean the wood: Before you start, thoroughly clean your reclaimed wood planks. I used a stiff brush and a damp cloth to remove any dirt, debris, or loose pieces of bark. Let them dry completely.
2. Assess and Plan: Lay out your planks to visualize the overall design of your bookshelf. Consider the varying widths and lengths to create a visually appealing arrangement. I opted for a slightly asymmetrical look, but you can go for a more uniform design. Measure and mark the lengths you’ll need for each shelf and the sides.
3. Cut the Wood (if necessary): If any of your planks need to be cut to size, use a saw (circular saw or hand saw, depending on your comfort level and the type of wood). Always wear safety glasses when using power tools. Make sure your cuts are straight and accurate.
4. Sanding: Sand each plank thoroughly, starting with a coarser grit sandpaper to remove any rough spots or splinters. Gradually move to finer grits for a smooth finish. Pay special attention to the edges. This step is crucial for a professional-looking final product.
Assembling the Bookshelf
1. Apply Glue: Apply a generous amount of wood glue to the ends of the planks that will form the sides of your bookshelf. Make sure the glue is evenly distributed.
2. Clamping: Carefully clamp the planks together, ensuring they are aligned and square. Use multiple clamps to apply even pressure. Let the glue set for at least 30 minutes, or according to the manufacturer’s instructions.
3. Pre-Drilling: Before screwing the planks together, pre-drill pilot holes to prevent the wood from splitting. This is especially important with reclaimed wood, which can be more brittle than new lumber. Use a drill bit slightly smaller than the diameter of your screws.
4. Securing with Screws: Once the glue has set, secure the planks together using wood screws. Drive the screws in at an angle to increase strength and prevent them from pulling through.
5. Adding Shelves: Repeat the glue, clamp, pre-drill, and screw process for each shelf. Make sure the shelves are level and evenly spaced. Use a level to check for accuracy.
6. Filling Gaps: Once the bookshelf is assembled, you might notice some small gaps between the planks. Use wood filler to fill these gaps, smoothing it out with a putty knife. Let the filler dry completely before sanding.
7. Final Sanding: After the wood filler has dried, sand the entire bookshelf again, paying attention to any areas where the filler was applied. Use progressively finer grits of sandpaper to achieve a smooth surface.
Finishing Touches
1. Applying Stain: Apply your chosen wood stain according to the manufacturer’s instructions. Work in the direction of the wood grain for a more even finish. Let the stain dry completely. You may need multiple coats, depending on the desired color intensity.
2. Sealing: Once the stain is dry, apply a coat of polyurethane sealant. This will protect the wood from moisture and wear. Allow the sealant to dry completely before handling the bookshelf. You may want to apply multiple coats for added protection.
3. Clean Up: Clean up any excess stain or sealant with rags or cloths. Dispose of any leftover materials responsibly.
Optional Enhancements
- Add decorative hardware, such as metal brackets or knobs.
- Incorporate lighting for a dramatic effect.
- Personalize it further with engraved details or painted accents.
And there you have it! Your very own custom bookshelf made from reclaimed wood. Enjoy the unique character and charm it brings to your space. Remember safety first throughout the entire process!
Conclusion
So there you have it! A comprehensive guide to unlocking the amazing cleaning power of baking soda. This simple, inexpensive ingredient, readily available in most kitchens, truly is a cleaning superhero. From tackling stubborn stains on countertops to deodorizing your refrigerator, the versatility of baking soda for cleaning is undeniable. This DIY cleaning trick is a must-try because it’s effective, eco-friendly, and incredibly budget-friendly. You’ll be amazed at how easily you can achieve sparkling clean results without resorting to harsh chemicals. By embracing this natural cleaning method, you’re not only saving money but also contributing to a healthier home environment for yourself and your family. The satisfaction of achieving a spotless home using such a simple ingredient is incredibly rewarding.
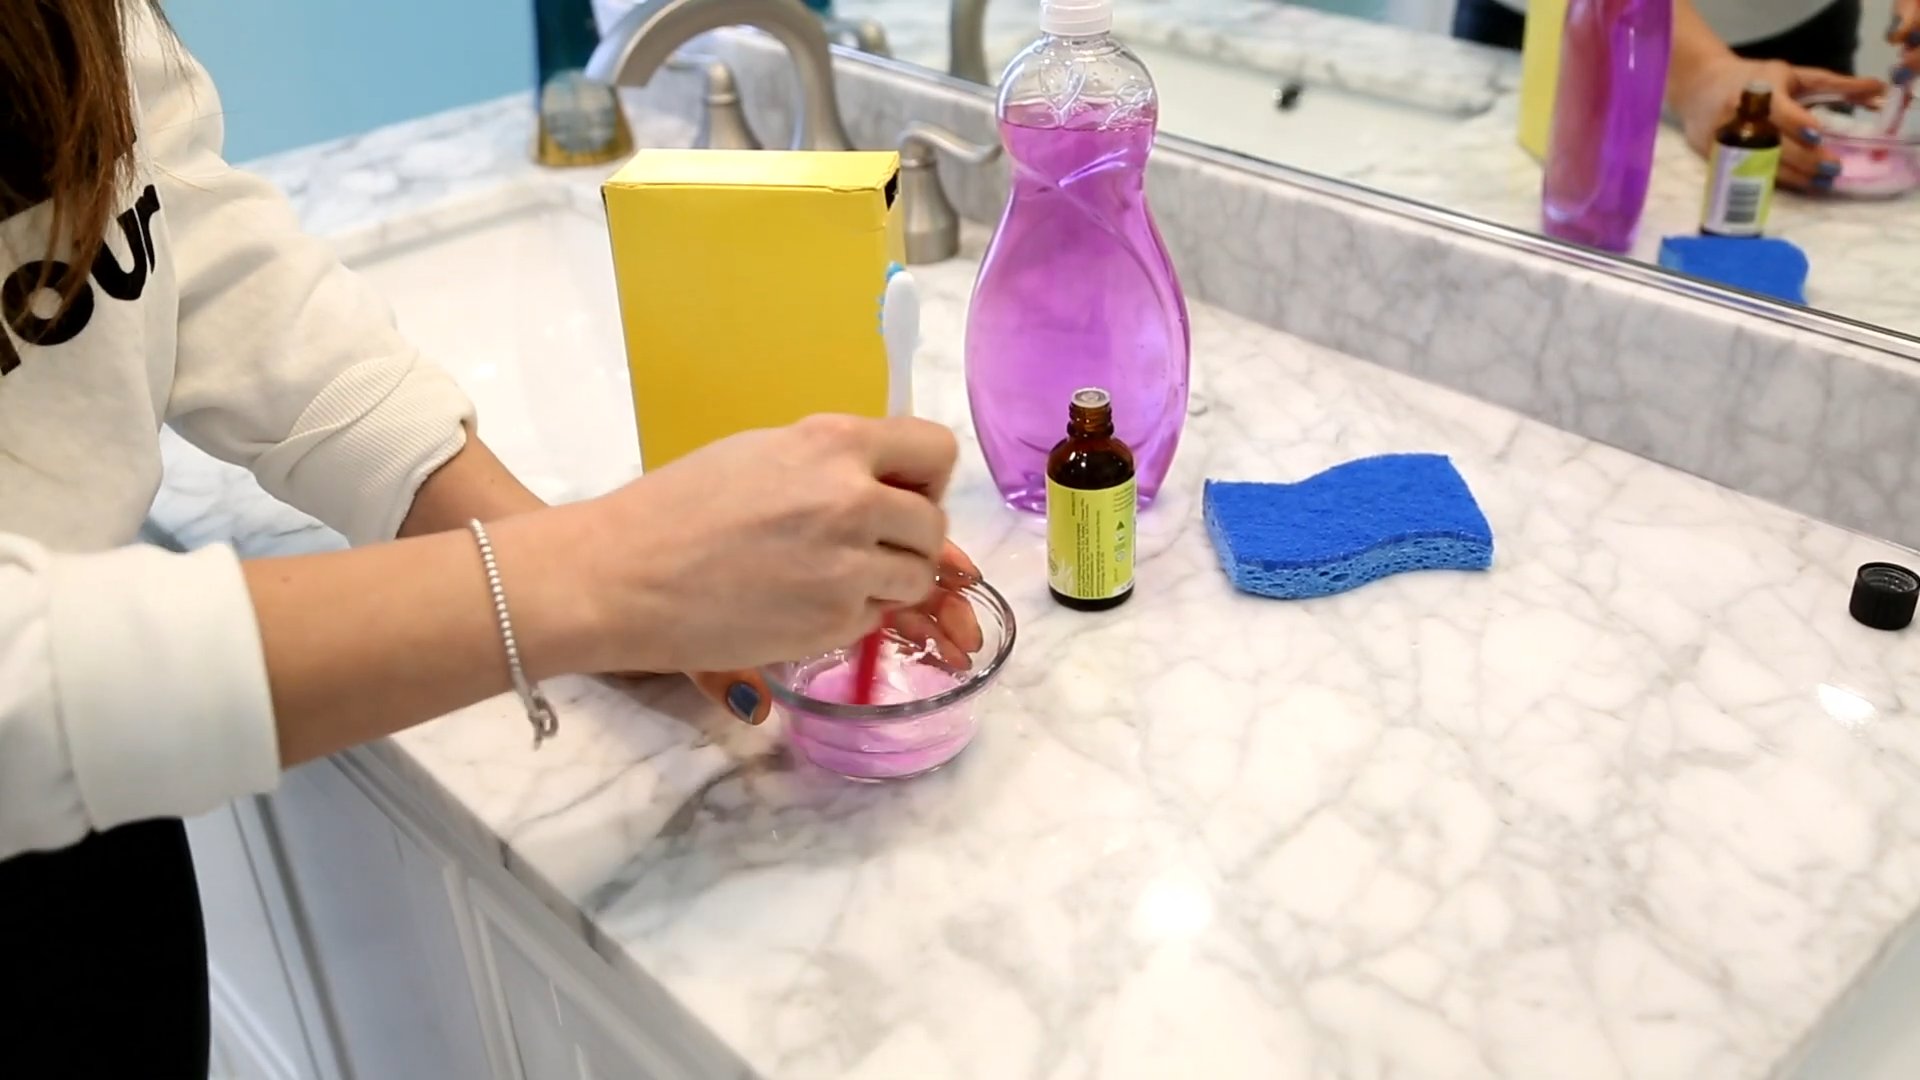
Beyond the specific applications detailed in this guide, the possibilities for using baking soda cleaning tips are endless. Experiment with different ratios of baking soda and water to find what works best for your specific cleaning needs. For tougher stains, consider creating a paste by mixing baking soda with a little water or vinegar. For delicate surfaces, always test a small, inconspicuous area first to ensure the baking soda doesn’t cause any damage. You can also enhance the cleaning power of baking soda by combining it with other natural ingredients like lemon juice or essential oils for a fresh, naturally scented clean. Consider adding a few drops of tea tree oil for its antiseptic properties, or lavender oil for a calming aroma. The possibilities are truly limitless!
We strongly encourage you to try these baking soda cleaning tips and share your experiences with us. Let us know which applications worked best for you, and if you discovered any new and innovative ways to use baking soda for cleaning. Your feedback will help inspire others to embrace this simple yet powerful cleaning method. Join the growing community of people who are discovering the incredible benefits of natural cleaning solutions and ditching the harsh chemicals. Share your before-and-after photos on social media using #BakingSodaCleaningTips and tag us! Let’s build a collective resource of baking soda cleaning wisdom together. Embrace the power of baking soda and experience the joy of a naturally clean and healthy home.
Frequently Asked Questions
What are the safety precautions when using baking soda for cleaning?
While baking soda is generally safe, it’s always advisable to take some precautions. Avoid inhaling large amounts of baking soda dust, especially when using it in dry form. Wear a mask if you’re concerned. For sensitive skin, wear gloves to prevent any potential irritation. Always test a small, inconspicuous area before applying baking soda to a larger surface, particularly on delicate materials like marble or certain types of wood. Never mix baking soda with bleach, as this can create harmful fumes. Finally, rinse thoroughly after cleaning with baking soda to remove any residue.
Can I use baking soda on all surfaces?
Baking soda is generally safe for most surfaces, but it’s crucial to test a small, inconspicuous area first. It’s particularly gentle on most countertops, sinks, and tubs. However, it’s best to avoid using baking soda on polished aluminum, unsealed wood, or certain types of stone that might be sensitive to abrasion. Always check the manufacturer’s recommendations for cleaning your specific surfaces.
How often can I use baking soda for cleaning?
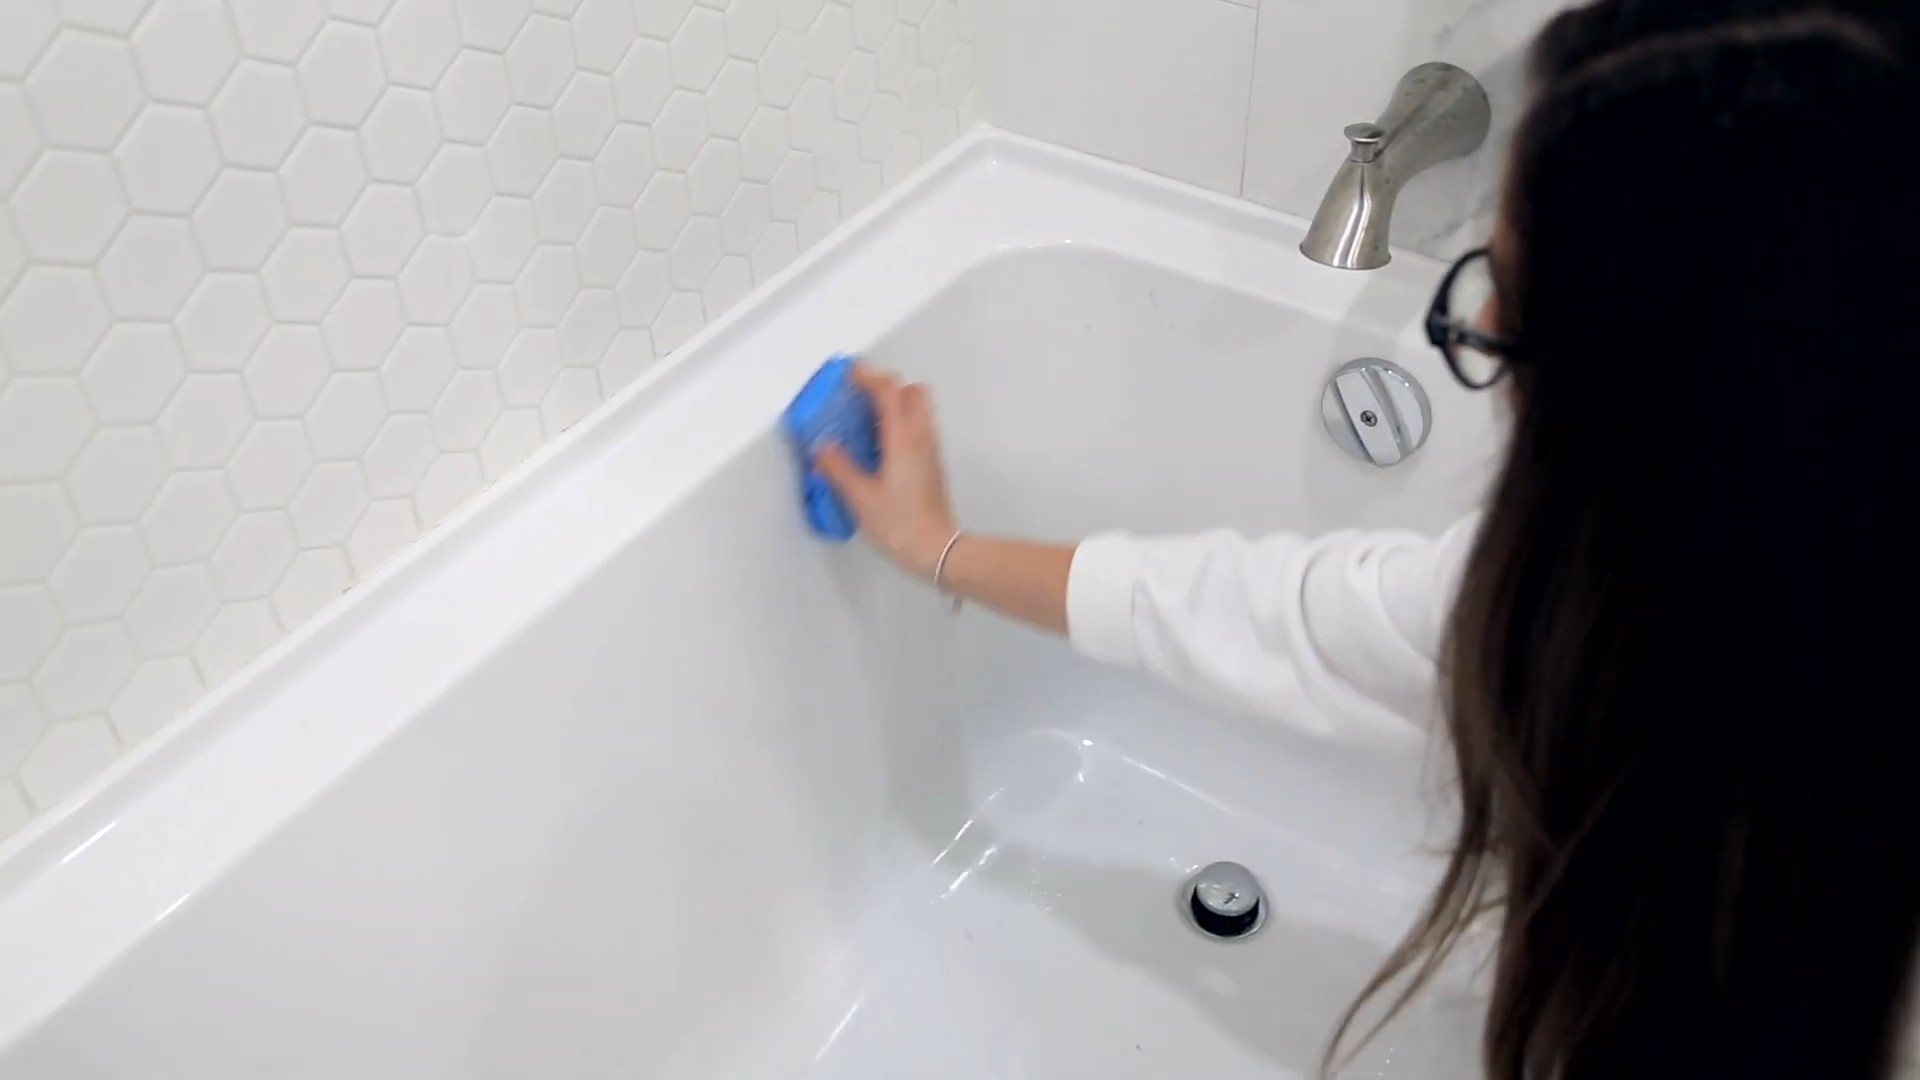
You can use baking soda for cleaning as often as needed. Its gentle nature makes it suitable for regular use without causing damage to most surfaces. For daily cleaning tasks like wiping down countertops, you can use it every day. For deeper cleaning, such as scrubbing a bathtub, you might use it less frequently, perhaps once a week or as needed.
Does baking soda remove all types of stains?
While baking soda is incredibly effective at removing many stains, it might not be suitable for all types. It works best on water-based stains and mild discoloration. For stubborn, set-in stains or grease, you might need to combine baking soda with other cleaning agents or use a more aggressive cleaning method. The effectiveness of baking soda on stains also depends on the material being cleaned and the age of the stain.
Can I use baking soda to clean my oven?
Yes, baking soda is a fantastic natural oven cleaner. Create a paste of baking soda and water, apply it to the interior of your oven, let it sit overnight, and then scrub it clean. This method is particularly effective for removing baked-on food and grease. However, for extremely stubborn or burnt-on messes, you might need to combine this method with other cleaning techniques.
Is baking soda better than commercial cleaners?
Whether baking soda is “better” than commercial cleaners depends on your priorities. Baking soda is a more eco-friendly and budget-friendly option, and it’s generally safer for your health and the environment. However, commercial cleaners often offer more powerful cleaning capabilities for specific tasks, such as removing tough grease or disinfecting surfaces. The best choice depends on your individual needs and preferences. For many everyday cleaning tasks, baking soda is a fantastic and effective alternative.

Leave a Comment