
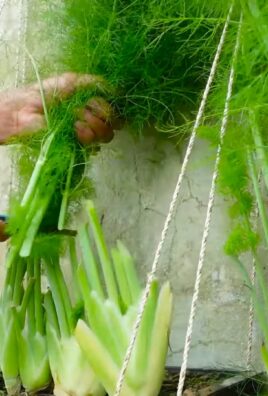
Grow Artichokes Guide: Your Journey to a Bountiful Harvest
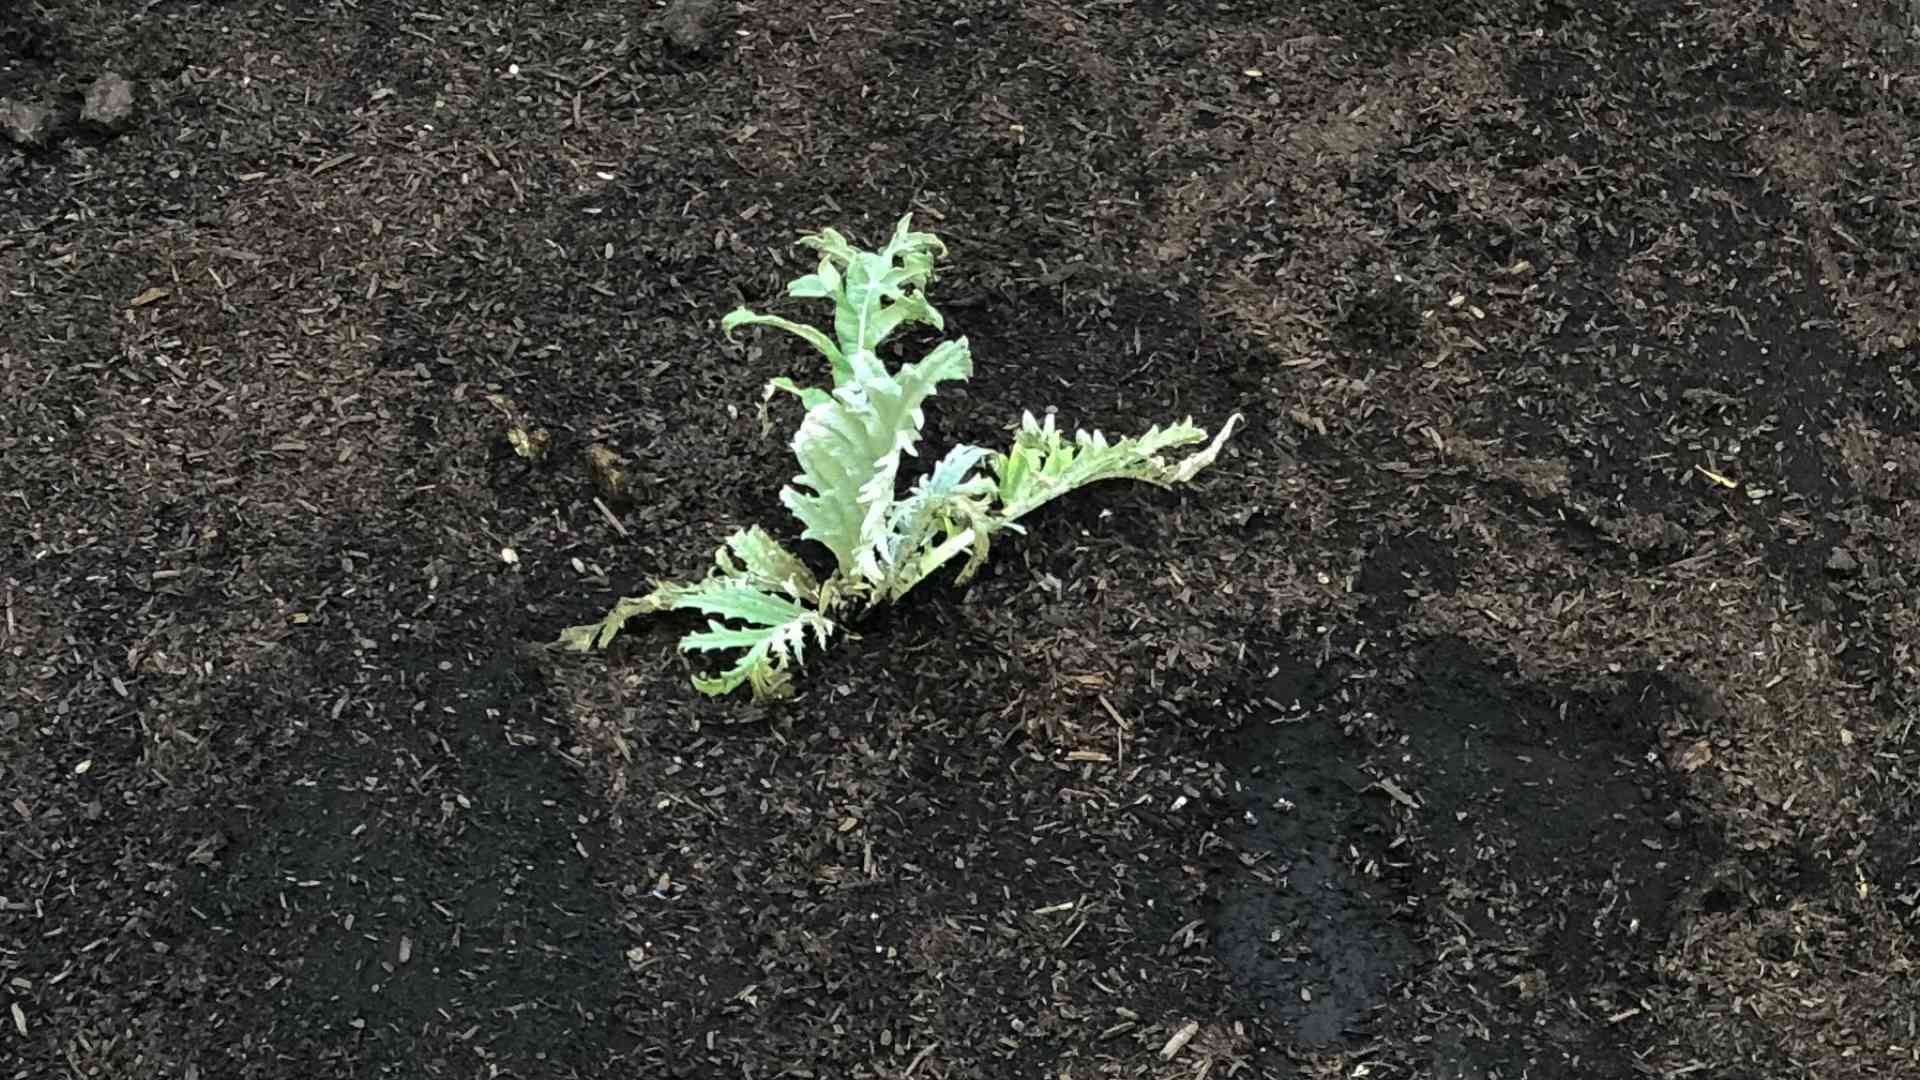
Growing artichokes might seem intimidating, but with this Grow Artichokes Guide, you’ll discover it’s surprisingly rewarding! I’ve always loved the unique flavor and satisfying texture of artichokes, and nothing beats the taste of a homegrown one. This isn’t just about harvesting delicious vegetables; it’s about connecting with nature and experiencing the satisfaction of nurturing a plant from seed to plate.
Historically, artichokes have a rich and fascinating past, cultivated for centuries in the Mediterranean region. They’ve been a culinary staple and a symbol of sophistication for generations. But you don’t need a sprawling estate to enjoy this culinary treasure; even a small backyard or balcony can be transformed into a thriving artichoke patch with the right techniques.
Why This Grow Artichokes Guide is Essential
This Grow Artichokes Guide isn’t just another gardening blog post; it’s your comprehensive roadmap to success. Many people shy away from growing artichokes, believing them to be too difficult. But I’m here to tell you that’s a myth! With my easy-to-follow instructions and helpful tips, you’ll learn how to overcome common challenges and achieve a bountiful harvest. You’ll learn everything from selecting the right variety and preparing the soil to proper fertilization and pest control. Imagine the pride of presenting your friends and family with artichokes you’ve grown yourself – that’s the magic of home gardening!
So, are you ready to embark on this exciting journey? Let’s dive into this Grow Artichokes Guide and unlock the secrets to cultivating these magnificent plants in your own garden!
My Super-Easy Natural Oven Cleaning Method
I used to dread cleaning my oven. The thought of scrubbing away baked-on grime was enough to make me put it off for weeks, sometimes months! But then I discovered this amazing natural method, and now it’s a breeze. Let me show you how I do it!
Gathering Your Supplies
- One cup of baking soda
- One-third cup of white vinegar
- A spray bottle
- Warm water
- A sponge or cleaning cloths (old ones are perfect for this!)
- Rubber gloves (optional, but recommended)
- A scraper (a plastic one is ideal to avoid scratching)
Important Note: Before you begin, make sure your oven is completely cool. Safety first!
Preparing the Oven
1. Remove all oven racks. I usually soak these separately in a sink filled with hot, soapy water. This makes cleaning them much easier later. Let them soak while you work on the oven itself.
2. Remove any loose debris from the oven floor and walls. I use a scraper for stubborn bits, but be gentle to avoid scratching the enamel.
3. Now, for the magic ingredient: baking soda! Generously sprinkle the baking soda all over the inside surfaces of your oven, including the walls, floor, and door. Don’t be shy – the more you use, the better it works! I usually use the whole cup.
4. Lightly spray the baking soda with water. You just want to dampen it, not soak it. The goal is to create a paste-like consistency.
5. Let this mixture sit overnight. The longer it sits, the better it works at breaking down the grease and grime. I usually leave it overnight, but even a few hours will make a difference.
The Cleaning Process
1. After the baking soda has sat for at least a few hours (or overnight), it’s time for the vinegar! Fill your spray bottle with white vinegar.
2. Carefully spray the vinegar over the baking soda paste. You’ll see it start to fizz! This is a natural reaction between the baking soda and vinegar, and it helps to loosen the grime even further.
3. Let the fizzing action continue for about 15-20 minutes. This allows the mixture to work its magic.
4. Now for the scrubbing! Using your sponge or cleaning cloths, gently wipe away the loosened grime. For stubborn spots, you can use your scraper, but be careful not to scratch the oven’s surface. I find working from top to bottom is the most efficient.
5. Once you’ve cleaned all the surfaces, rinse the oven thoroughly with warm water and a clean cloth. You can use a spray bottle to make this easier.
6. Dry the oven completely with a clean, dry cloth.
Cleaning the Oven Racks
1. By now, your oven racks should have soaked for a while. Remove them from the soapy water.
2. Use your sponge or a scrub brush to clean any remaining grime. For really stubborn spots, you can use a paste of baking soda and water.
3. Rinse the racks thoroughly and dry them completely before placing them back in the oven.
Dealing with Stubborn Stains
Even with this method, you might encounter some particularly stubborn stains. Don’t worry, I have a few tips for those:
- For burnt-on food: Try making a thicker paste of baking soda and water and applying it directly to the stain. Let it sit for a longer period before scrubbing.
- For greasy splatters: A little extra elbow grease might be needed. Focus on scrubbing those areas with a firm but gentle touch.
- For baked-on grease: You might need to repeat the entire process. Sometimes, stubborn grease requires a second application of the baking soda and vinegar mixture.
Remember, patience is key! This natural method might take a little longer than harsh chemical cleaners, but it’s worth it for the peace of mind knowing you’re not using harmful chemicals in your kitchen.
Post-Cleaning Tips
- After cleaning, leave the oven door slightly ajar to allow it to air dry completely.
- Consider lining the bottom of your oven with aluminum foil to make future cleanings even easier. Just remember to replace it periodically.
- Try to wipe up spills and splatters immediately to prevent them from baking on. Prevention is always better than cure!
I hope this guide helps you conquer your oven cleaning woes! Let me know in the comments if you have any questions or tips of your own.
Conclusion
So there you have it – your comprehensive guide to growing artichokes! This DIY approach to cultivating these culinary gems isn’t just rewarding; it’s surprisingly straightforward. By following these steps, you’ll unlock the satisfaction of harvesting your own plump, flavorful artichokes, a far cry from the supermarket experience. The unique taste and texture of homegrown artichokes are unparalleled, offering a depth of flavor that store-bought varieties simply can’t match. This method allows you to control the growing process, ensuring healthy plants and a bountiful harvest. Beyond the delicious reward, growing your own artichokes connects you to the land and provides a fulfilling gardening experience. It’s a project that yields both delicious food and a profound sense of accomplishment.
Don’t be intimidated by the seemingly complex nature of artichoke cultivation. This guide breaks down the process into manageable steps, making it accessible to even novice gardeners. Remember, patience and consistent care are key. With a little effort, you’ll be enjoying the fruits (or rather, the “flowers”) of your labor in no time. Experiment with different varieties to find your favorite, and don’t hesitate to adapt the techniques to suit your specific climate and growing conditions. The beauty of this DIY approach lies in its adaptability.
Consider experimenting with companion planting. Marigolds, for example, are known to deter pests that might target your artichoke plants. You can also explore different soil amendments to optimize your soil’s drainage and nutrient content. If space is limited, consider growing artichokes in large containers. This allows for greater control over the growing environment and makes it easier to manage watering and fertilization. Remember to regularly inspect your plants for signs of pests or diseases, and address any issues promptly to maintain healthy growth. Proper pruning is also crucial for maximizing yield and promoting healthy plant development. By understanding the nuances of artichoke growth, you can fine-tune your approach and achieve exceptional results.
We strongly encourage you to embark on this rewarding journey of growing your own artichokes. Share your experiences, successes, and even your challenges with us and other fellow gardeners. Your feedback and insights are invaluable, and we’re eager to hear about your artichoke adventures. Join our online community and let’s cultivate a thriving network of artichoke enthusiasts! Let us know how your Grow Artichokes Guide experience goes. Don’t forget to share photos of your bountiful harvest!
Frequently Asked Questions
Q: What is the best time of year to plant artichokes?
The ideal time to plant artichokes depends on your climate. In areas with mild winters, fall planting is often preferred, allowing the plants to establish themselves before the growing season. In colder climates, spring planting after the last frost is recommended. Always check your local frost dates for the most accurate planting window.
Q: How much sunlight do artichokes need?
Artichokes thrive in full sun, meaning at least six to eight hours of direct sunlight per day. A sunny location is crucial for healthy growth and abundant harvests. Insufficient sunlight can lead to poor yields and weaker plants.
Q: What type of soil is best for growing artichokes?
Artichokes prefer well-drained, fertile soil with a slightly acidic to neutral pH (6.0-7.0). Amend heavy clay soils with organic matter like compost to improve drainage and aeration. Sandy soils may benefit from the addition of organic matter to retain moisture.
Q: How often should I water my artichokes?
Consistent watering is essential, especially during dry periods. Aim to keep the soil consistently moist but not waterlogged. Deep, infrequent watering is generally better than shallow, frequent watering, encouraging deeper root growth. Adjust watering frequency based on your climate and soil conditions.
Q: How do I harvest artichokes?
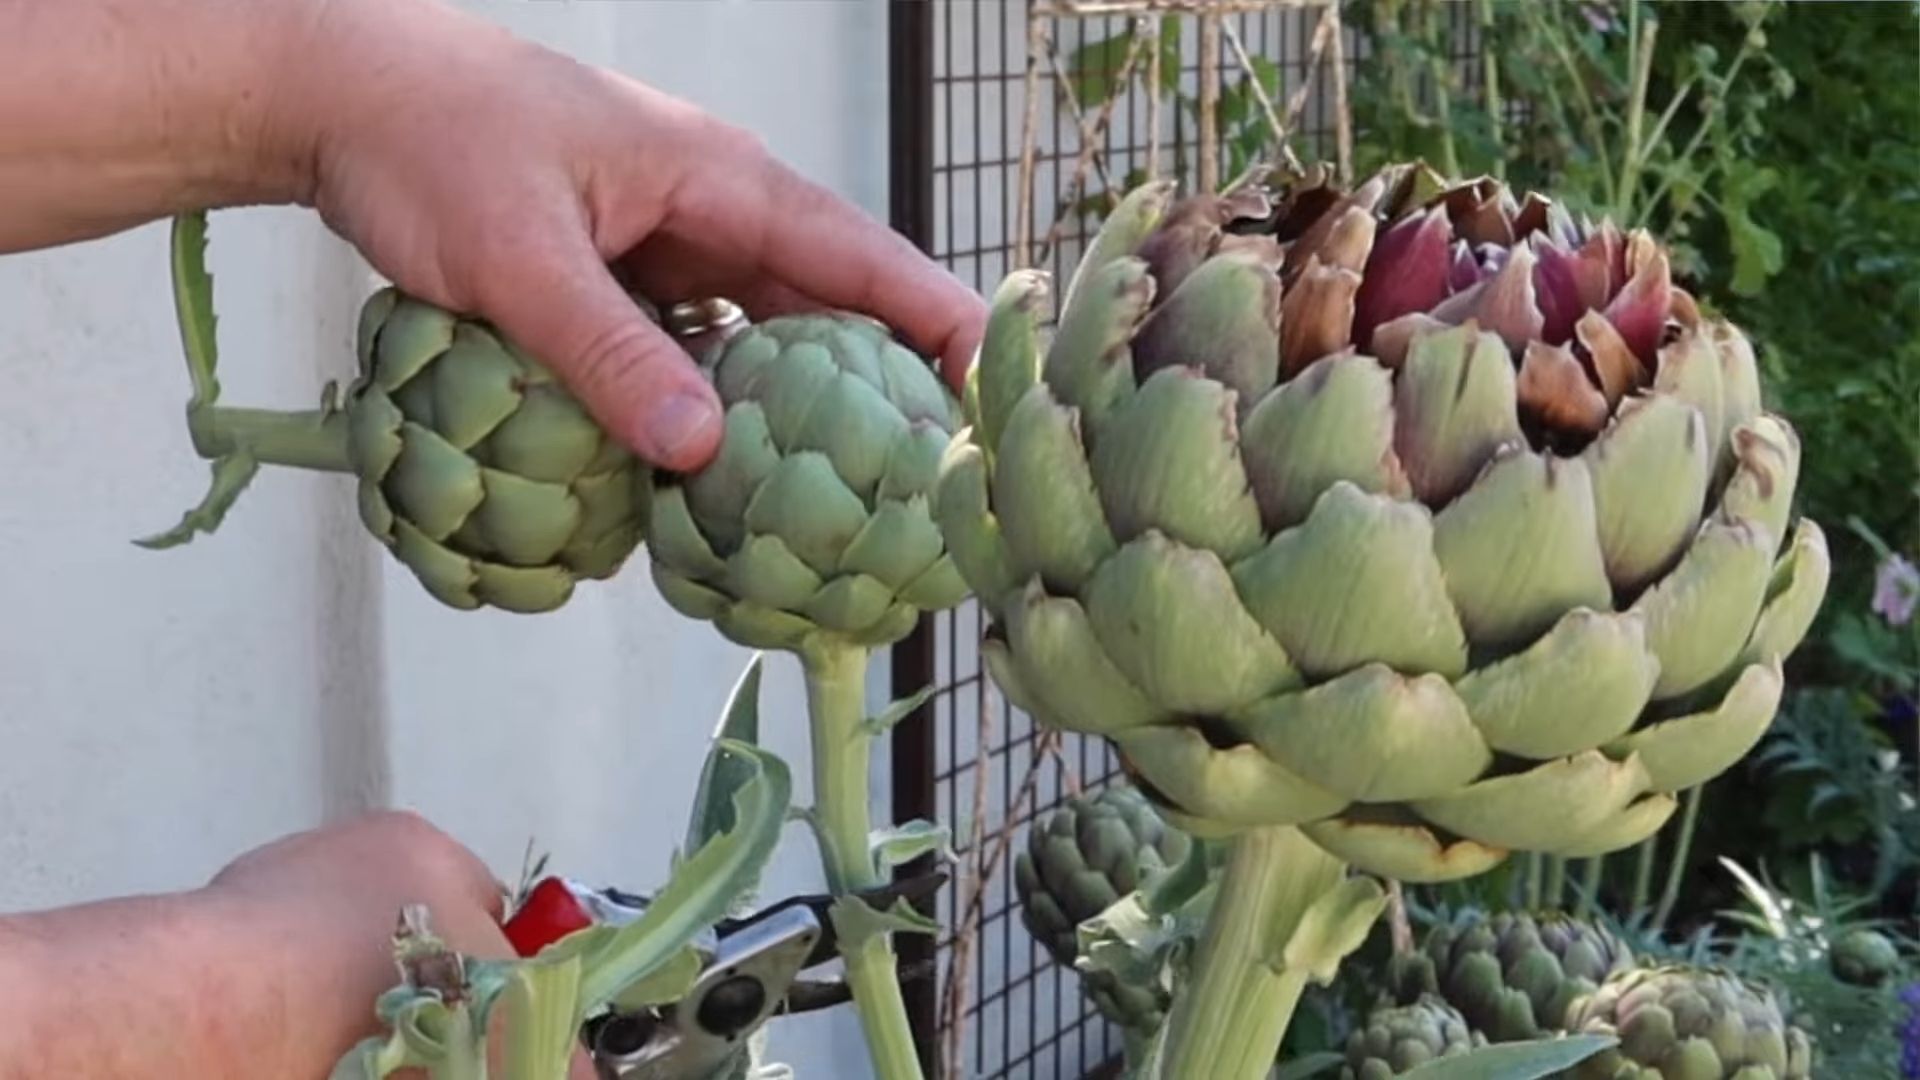
Artichokes are ready for harvest when the buds are firm, tightly closed, and the bracts (leaf-like structures) are dark green and upright. Cut the artichoke from the plant using a sharp knife, leaving about an inch of stem attached. Harvesting should begin when the buds reach the desired size, typically 3-4 inches in diameter.
Q: What are some common problems when growing artichokes?
Common problems include pests like aphids and caterpillars, and diseases like fungal infections. Regularly inspect your plants for signs of pests or diseases, and address any issues promptly. Proper spacing, good air circulation, and appropriate watering can help prevent many problems. Consider using organic pest control methods whenever possible.
Q: Can I grow artichokes in containers?
Yes, you can grow artichokes in large containers, provided they are at least 15-20 gallons in capacity to accommodate the plant’s root system. Choose containers with drainage holes to prevent waterlogging. Container-grown artichokes may require more frequent watering than those planted in the ground.
Q: How do I overwinter my artichoke plants?
Overwintering techniques depend on your climate. In mild climates, artichokes are often perennial and can survive the winter with minimal protection. In colder areas, you may need to provide protection from frost, such as covering the plants with mulch or burlap. In very cold climates, you might need to dig up the crowns and store them indoors over winter.
Q: What are some different varieties of artichokes I can grow?
Many artichoke varieties are available, each with slightly different characteristics. Some popular choices include ‘Green Globe’, known for its large size and excellent flavor, and ‘Imperial Star’, a more compact variety suitable for smaller gardens. Research different varieties to find one that suits your climate and preferences.
Leave a Comment