
Kitchen Sink Cleaning: Unlocking Sparkling Cleanliness with Easy DIY Tricks
I’ve always loved the feeling of a sparkling clean kitchen, and there’s nothing quite like the satisfaction of achieving that pristine shine yourself. That’s why I’m so excited to share some amazing kitchen sink cleaning tricks and DIY solutions with you today! Forget expensive, harsh chemicals – we’re diving into the world of natural, effective, and budget-friendly methods to banish grime and restore your sink to its former glory.
The humble kitchen sink, a seemingly simple fixture, has played a vital role in our homes for centuries. From ancient civilizations using rudimentary basins to the modern-day stainless steel marvels, the sink has always been the heart of food preparation and cleaning. Keeping it clean isn’t just about aesthetics; it’s about maintaining a hygienic environment for food handling and overall kitchen health. And let’s be honest, a sparkling clean sink instantly elevates the look and feel of your entire kitchen!
Why You Need These Kitchen Sink Cleaning Hacks
We all know how quickly a kitchen sink can become a breeding ground for bacteria and unpleasant odors. Between daily dishes, food scraps, and general kitchen spills, keeping it spotless can feel like a constant battle. That’s where these kitchen sink cleaning DIY solutions come in. These simple tricks will not only save you time and money but also help you maintain a healthier, more pleasant kitchen environment. You’ll learn how to tackle tough stains, eliminate stubborn odors, and prevent future build-up, all with ingredients you probably already have in your pantry!
So, grab your cleaning supplies, and let’s get started on transforming your kitchen sink from drab to fab! Prepare to be amazed by how easy and effective these kitchen sink cleaning methods truly are.
Building a Custom Bookshelf from Reclaimed Wood
I love the look of reclaimed wood, and I’ve always wanted a unique bookshelf. So, I decided to build my own! This project took a bit of time, but the result is a beautiful, one-of-a-kind piece of furniture that I’m incredibly proud of. Here’s how I did it.
Gathering Your Materials
- Reclaimed wood planks (I used about 10, varying in width and length – aim for a total length that suits your space and desired shelf height). Make sure the wood is clean and relatively dry.
- Wood glue
- Wood screws (various lengths depending on plank thickness)
- Wood filler
- Sandpaper (various grits, starting with coarser and moving to finer)
- Wood stain (your choice of color – I used a dark walnut)
- Polyurethane sealant (to protect the finish)
- Drill with drill bits (matching your screw sizes)
- Measuring tape
- Level
- Safety glasses
- Work gloves
- Putty knife
- Brushes (for stain and sealant)
- Clamps (to hold pieces together while the glue dries)
Preparing the Wood
1. Clean the wood: Before you start, thoroughly clean your reclaimed wood planks. I used a stiff brush and a damp cloth to remove any dirt, debris, or loose pieces of bark. Let it dry completely.
2. Assess and Plan: Lay out your planks and decide on the arrangement for your shelves. Consider the varying widths and lengths to create a visually appealing design. I opted for a slightly asymmetrical look. Measure and mark the lengths you’ll need for each shelf and the vertical supports.
3. Cut the Wood (if necessary): If any of your planks need to be cut to size, use a saw (circular saw or hand saw, depending on your comfort level and the wood’s thickness). Always wear safety glasses when using power tools. Make sure your cuts are straight and accurate.
4. Sand the Wood: Sand each plank thoroughly, starting with a coarser grit sandpaper (around 80 grit) to remove any rough spots or splinters. Gradually move to finer grits (120, then 220) for a smooth finish. Sanding is crucial for a professional-looking final product. Pay special attention to the edges.
Assembling the Bookshelf
1. Apply Glue and Assemble: Apply a generous amount of wood glue to the ends of the vertical support planks where they will meet the shelf planks. Carefully align the pieces and clamp them together firmly. Ensure the shelves are level. I used several clamps to ensure a strong and even bond.
2. Secure with Screws: Once the glue is set (check the glue instructions for drying time), pre-drill pilot holes to prevent the wood from splitting. Then, use wood screws to secure the shelves to the vertical supports. Use screws of appropriate length to avoid them poking through the other side.
3. Fill Gaps and Holes: After assembling, you might notice some small gaps or holes from the screws. Use wood filler to fill these imperfections. Apply a small amount of filler, let it dry completely, and then sand it smooth.
Finishing Touches
1. Stain the Wood: Once everything is dry and smooth, apply your chosen wood stain. I applied two coats of dark walnut stain, allowing each coat to dry completely before applying the next. Follow the stain manufacturer’s instructions carefully.
2. Seal the Wood: After the stain is dry, apply a few coats of polyurethane sealant. This will protect the wood from moisture and scratches, extending the life of your bookshelf. Let each coat dry completely before applying the next. Use a brush with soft bristles to avoid leaving brush marks.
3. Final Inspection and Placement: Once the sealant is dry, inspect your bookshelf for any imperfections. If needed, do some light sanding and reapply sealant. Then, carefully place your beautiful new bookshelf in its desired location and start filling it with your favorite books!
Tips and Considerations
- Choose your wood carefully: The type of reclaimed wood you choose will affect the final look and feel of your bookshelf. Consider the color, texture, and overall condition of the wood.
- Plan your design: Before you start cutting and assembling, take the time to plan your design. Sketch it out, measure carefully, and visualize the final product.
- Work in a well-ventilated area: When working with wood stain and sealant, it’s important to work in a well-ventilated area to avoid inhaling harmful fumes.
- Take your time: This project takes time and patience. Don’t rush the process. Take your time to ensure each step is done correctly.
- Safety first: Always wear safety glasses and work gloves when using power tools or working with sharp objects.
Building a bookshelf from reclaimed wood is a rewarding experience. The process allows for creativity and personalization, resulting in a unique piece of furniture that reflects your style. Enjoy the process and the beautiful result!

Conclusion
So there you have it! Our guide to achieving a sparkling clean kitchen sink using simple, readily available ingredients. This DIY kitchen sink cleaning method isn’t just about sparkling surfaces; it’s about reclaiming control over your cleaning routine and saving money on expensive commercial cleaners. This effective and affordable method is a must-try for anyone looking to banish grime and restore the shine to their kitchen sink. The satisfying results, the knowledge that you’re using natural ingredients, and the significant cost savings all combine to make this a truly worthwhile endeavor. You’ll be amazed at how easily you can transform a dull, stained sink into a gleaming centerpiece of your kitchen. Forget harsh chemicals and expensive cleaning products; embrace the power of simple, effective DIY cleaning!
Beyond the basic recipe, there are numerous ways to personalize this cleaning method to suit your specific needs and preferences. For instance, if you have particularly stubborn stains, you can increase the soaking time or add a bit more baking soda for extra scrubbing power. If you prefer a more fragrant experience, consider adding a few drops of your favorite essential oil, such as lemon or tea tree oil, to the paste. These oils not only add a pleasant aroma but also possess natural antibacterial and antifungal properties, further enhancing the cleaning process. For those with sensitive skin, always wear gloves during the cleaning process, and ensure thorough rinsing to remove any residual cleaning agents. Experiment with different ratios of baking soda and vinegar to find the perfect consistency for your sink material and the level of grime you’re tackling. Remember, the key is to gently scrub without being overly abrasive to avoid scratching the surface.
We strongly encourage you to try this DIY kitchen sink cleaning method and share your experience with us! We’d love to hear about your results, any modifications you made, and any tips you discovered along the way. Your feedback will help others achieve the same sparkling results in their own kitchens. Post your before-and-after photos on social media using #DIYKitchenSinkClean, and let’s create a community of sparkling sink enthusiasts! Remember, a clean kitchen sink is not just about aesthetics; it’s about creating a healthier and more enjoyable cooking environment. This simple DIY trick empowers you to take control of your cleaning, saving you time, money, and the environment. So, roll up your sleeves, gather your ingredients, and get ready to experience the joy of a sparkling clean kitchen sink! You won’t regret it!
Frequently Asked Questions
What types of kitchen sinks does this method work on?
This DIY kitchen sink cleaning method is generally suitable for most types of kitchen sinks, including stainless steel, porcelain, and enamel. However, always test a small, inconspicuous area first to ensure the cleaning solution doesn’t damage or discolor the surface. Avoid using this method on particularly delicate or antique sinks without prior testing and research.
How often should I clean my kitchen sink using this method?
The frequency of cleaning depends on your usage and the level of grime buildup. For most people, a weekly cleaning should suffice. However, if you frequently use your sink for messy tasks, you may need to clean it more often. Regular cleaning prevents stubborn stains from setting in, making the cleaning process much easier in the long run.
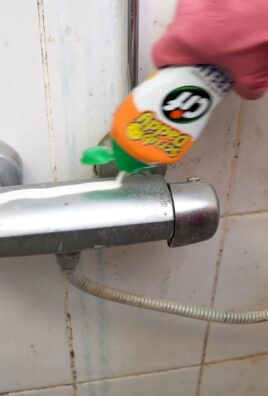
Can I use this method on my kitchen sink faucet?
Yes, you can use this method to clean your kitchen sink faucet, but be cautious. Avoid using abrasive scrubbing on delicate finishes. Focus on gently wiping the faucet with the baking soda paste to remove any grime and fingerprints. Rinse thoroughly afterward.
What if I have stubborn stains that won’t come off?
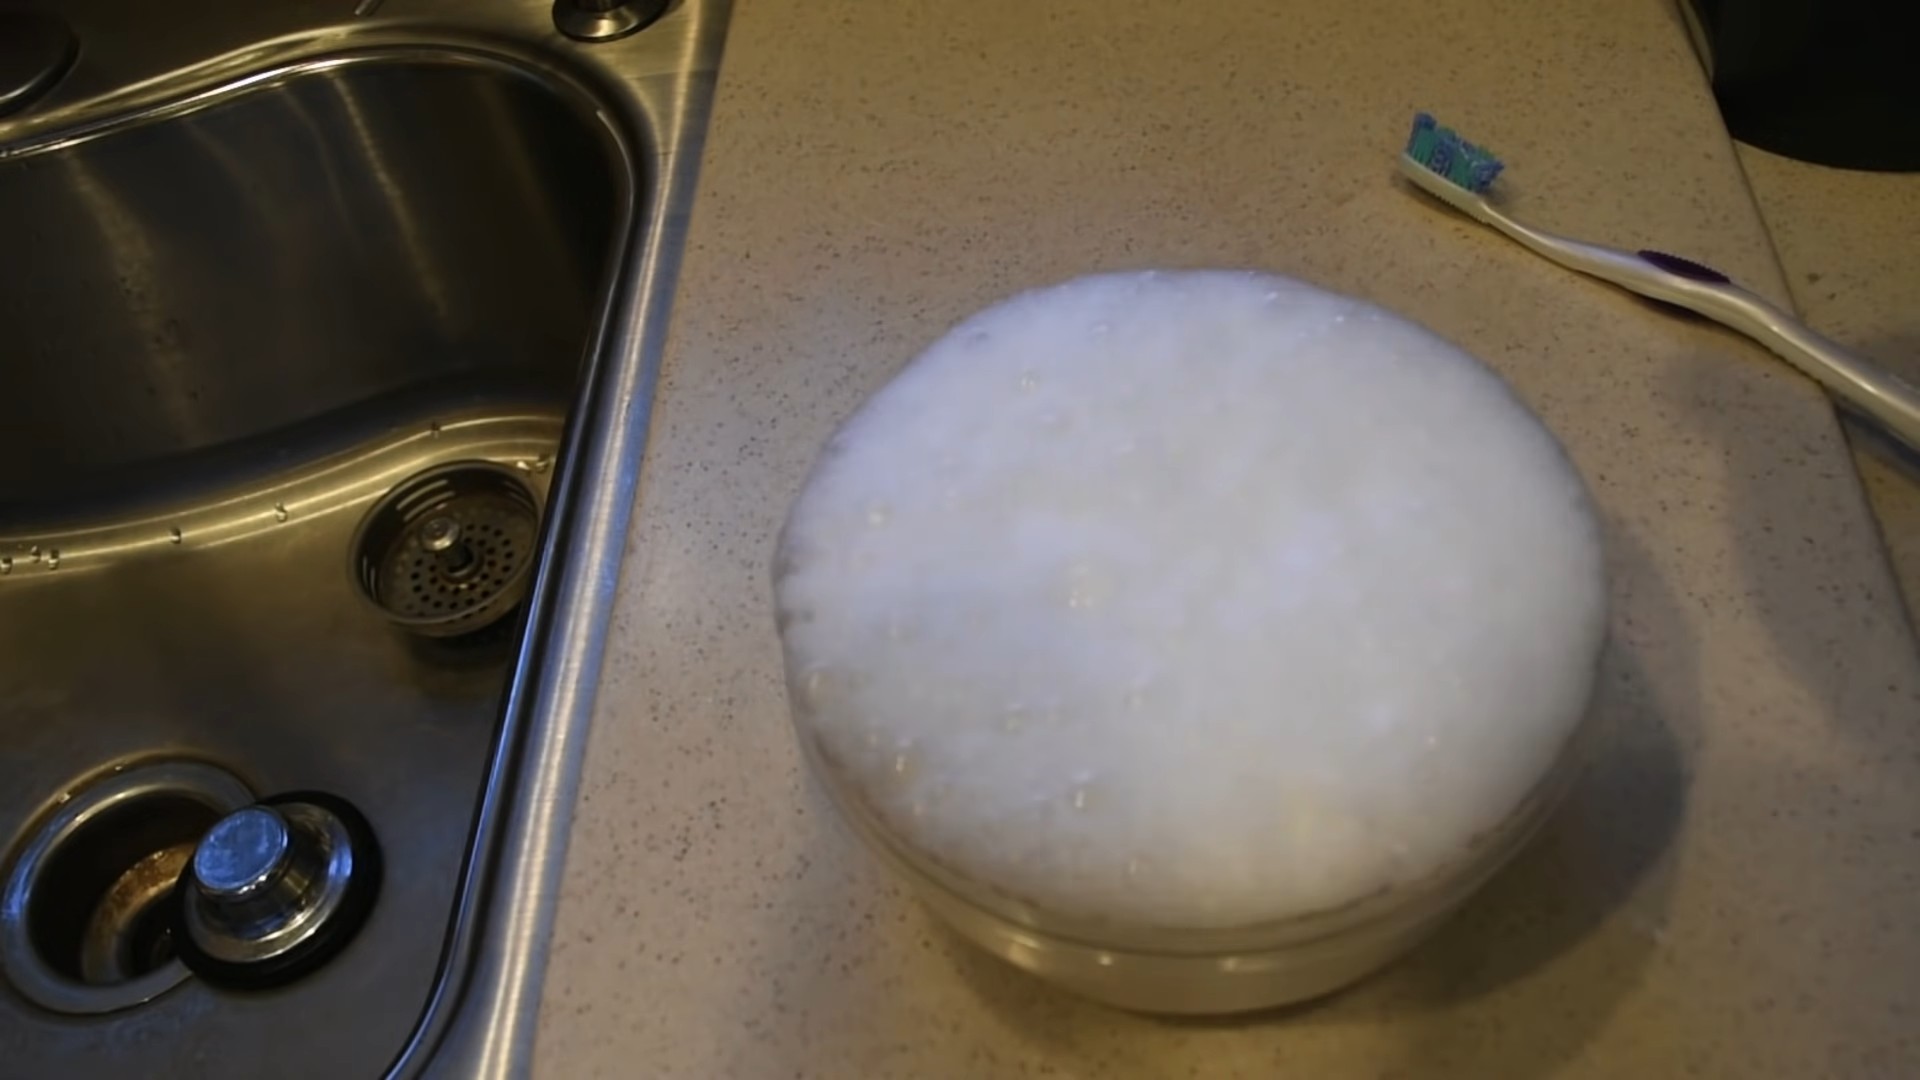
For stubborn stains, you can try increasing the soaking time or applying a thicker layer of the baking soda paste. Let it sit for a longer period (perhaps 30-60 minutes) before scrubbing. You can also try using a soft-bristled brush for more effective scrubbing. If the stain persists, consider using a specialized stain remover appropriate for your sink material. Always test any new product on an inconspicuous area first.
Are there any safety precautions I should take?
Always wear gloves when handling baking soda and vinegar, especially if you have sensitive skin. Ensure proper ventilation while cleaning, as the combination of baking soda and vinegar can produce a slight fizzing reaction. Thoroughly rinse the sink after cleaning to remove any residual cleaning solution. Avoid mixing this cleaning solution with other cleaning products, as unexpected reactions may occur.
What if I don’t have baking soda or vinegar?
While baking soda and vinegar are the core ingredients for this method, you can explore alternative natural cleaning agents. For example, you can try using lemon juice as a natural acidic cleaner, or a paste made from coarse salt and water for scrubbing. However, the effectiveness might vary compared to the baking soda and vinegar combination.
Can I use this method on other areas of my kitchen?
While this method is primarily designed for cleaning kitchen sinks, you can adapt it to clean other kitchen surfaces, such as countertops (depending on the material) and stovetops. Always test a small area first to ensure compatibility and avoid damage. Remember to adjust the scrubbing intensity based on the surface’s sensitivity.
Is this method environmentally friendly?
Yes, this DIY kitchen sink cleaning method is significantly more environmentally friendly than using commercial cleaning products. It utilizes readily available, natural ingredients, reducing the use of harsh chemicals and their associated environmental impact. It’s a sustainable and eco-conscious approach to kitchen cleaning.


Leave a Comment