
Growing carrots at home can seem daunting, but trust me, it’s more rewarding than you think! Imagine plucking vibrant, sweet carrots straight from your own backyard – fresher and tastier than anything you’ll find at the grocery store. For centuries, cultivating our own food has been a cornerstone of self-sufficiency, with evidence of carrot cultivation dating back to ancient times. From humble kitchen gardens to sprawling farms, the ability to nurture the earth and reap its bounty has always held a special significance.
But let’s be honest, in today’s busy world, who has time for complicated gardening techniques? That’s where these DIY tricks and hacks come in! I’m here to share simple, effective methods that will help you succeed in growing carrots at home, even if you’re a complete beginner. We’ll cover everything from soil preparation to pest control, ensuring you have a thriving carrot patch in no time.
Why do you need these DIY tricks? Because store-bought carrots often lack the flavor and nutrients of homegrown varieties. Plus, gardening is a fantastic way to de-stress, connect with nature, and enjoy the satisfaction of creating something beautiful and delicious. So, grab your gardening gloves, and let’s get started on this exciting journey together!

Growing Carrots at Home: A Beginner’s Guide to Crunchy Success
Hey there, fellow gardening enthusiasts! Ever dreamt of pulling vibrant, crunchy carrots straight from your own backyard? Well, dream no more! Growing carrots at home is surprisingly easy and rewarding, even if you’re a complete newbie. I’m going to walk you through everything you need to know, from choosing the right spot to harvesting your delicious bounty. Let’s get our hands dirty!
Choosing the Right Carrot Variety
Before we even think about soil, let’s talk carrots! There’s a whole world of carrot varieties out there, each with its own unique shape, size, and flavor. Choosing the right one for your space and preferences is key.
* Nantes: These are classic, cylindrical carrots with a sweet flavor and smooth skin. They’re a great all-around choice and mature relatively quickly.
* Danvers: These are longer, tapered carrots that are known for their robust flavor and good storage capabilities. They’re a bit more tolerant of heavier soils.
* Chantenay: These are shorter, thicker carrots that are perfect for growing in shallow or rocky soils. They have a strong, earthy flavor.
* Round Carrots (Parisian): These are adorable, golf ball-sized carrots that are ideal for containers or small gardens. They’re quick to mature and have a sweet, mild flavor.
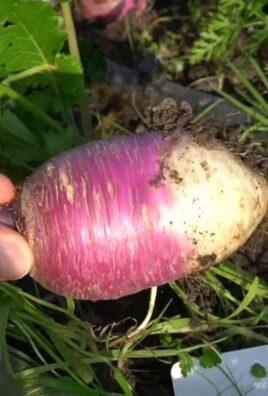
* Heirloom Varieties: Don’t be afraid to explore heirloom varieties like ‘Purple Haze’ or ‘Yellowstone’ for a splash of color and unique flavors.
Consider your soil type, growing space, and taste preferences when making your selection. I personally love Nantes for their sweetness and ease of growth, but experiment and find what works best for you!
Preparing the Soil: The Key to Carrot Success
Carrots are notoriously picky about their soil. They need loose, well-drained soil that’s free of rocks and clumps. This is because any obstruction in the soil can cause the roots to fork or become misshapen.
* Soil Type: Carrots thrive in sandy loam soil. If your soil is heavy clay, you’ll need to amend it with plenty of organic matter, such as compost or well-rotted manure.
* pH Level: The ideal soil pH for carrots is between 6.0 and 6.8. You can test your soil pH with a home testing kit or send a sample to your local agricultural extension office.
* Removing Obstructions: This is crucial! Carefully remove any rocks, stones, or debris from the planting area. Even small pebbles can cause problems.
* Tilling or Digging: Loosen the soil to a depth of at least 12 inches. This will allow the carrot roots to grow freely.
* Adding Organic Matter: Incorporate plenty of compost or well-rotted manure into the soil. This will improve drainage, fertility, and soil structure.
* Creating Raised Beds (Optional): If you have heavy clay soil or poor drainage, consider growing your carrots in raised beds. This will provide better drainage and warmer soil.
Step-by-Step Soil Preparation:
1. Clear the Area: Remove any weeds, grass, or debris from the planting area.
2. Test Your Soil: Determine your soil pH and nutrient levels. This will help you determine what amendments are needed.
3. Till or Dig: Loosen the soil to a depth of at least 12 inches using a garden fork or tiller.
4. Remove Rocks and Debris: Carefully remove any rocks, stones, or clumps of soil from the planting area.
5. Amend the Soil: Incorporate plenty of compost or well-rotted manure into the soil. Aim for a ratio of about 1 part compost to 3 parts soil.
6. Rake Smooth: Rake the soil smooth and level, removing any remaining clumps or debris.
7. Water Thoroughly: Water the soil thoroughly to settle it and prepare it for planting.
Planting Carrot Seeds: Tiny Seeds, Big Rewards
Carrot seeds are tiny, which can make them a bit tricky to plant. But don’t worry, I’ve got some tips to help you succeed.
* Timing: Carrots are a cool-season crop, so they’re best planted in early spring or late summer. In most regions, you can plant carrots about 2-3 weeks before the last expected frost in spring, or 2-3 months before the first expected frost in fall.
* Direct Sowing: Carrots are best direct-sown, meaning you plant the seeds directly into the garden soil. They don’t transplant well.
* Spacing: Sow seeds about 1/4 to 1/2 inch deep and 1 inch apart in rows that are 12-18 inches apart.
* Seed Tape: If you struggle with planting tiny seeds, consider using seed tape. Seed tape is biodegradable paper with seeds embedded in it at the correct spacing.
* Watering: Keep the soil consistently moist until the seeds germinate. This is crucial, as carrot seeds need consistent moisture to sprout.
* Germination: Carrot seeds can take 1-3 weeks to germinate, depending on the soil temperature and moisture levels. Be patient!
Step-by-Step Planting Instructions:
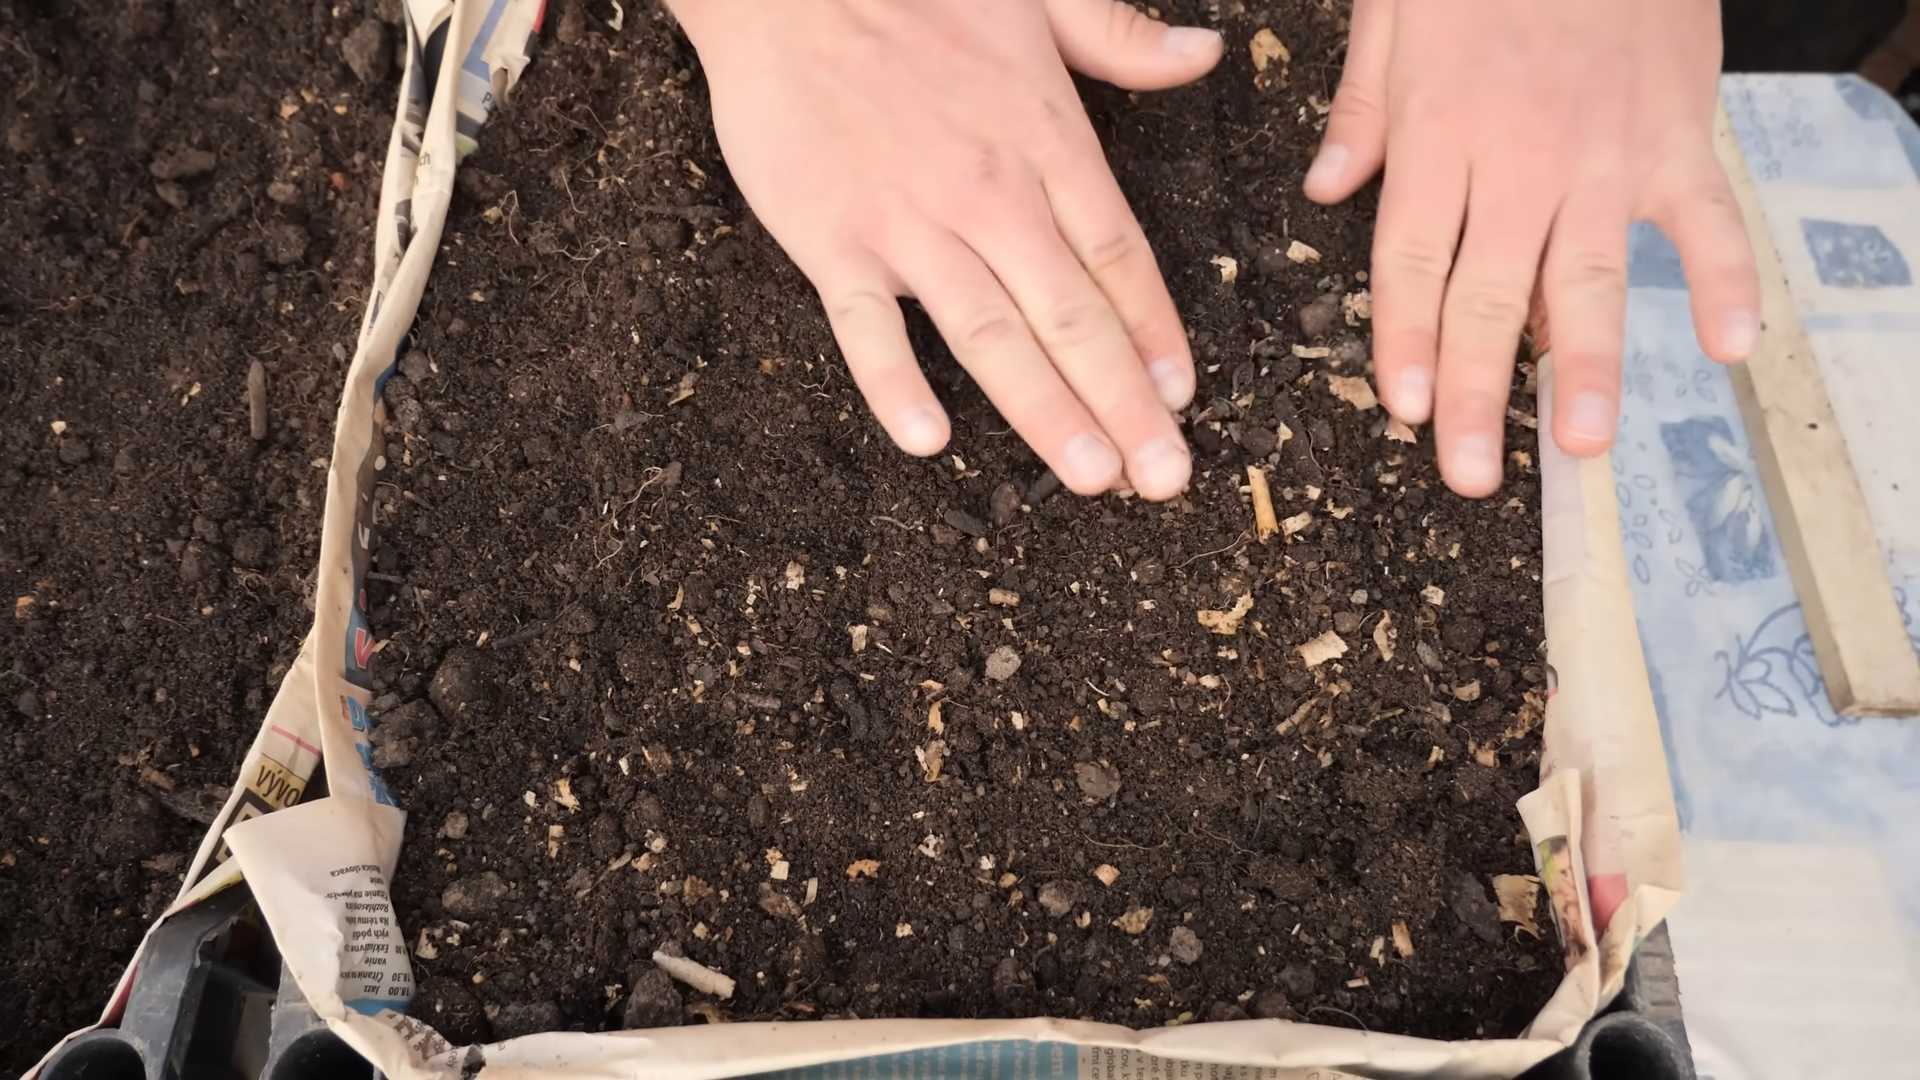
1. Prepare the Seedbed: Make sure the soil is loose, well-drained, and free of rocks and debris.
2. Create Furrows: Use a hoe or your finger to create shallow furrows in the soil, about 1/4 to 1/2 inch deep and 12-18 inches apart.
3. Sow the Seeds: Sprinkle the carrot seeds evenly into the furrows, spacing them about 1 inch apart. If using seed tape, simply lay the tape in the furrow.
4. Cover the Seeds: Gently cover the seeds with a thin layer of soil.
5. Water Thoroughly: Water the soil thoroughly with a gentle spray. Avoid using a strong stream of water, as this can wash away the seeds.
6. Keep Moist: Keep the soil consistently moist until the seeds germinate. You may need to water daily, especially in dry weather.
7. Mark the Rows: Label the rows with the carrot variety and planting date.
Thinning and Weeding: Giving Your Carrots Room to Grow
Once your carrot seedlings emerge, it’s important to thin them out and keep the area free of weeds.
* Thinning: When the seedlings are about 2 inches tall, thin them to 2-3 inches apart. This will give the carrots enough room to develop properly.
* Weeding: Carrots are slow growers, so weeds can easily outcompete them for resources. Regularly weed the area around your carrots to keep them healthy and productive.
* Mulching: Apply a layer of mulch around your carrots to help suppress weeds, retain moisture, and regulate soil temperature.
Step-by-Step Thinning and Weeding:
1. Identify Seedlings: Wait until the seedlings are about 2 inches tall before thinning.
2. Thin Carefully: Gently pull out the extra seedlings, leaving the strongest ones spaced 2-3 inches apart. Be careful not to disturb the roots of the remaining seedlings.
3. Water After Thinning: Water the area after thinning to help settle the soil and reduce transplant shock.
4. Weed Regularly: Regularly check the area for weeds and remove them by hand. Be careful not to damage the carrot roots.
5. Apply Mulch: Apply a layer of organic mulch, such as straw or wood chips, around the carrots to help suppress weeds and retain moisture.
Watering and Fertilizing: Keeping Your Carrots Happy and Healthy
Carrots need consistent moisture and nutrients to thrive.
* Watering: Water your carrots regularly, especially during dry weather. Aim for about 1 inch of water per week.
* Fertilizing: Carrots don’t need a lot of fertilizer, but a light feeding of a balanced fertilizer can help them grow. Avoid using fertilizers that are high in nitrogen, as this can cause excessive top growth and small roots.
* Side-Dressing: Side-dress your carrots with compost tea or a diluted liquid fertilizer every few weeks.
Step-by-Step Watering and Fertilizing:
1. Check Soil Moisture: Check the soil moisture regularly by sticking your finger into the soil. If the top inch of soil is dry, it’s time to water.
2. Water Deeply: Water deeply and thoroughly, allowing the water to soak into the soil.
3. Avoid Overwatering: Avoid overwatering, as this can lead to root rot.
4. Fertilize Sparingly: Fertilize your carrots sparingly with a balanced fertilizer or compost tea.
5. Side-Dress Regularly: Side-
Conclusion
So, there you have it! Growing carrots at home, while it might seem daunting at first, is a surprisingly rewarding experience. It’s more than just saving a few dollars at the grocery store; it’s about connecting with nature, understanding where your food comes from, and enjoying the unparalleled flavor of freshly harvested, homegrown carrots. The vibrant color, the crisp texture, and the sweet, earthy taste are simply unmatched by anything you can buy in a supermarket.
This DIY approach to carrot cultivation empowers you to control every aspect of the growing process, from the soil composition to the watering schedule, ensuring that your carrots are free from harmful pesticides and herbicides. You know exactly what went into growing them, giving you peace of mind and a healthier, more sustainable food source.
But the benefits extend beyond just the taste and health aspects. Gardening is a fantastic stress reliever, a great way to get some exercise, and a wonderful opportunity to learn something new. Watching those tiny seeds sprout and slowly transform into delicious, crunchy carrots is an incredibly satisfying process.
Don’t be afraid to experiment with different varieties of carrots to find your favorites. Consider trying Nantes carrots for their sweet flavor and cylindrical shape, Chantenay carrots for their adaptability to heavier soils, or even colorful varieties like purple or yellow carrots for a visually stunning addition to your garden and your plate. You can also adjust the planting time to extend your harvest season, ensuring a continuous supply of fresh carrots throughout the year.
For those with limited space, container gardening is an excellent option. Choose a deep container to accommodate the carrot’s root growth and use a well-draining potting mix. You can even grow carrots on a balcony or patio, bringing the joy of gardening to even the smallest living spaces.
Growing carrots at home is not just a trend; it’s a return to a more sustainable and fulfilling way of life. It’s about taking control of your food supply, connecting with nature, and enjoying the simple pleasures of homegrown produce.
We wholeheartedly encourage you to give this DIY trick a try. Start small, learn as you go, and don’t be discouraged by initial setbacks. Gardening is a journey, and every mistake is an opportunity to learn and improve.
Once you’ve harvested your first batch of homegrown carrots, we’d love to hear about your experience! Share your tips, tricks, and photos in the comments below. Let’s create a community of carrot-growing enthusiasts and inspire others to embark on this rewarding journey. What varieties did you try? What challenges did you face? What successes did you celebrate? Your insights can help others succeed in their own carrot-growing adventures. Happy gardening!
Frequently Asked Questions (FAQ)
What is the best time of year to plant carrots?
The best time to plant carrots depends on your climate. In general, carrots are a cool-season crop, meaning they thrive in cooler temperatures. For most regions, the ideal planting times are early spring (as soon as the soil can be worked) and late summer/early fall. Spring plantings will provide a summer harvest, while fall plantings will provide a late fall or even winter harvest in milder climates. Check your local climate and average frost dates to determine the best planting time for your area. Successive planting, where you sow seeds every few weeks, can help extend your harvest season.
What kind of soil is best for growing carrots?
Carrots need loose, well-drained soil to grow properly. Rocky or compacted soil can lead to stunted or misshapen carrots. The ideal soil is sandy loam, which is a mixture of sand, silt, and clay. It’s also important that the soil is rich in organic matter. Before planting, amend your soil with compost or well-rotted manure to improve its fertility and drainage. Avoid using fresh manure, as it can cause forking and other problems. The soil pH should be between 6.0 and 6.8 for optimal carrot growth.
How deep should I plant carrot seeds?
Carrot seeds are very small, so they should be planted shallowly. Sow the seeds about ¼ to ½ inch deep and space them about 1-2 inches apart in rows that are 12-18 inches apart. After sowing, gently water the soil to keep it moist. Germination can take anywhere from 7 to 21 days, depending on the soil temperature and moisture levels. To improve germination, you can cover the seedbed with a piece of burlap or shade cloth until the seedlings emerge.
How often should I water my carrots?
Carrots need consistent moisture to grow properly. Water deeply and regularly, especially during dry periods. Aim to keep the soil consistently moist but not waterlogged. Overwatering can lead to root rot, while underwatering can cause the carrots to become tough and bitter. A good rule of thumb is to water when the top inch of soil feels dry to the touch. Mulching around the plants can help retain moisture and suppress weeds.
What are some common pests and diseases that affect carrots?
Carrots can be susceptible to several pests and diseases, including carrot rust flies, aphids, nematodes, and fungal diseases like leaf blight. To prevent pest and disease problems, practice good garden hygiene, such as removing plant debris and rotating crops. Companion planting with herbs like rosemary or sage can help deter pests. If you encounter pests or diseases, consider using organic pest control methods, such as insecticidal soap or neem oil. Ensure good air circulation around the plants to prevent fungal diseases.
How do I know when my carrots are ready to harvest?
Carrots are typically ready to harvest when they reach the desired size and color, which varies depending on the variety. Check the seed packet for specific maturity dates. Generally, carrots are ready to harvest about 60-80 days after planting. To check if they are ready, gently loosen the soil around the top of the carrot and pull one out. If it’s the size you want, you can harvest the rest. You can also leave carrots in the ground for longer, especially in cooler climates, but be aware that they may become tougher and less sweet.
Can I grow carrots in containers?
Yes, you can absolutely grow carrots in containers! Choose a container that is at least 12 inches deep to accommodate the carrot’s root growth. Use a well-draining potting mix and ensure that the container has drainage holes. Sow the seeds directly into the container and thin the seedlings to about 2-3 inches apart. Water regularly and fertilize with a balanced fertilizer every few weeks. Container-grown carrots may require more frequent watering than those grown in the ground.
Why are my carrots forked or misshapen?
Forked or misshapen carrots are often caused by compacted soil, rocks, or other obstructions in the soil. When the carrot root encounters an obstacle, it splits or grows around it, resulting in a deformed shape. To prevent this, ensure that your soil is loose, well-drained, and free of rocks and debris. Amend the soil with compost or well-rotted manure to improve its texture and fertility. Avoid using fresh manure, as it can also contribute to forking.
How do I store my harvested carrots?
To store harvested carrots, remove the green tops and gently brush off any excess soil. Do not wash them until you are ready to use them. Store the carrots in a cool, dark, and humid place, such as the refrigerator crisper drawer or a root cellar. You can also store them in a container filled with moist sand or sawdust. Properly stored carrots can last for several months.
Can I save carrot seeds for next year?
Saving carrot seeds is a bit more challenging than saving seeds from other vegetables because carrots are biennials, meaning they take two years to produce seeds. In the first year, they grow their roots, and in the second year, they flower and produce seeds. To save carrot seeds, you need to overwinter the carrots in a cool, dark place and replant them in the spring. Allow them to flower and produce seeds, which you can then harvest and dry. However, keep in mind that carrots are cross-pollinated, so the seeds may not produce true-to-type carrots.

Leave a Comment