
Grow spinach at home? Absolutely! Imagine stepping into your backyard and harvesting fresh, vibrant spinach leaves for your salad, smoothie, or favorite dish. No more trips to the grocery store, no more wilted greens – just pure, homegrown goodness. I’m excited to share some simple yet effective DIY tricks and hacks that will transform your garden into a spinach haven.
Spinach, with its rich history dating back over 2,000 years to ancient Persia, has always been valued for its nutritional power. It made its way to Europe in the 14th century and quickly became a staple in cuisines worldwide. Today, we know it’s packed with vitamins, minerals, and antioxidants, making it a superfood worth cultivating. But let’s be honest, store-bought spinach can sometimes be disappointing. That’s where the magic of home gardening comes in!
Why do you need these DIY tricks? Because growing your own spinach is not only rewarding but also ensures you’re getting the freshest, most nutritious leaves possible. Plus, it’s a fantastic way to connect with nature, reduce your carbon footprint, and save money. Whether you have a sprawling garden or just a small balcony, I’m here to show you how easy it is to grow spinach at home and enjoy the delicious benefits of this leafy green. Let’s get started!
Growing Spinach at Home: A Beginner’s Guide
Hey there, fellow gardening enthusiasts! I’m so excited to share my experience with growing spinach at home. It’s surprisingly easy, and nothing beats the taste of fresh, homegrown spinach in your salads, smoothies, or even sautéed as a side dish. Plus, it’s packed with nutrients! So, let’s dive in and get our hands dirty!
Choosing the Right Spinach Variety
Before we even think about planting, we need to pick the right spinach variety. There are a few different types, and some are better suited for certain climates or growing conditions. Here are a few of my favorites:
* Bloomsdale Long Standing: This is a classic, reliable variety that’s known for its crinkled leaves and resistance to bolting (going to seed prematurely). It’s a great all-around choice.
* Tyee: If you’re looking for a fast-growing spinach, Tyee is a good option. It’s also resistant to downy mildew, a common spinach disease.
* Malabar Spinach: Okay, technically, this isn’t true spinach, but it’s a fantastic alternative, especially in warmer climates. It’s heat-tolerant and produces thick, fleshy leaves that taste similar to spinach. It grows like a vine, so you’ll need to provide it with some support.
* Space: This smooth-leafed variety is known for its mild flavor and quick growth. It’s a good choice if you prefer a less intense spinach taste.
I usually go with Bloomsdale Long Standing because it’s so dependable, but feel free to experiment and see which variety works best for you!
Preparing Your Spinach Planting Area
Spinach thrives in cool weather, so the best time to plant it is in early spring or fall. Here’s how to get your planting area ready:
* Sunlight: Spinach needs at least 3-6 hours of sunlight per day. Choose a spot in your garden that gets plenty of sun, but also some afternoon shade, especially if you live in a warmer climate.
* Soil: Spinach prefers well-drained soil that’s rich in organic matter. Before planting, amend your soil with compost or well-rotted manure. This will improve drainage, add nutrients, and help retain moisture.
* pH: Spinach grows best in soil with a pH between 6.5 and 7.0. You can test your soil’s pH with a soil testing kit, which you can find at most garden centers. If your soil is too acidic, you can add lime to raise the pH.
* Clear the Area: Remove any weeds, rocks, or debris from the planting area. This will give your spinach seedlings a clear space to grow.
Planting Your Spinach Seeds
Now for the fun part – planting! Here’s how I plant my spinach seeds:
1. Sow Seeds Directly: Spinach is best sown directly into the garden, as it doesn’t transplant well.
2. Create Furrows: Use a hoe or your finger to create shallow furrows in the soil, about ½ inch deep and 1 inch apart.
3. Sow Seeds: Sprinkle the spinach seeds evenly into the furrows. Don’t overcrowd them, as this can lead to smaller plants.
4. Cover Seeds: Gently cover the seeds with soil and pat it down lightly.
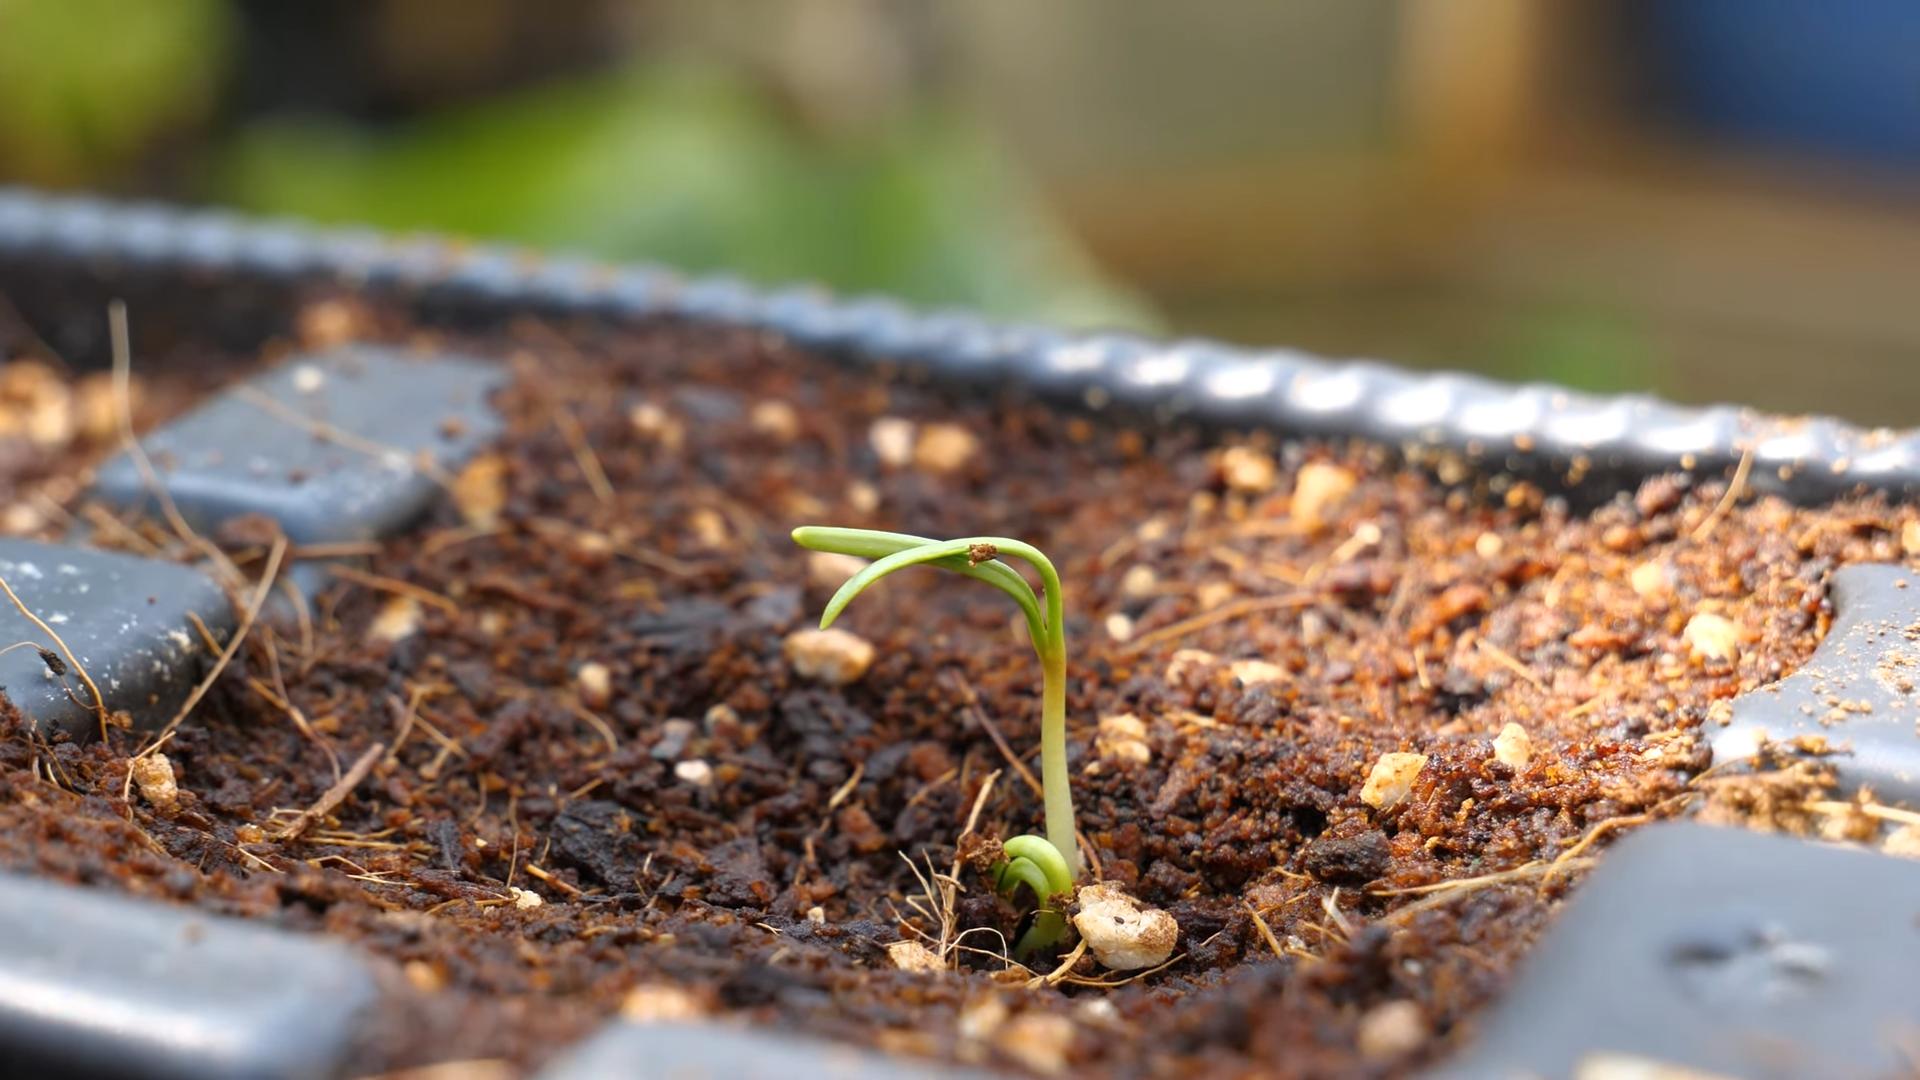
5. Water Thoroughly: Water the planting area thoroughly with a gentle spray. Keep the soil moist but not soggy until the seeds germinate.
6. Thin Seedlings: Once the seedlings emerge (usually in about 5-10 days), thin them out so that they are about 3-6 inches apart. This will give them enough room to grow and prevent overcrowding. I know it feels bad to pull out the extra seedlings, but it’s necessary for healthy growth!
Caring for Your Spinach Plants
Once your spinach plants are established, it’s important to provide them with the right care to ensure a bountiful harvest.
* Watering: Spinach needs consistent moisture, especially during hot weather. Water deeply whenever the top inch of soil feels dry. Avoid overhead watering, as this can lead to fungal diseases. Drip irrigation or soaker hoses are great options.
* Weeding: Keep the planting area free of weeds, as they can compete with your spinach plants for nutrients and water. Hand-pull weeds carefully to avoid disturbing the spinach roots.
* Fertilizing: Spinach is a heavy feeder, so it benefits from regular fertilization. You can use a balanced organic fertilizer, such as fish emulsion or compost tea, every few weeks. Follow the instructions on the fertilizer package.
* Pest Control: Spinach is relatively pest-resistant, but it can be susceptible to aphids, flea beetles, and leaf miners. Inspect your plants regularly for signs of pests. You can control aphids with a strong spray of water or insecticidal soap. For flea beetles, you can use row covers to protect your plants. Leaf miners can be controlled by removing and destroying infested leaves.
* Bolting Prevention: As I mentioned earlier, bolting is when spinach plants go to seed prematurely. This can happen when the weather gets too hot. To prevent bolting, try to plant your spinach in early spring or fall, and provide it with some afternoon shade during hot weather. You can also choose bolt-resistant varieties.
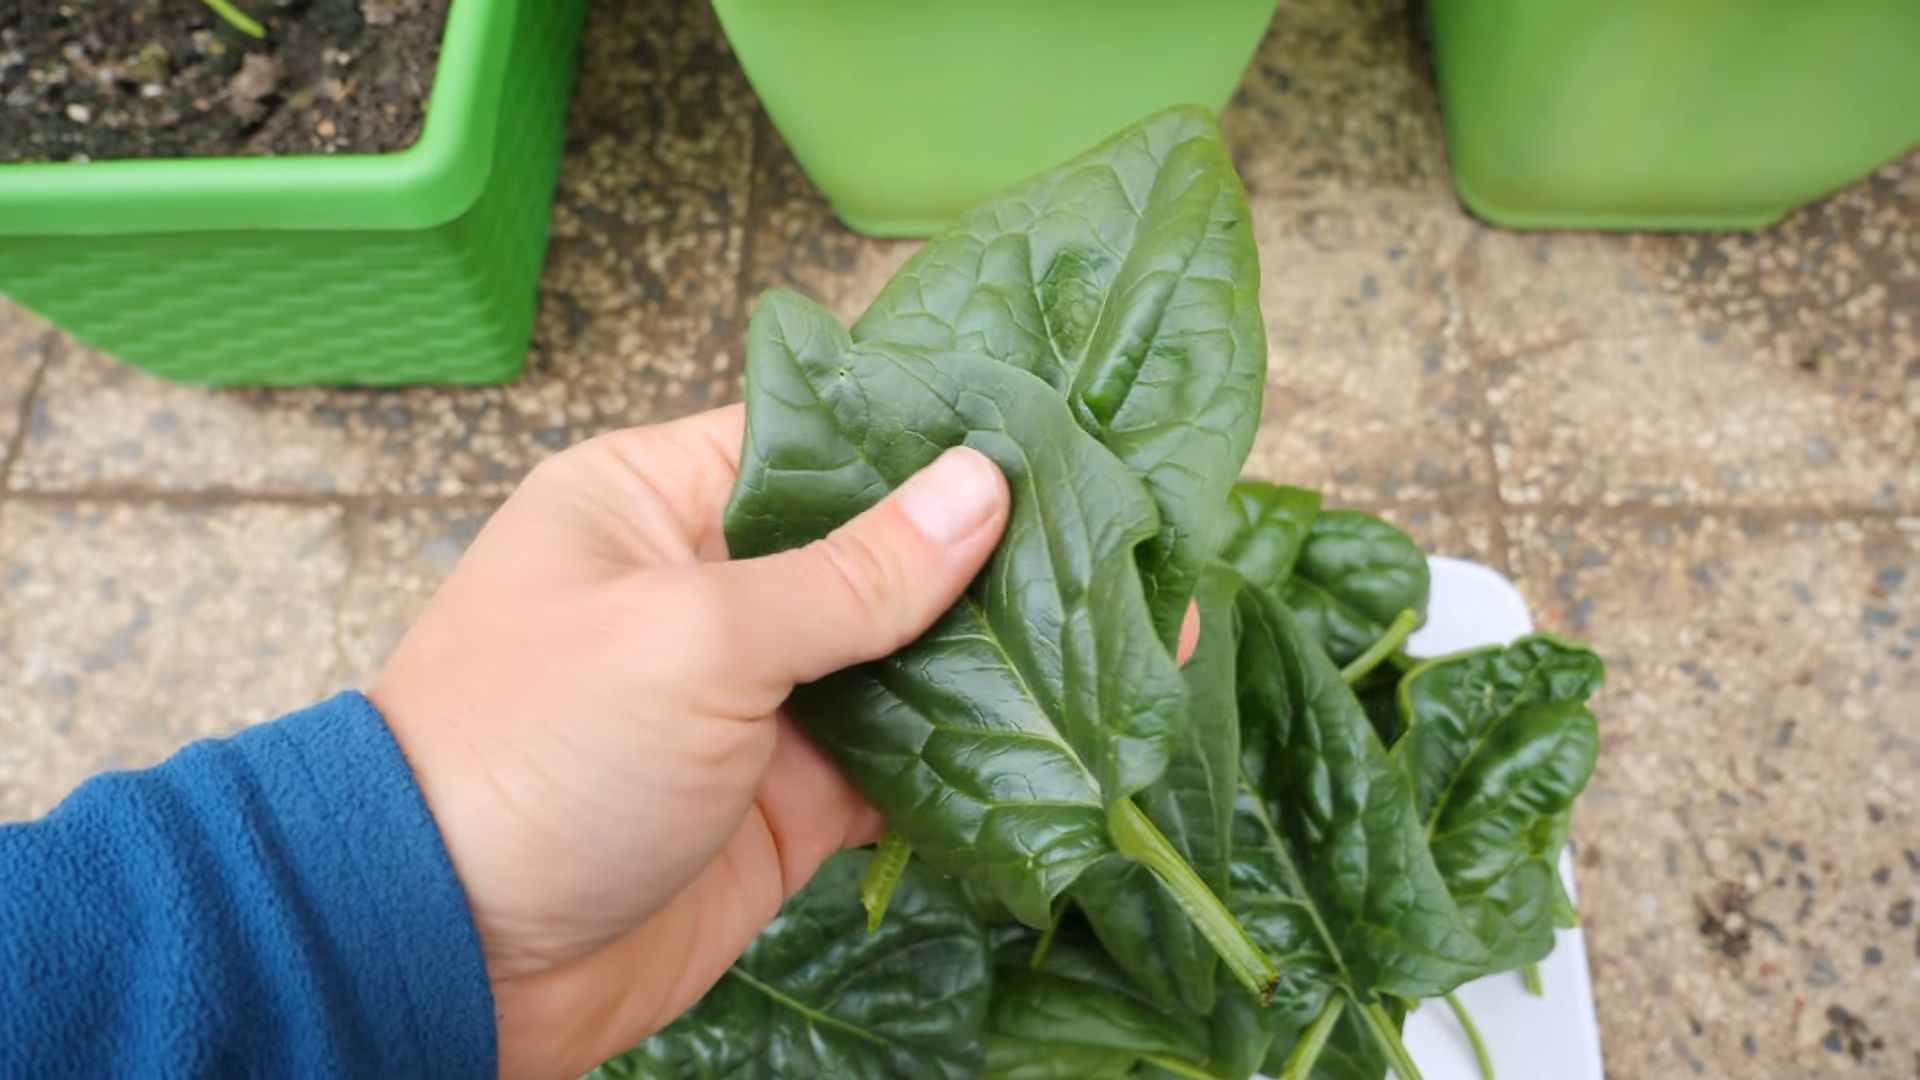
Harvesting Your Spinach
The best part of growing spinach is, of course, harvesting it! You can start harvesting your spinach leaves when they are about 4-6 inches long.
1. Harvesting Method: You can harvest the entire plant at once by cutting it off at the base, or you can harvest individual leaves as needed. I prefer to harvest individual leaves, as this allows the plant to continue producing new leaves.
2. Harvesting Time: Harvest your spinach in the morning, when the leaves are crisp and cool.
3. Washing and Storing: Wash the harvested leaves thoroughly and store them in a plastic bag in the refrigerator. Spinach is best used within a few days of harvesting.
Troubleshooting Common Spinach Problems
Even with the best care, you might encounter some problems when growing spinach. Here are a few common issues and how to address them:
* Yellowing Leaves: Yellowing leaves can be a sign of nutrient deficiency, overwatering, or disease. Make sure your soil is well-drained and that you’re not overwatering. Fertilize your plants with a balanced organic fertilizer. If you suspect disease, remove and destroy affected leaves.
* Slow Growth: Slow growth can be caused by lack of sunlight, poor soil, or cold weather. Make sure your spinach plants are getting enough sunlight and that your soil is rich in organic matter. If the weather is cold, you can protect your plants with row covers.
* Downy Mildew: Downy mildew is a fungal disease that can cause yellow spots on the leaves. To prevent downy mildew, choose resistant varieties, avoid overhead watering, and provide good air circulation. If you see signs of downy mildew, remove and destroy affected leaves.
Extending Your Spinach Season
To enjoy fresh spinach for as long as possible, here are a few tips for extending your growing season:
* Succession Planting: Plant new spinach seeds every few weeks to ensure a continuous harvest.
* Cold Frames or Row Covers: Use cold frames or row covers to protect your spinach plants from frost and extend the growing season into the fall and winter.
* Overwintering: In mild climates, you can overwinter spinach plants by protecting them with a thick layer of mulch. They will start growing again in the spring.
Spinach Recipes to Try
Now that you have a bounty of fresh spinach, here are a few of my favorite recipes to try:
* Spinach Salad with Strawberries and Goat Cheese: This is a classic salad that’s perfect for spring. Combine fresh spinach with sliced strawberries, crumbled goat cheese, and a balsamic vinaigrette.
* Spinach and Artichoke Dip: This creamy dip is always a crowd-pleaser. Combine spinach, artichoke hearts, cream cheese, mayonnaise, and Parmesan cheese, and bake until bubbly.
* Spinach Smoothie: Add a handful of spinach to your favorite smoothie for a boost of nutrients. You won’t even taste it!
* Sautéed Spinach with Garlic: This simple side dish is quick and easy to make. Sauté spinach with garlic and olive oil until wilted.
* Spinach and Feta Pie (Spanakopita): This savory pie is a Greek classic. Combine spinach, feta cheese, eggs, and herbs, and bake in a flaky phyllo crust.
Growing spinach at home is a rewarding experience that anyone can enjoy. With a little bit of planning and care, you can have a steady supply of fresh, delicious spinach right in your own backyard. Happy gardening!
Conclusion
So, there you have it! Growing spinach at home is not only achievable but also incredibly rewarding. Forget those limp, pre-packaged greens from the supermarket. Imagine stepping into your garden or onto your balcony and harvesting vibrant, crisp spinach leaves bursting with flavor and nutrients. This DIY trick is a must-try for anyone looking to elevate their culinary experience, embrace a more sustainable lifestyle, and connect with the food they eat.
Why is this method so compelling? Firstly, you have complete control over the growing process. No harsh chemicals, no mysterious additives – just pure, unadulterated spinach goodness. Secondly, the taste difference is remarkable. Homegrown spinach boasts a freshness and sweetness that store-bought varieties simply can’t match. And thirdly, it’s incredibly cost-effective. A single packet of spinach seeds can yield multiple harvests, saving you money in the long run.
But the beauty of growing spinach at home lies in its versatility. Feel free to experiment with different varieties. Try baby spinach for salads, savoy spinach for cooking, or even New Zealand spinach (though technically not a true spinach, it thrives in warmer weather). You can also adjust the growing conditions to suit your preferences. Want sweeter spinach? Ensure it gets plenty of sunlight. Prefer a milder flavor? Provide some shade during the hottest part of the day.
Consider companion planting to further enhance your spinach-growing experience. Plant alongside radishes, lettuce, or strawberries to deter pests and improve soil health. You can also use succession planting, sowing new seeds every few weeks, to ensure a continuous supply of fresh spinach throughout the growing season.
Don’t be intimidated if you’re a beginner gardener. Growing spinach is surprisingly easy, even for those with limited space or experience. With a little patience and attention, you’ll be enjoying homegrown spinach in no time.
We wholeheartedly encourage you to give this DIY trick a try. It’s a simple, satisfying, and sustainable way to enjoy fresh, delicious spinach. And most importantly, it’s a fun and engaging activity that connects you with nature and the food you eat.
Once you’ve harvested your first batch of homegrown spinach, we’d love to hear about your experience! Share your tips, tricks, and photos in the comments below. Let’s build a community of spinach-growing enthusiasts and inspire others to embrace the joys of homegrown goodness. What are you waiting for? Get planting!
Frequently Asked Questions (FAQ)
What is the best time of year to grow spinach?
Spinach is a cool-season crop, meaning it thrives in cooler temperatures. The best time to plant spinach is in early spring or early fall. In spring, sow seeds as soon as the soil can be worked, typically 4-6 weeks before the last expected frost. For a fall harvest, plant seeds 6-8 weeks before the first expected frost. Avoid planting spinach during the hot summer months, as high temperatures can cause it to bolt (go to seed), resulting in bitter-tasting leaves. In warmer climates, you can grow spinach throughout the winter with proper protection.
What kind of soil does spinach need?
Spinach prefers well-drained soil that is rich in organic matter. The ideal soil pH is between 6.5 and 7.0. Before planting, amend the soil with compost or well-rotted manure to improve its fertility and drainage. If your soil is heavy clay, consider adding sand or perlite to improve drainage. Spinach also benefits from a soil that retains moisture, so mulching around the plants can help keep the soil consistently moist.
How much sunlight does spinach need?
Spinach needs at least 3-6 hours of sunlight per day. While it can tolerate some shade, especially during the hottest part of the day, insufficient sunlight can result in leggy plants with smaller leaves. If you’re growing spinach indoors, provide supplemental lighting to ensure it gets enough light. A sunny windowsill or a grow light can work well.
How often should I water spinach?
Spinach needs consistent moisture to thrive. Water deeply and regularly, especially during dry periods. Aim to keep the soil consistently moist but not waterlogged. Overwatering can lead to root rot, so ensure the soil has good drainage. A good rule of thumb is to water when the top inch of soil feels dry to the touch. Mulching around the plants can help retain moisture and reduce the need for frequent watering.
What are some common pests and diseases that affect spinach?
Spinach is susceptible to several pests and diseases, including aphids, leaf miners, flea beetles, and downy mildew. Aphids can be controlled with insecticidal soap or by introducing beneficial insects like ladybugs. Leaf miners can be managed by removing and destroying infested leaves. Flea beetles can be deterred by using row covers. Downy mildew is a fungal disease that can be prevented by providing good air circulation and avoiding overhead watering. If downy mildew does occur, treat it with a fungicide labeled for use on spinach.
How do I harvest spinach?
You can harvest spinach leaves as soon as they are large enough to eat, typically when they are 4-6 inches long. Harvest by cutting the outer leaves with a sharp knife or scissors, leaving the inner leaves to continue growing. This method, known as cut-and-come-again harvesting, allows you to harvest spinach multiple times from the same plant. Avoid harvesting more than one-third of the plant at a time to ensure it continues to produce new leaves.
How do I store harvested spinach?
Harvested spinach should be stored in the refrigerator. To keep it fresh, wrap the spinach leaves in a damp paper towel and place them in a plastic bag or container. Spinach can be stored in the refrigerator for up to a week. Before using, wash the spinach thoroughly to remove any dirt or debris.
Can I grow spinach in containers?
Yes, spinach grows well in containers. Choose a container that is at least 6 inches deep and has drainage holes. Fill the container with a high-quality potting mix. Sow the spinach seeds directly into the container, following the spacing instructions on the seed packet. Water regularly and fertilize with a balanced fertilizer every few weeks. Place the container in a sunny location.
Why is my spinach bolting (going to seed)?
Spinach bolts when it is exposed to high temperatures or long days. Bolting causes the leaves to become bitter and less palatable. To prevent bolting, plant spinach in early spring or early fall, when temperatures are cooler. Provide shade during the hottest part of the day. Choose bolt-resistant varieties of spinach. If your spinach does bolt, you can still harvest the leaves, but they may not taste as good.
Can I eat spinach raw?
Yes, spinach can be eaten raw. Baby spinach is particularly tender and mild-flavored, making it a great addition to salads. Wash the spinach thoroughly before eating to remove any dirt or debris. You can also cook spinach by steaming, sautéing, or adding it to soups and stews. Cooking spinach reduces its volume and makes it easier to digest.


Leave a Comment