
Growing chives indoors doesn’t have to be a daunting task! Imagine fresh, flavorful chives readily available right on your kitchen windowsill, ready to elevate your culinary creations. Forget those sad, wilted bunches from the grocery store – with a few simple tricks, you can have a thriving chive garden indoors, all year round.
For centuries, chives have been cherished not only for their delicious onion-like flavor but also for their ornamental beauty. Originating in Asia, they’ve made their way into cuisines worldwide, adding a delicate zest to everything from soups and salads to omelets and dips. I think it’s safe to say that chives are a staple in many kitchens!
But why bother with growing chives indoors? Well, for starters, it’s incredibly convenient! No more last-minute trips to the store when you realize you’re out. Plus, it’s a fantastic way to add a touch of green to your home, especially during those long winter months when outdoor gardening is impossible. And let’s be honest, there’s something incredibly satisfying about harvesting your own herbs. In this article, I’ll share my favorite DIY tricks and hacks to ensure your indoor chive garden flourishes, even if you don’t have a green thumb. Get ready to unlock the secrets to a continuous supply of fresh, flavorful chives, right at your fingertips!
Growing Chives Indoors: A Beginner’s Guide
Hey there, fellow plant enthusiasts! I’m so excited to share my experience with growing chives indoors. It’s surprisingly easy and rewarding, giving you fresh, flavorful chives right at your fingertips, no matter the weather outside. Trust me, once you start snipping your own homegrown chives onto everything from scrambled eggs to baked potatoes, you’ll never want to go back!
Why Grow Chives Indoors?
Before we dive in, let’s talk about why growing chives indoors is such a fantastic idea:
* Fresh Flavor Year-Round: Say goodbye to bland winter meals! Indoor chives provide a constant supply of fresh, oniony flavor.
* Convenience: No more last-minute trips to the grocery store for a handful of chives. They’re right there in your kitchen!
* Space-Saving: Chives don’t need a lot of space, making them perfect for apartment dwellers or anyone with limited garden space.
* Easy to Grow: Seriously, chives are incredibly forgiving. Even if you’re a beginner, you can totally do this!
* Pest-Free (Mostly!): Indoor plants are generally less susceptible to pests than outdoor ones.
* Aromatic Delight: Chives have a lovely, subtle onion scent that can add a pleasant touch to your kitchen.
What You’ll Need
Okay, let’s gather our supplies. Here’s what you’ll need to get started:
* Chive Seeds or a Chive Plant: You can start from seeds or purchase a small chive plant from a nursery or garden center. I’ve done both, and both work great! Starting from seed takes a bit longer, but it’s more budget-friendly.
* Pot with Drainage Holes: Choose a pot that’s at least 6 inches in diameter and has drainage holes. Good drainage is crucial to prevent root rot.
* Potting Mix: Use a good-quality potting mix that’s well-draining. Avoid using garden soil, as it can compact and not drain well in containers.
* Watering Can or Spray Bottle: For watering your chives.
* Grow Light (Optional but Recommended): While chives can grow in a sunny windowsill, a grow light will provide consistent light and encourage stronger growth, especially during the darker months.
* Scissors or Kitchen Shears: For harvesting your chives.
* Small Shovel or Trowel: For planting.
Planting Your Chives
Now for the fun part – planting!
Starting from Seeds:
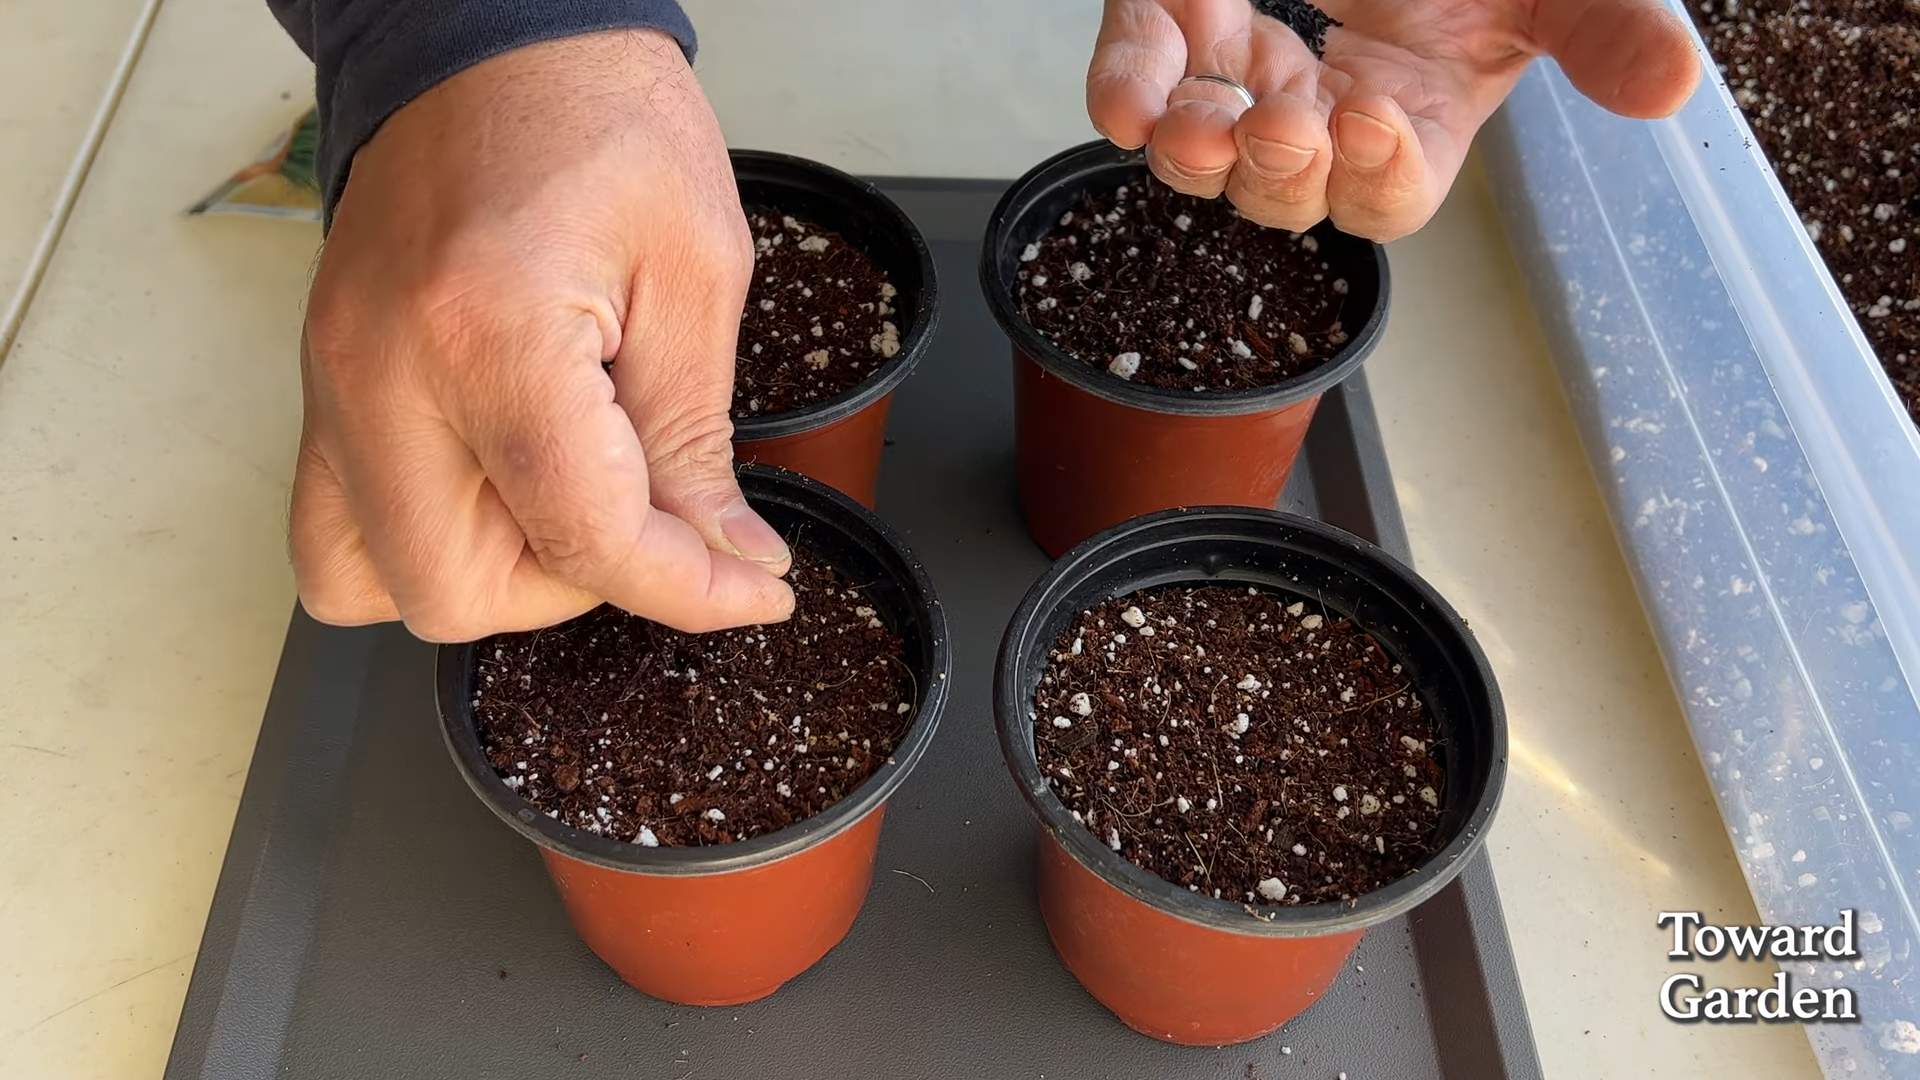
1. Prepare the Pot: Fill your pot with potting mix, leaving about an inch of space at the top. Gently pat down the soil.
2. Sow the Seeds: Sprinkle the chive seeds evenly over the surface of the soil. You can sow them quite densely, as chives grow in clumps.
3. Cover the Seeds: Lightly cover the seeds with a thin layer of potting mix (about ¼ inch).
4. Water Gently: Water the soil gently using a watering can or spray bottle. You want to moisten the soil without disturbing the seeds.
5. Cover with Plastic Wrap (Optional): To create a humid environment that encourages germination, you can cover the pot with plastic wrap. Make sure to poke a few holes in the plastic wrap for ventilation.
6. Place in a Warm Location: Place the pot in a warm location with indirect sunlight.
7. Wait for Germination: Chive seeds typically germinate in 10-14 days. Keep the soil consistently moist during this time. Remove the plastic wrap once the seedlings emerge.
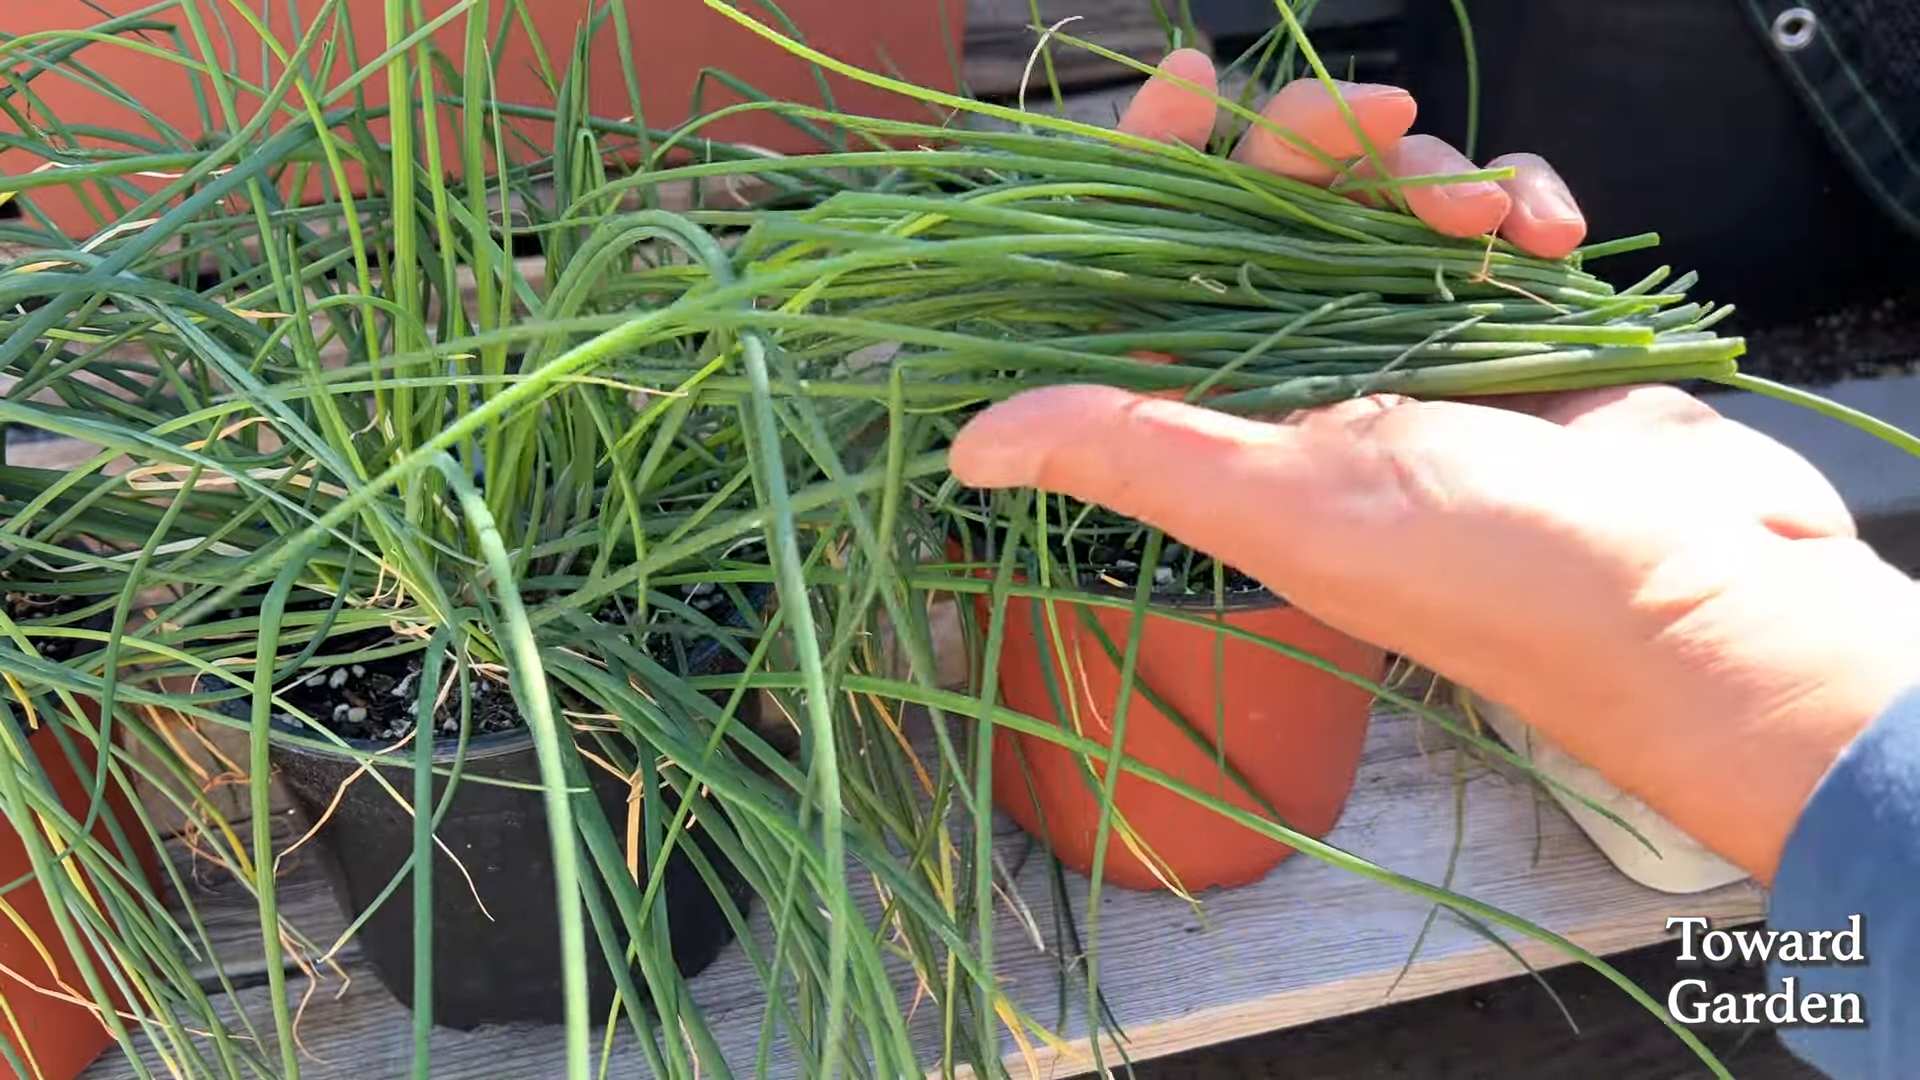
Planting a Chive Plant:
1. Prepare the Pot: Fill your pot with potting mix, leaving about an inch of space at the top.
2. Remove the Plant from its Container: Gently remove the chive plant from its original container. If the roots are tightly packed, gently loosen them with your fingers.
3. Plant the Chives: Place the chive plant in the center of the pot. Make sure the top of the root ball is level with the soil surface.
4. Fill with Soil: Fill in the space around the plant with potting mix, gently patting it down.
5. Water Thoroughly: Water the plant thoroughly until water drains out of the drainage holes.
Caring for Your Indoor Chives
Once your chives are planted, it’s time to provide them with the care they need to thrive.
1. Light: Chives need at least 6 hours of sunlight per day. If you don’t have a sunny windowsill, use a grow light. Place the grow light a few inches above the plants and keep it on for 12-14 hours per day. I’ve found that using a timer for my grow light makes things super easy.
2. Watering: Water your chives when the top inch of soil feels dry to the touch. Avoid overwatering, as this can lead to root rot. Make sure the pot has good drainage. I usually water mine about once a week, but it depends on the humidity and temperature in my home.
3. Fertilizing: Feed your chives with a balanced liquid fertilizer every 2-4 weeks during the growing season (spring and summer). Follow the instructions on the fertilizer label. I like to use an organic fertilizer for my herbs.
4. Temperature: Chives prefer temperatures between 60-70°F (15-21°C).
5. Humidity: Chives don’t need high humidity, but they appreciate a little extra moisture in the air. You can increase humidity by placing a tray of water near the plants or using a humidifier.
6. Pruning: Regular pruning encourages new growth and prevents the chives from becoming leggy. Simply snip off the tips of the leaves with scissors or kitchen shears.
7. Repotting: If your chives become root-bound (the roots are circling around the inside of the pot), you’ll need to repot them into a larger container. This is usually necessary every 1-2 years.
Harvesting Your Chives
The best part! You can start harvesting your chives once they’re about 6 inches tall.
1. Use Scissors or Kitchen Shears: Use sharp scissors or kitchen shears to snip off the chives near the base of the plant, leaving about 2 inches of growth.
2. Harvest Regularly: Harvest your chives regularly to encourage new growth.
3. Use Fresh or Freeze: Use your fresh chives immediately, or freeze them for later use. To freeze chives, chop them up and place them in a freezer bag or ice cube tray with a little water.
Troubleshooting
Even with the best care, you might encounter a few problems. Here are some common issues and how to address them:
* Yellowing Leaves: This could be caused by overwatering, underwatering, or lack of nutrients. Check the soil moisture and adjust your watering accordingly. Fertilize your chives if they haven’t been fed recently.
* Leggy Growth: This is usually caused by insufficient light. Move your chives to a sunnier location or use a grow light.
* Pests: Indoor chives are generally pest-free, but occasionally you might encounter aphids or spider mites. If you see pests, wash the plants with a strong stream of water or use an insecticidal soap.
* Root Rot: This is caused by overwatering. Make sure your pot has good drainage and allow the soil to dry out slightly between waterings.
Enjoy Your Homegrown Chives!
And there you have it! Growing chives indoors is a simple and rewarding way to add fresh flavor to your meals. With a little care and attention, you’ll have a constant supply of delicious chives right at your fingertips. Happy gardening! I hope this guide helps you grow the best chives ever!
Conclusion
So, there you have it! Growing chives indoors is not only achievable, but it’s also incredibly rewarding. Imagine having fresh, flavorful chives at your fingertips, ready to elevate your culinary creations any time of year. No more sad, wilted bunches from the grocery store – just vibrant, snipped-to-order goodness.
This DIY project is a must-try for several compelling reasons. First, it’s incredibly cost-effective. A single packet of chive seeds costs a fraction of what you’d spend on repeatedly buying them from the store. Second, it’s sustainable. You’re reducing your reliance on commercially grown produce, minimizing your carbon footprint, and enjoying the satisfaction of growing your own food. Third, it’s convenient. Having chives readily available means you’re more likely to use them, adding a burst of fresh flavor to everything from scrambled eggs and baked potatoes to soups and salads. Finally, it’s therapeutic. Nurturing a living plant, watching it grow, and harvesting its bounty is a deeply satisfying experience that can reduce stress and boost your mood.
But the beauty of growing chives indoors lies in its adaptability. Feel free to experiment with different varieties of chives. Garlic chives, with their subtle garlic flavor, are a fantastic alternative. You can also try growing your chives in different types of containers. Terracotta pots offer excellent drainage, while self-watering planters can simplify the watering process. Consider using a grow light if you don’t have a sunny windowsill, especially during the darker winter months. And don’t be afraid to get creative with your soil mix. Adding a bit of compost or worm castings can provide your chives with extra nutrients.
Don’t wait any longer! Embrace the joy of indoor gardening and embark on your own chive-growing adventure. We’re confident that you’ll be delighted with the results. Once you’ve harvested your first batch of homegrown chives, we encourage you to share your experience with us. Post photos of your thriving chive plants on social media using #IndoorChives or leave a comment below sharing your tips and tricks. We’re eager to hear your success stories and learn from your experiences. Let’s create a community of indoor chive enthusiasts! This simple DIY trick will transform your cooking and bring a touch of green into your home.
Frequently Asked Questions (FAQ)
1. What kind of container is best for growing chives indoors?
The best container for growing chives indoors is one that provides adequate drainage and is appropriately sized for the plant’s root system. A pot that is at least 6 inches in diameter and 6 inches deep is generally recommended. Terracotta pots are a popular choice because they allow for good air circulation and drainage, which helps prevent root rot. Plastic pots are also suitable, but it’s important to ensure they have drainage holes. Self-watering pots can be a convenient option, especially if you tend to forget to water your plants regularly. Ultimately, the best container is one that fits your space, aesthetic preferences, and watering habits.
2. How much sunlight do indoor chives need?
Chives thrive in bright, indirect sunlight. Ideally, they should receive at least 6 hours of sunlight per day. A south-facing window is often the best location, but an east- or west-facing window can also work. If you don’t have a sunny windowsill, you can supplement with a grow light. Place the grow light about 6-12 inches above the chives and keep it on for 12-14 hours per day. Insufficient sunlight can lead to leggy growth and reduced flavor.
3. What type of soil is best for growing chives indoors?
Chives prefer well-draining soil that is rich in organic matter. A good potting mix for chives is a combination of equal parts potting soil, compost, and perlite or vermiculite. The potting soil provides a base for the plant to grow in, the compost adds nutrients and improves drainage, and the perlite or vermiculite helps to aerate the soil and prevent compaction. Avoid using garden soil, as it can be too heavy and may contain pests or diseases.
4. How often should I water my indoor chives?
Water your chives when the top inch of soil feels dry to the touch. Avoid overwatering, as this can lead to root rot. When you water, water thoroughly until water drains out of the drainage holes. Allow the excess water to drain away completely. The frequency of watering will depend on factors such as the size of the pot, the type of soil, and the temperature and humidity of your home. In general, you may need to water more frequently during the warmer months and less frequently during the cooler months.
5. How do I harvest chives?
Harvest chives by snipping the leaves near the base of the plant with scissors or kitchen shears. Avoid cutting off more than one-third of the plant at a time, as this can stress the plant and slow down growth. Regular harvesting encourages new growth and keeps the plant healthy. You can harvest chives as needed, whenever you want to add them to your cooking.
6. Do I need to fertilize my indoor chives?
Chives benefit from regular fertilization, especially during the growing season (spring and summer). Use a balanced liquid fertilizer diluted to half strength every 2-4 weeks. Alternatively, you can add compost or worm castings to the soil every few months to provide a slow-release source of nutrients. Avoid over-fertilizing, as this can burn the roots and damage the plant.
7. How do I prevent pests and diseases from affecting my indoor chives?
To prevent pests and diseases from affecting your indoor chives, start with healthy plants and use a clean potting mix. Inspect your plants regularly for signs of pests or diseases. If you notice any problems, address them promptly. Common pests that can affect chives include aphids, spider mites, and thrips. These can be controlled with insecticidal soap or neem oil. Diseases are less common, but root rot can be a problem if the soil is too wet. Ensure good drainage and avoid overwatering to prevent root rot.
8. Can I grow chives from seed indoors?
Yes, you can easily grow chives from seed indoors. Start by sowing the seeds in a seed-starting tray or small pots filled with seed-starting mix. Keep the soil moist and warm (around 70-75°F). The seeds should germinate in about 7-14 days. Once the seedlings have developed a few sets of true leaves, you can transplant them into larger pots.
9. My chives are turning yellow. What should I do?
Yellowing chives can be a sign of several problems, including overwatering, underwatering, nutrient deficiency, or insufficient sunlight. Check the soil moisture and adjust your watering accordingly. If the soil is dry, water thoroughly. If the soil is wet, allow it to dry out before watering again. If you suspect a nutrient deficiency, fertilize with a balanced liquid fertilizer. Ensure that your chives are receiving enough sunlight. If the problem persists, consider repotting the chives in fresh potting mix.
10. Can I freeze chives for later use?
Yes, you can freeze chives for later use. To freeze chives, wash and dry them thoroughly. Chop them into small pieces and spread them out on a baking sheet lined with parchment paper. Freeze for a few hours, or until the chives are frozen solid. Then, transfer the frozen chives to a freezer bag or airtight container. Frozen chives will retain their flavor and texture for several months.
Leave a Comment