
Dish Soap and Alcohol Cleaner: Your Secret Weapon for a Thriving Garden!
Ever feel like your garden is a constant battle against pests and diseases? I know I have! For centuries, gardeners have sought natural and effective solutions to protect their precious plants. From ancient civilizations using herbal remedies to modern-day organic practices, the quest for a healthy, flourishing garden is a timeless pursuit. But what if I told you that a simple, homemade solution using ingredients you probably already have in your kitchen could be the answer?
That’s right! This DIY article unveils the power of a dish soap and alcohol cleaner, a surprisingly potent and eco-friendly remedy for common garden woes. Forget harsh chemicals and expensive store-bought solutions. This simple trick can help you combat aphids, mealybugs, spider mites, and even fungal diseases, all while being gentle on your plants and the environment.
Why is this DIY trick so important? Because a healthy garden is more than just beautiful; it’s a source of fresh, nutritious food, a haven for pollinators, and a boost to your overall well-being. By learning how to create and use this dish soap and alcohol cleaner, you’ll be equipped to tackle common garden problems head-on, ensuring your plants thrive and your garden becomes the envy of the neighborhood. Let’s get started!
DIY Streak-Free Window Cleaner: Dish Soap and Alcohol Magic!
Okay, friends, let’s talk windows. Are you tired of those annoying streaks that seem to mock your cleaning efforts? I know I was! I tried every commercial window cleaner under the sun, and nothing seemed to give me that crystal-clear, sparkling finish I craved. That’s when I stumbled upon this amazing DIY recipe using just two simple ingredients: dish soap and rubbing alcohol. Trust me, this stuff is a game-changer! It’s cheap, effective, and you probably already have everything you need in your kitchen. Let’s get started!
What You’ll Need: The Supplies
Before we dive in, let’s gather our supplies. This is a super simple recipe, so the list is short and sweet:
* Rubbing Alcohol (Isopropyl Alcohol): 70% or 91% works great. I usually use 70% because it’s what I have on hand, but the higher concentration might evaporate a bit faster.
* Dish Soap: Just a tiny amount! I recommend using a clear, grease-cutting dish soap like Dawn. Avoid anything with added moisturizers or lotions, as these can leave a film on your windows.
* Spray Bottle: A clean, empty spray bottle is essential for easy application.
* Microfiber Cloths: These are the key to streak-free cleaning! Avoid paper towels, as they can leave lint behind.
* Distilled Water (Optional): If your tap water is hard, distilled water will help prevent mineral deposits on your windows.
* Bucket (Optional): For pre-cleaning heavily soiled windows.
* Squeegee (Optional): For larger windows or mirrors, a squeegee can speed up the process and give you a professional finish.
Mixing the Magic Potion: The Recipe
Alright, now for the fun part – creating our streak-free window cleaning solution! This recipe is super easy to adjust based on the size of your spray bottle. I’ll give you the measurements for a standard 16-ounce (about 473 ml) spray bottle.
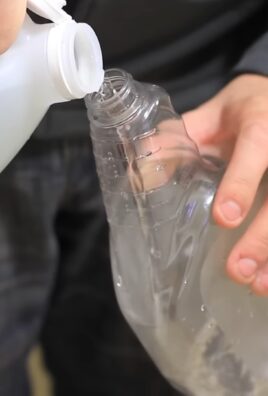
1. Fill the Spray Bottle: Start by filling your spray bottle with distilled water (if using) or tap water, leaving about 2-3 inches of space at the top.
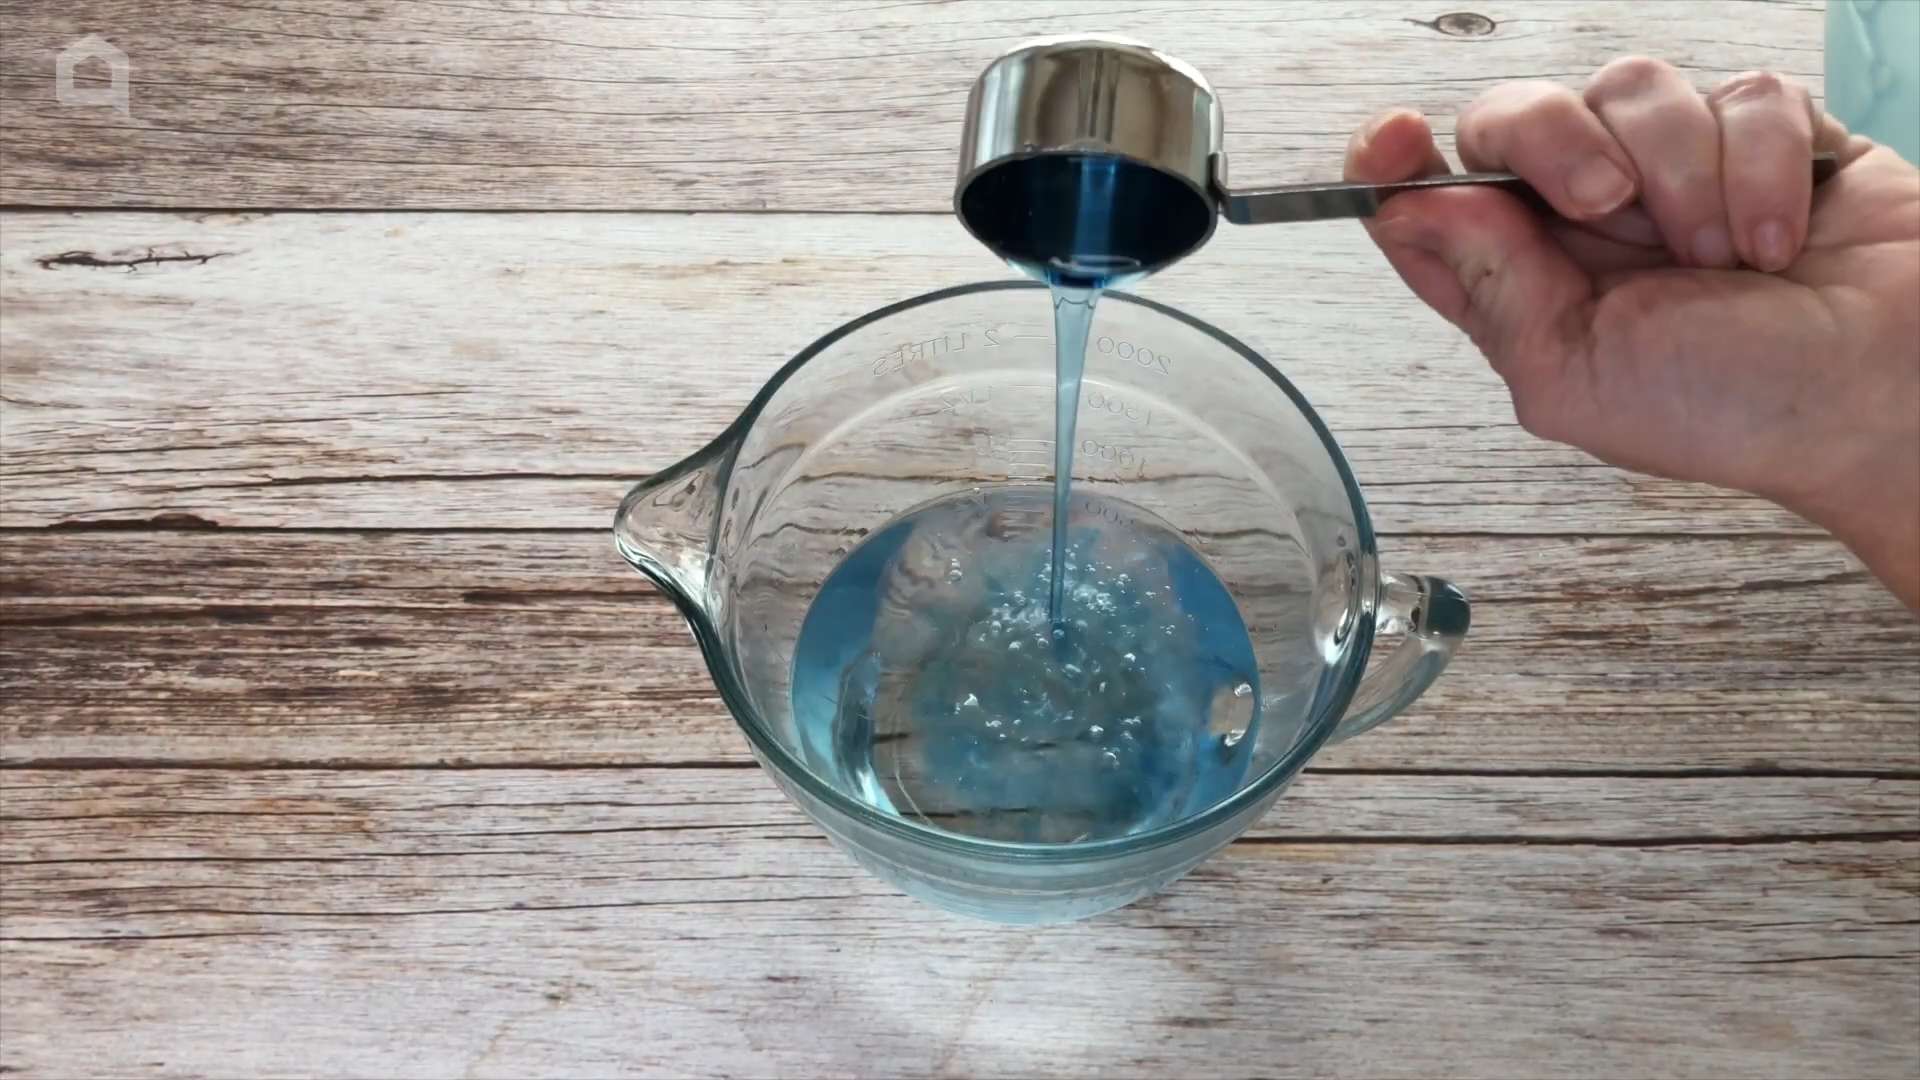
2. Add the Rubbing Alcohol: Pour in 1/4 cup (approximately 60 ml) of rubbing alcohol. This is our main cleaning agent, helping to dissolve dirt and grime and evaporate quickly for a streak-free finish.
3. Add the Dish Soap: This is where less is definitely more! Add only 1/4 teaspoon (yes, just a tiny bit!) of dish soap. Too much soap will leave a residue and defeat the purpose of our streak-free mission.
4. Shake it Up: Secure the spray nozzle and gently shake the bottle to combine all the ingredients. Avoid shaking too vigorously, as this can create excessive suds.
Cleaning Time: The Step-by-Step Guide
Now that we have our amazing window cleaner, let’s get those windows sparkling!
1. Pre-Clean (If Necessary): If your windows are particularly dirty or have stubborn grime, it’s a good idea to pre-clean them. You can do this by wiping them down with a damp cloth or sponge dipped in a bucket of warm water with a tiny squirt of dish soap. Rinse thoroughly with clean water and let them air dry slightly before moving on to the next step.
2. Spray the Window: Generously spray the window with your DIY cleaner. Make sure to cover the entire surface, but avoid oversaturating it.
3. Wipe with a Microfiber Cloth: Immediately wipe the window with a clean, dry microfiber cloth. Use a circular motion to loosen any remaining dirt and grime.
4. Buff to a Shine: Flip the microfiber cloth to a clean, dry section and buff the window until it’s completely dry and streak-free. This is the most important step for achieving that sparkling finish!
5. (Optional) Use a Squeegee: If you’re using a squeegee, overlap each stroke slightly and wipe the blade clean after each pass. This will prevent streaks and ensure a smooth, even finish.
6. Repeat if Needed: For particularly dirty windows, you may need to repeat the process.
Tackling Different Types of Windows and Surfaces
This DIY cleaner works wonders on a variety of surfaces, but here are a few tips for specific situations:
* Mirrors: This cleaner is fantastic for mirrors! Just follow the same steps as for windows.
* Glass Shower Doors: Say goodbye to soap scum! This cleaner can help remove soap scum from glass shower doors. You may need to scrub a bit harder for stubborn buildup.
* Car Windows: Yes, you can even use this on your car windows! Just be sure to avoid getting the cleaner on the car’s paint, as the alcohol could potentially damage the finish over time.
* Screens: For window screens, I recommend removing them and washing them with a brush and soapy water. Rinse thoroughly and let them dry completely before reinstalling. You can lightly spray them with the DIY cleaner after they’re dry to help repel dust.
* Tinted Windows: While this cleaner is generally safe for tinted windows, it’s always a good idea to test it in an inconspicuous area first to make sure it doesn’t damage the tint.
Troubleshooting: Common Issues and Solutions
Even with the best recipe, you might encounter a few hiccups along the way. Here are some common issues and how to fix them:
* Streaks: If you’re still seeing streaks, it could be due to a few things:
* Too much dish soap: Make sure you’re only using a tiny amount.
* Dirty microfiber cloth: Use a clean section of the cloth for buffing.
* Hard water: Try using distilled water.
* Not buffing enough: Spend a little extra time buffing the window until it’s completely dry.
* Film or Residue: If you notice a film or residue on your windows, it’s likely due to too much dish soap. Try wiping the windows down with a clean, damp microfiber cloth to remove the residue, then buff dry.
* Smell: The rubbing alcohol smell can be a bit strong. Make sure you’re working in a well-ventilated area. The smell will dissipate quickly as the alcohol evaporates.
Extra Tips and Tricks for Sparkling Windows
Here are a few extra tips to help you achieve the best possible results:
* Clean on a Cloudy Day: Avoid cleaning windows in direct sunlight, as the cleaner will dry too quickly and leave streaks.
* Wash Your Microfiber Cloths Regularly: Dirty microfiber cloths can actually spread dirt around, so be sure to wash them frequently.
* Don’t Forget the Edges: Pay attention to the edges of the windows, as these areas tend to accumulate dirt and grime.
* Clean Your Windows Regularly: Regular cleaning will prevent dirt and grime from building up, making the job easier in the long run.
* Test in an Inconspicuous Area: Before cleaning an entire window, test the cleaner in a small, inconspicuous area to make sure it doesn’t damage the surface.
Why This Works: The Science Behind the Sparkle
So, what makes this simple DIY cleaner so effective? It’s all about the properties of the ingredients:
* Rubbing Alcohol: Alcohol is a fantastic solvent, meaning it can dissolve dirt, grease, and grime. It also evaporates quickly, which helps prevent streaks.
* Dish Soap: Dish soap helps to break down grease and lift dirt from the surface of the window. However, it’s important to use only a tiny amount, as too much soap can leave a residue.
* Water: Water acts as a carrier for the other ingredients and helps to dilute the solution.
By combining these three ingredients in the right proportions, we create a powerful and effective window cleaner that leaves your windows sparkling clean and streak-free!
I hope you found this guide helpful! Give this DIY window cleaner a try, and I’m confident you’ll be amazed by the results. Happy cleaning!
Conclusion
So, there you have it! This simple DIY dish soap and alcohol cleaner is more than just a quick fix; it’s a game-changer for maintaining a sparkling clean home without breaking the bank or exposing your family to harsh chemicals. We’ve explored the powerful synergy between the degreasing action of dish soap and the disinfecting properties of alcohol, creating a solution that tackles grime, grease, and germs with equal effectiveness.
Why is this a must-try? Because it’s efficient, economical, and eco-conscious. You’re likely already stocked with the ingredients, meaning no special trips to the store or expensive cleaning product purchases. You’re also reducing your reliance on commercially produced cleaners that often contain harmful chemicals and contribute to plastic waste. Plus, the satisfaction of creating your own effective cleaning solution is surprisingly rewarding!
But the beauty of this DIY trick lies in its adaptability. Feel free to experiment with variations to suit your specific needs and preferences. For instance, if you’re sensitive to scents, opt for an unscented dish soap or add a few drops of your favorite essential oil, like lemon or lavender, for a natural fragrance boost. For tougher cleaning jobs, consider increasing the concentration of alcohol slightly, but always test the solution on an inconspicuous area first to ensure it doesn’t damage the surface.
Don’t be afraid to get creative! You can also tailor the solution to specific cleaning tasks. For example, a slightly diluted version is perfect for cleaning glass and mirrors, leaving them streak-free and sparkling. A stronger concentration can be used to tackle stubborn grease stains in the kitchen or bathroom.
We truly believe that this DIY dish soap and alcohol cleaner will become a staple in your cleaning routine. It’s a simple, effective, and sustainable way to keep your home clean and healthy.
Now, it’s your turn! We encourage you to try this DIY trick and experience the difference for yourself. We’re confident that you’ll be impressed with the results. And most importantly, we want to hear about your experience! Share your tips, variations, and success stories in the comments below. Let’s build a community of DIY cleaning enthusiasts and help each other create cleaner, healthier homes. What surfaces did you find it worked best on? Did you add any essential oils? What was your ratio of dish soap to alcohol? Your feedback is invaluable and will help others discover the power of this simple yet effective cleaning solution. Let us know how this dish soap and alcohol cleaner worked for you!
Frequently Asked Questions (FAQ)
What type of alcohol should I use for this cleaner?
Isopropyl alcohol (rubbing alcohol) with a concentration of 70% or higher is recommended. A higher concentration, like 91%, is even better as it contains less water and will evaporate more quickly, minimizing streaks. Avoid using denatured alcohol or other types of alcohol that may contain additives that could leave a residue or damage surfaces.
What kind of dish soap is best?
A basic, clear dish soap works best. Avoid using dish soaps that contain added moisturizers or lotions, as these can leave a film on surfaces. Unscented dish soap is also a good choice if you’re sensitive to fragrances or plan to add your own essential oils. Dawn dish soap is a popular and effective option, but any similar brand will work well.
Can I use this cleaner on all surfaces?
While this cleaner is generally safe for most surfaces, it’s always a good idea to test it on an inconspicuous area first, especially on delicate or painted surfaces. Avoid using it on porous materials like unfinished wood, as the alcohol can penetrate and potentially cause damage. It’s also not recommended for use on natural stone surfaces like marble or granite, as the alcohol can etch the surface over time. Always check the manufacturer’s recommendations for cleaning specific surfaces.
How much dish soap and alcohol should I use?
A common ratio is 1 part dish soap to 2 parts alcohol. However, you can adjust the ratio depending on the cleaning task. For general cleaning, a slightly diluted solution may be sufficient. For tougher grease stains, you can increase the concentration of alcohol. Start with the recommended ratio and adjust as needed, always testing on a small area first.
Will this cleaner disinfect surfaces?
Yes, the alcohol in this cleaner has disinfecting properties. Isopropyl alcohol with a concentration of 70% or higher is effective at killing many common germs and bacteria. However, it’s important to note that this cleaner is not a substitute for hospital-grade disinfectants. For thorough disinfection, allow the cleaner to remain on the surface for a few minutes before wiping it away.
How should I store this cleaner?
Store the cleaner in a clean, labeled spray bottle. Keep it out of reach of children and pets. It’s best to store it in a cool, dark place to prevent the alcohol from evaporating. While the cleaner doesn’t typically expire, it’s a good idea to use it within a few months for optimal effectiveness.
Can I add essential oils to this cleaner?
Yes, you can add a few drops of your favorite essential oils for a natural fragrance boost and added cleaning benefits. Lemon, lavender, tea tree, and eucalyptus essential oils are all popular choices. Be sure to use pure essential oils and avoid synthetic fragrances. Start with a small amount (5-10 drops per bottle) and adjust to your preference.
Is this cleaner safe for pets and children?
While the ingredients are generally considered safe, it’s important to keep the cleaner out of reach of children and pets. Avoid spraying it directly on them or allowing them to ingest it. If accidental ingestion occurs, contact a medical professional or veterinarian immediately. Ensure proper ventilation when using the cleaner to minimize inhalation of alcohol fumes.
Why is my cleaner leaving streaks?
Streaking can occur if you’re using too much dish soap or if the alcohol concentration is too low. Try reducing the amount of dish soap in the solution or using a higher concentration of alcohol. Also, make sure to use a clean, dry microfiber cloth to wipe the surface. Avoid using paper towels, as they can sometimes leave lint behind.
Can I use this cleaner to clean my windows and mirrors?
Yes, this cleaner is excellent for cleaning windows and mirrors. The alcohol helps to evaporate quickly, leaving a streak-free shine. Use a clean microfiber cloth and spray the cleaner sparingly. Wipe the surface in a circular motion and then buff dry with a clean, dry cloth.
Leave a Comment