
Grow Peppers Windowsill – imagine plucking a vibrant, spicy pepper right from your kitchen windowsill, ready to add a kick to your dinner! It sounds like a dream, right? Well, it doesn’t have to be! For centuries, cultivating food close to home has been a vital part of human life. From ancient Roman rooftop gardens to the modern-day victory gardens of World War II, the desire to nurture and harvest our own food is deeply ingrained in us.
But let’s face it, not everyone has the space for a sprawling garden. That’s where the magic of windowsill gardening comes in. This DIY guide is your passport to fresh, homegrown peppers, even if you’re living in a tiny apartment. I’m going to show you simple, effective tricks and hacks to successfully grow peppers windowsill, transforming your sunny ledge into a miniature pepper paradise.
Why do you need this? Because store-bought peppers can be expensive and often lack the vibrant flavor of homegrown varieties. Plus, there’s nothing quite like the satisfaction of nurturing a plant from seed to harvest. Get ready to ditch the grocery store and embrace the joy of growing your own delicious peppers, right at your fingertips!
Growing Peppers on Your Windowsill: A Beginner’s Guide
Hey there, fellow plant enthusiasts! Ever dreamed of having fresh, spicy peppers right at your fingertips, without even stepping outside? Well, you’re in the right place! I’m going to walk you through the surprisingly simple process of growing peppers on your windowsill. It’s a rewarding experience, and trust me, nothing beats the taste of a homegrown pepper.
Choosing the Right Peppers
First things first, not all peppers are created equal when it comes to windowsill gardening. We need to consider size and sunlight requirements.
* Compact Varieties: Opt for smaller pepper varieties like chili peppers (Thai, Birds Eye), bell peppers (dwarf varieties), or ornamental peppers. These are naturally more suited to container growing and won’t outgrow your space too quickly.
* Sunlight Needs: Peppers love sunshine! Choose varieties that can tolerate slightly less direct sunlight if your windowsill isn’t a sun trap. Hotter peppers generally need more sun than bell peppers.
* Personal Preference: Ultimately, grow what you love to eat! Do some research and find a compact variety that tickles your taste buds.
Gathering Your Supplies
Before we get our hands dirty, let’s make sure we have everything we need. Here’s a checklist:
* Pepper Seeds: Purchase high-quality seeds from a reputable source.
* Seed Starting Tray or Small Pots: These will be used to germinate the seeds.
* Seed Starting Mix: This is a light, sterile soil mix that’s perfect for delicate seedlings.
* Larger Pots (6-8 inches in diameter): These will be the permanent homes for your pepper plants.
* Potting Soil: Choose a well-draining potting mix.
* Watering Can or Spray Bottle: For gentle watering.
* Grow Lights (Optional): If your windowsill doesn’t get enough sunlight, grow lights can be a lifesaver.
* Liquid Fertilizer: A balanced liquid fertilizer will provide essential nutrients.
* Small Shovel or Trowel: For transplanting.
* Labels and a Pen: To keep track of your pepper varieties.
Starting Your Pepper Seeds
This is where the magic begins! Starting your seeds indoors gives them a head start before transplanting them to their final pots.
1. Prepare Your Seed Starting Tray: Fill your seed starting tray or small pots with seed starting mix. Gently moisten the mix with water. You want it damp, not soggy.
2. Sow the Seeds: Place 2-3 seeds in each cell or pot, about ¼ inch deep. Cover them lightly with more seed starting mix.
3. Water Gently: Use a spray bottle to mist the surface of the soil. Avoid overwatering, as this can lead to damping-off, a fungal disease that can kill seedlings.
4. Provide Warmth: Peppers need warmth to germinate. The ideal temperature is between 75-85°F (24-29°C). You can use a heat mat under the tray or place it in a warm location.
5. Cover with a Dome or Plastic Wrap: This will help retain moisture and create a humid environment.
6. Monitor and Water: Check the soil moisture daily. Keep it consistently moist, but not waterlogged. Remove the dome or plastic wrap once the seeds start to germinate.
7. Provide Light: Once the seedlings emerge, they need plenty of light. Place them under grow lights or on a sunny windowsill. If using a windowsill, rotate the tray regularly to prevent the seedlings from leaning towards the light.
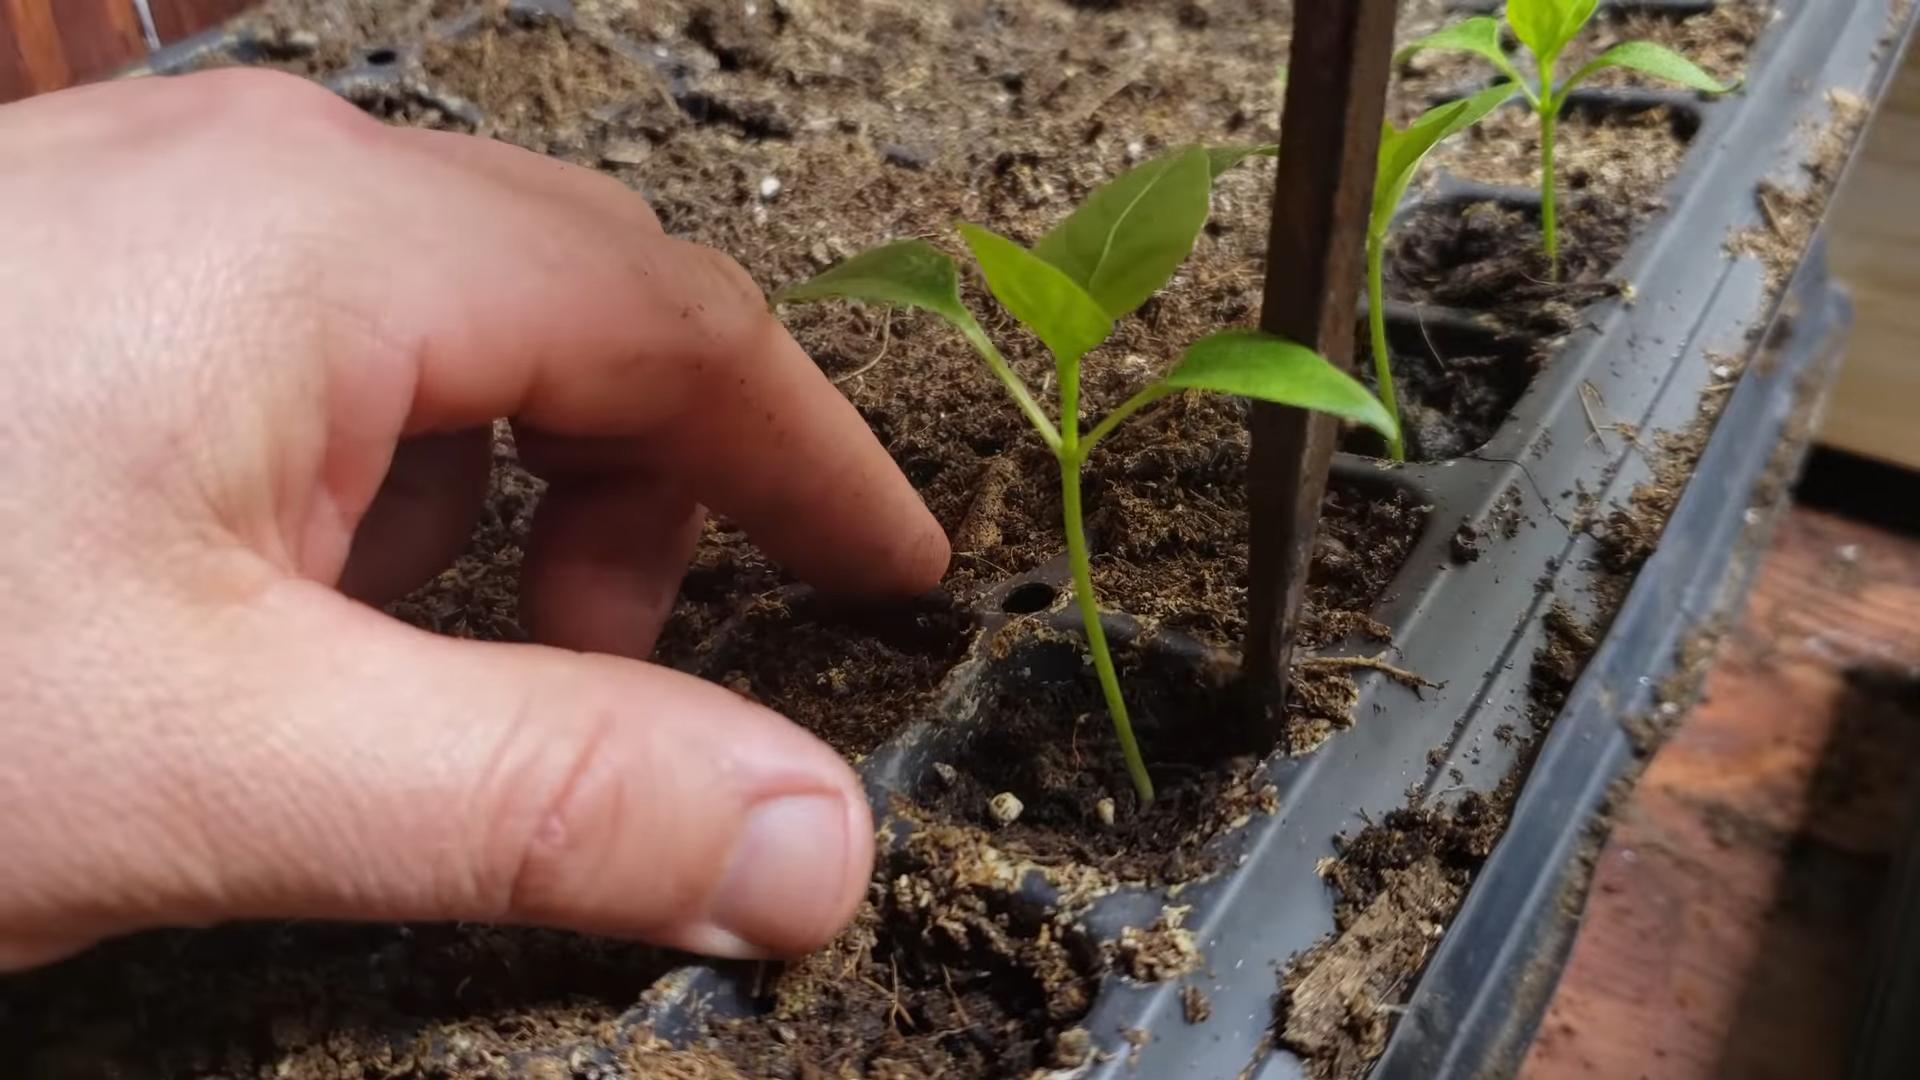
Transplanting Your Seedlings
Once your seedlings have developed a few sets of true leaves (the leaves that look like miniature pepper leaves), it’s time to transplant them to their larger pots.
1. Prepare Your Pots: Fill your larger pots with potting soil, leaving about an inch of space at the top.
2. Gently Remove the Seedlings: Carefully remove the seedlings from the seed starting tray or small pots. Be gentle to avoid damaging the roots. You can use a small spoon or trowel to help you.
3. Plant the Seedlings: Make a small hole in the center of the potting soil and place the seedling in the hole. The top of the root ball should be level with the surface of the soil.
4. Fill with Soil: Gently fill the hole with potting soil and press lightly to secure the seedling.
5. Water Thoroughly: Water the newly transplanted seedlings thoroughly.
6. Provide Support (Optional): If your pepper variety tends to get tall and leggy, you may want to provide support with a small stake or trellis.
Caring for Your Pepper Plants
Now that your pepper plants are in their permanent homes, it’s time to provide them with the care they need to thrive.
* Sunlight: Peppers need at least 6-8 hours of direct sunlight per day. If your windowsill doesn’t provide enough sunlight, supplement with grow lights.
* Watering: Water your pepper plants when the top inch of soil feels dry to the touch. Avoid overwatering, as this can lead to root rot.
* Fertilizing: Feed your pepper plants with a balanced liquid fertilizer every 2-3 weeks. Follow the instructions on the fertilizer label.
* Temperature: Peppers prefer warm temperatures, between 70-85°F (21-29°C). Avoid exposing them to temperatures below 60°F (15°C).
* Humidity: Peppers prefer moderate humidity. If the air in your home is dry, you can increase humidity by placing a tray of water near the plants or using a humidifier.
* Pruning: Pruning can help encourage bushier growth and more pepper production. Pinch off the tips of the branches to encourage side shoots.
* Pest Control: Keep an eye out for pests like aphids, spider mites, and whiteflies. If you spot any pests, treat them with insecticidal soap or neem oil.
* Pollination: Peppers are self-pollinating, but you can help them along by gently shaking the plants or using a small brush to transfer pollen from one flower to another. This is especially important indoors where there are no bees or other pollinators.
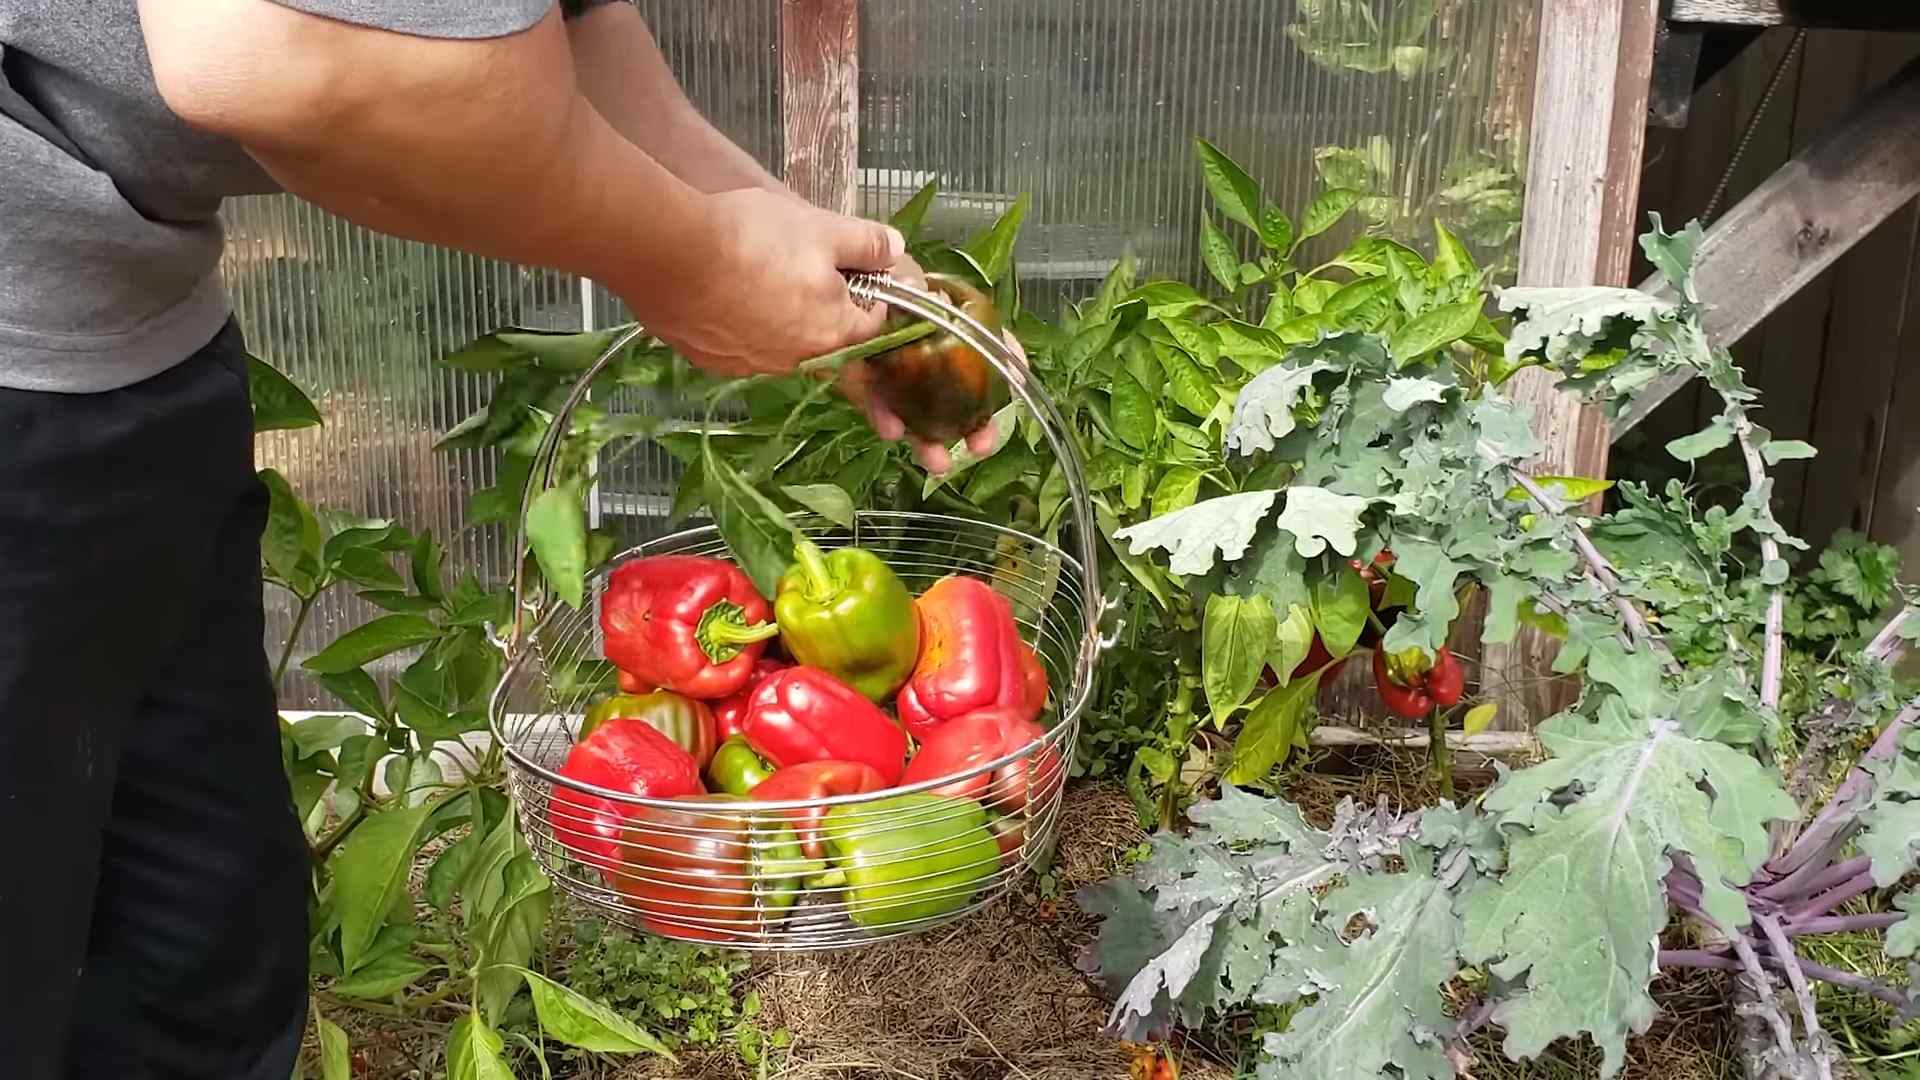
Harvesting Your Peppers
The moment you’ve been waiting for! Harvesting your peppers is the most rewarding part of the process.
* Timing: The time it takes for peppers to mature depends on the variety. Generally, peppers are ready to harvest when they reach their mature size and color.
* Harvesting Technique: Use a sharp knife or scissors to cut the peppers from the plant. Be careful not to damage the plant.
* Enjoy Your Harvest: Use your homegrown peppers in your favorite recipes, or simply enjoy them fresh off the plant!
Troubleshooting
Even with the best care, you may encounter some problems along the way. Here are some common issues and how to address them:
* Yellowing Leaves: This can be caused by overwatering, underwatering, nutrient deficiencies, or pests. Check the soil moisture and adjust your watering accordingly. Fertilize your plants with a balanced liquid fertilizer. Inspect the plants for pests and treat them if necessary.
* Dropping Flowers: This can be caused by temperature fluctuations, lack of pollination, or stress. Maintain a consistent temperature and humidity level. Gently shake the plants or use a small brush to transfer pollen from one flower to another.
* Small Peppers: This can be caused by lack of sunlight, nutrient deficiencies, or overcrowding. Provide your plants with plenty of sunlight. Fertilize them with a balanced liquid fertilizer. If your plants are overcrowded, transplant them to larger pots.
* Pests: Aphids, spider mites, and whiteflies are common pests of pepper plants. Treat them with insecticidal soap or neem oil.
Tips for Success
Here are a few extra tips to help you succeed in growing peppers on your windowsill:
* Choose the Right Location: Place your pepper plants on a south-facing windowsill that receives at least 6-8 hours of direct sunlight per day.
* Use High-Quality Potting Soil: Choose a well-draining potting mix that is specifically formulated for container gardening.
* Water Regularly: Water your pepper plants when the top inch of soil feels dry to the touch. Avoid overwatering.
* Fertilize Regularly: Feed your pepper plants with a balanced liquid fertilizer every 2-3 weeks.
* Provide Support: If your pepper variety tends to get tall and leggy, provide support with a small stake or trellis.
* Be Patient: Growing peppers takes time and patience. Don’t get discouraged if you don’t see results immediately.
Growing peppers on your windowsill is a fun and rewarding experience. With a little bit of care and attention, you can enjoy fresh, homegrown peppers all year round! Good luck, and happy gardening!
Conclusion
So, there you have it! Growing peppers on a windowsill isn’t just a whimsical idea; it’s a genuinely achievable and rewarding project that brings a touch of summer sunshine indoors, even when the weather outside is frightful. We’ve walked you through the essential steps, from selecting the right pepper varieties and providing optimal lighting to ensuring proper watering and nutrient balance. The beauty of this DIY trick lies in its simplicity and accessibility. You don’t need acres of land or a green thumb of mythical proportions to enjoy the satisfaction of harvesting your own homegrown peppers.
Why is this a must-try? Because it’s more than just growing food; it’s about connecting with nature, learning a new skill, and adding a vibrant, flavorful element to your culinary creations. Imagine the pride you’ll feel when you sprinkle freshly picked chili flakes onto your pasta or add a sweet bell pepper to your salad, knowing you nurtured it from seed to table, all within the cozy confines of your home.
But the fun doesn’t stop there! Feel free to experiment with different pepper varieties. Jalapeños, habaneros, bell peppers, even ornamental peppers – the possibilities are endless. Consider using different types of potting mix to see which one yields the best results for your chosen pepper. You can also explore companion planting by adding herbs like basil or thyme to your pepper pots, which can help deter pests and enhance the flavor of your peppers. Another variation is to use self-watering containers to simplify the watering process, especially if you tend to forget.
Don’t be afraid to get creative with your setup. Upcycle old containers, decorate your pots, and create a mini-indoor pepper garden that reflects your personal style. The key is to have fun and embrace the learning process. Remember, even experienced gardeners encounter challenges, so don’t be discouraged if you face a few bumps along the way.
We wholeheartedly encourage you to give this DIY trick a try. It’s a fantastic way to brighten up your home, add fresh flavor to your meals, and discover the joys of indoor gardening. And most importantly, we want to hear about your experience! Share your photos, tips, and challenges in the comments below. Let’s create a community of windowsill pepper growers and learn from each other. What varieties did you choose? What challenges did you face? What successes did you celebrate? Your insights will help other aspiring gardeners embark on their own pepper-growing adventures. So, grab your seeds, potting mix, and a sunny windowsill, and get ready to experience the magic of growing peppers indoors!
Frequently Asked Questions (FAQ)
What are the best pepper varieties to grow on a windowsill?
Choosing the right pepper variety is crucial for success when growing peppers on a windowsill. Compact varieties that don’t require extensive space are ideal. Some excellent choices include:
* **Thai Peppers:** These small, fiery peppers are perfect for adding a kick to your dishes and thrive in containers.
* **Jalapeños:** A popular choice for their moderate heat and versatility. Look for compact jalapeño varieties specifically bred for container gardening.
* **Bell Peppers:** While larger than other options, dwarf bell pepper varieties can be successfully grown indoors with sufficient light.
* **Poblano Peppers:** Another good option for a mild pepper that can be used in many dishes.
* **Ornamental Peppers:** These peppers are grown for their vibrant colors and compact size, making them a visually appealing and practical choice for indoor gardening.
* **Sweet Banana Peppers:** These peppers are sweet and mild, and they grow well in containers.
Consider the amount of space you have available and the level of heat you prefer when selecting your pepper varieties.
How much sunlight do windowsill peppers need?
Sunlight is the lifeblood of your pepper plants. They require at least 6-8 hours of direct sunlight per day to thrive. A south-facing windowsill is typically the best option, as it receives the most sunlight. If you don’t have a south-facing window, an east- or west-facing window can also work, but you may need to supplement with artificial light.
If your peppers aren’t getting enough natural light, consider using a grow light. LED grow lights are energy-efficient and provide the full spectrum of light that plants need to grow. Position the grow light a few inches above your pepper plants and keep it on for 12-16 hours per day.
What type of potting mix should I use for windowsill peppers?
The right potting mix is essential for providing your pepper plants with the nutrients and drainage they need. Avoid using garden soil, as it can be too heavy and compact for container gardening. Instead, opt for a well-draining potting mix specifically formulated for containers.
A good potting mix should contain a blend of peat moss, perlite, and vermiculite. Peat moss helps retain moisture, while perlite and vermiculite improve drainage and aeration. You can also add compost to your potting mix to provide additional nutrients.
How often should I water my windowsill peppers?
Watering frequency depends on several factors, including the size of your pot, the type of potting mix you’re using, and the temperature and humidity of your home. As a general rule, water your pepper plants when the top inch of soil feels dry to the touch.
When you water, water thoroughly until water drains out of the bottom of the pot. Avoid overwatering, as this can lead to root rot. Also, avoid letting your pepper plants sit in standing water.
Do windowsill peppers need fertilizer?
Yes, pepper plants are heavy feeders and require regular fertilization to produce abundant fruit. Use a balanced fertilizer specifically formulated for vegetables. Follow the instructions on the fertilizer package for application rates and frequency.
You can also use organic fertilizers, such as compost tea or fish emulsion. These fertilizers are gentle on your plants and provide a slow-release source of nutrients.
How do I pollinate my windowsill peppers?
Pepper plants are self-pollinating, meaning they can pollinate themselves. However, indoor plants may need a little help with pollination, as there are no bees or other insects to do the job.
You can hand-pollinate your pepper plants by gently shaking the flowers or using a small paintbrush to transfer pollen from one flower to another. Do this every few days when the flowers are open.
How do I deal with pests on my windowsill peppers?
Even indoors, pepper plants can be susceptible to pests such as aphids, spider mites, and whiteflies. Inspect your plants regularly for signs of infestation.
If you find pests, you can try washing them off with a strong stream of water or using insecticidal soap. You can also introduce beneficial insects, such as ladybugs, to control pests naturally.
When can I harvest my windowsill peppers?
The time it takes for peppers to mature depends on the variety. Bell peppers typically take 60-90 days to mature, while smaller peppers like Thai peppers may mature in as little as 60 days.
Harvest your peppers when they have reached their mature size and color. Use a sharp knife or scissors to cut the peppers from the plant, leaving a small stem attached.
My pepper plant is flowering, but not producing any peppers. What could be the problem?
Several factors can contribute to a lack of pepper production, even when the plant is flowering:
* **Insufficient Light:** Peppers need ample sunlight to set fruit. Ensure your plant is receiving at least 6-8 hours of direct sunlight or supplement with a grow light.
* **Temperature Fluctuations:** Extreme temperature changes can stress the plant and prevent fruit set. Maintain a consistent temperature between 65-80°F.
* **Lack of Pollination:** Even though peppers are self-pollinating, indoor plants may need assistance. Hand-pollinate the flowers as described above.
* **Nutrient Deficiency:** A lack of essential nutrients, particularly phosphorus and potassium, can hinder fruit production. Use a balanced fertilizer formulated for vegetables.
* **Overwatering or Underwatering:** Both extremes can stress the plant. Water when the top inch of soil is dry and ensure proper drainage.
Can I move my windowsill peppers outdoors during the summer?
Yes, you can move your windowsill peppers outdoors during the summer, but it’s important to acclimate them gradually to avoid shocking the plants. Start by placing them in a sheltered location for a few hours each day, gradually increasing the amount of time they spend outdoors.
Make sure to protect your plants from strong winds and direct sunlight, especially during the hottest part of the day. Also, be sure to bring them back indoors before the first frost.
Leave a Comment