
Grow Bag Carrots: Imagine plucking vibrant, sweet carrots straight from your patio, balcony, or even your kitchen windowsill! It sounds like a dream, right? Well, it doesn’t have to be! For centuries, humans have cultivated carrots, tracing their origins back to Afghanistan. But you don’t need acres of land to enjoy the satisfaction of harvesting your own.
I’m here to tell you that growing carrots, even if you’re short on space, is totally achievable with a simple and effective method: grow bags! Forget back-breaking digging and weeding in a traditional garden bed. Grow bags offer a fantastic solution for urban gardeners, renters, or anyone who wants to enjoy fresh, homegrown carrots without the hassle.
This DIY guide will walk you through everything you need to know to successfully grow bag carrots. We’ll cover choosing the right grow bag, selecting the best carrot varieties, preparing your soil, and providing the care your little orange friends need to thrive. So, ditch the store-bought carrots and get ready to experience the unparalleled flavor of homegrown goodness! Let’s get growing!
Grow Your Own Delicious Carrots in Grow Bags: A Beginner’s Guide
Hey there, fellow gardening enthusiasts! I’m so excited to share my experience growing carrots in grow bags. It’s a fantastic way to enjoy fresh, homegrown carrots even if you don’t have a traditional garden. Plus, it’s super easy and rewarding! Let’s dive in!
Why Grow Carrots in Grow Bags?
Before we get started, you might be wondering why grow bags are a good option for carrots. Well, here’s the scoop:
* Space-Saving: Grow bags are perfect for small spaces like balconies, patios, or even just a sunny corner.
* Excellent Drainage: Grow bags allow for excellent drainage, which is crucial for carrots. Soggy soil can lead to rot and stunted growth.
* Temperature Control: Grow bags warm up faster than the ground in spring, giving your carrots a head start.
* Easy to Move: You can easily move grow bags to follow the sun or protect them from harsh weather.
* Fewer Soil Pests: Growing in bags can help reduce the risk of soilborne pests and diseases.
Choosing the Right Grow Bag and Carrot Variety
Okay, let’s get practical! First, you’ll need to choose the right grow bag and carrot variety.
* Grow Bag Size: I recommend using grow bags that are at least 12 inches deep and 12 inches in diameter. Larger bags (15-20 gallons) are even better, especially if you want to grow longer carrot varieties. The deeper the bag, the longer your carrots can grow without hitting a hard bottom and forking.
* Grow Bag Material: Fabric grow bags are my favorite because they allow for good airflow and drainage. Avoid plastic pots, as they can retain too much moisture.
* Carrot Variety: Choose carrot varieties that are well-suited for container gardening. Shorter, rounder varieties like ‘Parisian’ or ‘Thumbelina’ are excellent choices. ‘Nantes’ and ‘Danvers’ are also good options, but make sure your grow bag is deep enough to accommodate their length. Consider the climate you live in and choose varieties that thrive in your region.
Materials You’ll Need
Before we start planting, let’s gather all the necessary materials. Here’s what you’ll need:
* Grow bag (at least 12 inches deep)
* High-quality potting mix (specifically for vegetables)
* Carrot seeds
* Watering can or hose with a gentle spray nozzle
* Slow-release fertilizer (optional)
* Gardening gloves (optional, but recommended)
* Small trowel or hand shovel
Step-by-Step Planting Guide
Alright, let’s get our hands dirty! Here’s a step-by-step guide to planting carrots in grow bags:
1. Prepare the Grow Bag: Unfold your grow bag and place it in a sunny location. Carrots need at least 6-8 hours of sunlight per day. Fill the grow bag with high-quality potting mix, leaving about 2-3 inches of space at the top. Gently pat down the soil to remove any large air pockets.
2. Sow the Seeds: Carrot seeds are tiny, so it’s easy to sow them too thickly. To avoid overcrowding, I like to mix the seeds with a bit of sand before sowing. This helps to space them out more evenly. Sprinkle the seeds thinly over the surface of the soil. Aim for about 1/2 inch spacing between seeds.
3. Cover the Seeds: Gently cover the seeds with a thin layer (about 1/4 inch) of potting mix. Lightly pat down the soil to ensure good contact between the seeds and the soil.
4. Water Thoroughly: Water the grow bag thoroughly with a gentle spray nozzle. The soil should be moist but not waterlogged. Be careful not to wash away the seeds.
5. Label the Bag: Use a plant marker or label to identify the carrot variety you planted and the date. This will help you keep track of your progress.
Caring for Your Carrot Plants
Now that your carrots are planted, it’s time to provide them with the care they need to thrive.
1. Watering: Carrots need consistent moisture to grow well. Water the grow bag whenever the top inch of soil feels dry to the touch. Avoid overwatering, as this can lead to root rot. Water deeply and evenly, ensuring that the entire root zone is moistened.
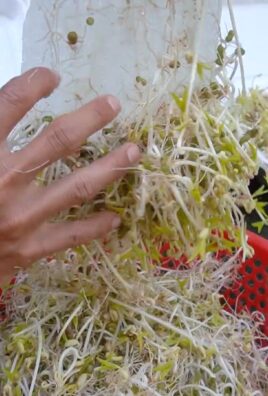
2. Thinning: This is crucial! Once the seedlings emerge (usually in 1-3 weeks), you’ll need to thin them out. Thinning is the process of removing some of the seedlings to give the remaining plants enough space to grow. When the seedlings are about 1-2 inches tall, thin them to about 1-2 inches apart. When they are 3-4 inches tall, thin them again to about 3-4 inches apart. Gently pull out the unwanted seedlings, being careful not to disturb the roots of the remaining plants. You can even eat the thinnings as microgreens!
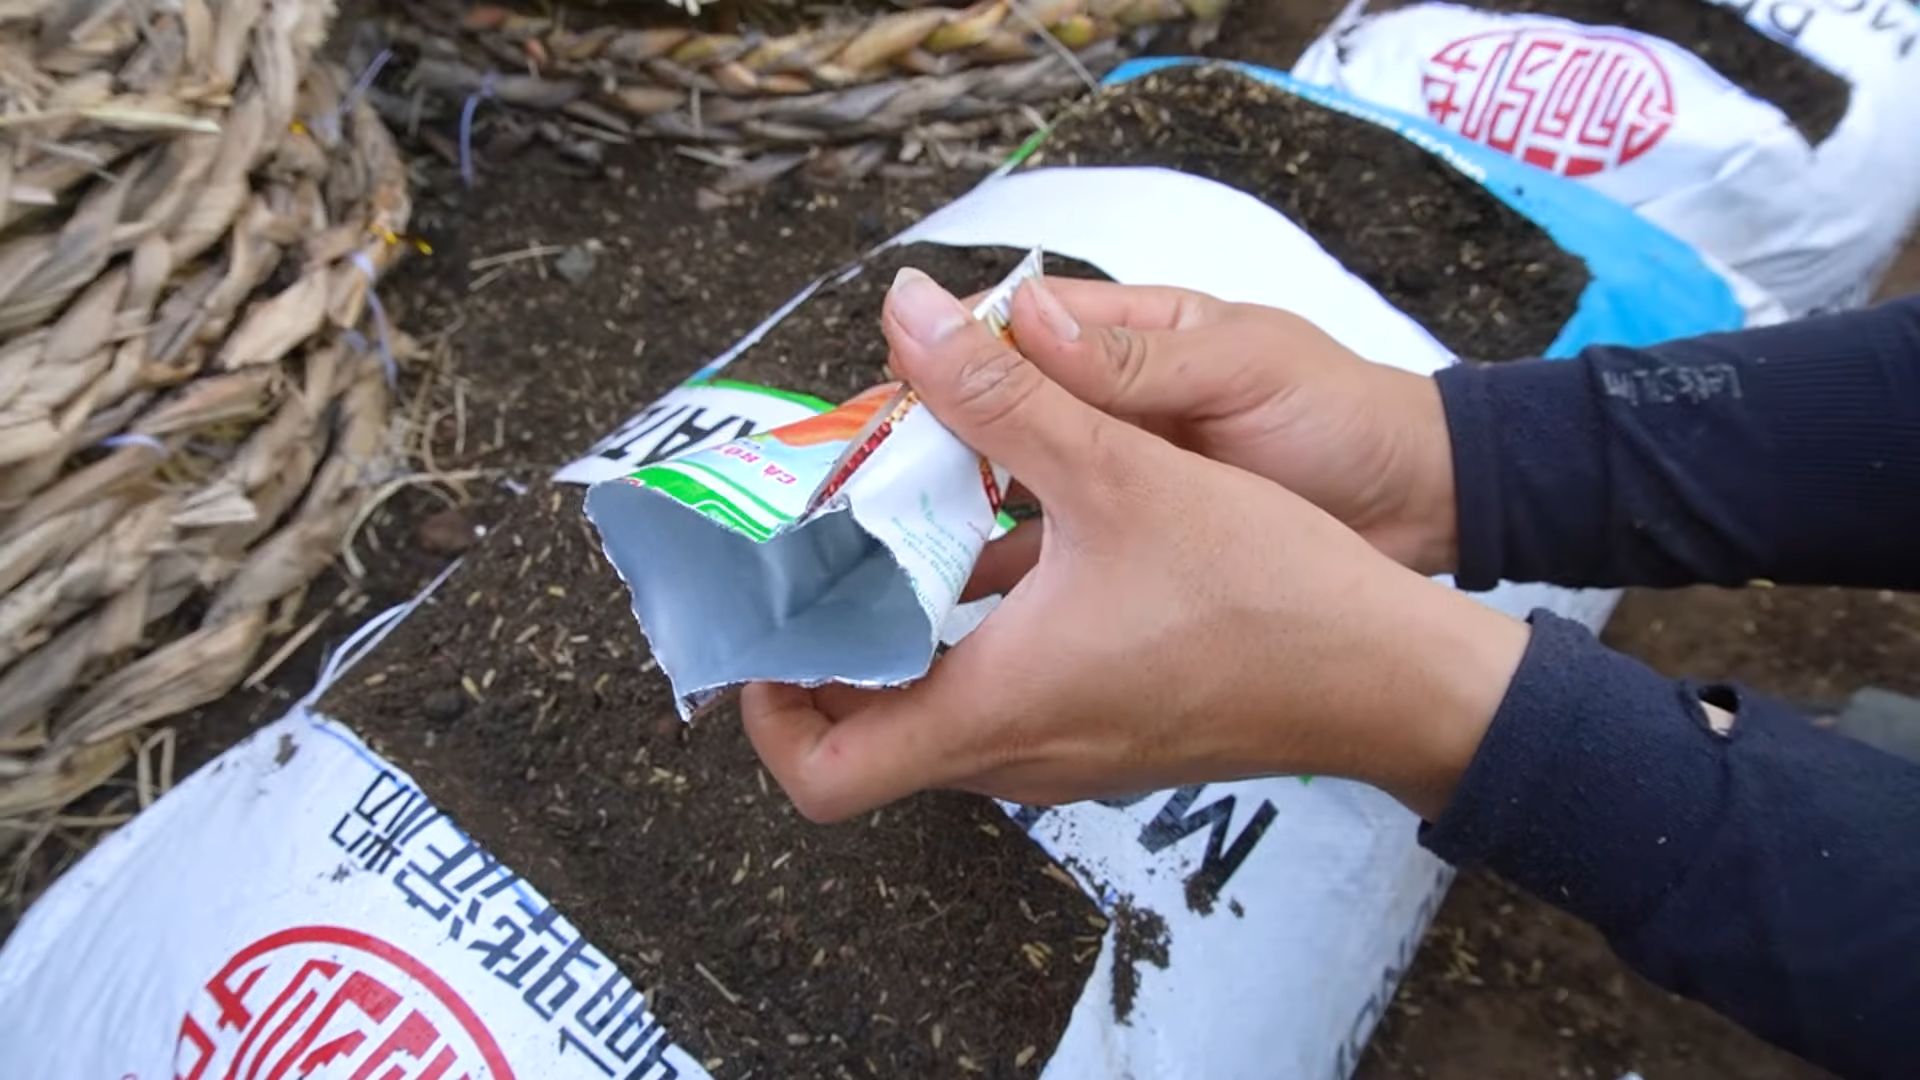
3. Fertilizing: Carrots are not heavy feeders, but they will benefit from a light feeding of fertilizer. You can use a slow-release fertilizer at planting time or apply a liquid fertilizer every few weeks. Choose a fertilizer that is low in nitrogen and higher in phosphorus and potassium. Too much nitrogen can lead to excessive foliage growth at the expense of root development.
4. Weeding: Keep the grow bag free of weeds. Weeds compete with carrots for water, nutrients, and sunlight. Gently hand-pull any weeds that emerge.
5. Sunlight: Make sure your grow bag receives at least 6-8 hours of sunlight per day. If you live in a very hot climate, you may need to provide some afternoon shade to prevent the soil from drying out too quickly.
6. Pest Control: Carrots are generally pest-resistant, but they can be susceptible to certain pests, such as carrot rust flies and aphids. Inspect your plants regularly for signs of pests. If you find any pests, you can try spraying them with insecticidal soap or neem oil.
Harvesting Your Carrots
The most exciting part! Here’s how to harvest your homegrown carrots:
1. Harvest Time: Carrots are typically ready to harvest 60-80 days after planting, depending on the variety. Check the seed packet for specific harvest times.
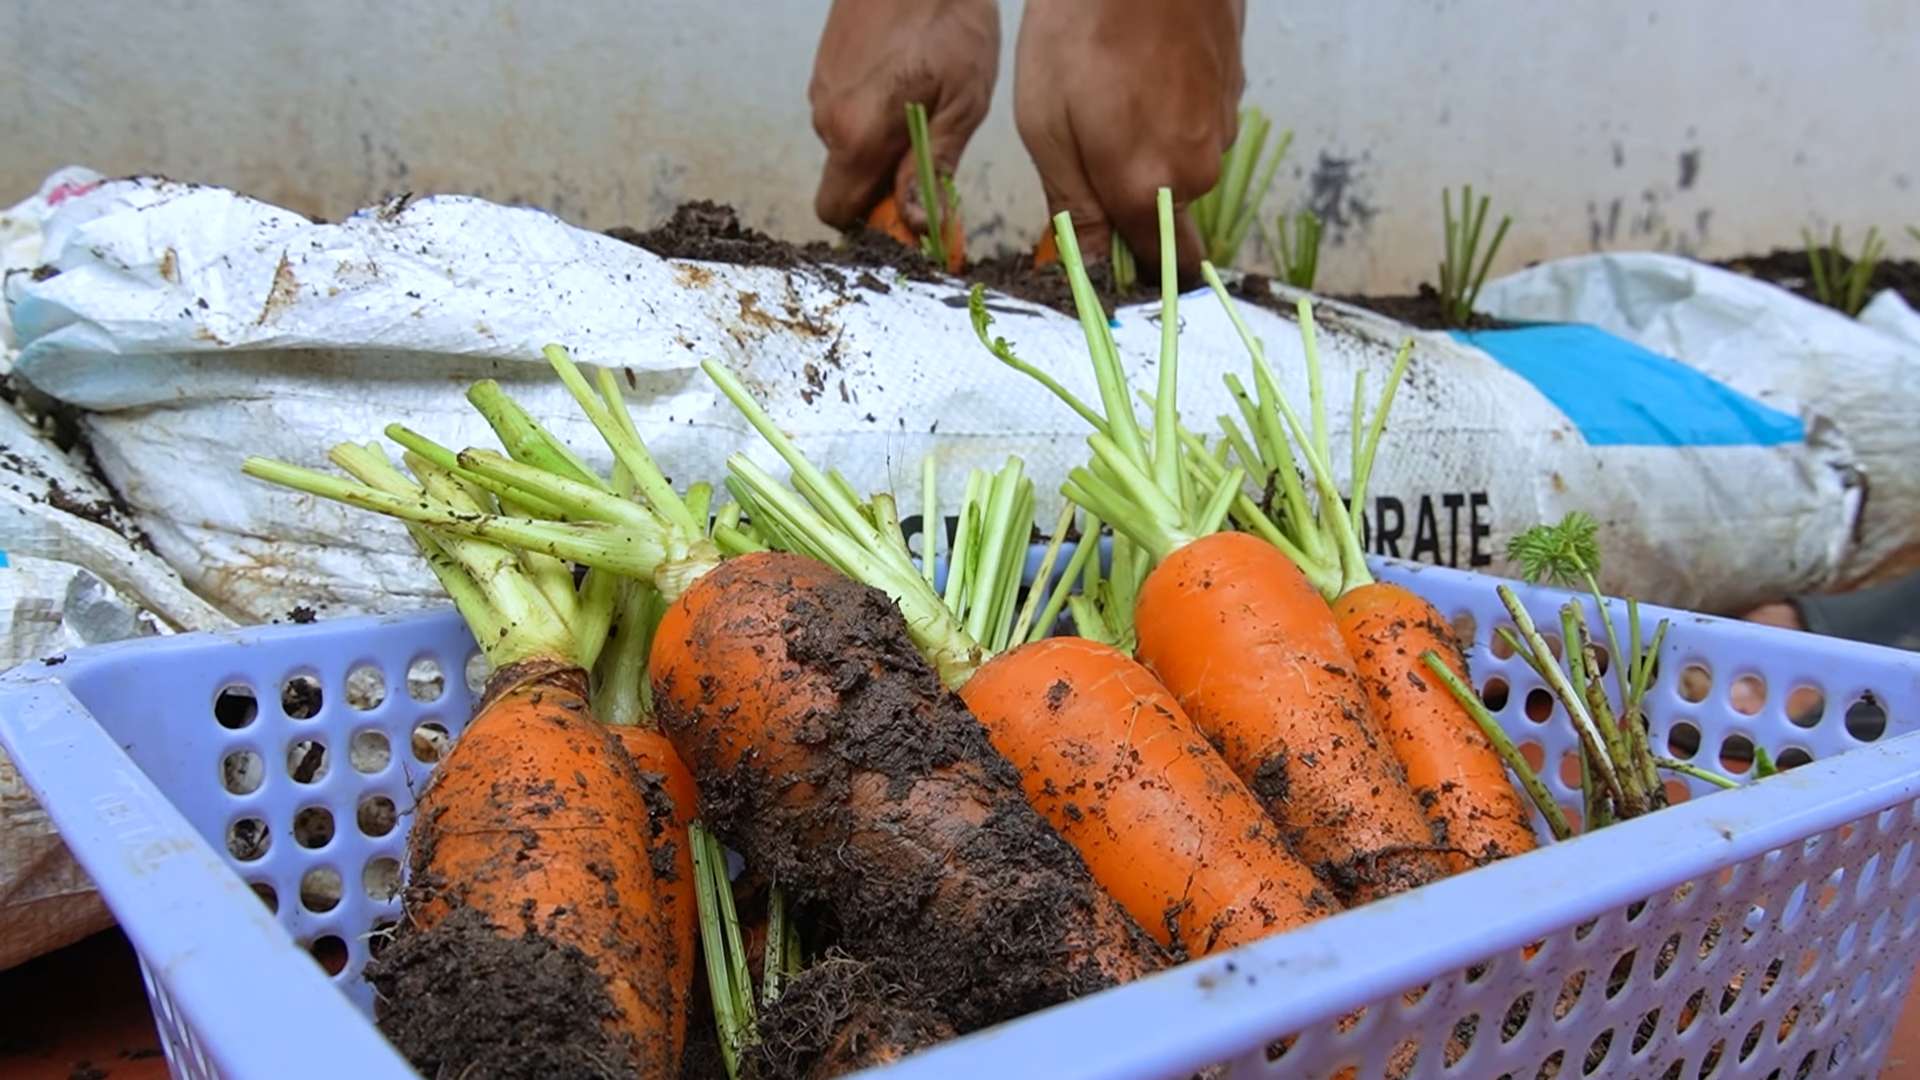
2. Signs of Maturity: The tops of the carrots will start to emerge from the soil. You can gently brush away some of the soil to check the size of the carrots. They should be the size and shape you expect for the variety you planted.
3. Harvesting Technique: To harvest, gently loosen the soil around the carrot with a trowel or hand fork. Grasp the carrot firmly at the base of the foliage and gently pull it straight up. If the carrot is difficult to pull, try wiggling it back and forth to loosen it.
4. Washing and Storing: After harvesting, wash the carrots thoroughly to remove any dirt. Trim off the foliage, leaving about 1/2 inch of stem. Store the carrots in the refrigerator in a plastic bag or container. They should keep for several weeks.
Troubleshooting
Even with the best care, you might encounter some challenges along the way. Here are some common problems and how to address them:
* Forked Carrots: Forked carrots are often caused by rocky or compacted soil. Make sure your potting mix is loose and well-draining. Remove any rocks or debris from the soil before planting.
* Stunted Growth: Stunted growth can be caused by a variety of factors, including poor soil, lack of sunlight, or insufficient watering. Make sure your carrots are getting enough sunlight and water. Fertilize them regularly with a balanced fertilizer.
* Root Rot: Root rot is caused by overwatering. Make sure your grow bag has good drainage and avoid overwatering.
* Pests: Inspect your plants regularly for signs of pests. Treat any infestations promptly with insecticidal soap or neem oil.
Tips for Success
Here are a few extra tips to help you grow the best carrots possible:
* Choose the right potting mix: Use a high-quality potting mix that is specifically formulated for vegetables. Avoid using garden soil, as it can be too heavy and compacted.
* Don’t overwater: Overwatering is a common mistake that can lead to root rot. Water only when the top inch of soil feels dry to the touch.
* Thin your seedlings: Thinning is essential for giving your carrots enough space to grow.
* Fertilize regularly: Carrots need a steady supply of nutrients to grow well. Fertilize them regularly with a balanced fertilizer.
* Protect from pests: Inspect your plants regularly for signs of pests and treat any infestations promptly.
* Rotate your crops: If you grow carrots in the same grow bag year after year, you may deplete
Conclusion
So, there you have it! Growing your own carrots in grow bags isn’t just a gardening trend; it’s a game-changer for anyone who loves fresh, homegrown produce, regardless of space constraints. We’ve walked you through the simple steps, highlighting the benefits of this method, and hopefully, dispelled any doubts you might have had.
Why is this DIY trick a must-try? Because it unlocks the joy of harvesting your own sweet, crisp carrots, even if you only have a balcony, patio, or small deck. Forget about battling rocky soil or contending with carrot flies in the ground. Grow bags provide a controlled environment where you can tailor the soil composition, drainage, and sunlight exposure to create the perfect conditions for your carrot crop to thrive. Plus, the portability of grow bags means you can easily move them to chase the sun or protect them from harsh weather.
But the beauty of this method lies in its adaptability. Feel free to experiment with different carrot varieties. Nantes are a classic choice, but consider trying Chantenay for shorter, sturdier carrots, or even colorful varieties like Purple Haze or Yellow Stone for a visually stunning harvest. You can also companion plant in your grow bag. Radishes are a great choice as they germinate quickly and help break up the soil, making it easier for the carrots to grow. Marigolds can deter pests, adding another layer of protection to your precious crop.
Don’t be afraid to adjust the soil mix to suit your local climate and the specific needs of your chosen carrot variety. If you live in a particularly dry area, consider adding more moisture-retentive materials like coco coir or vermiculite to your soil mix. If you’re in a region with heavy rainfall, ensure your grow bag has excellent drainage to prevent waterlogging.
The key to successful grow bag carrots is consistent moisture and proper fertilization. Monitor the soil moisture regularly, especially during hot weather, and water deeply whenever the top inch feels dry. Feed your carrots with a balanced fertilizer every few weeks to provide them with the nutrients they need to develop strong roots and sweet flavor.
We’re confident that once you experience the satisfaction of pulling your own homegrown carrots from a grow bag, you’ll be hooked! The taste difference between store-bought and homegrown is undeniable. The vibrant color, the crisp texture, and the sweet, earthy flavor are simply unmatched.
So, what are you waiting for? Grab a grow bag, some carrot seeds, and get planting! We encourage you to try this DIY trick and share your experience with us. Post photos of your carrot harvest on social media using #GrowBagCarrots and tag us so we can celebrate your success. We’re eager to see your beautiful carrots and hear about your gardening journey. Happy growing!
Frequently Asked Questions (FAQ)
What size grow bag is best for growing carrots?
The ideal size grow bag for carrots is typically between 10 and 20 gallons. This provides enough space for the roots to develop properly without becoming overcrowded. The depth of the bag is also crucial; aim for a bag that is at least 12 inches deep, preferably 18 inches, to accommodate longer carrot varieties. Smaller grow bags can be used for shorter, rounder carrot varieties, but larger bags generally lead to better yields and healthier plants. Remember, carrots need room to grow downwards, so depth is more important than width.
What kind of soil should I use in my grow bag for carrots?
Carrots thrive in loose, well-draining soil that is rich in organic matter. Avoid heavy clay soils, as they can hinder root development and lead to misshapen carrots. A good soil mix for grow bag carrots consists of equal parts of the following:
* **Compost:** Provides essential nutrients and improves soil structure.
* **Peat Moss or Coco Coir:** Helps retain moisture and improve drainage.
* **Perlite or Vermiculite:** Enhances drainage and aeration.
You can also add a slow-release fertilizer to the soil mix to provide a steady supply of nutrients throughout the growing season. Ensure the pH of the soil is between 6.0 and 6.8 for optimal carrot growth.
How often should I water my grow bag carrots?
Watering frequency depends on several factors, including the weather, the size of the grow bag, and the type of soil you’re using. Generally, you should water your grow bag carrots whenever the top inch of soil feels dry to the touch. During hot, dry weather, you may need to water daily, while during cooler, wetter periods, you can water less frequently.
When watering, water deeply until the water drains out of the bottom of the bag. This ensures that the entire root zone is moistened. Avoid overwatering, as this can lead to root rot. A good rule of thumb is to check the soil moisture regularly and adjust your watering schedule accordingly.
How much sunlight do grow bag carrots need?
Carrots need at least 6 hours of direct sunlight per day to thrive. Choose a location for your grow bag that receives plenty of sunlight throughout the day. If you live in a particularly hot climate, you may want to provide some afternoon shade to prevent the soil from drying out too quickly.
If you don’t have a sunny spot, you can supplement with grow lights. Position the grow lights a few inches above the plants and provide them with 12-14 hours of light per day.
When is the best time to plant carrots in grow bags?
The best time to plant carrots in grow bags depends on your local climate. In general, carrots are a cool-season crop and can be planted in early spring or late summer for a fall harvest.
* **Spring Planting:** Plant carrot seeds 2-3 weeks before the last expected frost.
* **Fall Planting:** Plant carrot seeds 10-12 weeks before the first expected frost.
You can also start carrot seeds indoors 4-6 weeks before the last frost and transplant them into grow bags once the weather warms up. However, carrots don’t always transplant well, so direct sowing is generally recommended.
How do I prevent pests and diseases in my grow bag carrots?
Grow bags help minimize pest and disease problems, but it’s still important to take precautions. Here are some tips:
* **Use clean soil:** Start with a high-quality potting mix to avoid introducing pests or diseases.
* **Practice crop rotation:** Avoid planting carrots in the same grow bag year after year.
* **Companion planting:** Plant marigolds or other pest-repelling plants near your carrots.
* **Monitor for pests:** Check your plants regularly for signs of pests, such as aphids or carrot rust flies.
* **Use organic pest control methods:** If you find pests, try using insecticidal soap or neem oil.
* **Ensure good drainage:** Prevent waterlogging to avoid root rot and other fungal diseases.
How long does it take for carrots to grow in grow bags?
Carrots typically take 60-80 days to mature, depending on the variety and growing conditions. Check the seed packet for specific information on the maturity time of your chosen carrot variety.
You can harvest carrots when they reach the desired size. Gently loosen the soil around the carrots and pull them out by the greens. If the soil is dry, water it thoroughly before harvesting to make it easier to pull the carrots.
Can I reuse grow bags for carrots?
Yes, you can reuse grow bags for carrots, but it’s important to clean them thoroughly before replanting. Remove any remaining soil and debris, and wash the bag with soap and water. You can also disinfect the bag with a solution of bleach and water (1 part bleach to 9 parts water). Rinse the bag thoroughly before reusing it.
It’s also a good idea to replace the soil in the grow bag each year to ensure that your carrots have access to fresh nutrients.
What are some common problems when growing carrots in grow bags and how can I fix them?
* **Poor germination:** Ensure the soil is moist and the seeds are not planted too deep. Use fresh seeds for best results.
* **Forked or misshapen carrots:** This is often caused by rocky or compacted soil. Use a loose, well-draining soil mix and remove any rocks or debris from the grow bag.
* **Carrot rust flies:** These pests can damage carrot roots. Use row covers to protect your plants or apply nematodes to the soil.
* **Bolting (premature flowering):** This can be caused by stress, such as extreme temperatures or inconsistent watering. Provide consistent moisture and protect your plants from extreme heat.
* **Slow growth:** Ensure your carrots are getting enough sunlight and nutrients. Fertilize regularly with a balanced fertilizer.
Leave a Comment