
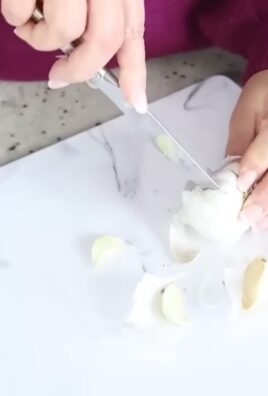
Steam Clean Microwave Vinegar: Are you tired of staring into a microwave splattered with yesterday’s lunch, dreading the scrubbing session ahead? I know I am! Let’s face it, cleaning the microwave is one of those chores we all put off, but it doesn’t have to be a dreaded task. This simple DIY trick will transform your microwave cleaning routine from a chore into a breeze.
Microwaves, a relatively modern invention, have become indispensable in kitchens worldwide. While their primary function is to heat food quickly, their cleanliness often gets overlooked. Historically, people relied on elbow grease and harsh chemicals to tackle microwave messes. But what if I told you there’s a natural, effective, and incredibly easy way to steam clean microwave vinegar using just vinegar and water?
This DIY hack is a game-changer because it eliminates the need for harsh chemicals and strenuous scrubbing. The power of steam, combined with the natural cleaning properties of vinegar, loosens stubborn food particles, making them easy to wipe away. Not only is it eco-friendly, but it also saves you time and effort. So, ditch the chemicals and get ready to discover the magic of steam clean microwave vinegar – your microwave will thank you!
DIY Microwave Steam Cleaning with Vinegar: A Sparkling Clean in Minutes!
Hey everyone! I’m so excited to share this super easy and effective DIY microwave cleaning hack with you. Let’s be honest, our microwaves often become a splattered mess of food explosions. But don’t worry, you don’t need harsh chemicals or hours of scrubbing to get it sparkling clean. This method uses the power of steam and vinegar, two natural and readily available ingredients. It’s quick, safe, and leaves your microwave smelling fresh!
What You’ll Need:
* 1 cup of water
* 2 tablespoons of white vinegar
* A microwave-safe bowl
* A clean sponge or cloth
Why This Works: The Science Behind the Steam
The combination of water and vinegar creates steam when heated in the microwave. This steam loosens the dried-on food particles, making them incredibly easy to wipe away. Vinegar also acts as a natural disinfectant and deodorizer, leaving your microwave smelling clean and fresh. It’s a win-win!
Step-by-Step Instructions:
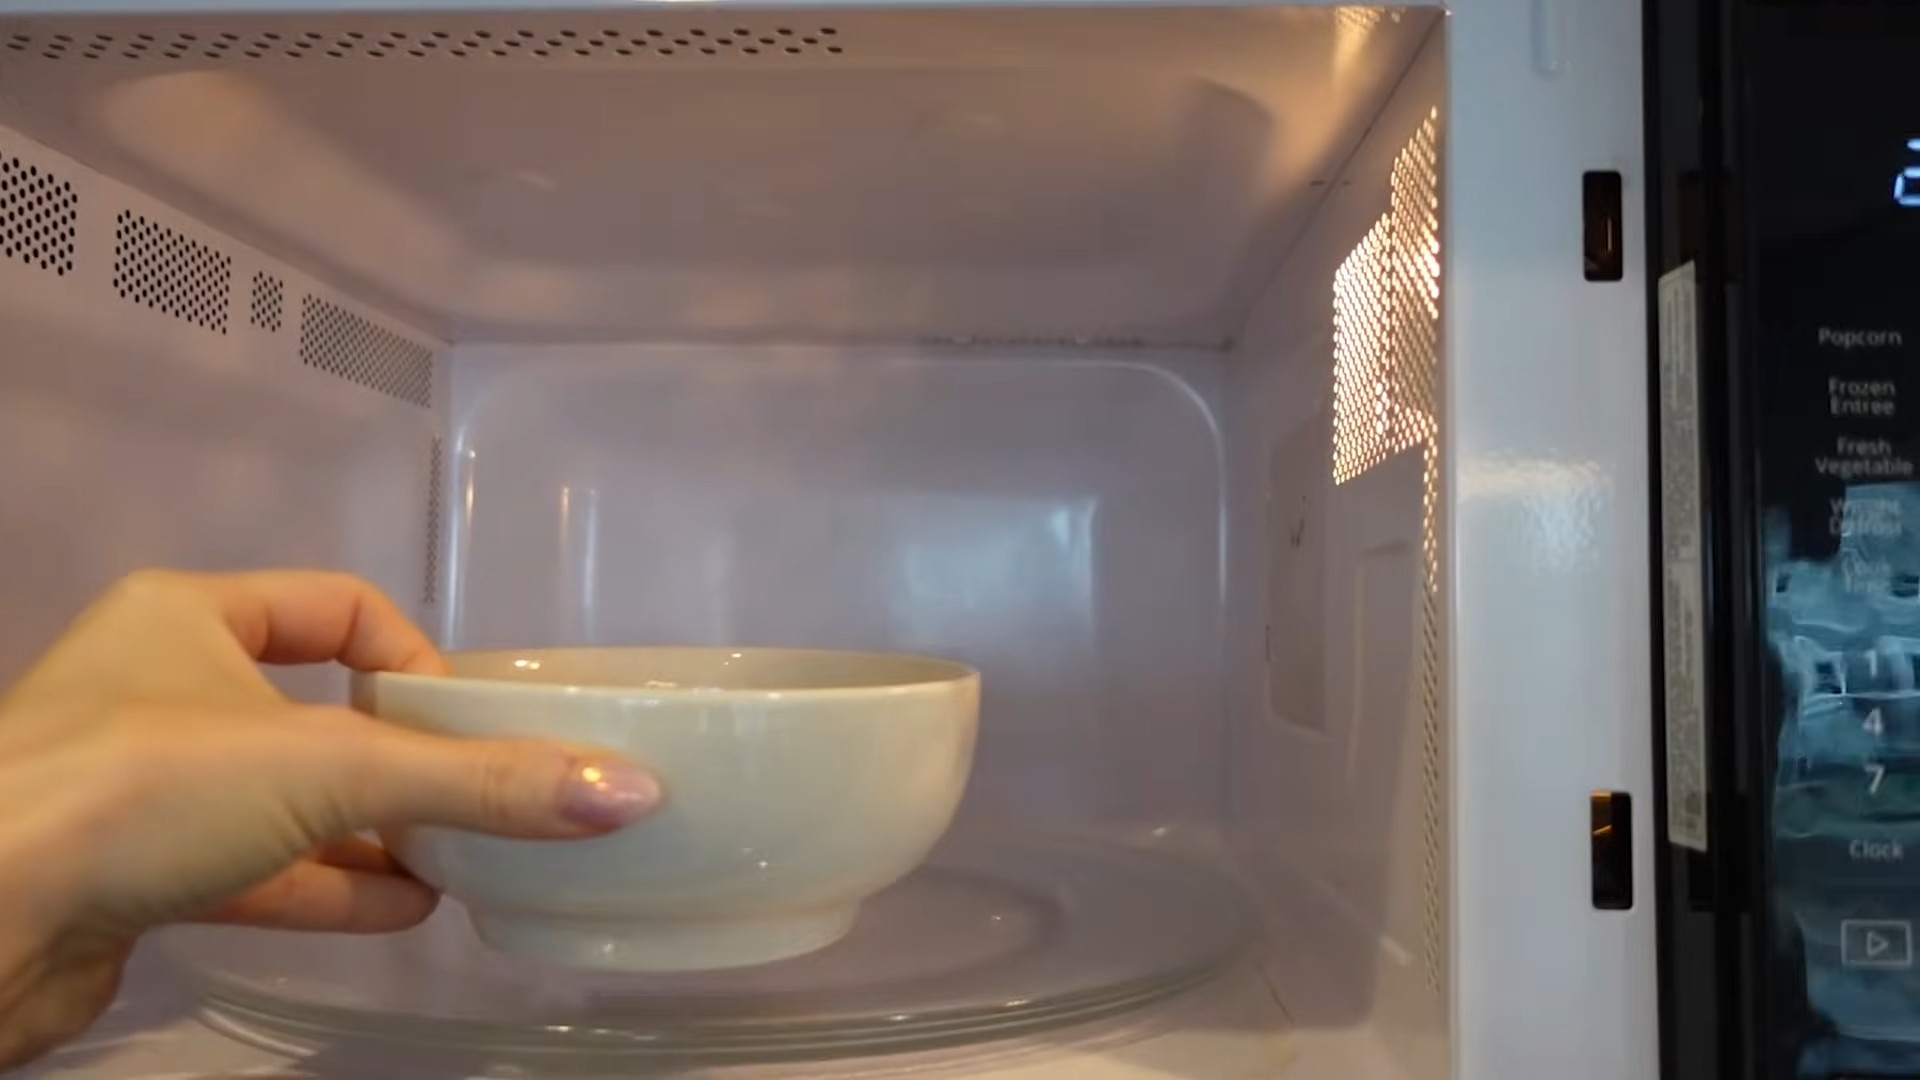
1. Prepare the Vinegar Solution: In your microwave-safe bowl, combine 1 cup of water and 2 tablespoons of white vinegar. Give it a quick stir to mix everything together. Don’t worry about the vinegar smell; it dissipates quickly.
2. Microwave the Solution: Place the bowl in your microwave. Now, this is important: microwave the solution on high for 5-7 minutes. You want the water to boil vigorously and create plenty of steam. The exact time will depend on your microwave’s power, so keep an eye on it. You should see steam building up inside.
3. Let the Steam Work Its Magic: Once the timer goes off, DO NOT open the microwave door immediately! Let the steam sit inside for another 2-3 minutes. This allows the steam to really penetrate and loosen all the grime. This is the key to making the cleaning process effortless.
4. Carefully Remove the Bowl: After the steaming period, carefully remove the bowl from the microwave. Be cautious, as the bowl and the water will be very hot. Use oven mitts or a towel to protect your hands.
5. Wipe Down the Interior: Now comes the satisfying part! Using your clean sponge or cloth, wipe down the interior of the microwave. You’ll be amazed at how easily the splattered food comes off. No hard scrubbing required! Pay attention to the top, bottom, sides, and door of the microwave.
6. Clean the Turntable and Roller Ring: Remove the turntable and roller ring from the microwave. Wash them with warm, soapy water. Rinse them thoroughly and dry them before placing them back in the microwave. These parts often accumulate food debris, so giving them a good cleaning is essential.
7. Wipe Down the Exterior: Finally, wipe down the exterior of the microwave with a damp cloth. This will remove any fingerprints or smudges and leave your microwave looking its best.
Troubleshooting and Tips:
* Stubborn Stains: If you have some particularly stubborn stains, you can dip your sponge or cloth in the remaining vinegar solution and gently scrub the area. You can also make a paste of baking soda and water and apply it to the stain for a few minutes before wiping it away.
* Strong Vinegar Smell: If you’re sensitive to the smell of vinegar, you can add a few drops of lemon juice or essential oil to the water and vinegar solution. This will help to mask the vinegar smell and leave your microwave smelling fresh and citrusy.
* Preventing Future Splatters: To prevent future splatters, always cover your food with a microwave-safe lid or plastic wrap when heating it up. This will help to contain the splatters and make cleanup much easier.
* Regular Cleaning: I recommend cleaning your microwave using this method at least once a week, or more often if you use it frequently. Regular cleaning will prevent food from building up and becoming difficult to remove.
* Bowl Material: Make sure the bowl you use is microwave-safe. Glass or ceramic bowls work best. Avoid using plastic bowls, as they may melt or warp in the microwave.
* Super Dirty Microwaves: If your microwave is exceptionally dirty, you might need to repeat the steaming process. Don’t be afraid to give it another go!
* Don’t Overheat: While you want the water to boil, avoid overheating the solution to the point where it splatters excessively inside the microwave. Monitor the process closely.
* Safety First: Always be careful when handling hot bowls and steam. Use oven mitts or a towel to protect your hands and avoid burns.
Alternative Cleaning Solutions (If Vinegar Isn’t Your Thing)
While I swear by the vinegar method, I understand that some people might not like the smell or prefer other options. Here are a couple of alternatives you can try:
* Lemon Juice: Replace the vinegar with lemon juice. The citric acid in lemon juice is a natural cleaner and deodorizer. Use the same method as with vinegar, but substitute the 2 tablespoons of vinegar with 2 tablespoons of lemon juice. Plus, your microwave will smell amazing!
* Baking Soda: Create a paste of baking soda and water and apply it to the inside of the microwave. Let it sit for a few minutes, then wipe it away with a damp cloth. Baking soda is a gentle abrasive that can help to remove stubborn stains. You can also place an open box of baking soda in your microwave to absorb odors.
Maintaining a Clean Microwave: Proactive Tips
Cleaning your microwave shouldn’t be a dreaded chore. Here are some tips to keep it cleaner for longer:
* Use Microwave-Safe Covers: Invest in a good set of microwave-safe covers. These prevent splatters and keep your microwave cleaner. I prefer the silicone ones because they’re reusable and easy to clean.
* Wipe Up Spills Immediately: Don’t let spills sit and harden. Wipe them up as soon as they happen. This will prevent them from becoming difficult to remove later.
* Ventilate After Use: After using the microwave, leave the door slightly ajar for a few minutes to allow any moisture to escape. This will help to prevent the growth of mold and mildew.
* Regularly Check for Food Debris: Take a quick look inside your microwave every few days and remove any loose food debris. This will prevent it from building up and becoming a bigger problem.
* Consider a Microwave Splatter Guard: These handy gadgets sit on top of your food and prevent splatters from reaching the walls of the microwave. They’re inexpensive and easy to clean.
Why This DIY Method is Better Than Store-Bought Cleaners
I’m a big fan of DIY cleaning solutions because they’re often more effective, safer, and cheaper than store-bought cleaners. Here’s why I prefer this vinegar steam cleaning method:
* Natural and Non-Toxic: Vinegar and water are natural and non-toxic ingredients. You don’t have to worry about exposing yourself or your family to harsh chemicals.
* Cost-Effective: Vinegar and water are incredibly cheap. You probably already have them in your pantry.
* Effective: This method is surprisingly effective at loosening and removing dried-on food particles.
* Environmentally Friendly: By using natural ingredients, you’re reducing your impact on the environment.
* No Harsh Fumes: Unlike some store-bought cleaners, this method doesn’t produce harsh fumes that can irritate your eyes and lungs.
The Importance of a Clean Microwave
A clean microwave isn’t just about aesthetics; it’s also about hygiene and safety. Here’s why it’s important to keep your microwave clean:
* Prevents the Spread of Bacteria: Food splatters can harbor bacteria that can contaminate your food.
* Reduces the Risk of Fire: Built-up food debris can ignite and cause a fire.
* Improves Microwave Performance: A clean microwave heats food more efficiently.
* Extends the Life of Your Microwave: Regular cleaning can help to prevent damage and extend the life of your microwave.
* More Enjoyable Cooking Experience: Let’s face it, cooking in a clean microwave is just more enjoyable!
So there you have it! My go-to method for steam cleaning a microwave with vinegar. It’s a simple, effective, and eco-friendly way to keep your microwave sparkling clean. Give it a try, and I promise you’ll be amazed at the results! Happy cleaning!
Conclusion
So, there you have it! This simple, yet incredibly effective, DIY steam clean microwave vinegar trick is a game-changer for anyone who wants a sparkling clean microwave without harsh chemicals or endless scrubbing. We’ve all been there – staring into the abyss of splattered food and dried-on messes, dreading the cleaning process. But with this method, those days are over.
The beauty of this technique lies in its simplicity and its reliance on readily available ingredients. Vinegar, a natural disinfectant and deodorizer, works wonders when combined with the power of steam. It loosens stubborn grime, making it effortlessly wipeable, and eliminates lingering odors, leaving your microwave fresh and ready for its next culinary adventure.
But don’t just take our word for it! The real magic happens when you experience the results firsthand. Imagine opening your microwave to find a gleaming interior, free from the sticky residue that once plagued it. Think of the time and effort you’ll save, no longer needing to spend ages scrubbing away at baked-on food. And consider the peace of mind knowing you’re using a safe, non-toxic cleaning solution in a space where you prepare your meals.
Beyond the basic method, there are plenty of ways to customize this DIY steam clean microwave vinegar trick to suit your specific needs and preferences. For a more intense clean, try adding a few drops of lemon essential oil to the vinegar and water mixture. The lemon oil will not only enhance the cleaning power but also leave a refreshing citrus scent. Alternatively, if you’re dealing with particularly stubborn stains, you can microwave the vinegar solution for a slightly longer period, allowing the steam to penetrate deeper into the grime.
Another variation involves using a microwave-safe sponge or cloth soaked in the vinegar solution to wipe down the interior after steaming. This can help to remove any remaining residue and ensure a thorough clean. You can also use this method to clean the microwave turntable and any other removable parts.
This isn’t just about cleaning; it’s about creating a healthier and more enjoyable cooking environment. A clean microwave is a happy microwave, and a happy microwave means happier meals!
We wholeheartedly encourage you to give this DIY steam clean microwave vinegar trick a try. It’s quick, easy, affordable, and incredibly effective. Once you experience the results, you’ll wonder why you didn’t try it sooner.
And most importantly, we want to hear about your experience! Did you find this method helpful? Did you try any variations? Share your tips, tricks, and before-and-after photos in the comments below. Let’s create a community of clean microwave enthusiasts and help each other conquer the dreaded microwave mess! Your feedback is invaluable and will help us refine and improve this method for everyone. So, go ahead, give it a whirl, and let us know what you think! We’re confident that you’ll be amazed by the results.
Frequently Asked Questions (FAQ)
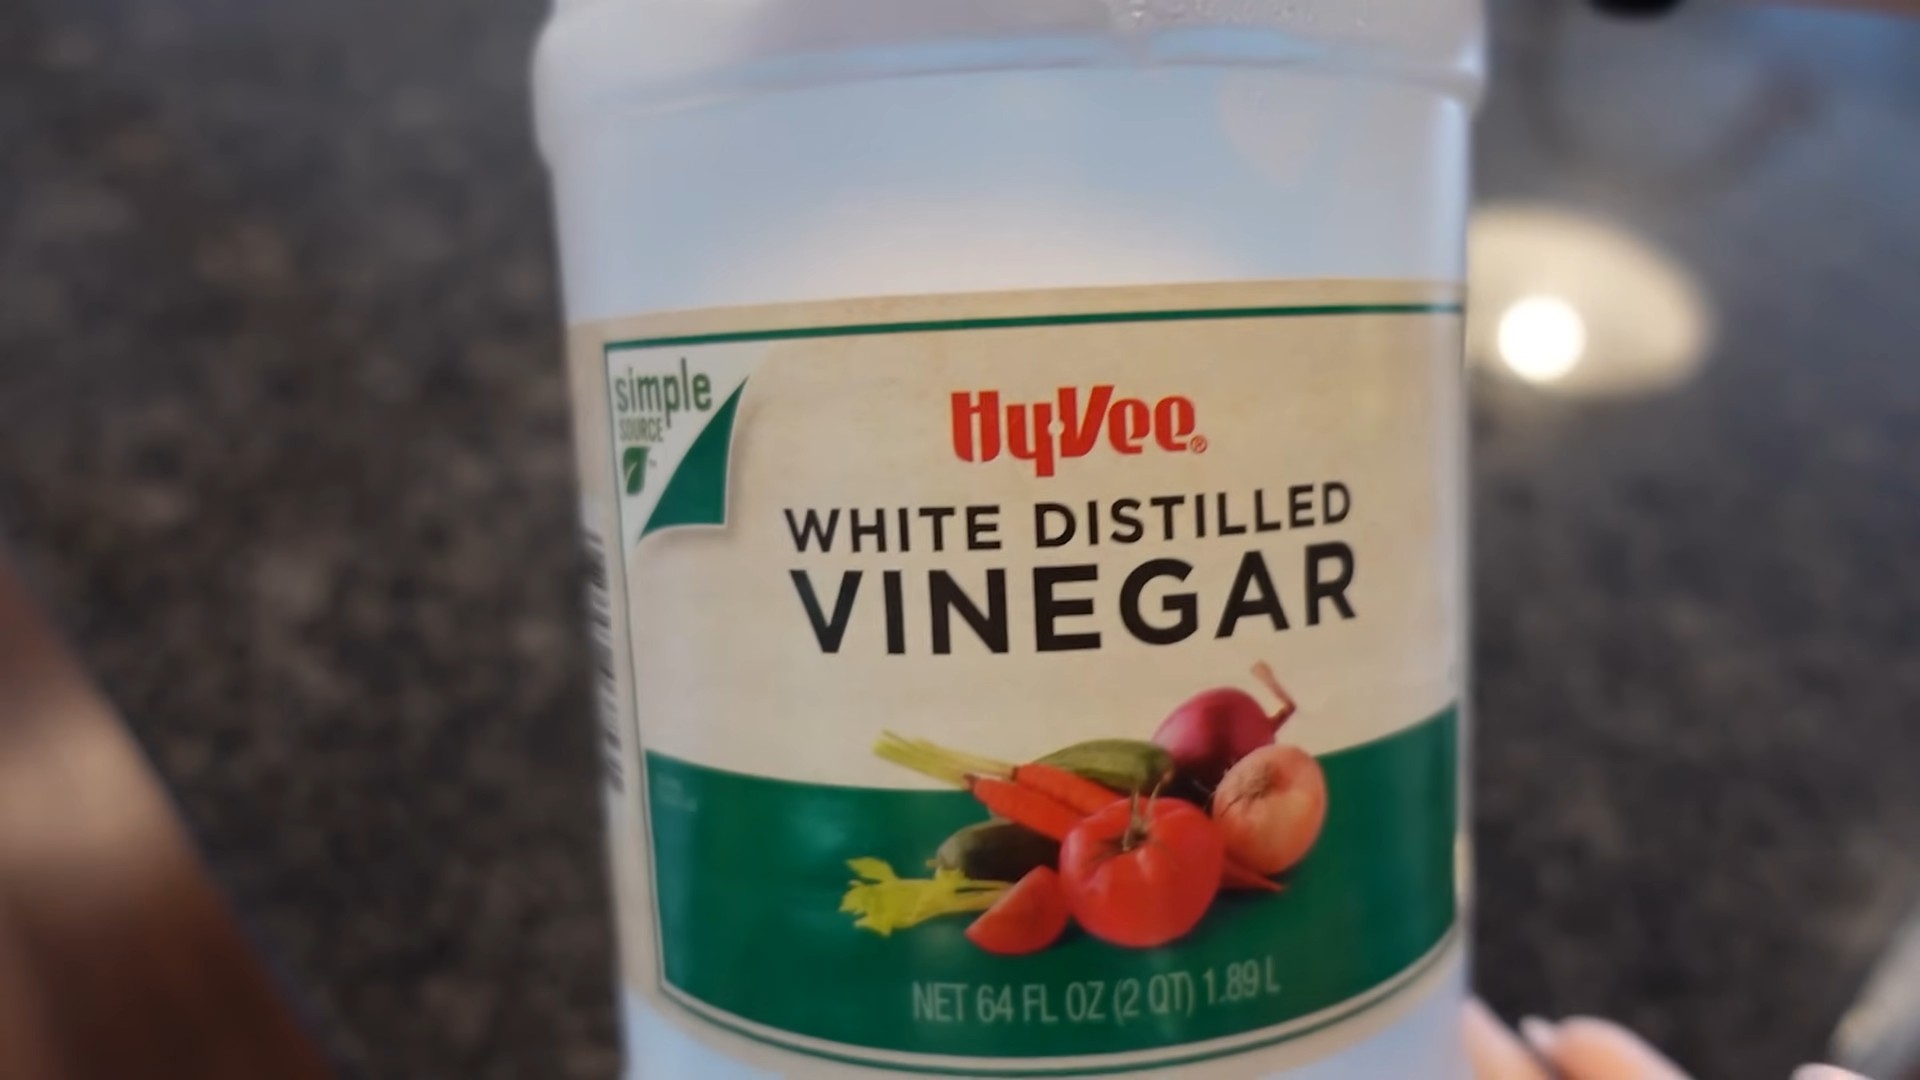
What kind of vinegar should I use?
White vinegar is generally recommended for cleaning purposes due to its high acidity and lack of color, which prevents staining. However, apple cider vinegar can also be used as a substitute, although it may leave a slightly different scent. Avoid using flavored vinegars, as they may contain sugars or other additives that could leave a sticky residue.
How much vinegar and water should I use?
A 50/50 mixture of vinegar and water is typically recommended. For example, you can use 1/2 cup of vinegar and 1/2 cup of water in a microwave-safe bowl. Adjust the amount based on the size of your microwave and the severity of the mess.
How long should I microwave the vinegar and water mixture?
Microwave the mixture for 3-5 minutes, or until the solution boils and the microwave is filled with steam. The exact time may vary depending on the power of your microwave. Keep a close eye on the mixture to prevent it from boiling over.
Is it safe to microwave vinegar?
Yes, it is generally safe to microwave vinegar. Vinegar is a natural substance and does not produce harmful fumes when heated. However, it’s essential to use a microwave-safe bowl and to avoid overheating the mixture, as this could cause it to boil over.
What if my microwave still has stubborn stains after steaming?
If some stains persist after steaming, let the microwave sit for a few minutes to allow the steam to further loosen the grime. Then, carefully wipe down the interior with a soft cloth or sponge. For particularly stubborn stains, you can try using a paste of baking soda and water to gently scrub the affected areas.
Can I use this method to clean other appliances?
While this method is specifically designed for cleaning microwaves, the principles of steam cleaning and vinegar’s cleaning properties can be applied to other appliances as well. For example, you can use a similar method to clean your oven by placing a bowl of vinegar and water in the oven and heating it at a low temperature. However, always consult the manufacturer’s instructions before cleaning any appliance.
Will the vinegar leave a strong smell in my microwave?
Vinegar does have a distinct smell, but it typically dissipates quickly after cleaning. To minimize the smell, you can leave the microwave door open for a few minutes after wiping it down. You can also add a few drops of lemon essential oil to the vinegar and water mixture to leave a more pleasant scent.
How often should I clean my microwave using this method?
The frequency of cleaning depends on how often you use your microwave and how messy it gets. As a general guideline, it’s recommended to clean your microwave at least once a week to prevent the buildup of food splatters and odors. If you use your microwave frequently or tend to make a lot of messy meals, you may need to clean it more often.
What if I don’t have vinegar? Can I use something else?
While vinegar is the most effective and readily available option, you can try using lemon juice as a substitute. Lemon juice has similar cleaning and deodorizing properties to vinegar. Simply mix equal parts lemon juice and water and follow the same steps as with the vinegar method.
My microwave has a turntable. Do I need to remove it before cleaning?
Yes, it’s recommended to remove the turntable and any other removable parts before cleaning your microwave. This will allow you to clean them separately and ensure that all surfaces are thoroughly cleaned. You can wash the turntable with soap and water or wipe it down with the vinegar solution.
Leave a Comment