
DIY Cleaning Solution: Unlock the secrets to a sparkling clean home without breaking the bank or exposing your family to harsh chemicals! Have you ever wondered if there’s a better way to tackle stubborn grime and everyday messes? I know I have! For generations, resourceful homemakers have relied on homemade remedies to keep their homes fresh and inviting. Think back to your grandmother’s era – vinegar, baking soda, and lemon were the cleaning powerhouses, passed down through families like treasured recipes.
Today, we’re rediscovering the magic of these natural ingredients. Why? Because creating your own DIY cleaning solution is not only incredibly cost-effective, but it’s also a fantastic way to reduce your environmental footprint. Plus, you have complete control over what goes into your cleaners, ensuring a safe and healthy environment for your loved ones, including your furry friends!
This article is your ultimate guide to crafting effective and eco-friendly cleaning solutions using simple ingredients you probably already have in your pantry. From all-purpose sprays to powerful stain removers, I’ll share my favorite DIY recipes and tips that will transform your cleaning routine. Get ready to ditch the harsh chemicals and embrace the power of natural cleaning!
DIY All-Purpose Cleaning Solution: Ditch the Chemicals and Save Money!
Hey everyone! I’m so excited to share my go-to recipe for an all-purpose cleaning solution that’s not only incredibly effective but also super cheap and eco-friendly. I’ve been using this for years, and it’s replaced almost all the store-bought cleaners in my house. Trust me, once you try this, you’ll never go back!
What Makes This Cleaning Solution So Great?
* It’s Non-Toxic: No harsh chemicals means it’s safer for your family, pets, and the environment.
* It’s Budget-Friendly: You probably already have most of the ingredients in your pantry.
* It’s Versatile: Use it on countertops, sinks, floors, appliances, and more!
* It’s Customizable: You can adjust the scent and strength to your liking.
Ingredients You’ll Need:
* 1 cup White Vinegar
* 1 cup Water (distilled is best, but tap water works too)
* 10-20 drops Essential Oil (I love lemon, lavender, tea tree, or eucalyptus)
* Spray Bottle (a clean, empty one, of course!)
Equipment:
* Measuring cup
* Funnel (optional, but helpful)
Step-by-Step Instructions:
1. Gather Your Supplies: First things first, make sure you have everything you need within reach. This will make the process much smoother. I like to lay everything out on my kitchen counter before I start.
2. Combine Vinegar and Water: In your measuring cup, pour in 1 cup of white vinegar and 1 cup of water. I usually use distilled water because it’s less likely to leave mineral deposits, especially on glass surfaces. But honestly, tap water works just fine in most cases.
3. Add Essential Oils: This is where you get to customize your cleaning solution! Add 10-20 drops of your favorite essential oil. I personally love lemon for its fresh, clean scent and its degreasing properties. Lavender is great for a calming aroma, and tea tree oil is known for its antibacterial properties. Eucalyptus is another excellent choice, especially during cold and flu season. Experiment and find what you like best!
* Pro Tip: If you’re using multiple essential oils, start with a few drops of each and then add more until you achieve your desired scent.
4. Pour into Spray Bottle: Now, carefully pour the mixture into your clean spray bottle. A funnel can be really helpful here to avoid spills. If you don’t have a funnel, just pour slowly and steadily.
5. Shake Well: Give the spray bottle a good shake to ensure that the essential oils are evenly distributed throughout the solution.
6. Label Your Bottle: This is super important! Label your spray bottle clearly with “All-Purpose Cleaner” and the date you made it. This will prevent any confusion later on.
Using Your DIY Cleaning Solution:
1. Spray: Spray the solution directly onto the surface you want to clean.
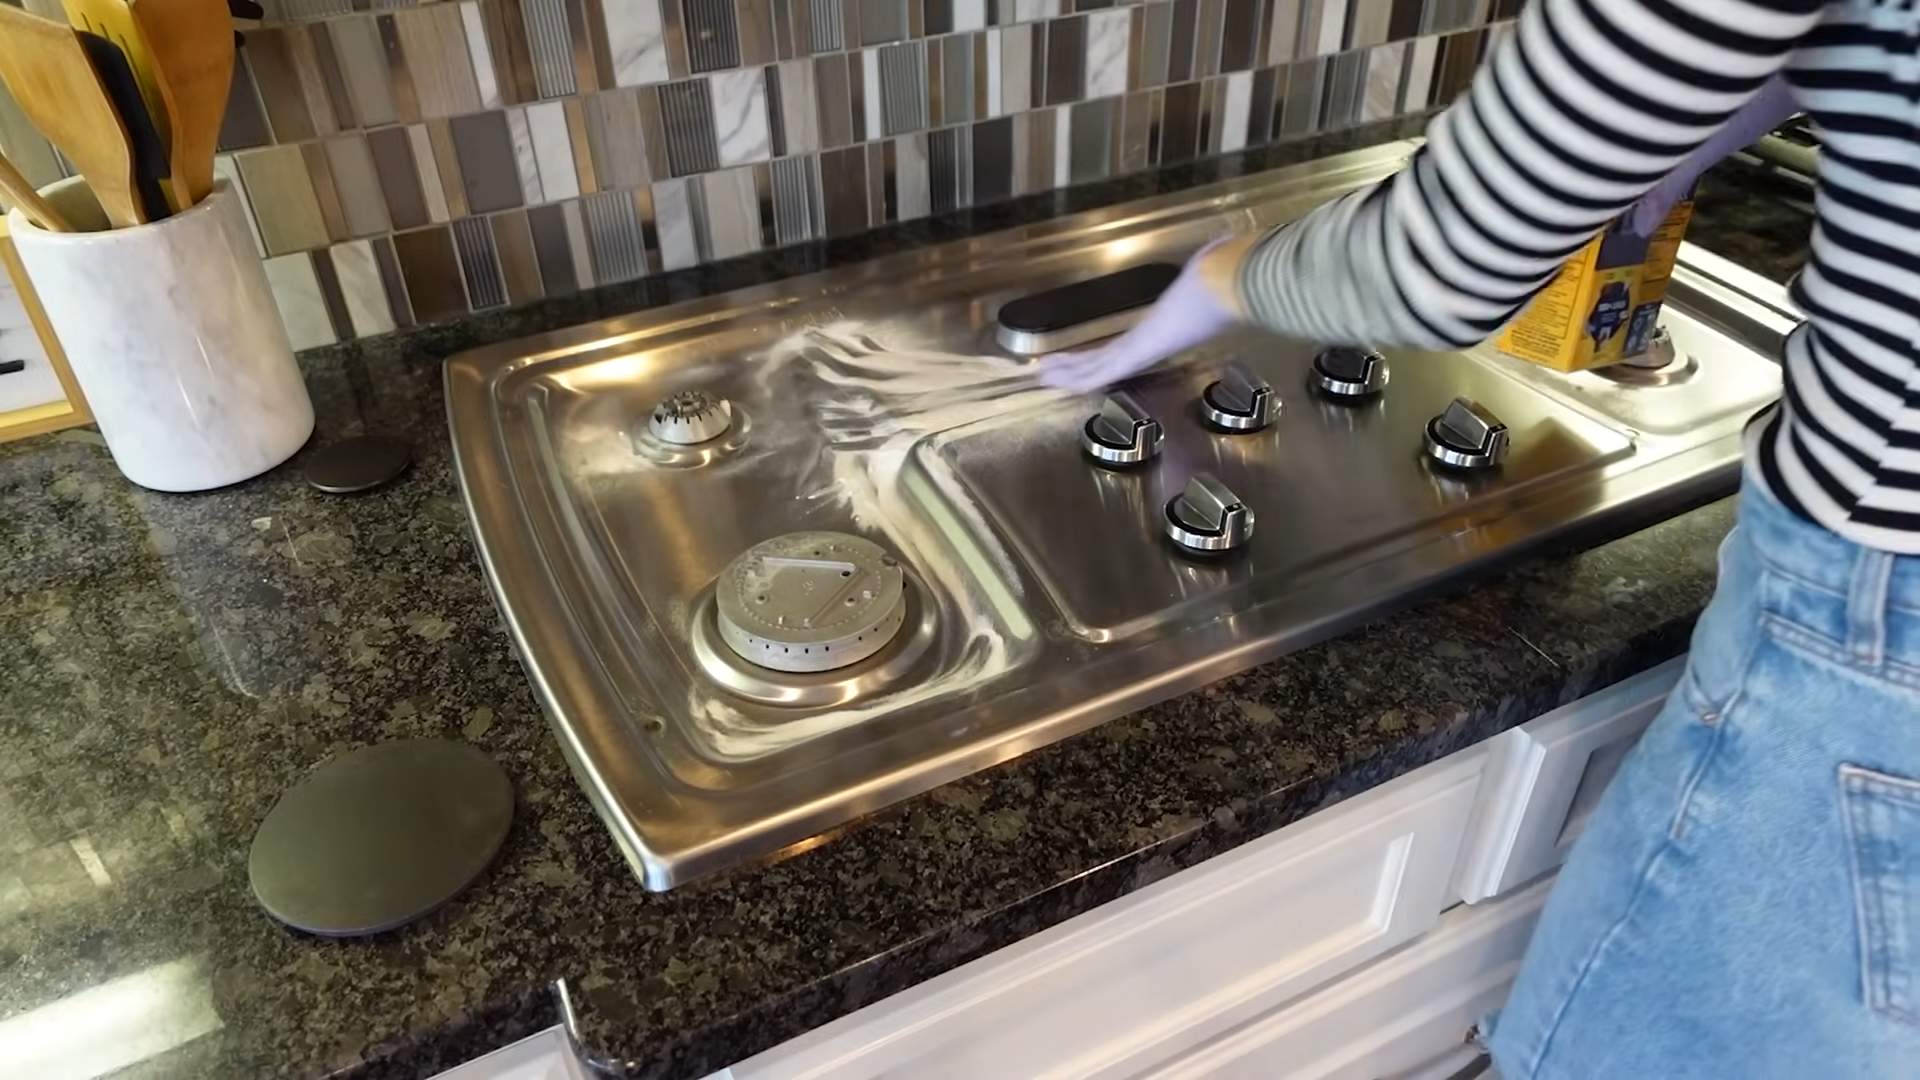
2. Wipe: Use a clean cloth or sponge to wipe the surface clean. For tougher messes, let the solution sit for a few minutes before wiping.
3. Dry (Optional): If you’re cleaning glass or mirrors, you may want to dry the surface with a clean, dry cloth to prevent streaks.
Where to Use Your All-Purpose Cleaner:
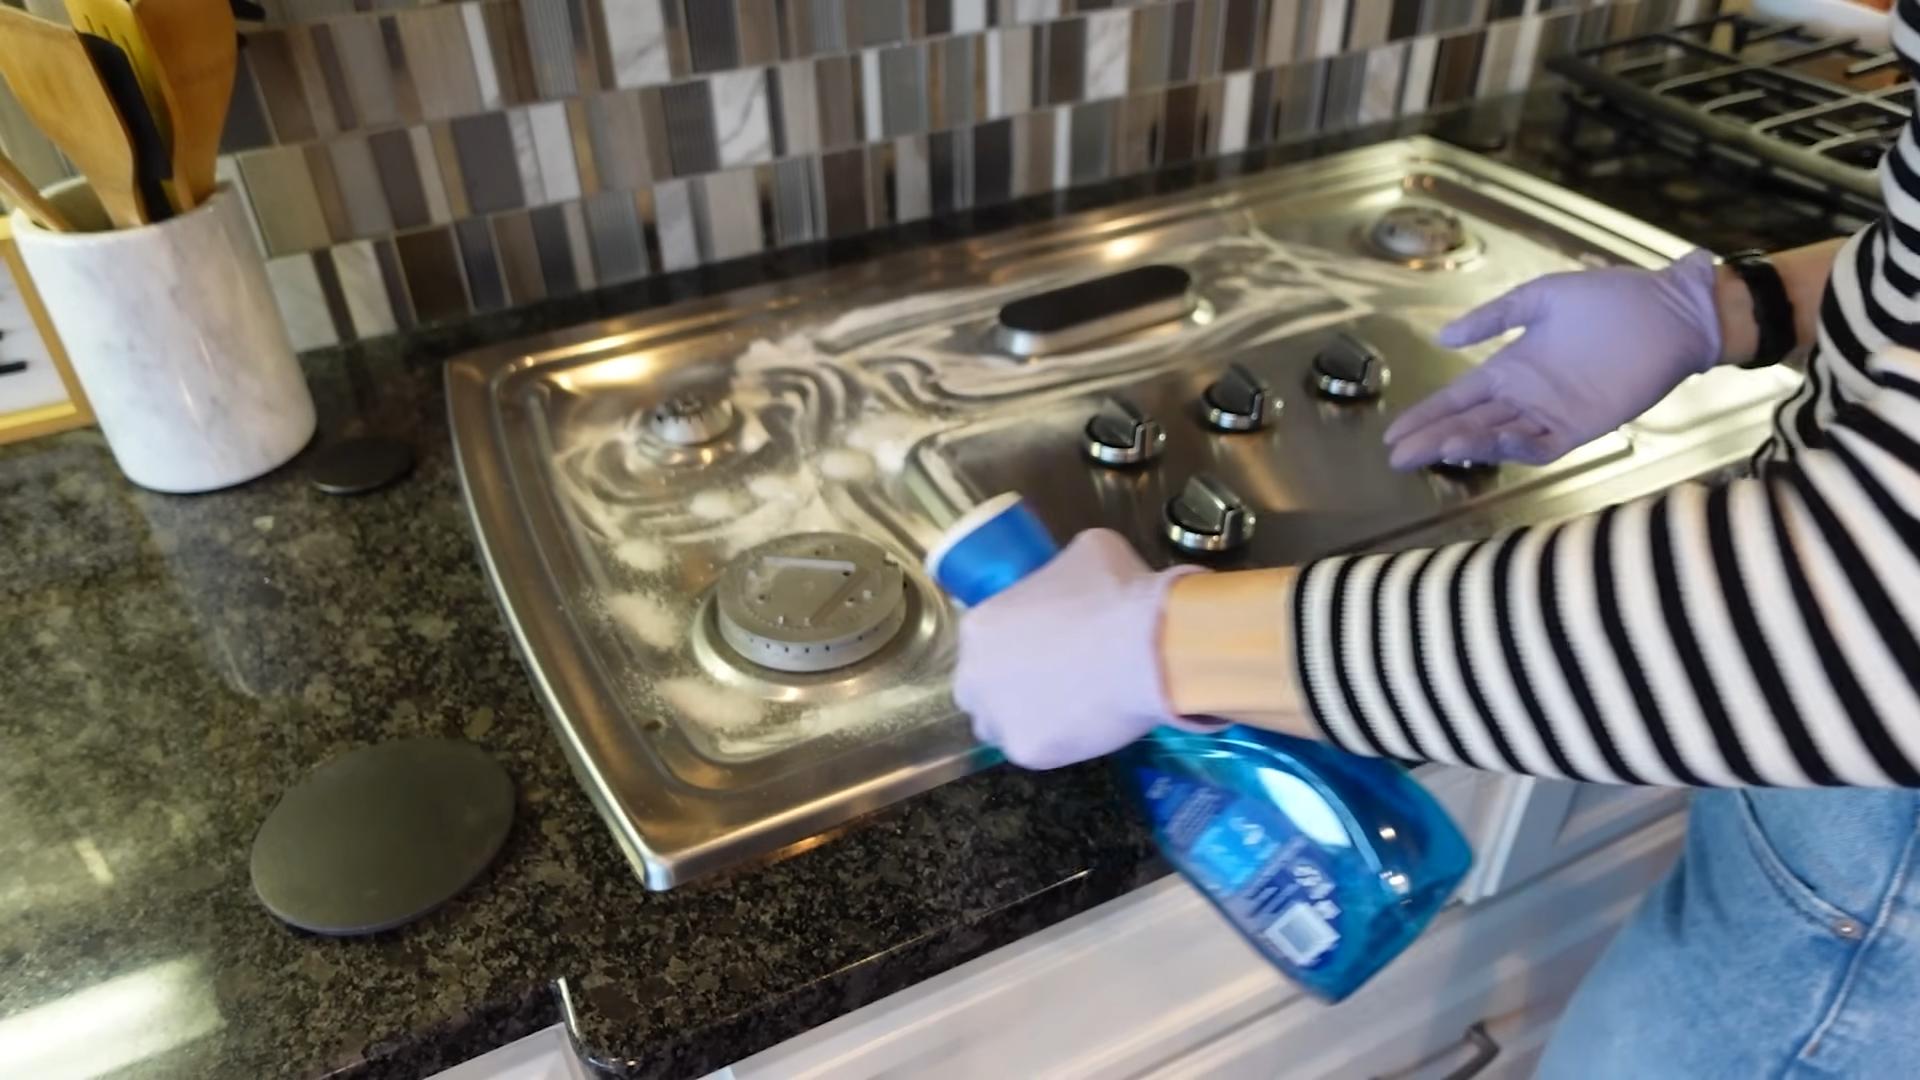
* Kitchen Countertops: This cleaner works wonders on kitchen countertops, especially for removing grease and food splatters.
* Sinks: Keep your sinks sparkling clean with a quick spray and wipe.
* Bathroom Surfaces: Use it on bathroom countertops, sinks, and even shower walls (though you may need a stronger solution for soap scum – more on that later!).
* Floors: Dilute the solution in a bucket of water and use it to mop your floors.
* Appliances: Clean the exterior of your appliances, like your refrigerator, oven, and microwave.
* Windows and Mirrors: This cleaner works great on windows and mirrors, leaving them streak-free.
* Doorknobs and Light Switches: Disinfect these high-touch surfaces regularly.
Areas to Avoid:
* Natural Stone Surfaces: Avoid using vinegar-based cleaners on natural stone surfaces like marble and granite, as the acidity can damage them.
* Waxed Wood: Vinegar can strip the wax from waxed wood surfaces.
Troubleshooting and Tips:
* Vinegar Smell: Don’t worry about the vinegar smell! It dissipates quickly. The essential oils will help to mask the scent as well.
* Cloudy Solution: If your solution looks cloudy, it’s probably just the essential oils separating. Give it a good shake before each use.
* Streaks on Glass: If you’re getting streaks on glass, try using a microfiber cloth and drying the surface immediately after wiping.
* Stronger Cleaning Power: For tougher messes, you can increase the amount of vinegar in the solution. You can also add a tablespoon of baking soda for extra scrubbing power.
* Soap Scum: For stubborn soap scum, try using a paste of baking soda and water. Apply the paste to the soap scum, let it sit for a few minutes, and then scrub with a sponge.
Customizing Your Cleaning Solution
This is where the fun really begins! You can tailor this cleaning solution to your specific needs and preferences.
Choosing the Right Essential Oils:
The essential oils you choose will not only affect the scent of your cleaner but also its cleaning properties. Here’s a breakdown of some popular options:
* Lemon: Degreasing, disinfecting, uplifting scent.
* Lavender: Calming, antibacterial, soothing scent.
* Tea Tree: Antiseptic, antifungal, antibacterial.
* Eucalyptus: Decongestant, antibacterial, refreshing scent.
* Orange: Degreasing, uplifting scent.
* Peppermint: Refreshing, invigorating scent.
* Grapefruit: Cleansing, uplifting scent.
Adjusting the Strength:
If you find that the standard recipe isn’t strong enough for your needs, you can adjust the ratio of vinegar to water. For example, you could try using 1.5 cups of vinegar and 0.5 cups of water. Just be careful not to use too much vinegar, as it can be harsh on some surfaces.
Adding Other Ingredients:
You can also add other ingredients to your cleaning solution to boost its cleaning power. Here are a few ideas:
* Baking Soda: Add a tablespoon of baking soda for extra scrubbing power.
* Borax: Add a tablespoon of borax for extra cleaning and disinfecting power. (Note: Borax can be irritating to some people, so use with caution.)
* Castile Soap: Add a teaspoon of castile soap for extra cleaning power and a pleasant scent.
Making a Disinfecting Version
While vinegar has some disinfecting properties, it’s not a substitute for a true disinfectant. If you want to make a disinfecting version of this cleaning solution, you’ll need to add a stronger disinfectant.
Option 1: Hydrogen Peroxide
Add 1/4 cup of 3% hydrogen peroxide to the standard recipe. Hydrogen peroxide is a natural disinfectant that’s effective against bacteria and viruses.
* Important Note: Hydrogen peroxide can lighten some fabrics, so test it in an inconspicuous area before using it on colored surfaces.
Option 2: Isopropyl Alcohol
Add 1/4 cup of 70% isopropyl alcohol to the standard recipe. Isopropyl alcohol is a strong disinfectant that’s effective against bacteria and viruses.
* Important Note: Isopropyl alcohol is flammable, so use with caution and keep away from open flames.
A Word of Caution
While this DIY cleaning solution is generally safe and effective, it’s important to take a few precautions:
* Always test in an inconspicuous area first: Before using the solution on a large surface, test it in a small, hidden area to make sure it doesn’t damage the surface.
* Don’t mix with bleach: Never mix vinegar with bleach, as this can create toxic fumes.
* Keep out of reach of children and pets: As with all cleaning products, keep this solution out of reach of children and pets.
* Use caution with essential oils: Some essential oils can be irritating to the skin, so use with caution and avoid direct contact.
I hope you enjoy making and using this DIY all-purpose cleaning solution as much as I do! It’s a great way to save money, reduce your exposure to harmful chemicals, and create a cleaner, healthier home. Happy cleaning!
Conclusion
So, there you have it! This simple, yet incredibly effective DIY cleaning solution is a game-changer for anyone looking to ditch harsh chemicals and embrace a more natural and budget-friendly approach to keeping their home sparkling. We’ve walked you through the easy steps, highlighted the cost savings, and emphasized the environmental benefits. But the real magic lies in the results.
Why is this DIY cleaning solution a must-try? Because it works! It cuts through grease, grime, and everyday messes with surprising ease, leaving surfaces clean and fresh without the lingering chemical odors that often accompany store-bought cleaners. Plus, you have complete control over the ingredients, ensuring that you’re only using products you trust and that are safe for your family and pets.
Beyond the basic recipe, there’s plenty of room for customization. Want a stronger scent? Add a few extra drops of your favorite essential oil. Lavender, lemon, tea tree, and eucalyptus are all excellent choices, each offering its own unique cleaning and aromatherapy benefits. For tougher stains, consider adding a tablespoon of borax to the mix. Borax is a natural mineral that acts as a powerful cleaning booster. Another variation is to infuse your vinegar with citrus peels for a few weeks before using it in the solution. This adds a delightful citrus scent and enhances the cleaning power. You can also experiment with different ratios of ingredients to find what works best for your specific cleaning needs and the types of surfaces you’re cleaning. Remember to always test any new cleaning solution on a small, inconspicuous area first to ensure it doesn’t damage the surface.
This DIY cleaning solution is not just a cleaner; it’s a statement. It’s a statement that you care about your health, your wallet, and the planet. It’s a statement that you’re willing to take control of the products you use in your home and create a healthier, more sustainable living environment.
We are confident that once you try this DIY cleaning solution, you’ll be amazed by its effectiveness and simplicity. It’s a small change that can make a big difference in your home and your life.
Now, it’s your turn! We encourage you to give this DIY cleaning solution a try. Gather your ingredients, follow the simple steps, and experience the satisfaction of creating your own powerful and natural cleaner. And most importantly, we want to hear about your experience! Share your tips, variations, and success stories in the comments below. Let’s build a community of DIY enthusiasts who are committed to creating cleaner, healthier homes, one homemade cleaning solution at a time. Let us know what surfaces you cleaned, what scents you added, and any other creative twists you put on the recipe. Your feedback will help others discover the incredible benefits of this simple and effective DIY cleaning solution.
Frequently Asked Questions (FAQ)
What types of surfaces can I use this DIY cleaning solution on?
This DIY cleaning solution is generally safe for most non-porous surfaces, including countertops (granite, quartz, laminate), sinks, tiles, glass, mirrors, and stainless steel appliances. However, it’s crucial to avoid using it on natural stone surfaces like marble or limestone, as the acidity of the vinegar can etch and damage them. Always test the solution on a small, inconspicuous area first to ensure it doesn’t cause any discoloration or damage. For wood surfaces, use the solution sparingly and wipe dry immediately.
Can I use this DIY cleaning solution to clean my toilet?
Yes, this DIY cleaning solution can be used to clean your toilet bowl. Simply spray the solution inside the bowl, let it sit for a few minutes to disinfect and loosen any stains, then scrub with a toilet brush and flush. For tougher stains, you can add a sprinkle of baking soda to the bowl before spraying the solution. The combination of vinegar and baking soda creates a fizzing action that helps to lift stubborn stains.
How long does this DIY cleaning solution last?
This DIY cleaning solution typically lasts for several months when stored properly in a cool, dark place. The vinegar acts as a natural preservative, preventing the growth of bacteria and mold. However, it’s always a good idea to label the bottle with the date you made the solution so you can keep track of its age. If you notice any changes in color, odor, or consistency, it’s best to discard the solution and make a fresh batch.
Can I use different types of vinegar for this DIY cleaning solution?
While white vinegar is the most commonly used and recommended type of vinegar for cleaning, you can experiment with other types of vinegar, such as apple cider vinegar. Apple cider vinegar has a slightly milder scent than white vinegar and also possesses antibacterial properties. However, be aware that apple cider vinegar may leave a slight residue on some surfaces, so you may need to rinse them with water after cleaning. Avoid using balsamic vinegar or other dark-colored vinegars, as they can stain surfaces.
Is this DIY cleaning solution safe for pets and children?
This DIY cleaning solution is generally considered safe for pets and children, as it’s made with natural ingredients. However, it’s still important to keep the solution out of reach of children and pets to prevent accidental ingestion. While the ingredients are non-toxic, consuming large amounts of vinegar can cause stomach upset. If your pet or child accidentally ingests the solution, contact your veterinarian or poison control center immediately.
Can I add other ingredients to this DIY cleaning solution?
Yes, you can customize this DIY cleaning solution by adding other ingredients to enhance its cleaning power or scent. Some popular additions include:
* **Essential oils:** Add a few drops of your favorite essential oils for a pleasant scent and added cleaning benefits. Lavender, lemon, tea tree, and eucalyptus are all excellent choices.
* **Borax:** Add a tablespoon of borax to boost the cleaning power of the solution, especially for tough stains.
* **Baking soda:** Add a sprinkle of baking soda to create a fizzing action that helps to lift stubborn stains.
* **Citrus peels:** Infuse your vinegar with citrus peels for a few weeks before using it in the solution for a delightful citrus scent and enhanced cleaning power.
Why does my DIY cleaning solution smell so strongly of vinegar?
The strong vinegar smell is a common concern when using DIY cleaning solutions. The good news is that the vinegar smell dissipates quickly after cleaning. To minimize the smell, you can add essential oils to the solution. Citrus essential oils like lemon, orange, or grapefruit are particularly effective at masking the vinegar scent. You can also try using apple cider vinegar, which has a milder scent than white vinegar. Another tip is to ensure proper ventilation while cleaning by opening windows or turning on a fan.
Can I use this DIY cleaning solution in a spray bottle?
Yes, this DIY cleaning solution is perfect for use in a spray bottle. Make sure to use a clean, empty spray bottle and label it clearly with the contents. This will help prevent accidental misuse. When spraying the solution, hold the bottle a few inches away from the surface and spray evenly. Wipe the surface clean with a microfiber cloth or sponge.
What if I don’t have all the ingredients for this DIY cleaning solution?
The beauty of this DIY cleaning solution is its simplicity. If you don’t have all the ingredients on hand, you can still make a basic version with just vinegar and water. While it won’t be as powerful as the full recipe, it will still be effective for light cleaning. You can also substitute ingredients based on what you have available. For example, if you don’t have essential oils, you can use lemon juice or other natural fragrances.
Is this DIY cleaning solution septic-safe?
Yes, this DIY cleaning solution is generally considered septic-safe. The ingredients are natural and biodegradable, so they won’t harm your septic system. However, it’s always a good idea to use cleaning products sparingly, regardless of whether they are store-bought or homemade. Avoid pouring large amounts of cleaning solution down the drain at once, as this can disrupt the balance of bacteria in your septic tank.

Leave a Comment