
Garlic Cooking Recipes: Unleash the Flavor in Your Kitchen
I love garlic! Its pungent aroma and savory taste are the cornerstones of countless delicious dishes, and that’s why I’m so excited to share some amazing Garlic Cooking Recipes with you today. This isn’t just another collection of recipes; it’s a journey into the heart of culinary creativity, where we’ll explore the versatility of this humble bulb and discover how to elevate your everyday meals to extraordinary levels.
Garlic’s history is rich and fascinating, stretching back millennia. Used for both culinary and medicinal purposes across various cultures, from ancient Egypt to modern-day cuisine, garlic has held a prominent place in our collective food heritage. It’s a testament to its enduring appeal that we still find ourselves captivated by its unique flavor profile.
Why Master Garlic Cooking Recipes?
Learning to expertly incorporate garlic into your cooking isn’t just about adding flavor; it’s about unlocking a world of culinary possibilities. Whether you’re a seasoned chef or a kitchen novice, mastering Garlic Cooking Recipes will transform your cooking experience. Imagine the satisfying aroma filling your kitchen as you sauté garlic, the burst of flavor in your pasta sauce, or the subtle garlic notes enhancing your roasted vegetables. These recipes will empower you to create dishes that are both delicious and impressive, impressing your friends and family with your newfound culinary skills.
So, get ready to embark on this flavorful adventure with me! We’ll explore a variety of techniques, from simple roasting methods to more complex preparations, ensuring that you’ll find the perfect garlic recipe to suit your taste and skill level. Let’s unlock the full potential of garlic together!
Building a Custom Bookshelf from Reclaimed Wood
I love the look of reclaimed wood, and I’ve always wanted a unique bookshelf. So, I decided to build my own! This project took a bit of time, but the result is a beautiful, one-of-a-kind piece I’m incredibly proud of. Here’s how I did it:
Gathering Your Materials
- Reclaimed wood planks (I used about 10-12, varying lengths and widths, but aim for consistency in thickness). Make sure the wood is clean and dry.
- Wood glue
- Wood screws (various lengths, depending on plank thickness)
- Wood filler
- Sandpaper (various grits, starting with coarser and moving to finer)
- Wood stain (your choice of color)
- Polyurethane sealant (clear or tinted)
- Drill with drill bits (matching your screw sizes)
- Measuring tape
- Level
- Safety glasses
- Work gloves
- Putty knife
- Clamps (lots of them!)
- Circular saw (or hand saw, but a circular saw makes this much easier)
- Optional: Kreg Jig (for pocket holes – highly recommended for strength and clean look)
Preparing the Wood
1. Clean the wood: Before you start, give your reclaimed wood a good cleaning. I used a wire brush to remove any loose debris, then wiped it down with a damp cloth. Let it dry completely.
2. Cut the planks to size: Measure and cut your planks to the desired lengths for your shelves and sides. I wanted a taller, narrower bookshelf, so I cut my planks accordingly. Remember to account for the thickness of the wood when calculating the overall dimensions. Use a circular saw for clean, accurate cuts. If using a hand saw, take your time and make sure your cuts are straight.
3. Sand the planks: Sand all surfaces of your planks thoroughly, starting with a coarser grit sandpaper (around 80 grit) to remove any rough spots or splinters. Gradually move to finer grits (120, then 220) for a smooth finish. Sanding is crucial for a professional-looking final product.
Assembling the Bookshelf
1. Dry-fit the shelves and sides: Before applying any glue or screws, arrange your planks to create the desired bookshelf structure. This helps you visualize the final product and ensure everything fits correctly. Take your time with this step; it’s important to get the layout right.
2. Apply glue and secure with screws or pocket holes: Once you’re happy with the arrangement, apply wood glue to the joining surfaces of the shelves and sides. If using a Kreg Jig, drill pocket holes according to the manufacturer’s instructions. Then, secure the pieces together using wood screws. Use clamps to hold everything firmly in place while the glue dries. I used at least two clamps per joint, and let them sit overnight.
3. Fill any gaps or holes: Once the glue is dry, inspect your bookshelf for any gaps or holes. Use wood filler to fill these imperfections, smoothing it out with a putty knife. Let the filler dry completely, then sand it smooth.
Finishing Touches
1. Stain the wood: Apply your chosen wood stain according to the manufacturer’s instructions. I used a dark walnut stain to enhance the natural beauty of the reclaimed wood. Apply thin, even coats, allowing each coat to dry completely before applying the next.
2. Seal the wood: Once the stain is dry, apply several coats of polyurethane sealant. This protects the wood from moisture and wear, and enhances its durability. Allow each coat to dry completely before applying the next. I used three coats for a durable finish.
3. Final sanding (optional): After the sealant has dried, lightly sand the entire bookshelf with very fine-grit sandpaper (320 grit or higher) to remove any raised grain or imperfections. This step is optional, but it gives the final finish an extra smooth feel.
Tips and Considerations
- Plan your design carefully: Before you start, sketch out your bookshelf design and measure everything carefully. This will help you avoid mistakes and ensure that your bookshelf is the right size and shape.
- Use quality materials: The quality of your materials will directly impact the final look and durability of your bookshelf. Invest in good quality reclaimed wood, glue, and screws.
- Take your time: This project requires patience and attention to detail. Don’t rush the process, and take your time to ensure that each step is done correctly.
- Safety first: Always wear safety glasses and work gloves when using power tools. Be careful when handling sharp tools and materials.
- Personalize it: Don’t be afraid to get creative! Add your own personal touch to your bookshelf by adding decorative elements or using unique hardware.
Conclusion
So there you have it! A collection of Garlic Cooking Recipes designed to elevate your culinary game. This isn’t just about adding a pungent bite; it’s about unlocking the full, complex flavor profile of garlic, transforming ordinary dishes into extraordinary experiences. From the subtle sweetness of roasted garlic to the sharp intensity of raw garlic in a vibrant salsa, these recipes demonstrate the versatility of this humble bulb. The DIY tricks we’ve explored, like making your own garlic-infused oil or perfectly roasting a whole head, are not just convenient – they’re transformative. They allow you to control the quality and intensity of the garlic flavor, resulting in dishes that are far superior to those made with pre-prepared garlic products.
Why is this a must-try? Because mastering garlic means mastering flavor. These recipes empower you to experiment, to understand the nuances of garlic, and to create dishes that are uniquely yours. The techniques are simple, the results are stunning, and the satisfaction of creating something delicious from scratch is unparalleled. Beyond the immediate gratification of a flavorful meal, you’ll gain a deeper appreciation for this fundamental ingredient and its potential to enhance any recipe.
Feel free to experiment with the recipes. Try substituting different types of garlic – elephant garlic, for instance, offers a milder, sweeter flavor. Incorporate these garlic preparations into your favorite dishes – add roasted garlic to your mashed potatoes, use garlic-infused oil to dress a salad, or sprinkle crispy fried garlic over your pasta. The possibilities are endless!
Don’t be afraid to get creative! Perhaps you’ll discover a new favorite way to use garlic, a unique twist on a classic recipe, or even a completely original creation. The journey of culinary exploration is a rewarding one, and mastering garlic is a significant step along the way. We encourage you to try these Garlic Cooking Recipes and share your experiences with us. Let us know your favorite techniques, your go-to garlic recipes, and any innovative twists you’ve discovered. Your feedback and culinary adventures inspire us, and we can’t wait to see what you create!
Share your culinary creations on social media using #GarlicCookingRecipes and tag us! Let’s build a community of garlic lovers and share the joy of delicious, homemade food.
Frequently Asked Questions
What type of garlic is best for roasting?
While any type of garlic can be roasted, we recommend using a larger variety like softneck garlic for its milder flavor and easier peeling after roasting. Elephant garlic is another excellent choice for its sweeter, milder taste.
How long does garlic-infused oil last?
Properly stored in a cool, dark place, your homemade garlic-infused oil should last for about 2-3 weeks in the refrigerator. For longer storage, consider freezing it in ice cube trays for easy portioning.
Can I use pre-minced garlic instead of mincing my own?
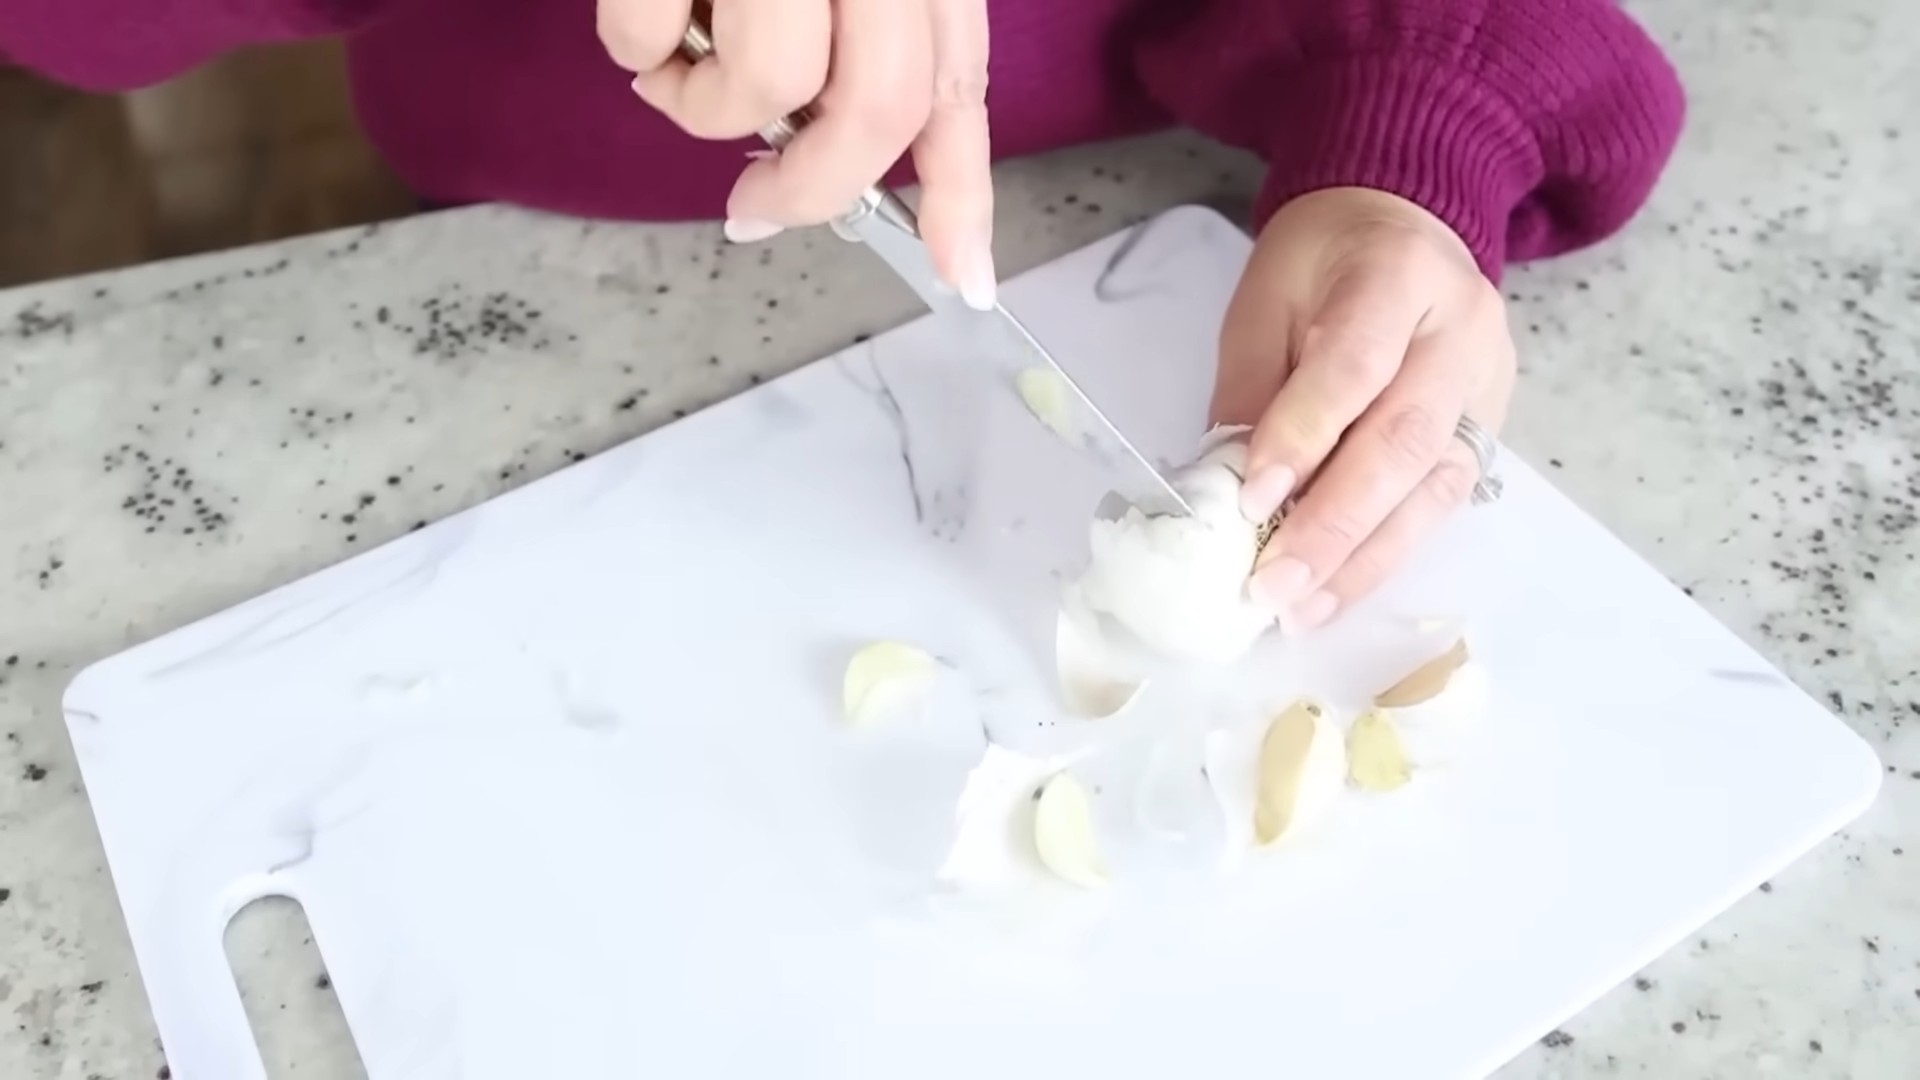
While you can use pre-minced garlic in a pinch, freshly minced garlic will always offer a superior flavor and aroma. Pre-minced garlic often loses its potency and freshness during processing.
What are some other ways to use roasted garlic?
Roasted garlic is incredibly versatile! Use it as a spread on bread, add it to soups and stews, incorporate it into dips and sauces, or use it as a topping for pizzas and roasted vegetables. Its mellow sweetness complements a wide range of flavors.
Can I freeze garlic?
Yes, you can freeze garlic! Whole heads of garlic can be frozen for up to 6 months. Minced or chopped garlic can also be frozen, but it’s best to freeze it in small portions to avoid freezer burn. Freezing garlic is a great way to preserve its flavor and extend its shelf life.
How do I prevent garlic from burning while cooking?
To prevent garlic from burning, use medium-low heat and cook it slowly. Add it towards the end of cooking, as it cooks quickly. If you’re sautéing garlic, be sure to stir it frequently to prevent browning.
Are there any health benefits to eating garlic?
Yes! Garlic is known for its numerous health benefits, including its antioxidant and anti-inflammatory properties. It’s also been linked to improved heart health and immune function. However, remember that moderation is key.
What should I do if my garlic-infused oil becomes cloudy?
Cloudiness in garlic-infused oil is usually due to water content in the garlic. This is perfectly normal and doesn’t affect the flavor or safety of the oil. However, you can try straining the oil through a fine-mesh sieve to remove any sediment.
Can I adjust the amount of garlic in the recipes?
Absolutely! The amount of garlic in these recipes is a suggestion. Feel free to adjust it to your personal preference. Start with the suggested amount and add more to taste if desired.
Where can I find more garlic cooking recipes?
Beyond this article, you can find countless garlic cooking recipes online, in cookbooks, and in culinary magazines. Experiment and discover your own favorite ways to use this versatile ingredient!


Leave a Comment