
Vinegar Cleaning Shortcuts: Your Guide to a Sparkling Clean Home
Vinegar cleaning shortcuts – who knew such a simple household staple could be the key to a sparkling clean home? I’ve always been fascinated by the power of natural cleaning solutions, and vinegar has consistently surprised me with its effectiveness. For centuries, vinegar has been used for cleaning and preserving food, a testament to its enduring power. From ancient civilizations using it to clean and disinfect to its modern-day resurgence as an eco-friendly cleaning agent, vinegar’s history is rich and its applications are surprisingly diverse.
But beyond its historical significance, why should you care about vinegar cleaning shortcuts? In today’s busy world, we all crave efficient and effective cleaning solutions. We’re juggling work, family, and countless other responsibilities, and spending hours scrubbing and scouring is simply not an option. That’s where these vinegar cleaning shortcuts come in. They’re quick, easy, and incredibly effective, saving you valuable time and energy while leaving your home sparkling clean.
Why Choose Vinegar?
Beyond its effectiveness, vinegar is also a budget-friendly and environmentally conscious choice. Unlike harsh chemical cleaners, vinegar is non-toxic and biodegradable, making it a safer option for your family and the planet. This DIY guide will walk you through some of my favorite vinegar cleaning shortcuts, transforming your cleaning routine from a chore into a quick and satisfying task. Get ready to discover the amazing cleaning power of vinegar and reclaim your precious time!

Building a Custom Bookshelf from Reclaimed Wood
I love the look of reclaimed wood, and I’ve always wanted a unique bookshelf. So, I decided to build my own! This project took a bit of time, but the result is a beautiful, one-of-a-kind piece of furniture that I’m incredibly proud of. Here’s how I did it:
Gathering Your Materials
- Reclaimed wood planks (I used about 10, varying in width and length – aim for a mix for a rustic look!)
- Wood glue
- Wood screws (various lengths depending on plank thickness)
- Wood filler
- Sandpaper (various grits, from coarse to fine)
- Wood stain (your choice of color – I went with a dark walnut)
- Polyurethane sealant (to protect the finish)
- Measuring tape
- Level
- Drill with various drill bits
- Safety glasses
- Work gloves
- Clamps (lots of them!)
- Putty knife
- Paintbrushes (for stain and sealant)
- Drop cloths or newspaper to protect your work area
Preparing the Wood
1. Clean the wood: Before you start, give your reclaimed wood planks a good cleaning. I used a wire brush to remove any loose debris, then wiped them down with a damp cloth. This is crucial for a good bond with the glue and stain.
2. Assess and cut: Lay out your planks to visualize your bookshelf design. You’ll want to consider the height and width you desire. I decided on a 6-shelf bookshelf, approximately 72 inches tall and 36 inches wide. Use your measuring tape and carefully cut the planks to the desired lengths using a saw (a circular saw or miter saw works best). Remember to account for the thickness of the planks when calculating the overall dimensions. Safety first! Always wear safety glasses when using power tools.
3. Sanding is key: Once cut, sand all the surfaces of your planks thoroughly. Start with a coarser grit sandpaper (around 80 grit) to remove any rough spots or splinters, then gradually move to finer grits (120, then 220) for a smooth finish. This step is essential for a professional-looking bookshelf. Take your time and sand evenly to avoid any uneven surfaces.
Assembling the Bookshelf
1. Glue and clamp: Start by gluing and clamping the vertical supports (the sides of your bookshelf). Apply a generous amount of wood glue to the edges where the planks will meet. Use clamps to hold the pieces firmly in place while the glue dries. I used at least four clamps per joint to ensure a strong bond. Let the glue dry completely according to the manufacturer’s instructions (usually around 24 hours).
2. Adding the shelves: Once the vertical supports are securely glued and dried, it’s time to add the shelves. Position the shelves evenly spaced between the vertical supports. Pre-drill pilot holes to prevent the wood from splitting when you screw them in. Use wood screws that are long enough to securely fasten the shelves to the sides, but not so long that they poke through the other side. Again, use clamps to hold everything in place while you screw.
3. Filling gaps: You might find some small gaps between the planks after assembly. Don’t worry, this is normal, especially with reclaimed wood. Use wood filler to fill these gaps. Apply the filler with a putty knife, ensuring it’s level with the surrounding wood. Let it dry completely, then sand it smooth.
Finishing Touches
1. Sanding again: After filling any gaps, give your entire bookshelf another thorough sanding. This will ensure a smooth surface for staining and sealing.
2. Applying the stain: Apply your chosen wood stain according to the manufacturer’s instructions. I used a brush to apply a thin, even coat. Let it dry completely, then apply a second coat if needed for a richer color.
3. Sealing the wood: Once the stain is dry, apply a few coats of polyurethane sealant. This will protect your bookshelf from moisture and wear. Let each coat dry completely before applying the next. Sand lightly between coats with fine-grit sandpaper for a super smooth finish.
Final Steps
1. Clean up: Once the sealant is completely dry, clean up any excess dust or debris.
2. Inspect: Carefully inspect your finished bookshelf for any imperfections. If needed, you can touch up any areas with more stain or sealant.
3. Enjoy: Finally, stand back and admire your beautiful, handcrafted bookshelf! Fill it with your favorite books and enjoy your new piece of furniture. Remember to always prioritize safety when working with power tools and chemicals.
This project might seem daunting at first, but by breaking it down into smaller, manageable steps, you can create a stunning bookshelf that will last for years to come. The satisfaction of building something with your own hands is truly rewarding!
Conclusion
So there you have it – a collection of vinegar cleaning shortcuts designed to revolutionize your cleaning routine! From sparkling countertops to streak-free windows, the versatility of vinegar as a cleaning agent is truly remarkable. This DIY approach isn’t just about saving money; it’s about embracing a more sustainable and eco-friendly way to keep your home clean. By harnessing the natural power of vinegar, you’re eliminating harsh chemicals and their potentially harmful effects on your family and the environment. This makes vinegar cleaning a win-win situation, offering both exceptional cleaning power and peace of mind.
Beyond the specific recipes shared, the possibilities for vinegar cleaning are virtually endless. Experiment with different ratios of vinegar and water to find what works best for your specific needs and surfaces. For instance, you can adjust the concentration of vinegar in your glass cleaner for a more powerful clean on stubborn grime or a gentler approach for delicate surfaces. Consider adding a few drops of your favorite essential oil, like lemon or lavender, to your vinegar solutions for a pleasant, naturally fragrant clean. This not only masks the vinegar scent but also adds a refreshing aroma to your home. You can even explore using apple cider vinegar for its slightly different properties and potential benefits for certain cleaning tasks.
Don’t be afraid to get creative! The beauty of these vinegar cleaning shortcuts lies in their adaptability. Whether you’re tackling a quick kitchen cleanup or deep cleaning your entire bathroom, vinegar offers a safe, effective, and affordable solution. This method is perfect for busy individuals, environmentally conscious homeowners, or anyone looking to simplify their cleaning routine without compromising on results. We strongly encourage you to try these vinegar cleaning shortcuts and experience the difference for yourself.
Share your experiences with us! We’d love to hear about your successes, your favorite vinegar cleaning hacks, and any modifications you’ve made to personalize these recipes. Let’s build a community of vinegar cleaning enthusiasts, sharing tips and tricks to make cleaning easier and more enjoyable for everyone. Post your before-and-after photos on social media using #VinegarCleaningShortcuts and tag us – we can’t wait to see your sparkling clean homes!
Frequently Asked Questions
Is vinegar safe for all surfaces?
While vinegar is generally safe for many surfaces, it’s crucial to test it on an inconspicuous area first. Avoid using vinegar on natural stone surfaces like marble or granite, as the acidity can damage the stone over time. Also, be cautious with polished wood furniture, as vinegar can dull the finish. Always refer to the manufacturer’s cleaning instructions for your specific surfaces.
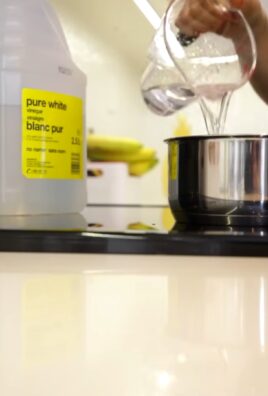
What kind of vinegar should I use?
White distilled vinegar is the most commonly recommended type for cleaning because it’s colorless and odorless (once it dries). However, apple cider vinegar can also be used, although its slightly darker color and stronger scent might be noticeable. Avoid using flavored vinegars, as the added ingredients could leave residue or damage certain surfaces.
Does vinegar kill germs and bacteria?
Yes, vinegar possesses natural antibacterial and antimicrobial properties. While it’s not as potent as commercial disinfectants, it’s effective at killing many common household germs and bacteria. For a more thorough disinfection, consider combining vinegar with other natural cleaning agents, such as tea tree oil or hydrogen peroxide (always test in an inconspicuous area first).
How do I remove the vinegar smell?
The smell of vinegar typically dissipates quickly once it dries. However, if you’re sensitive to the scent, you can add a few drops of essential oil to your vinegar solution to mask the odor. Good ventilation also helps to speed up the evaporation process. Ensure you are using a well-ventilated area when cleaning with vinegar.
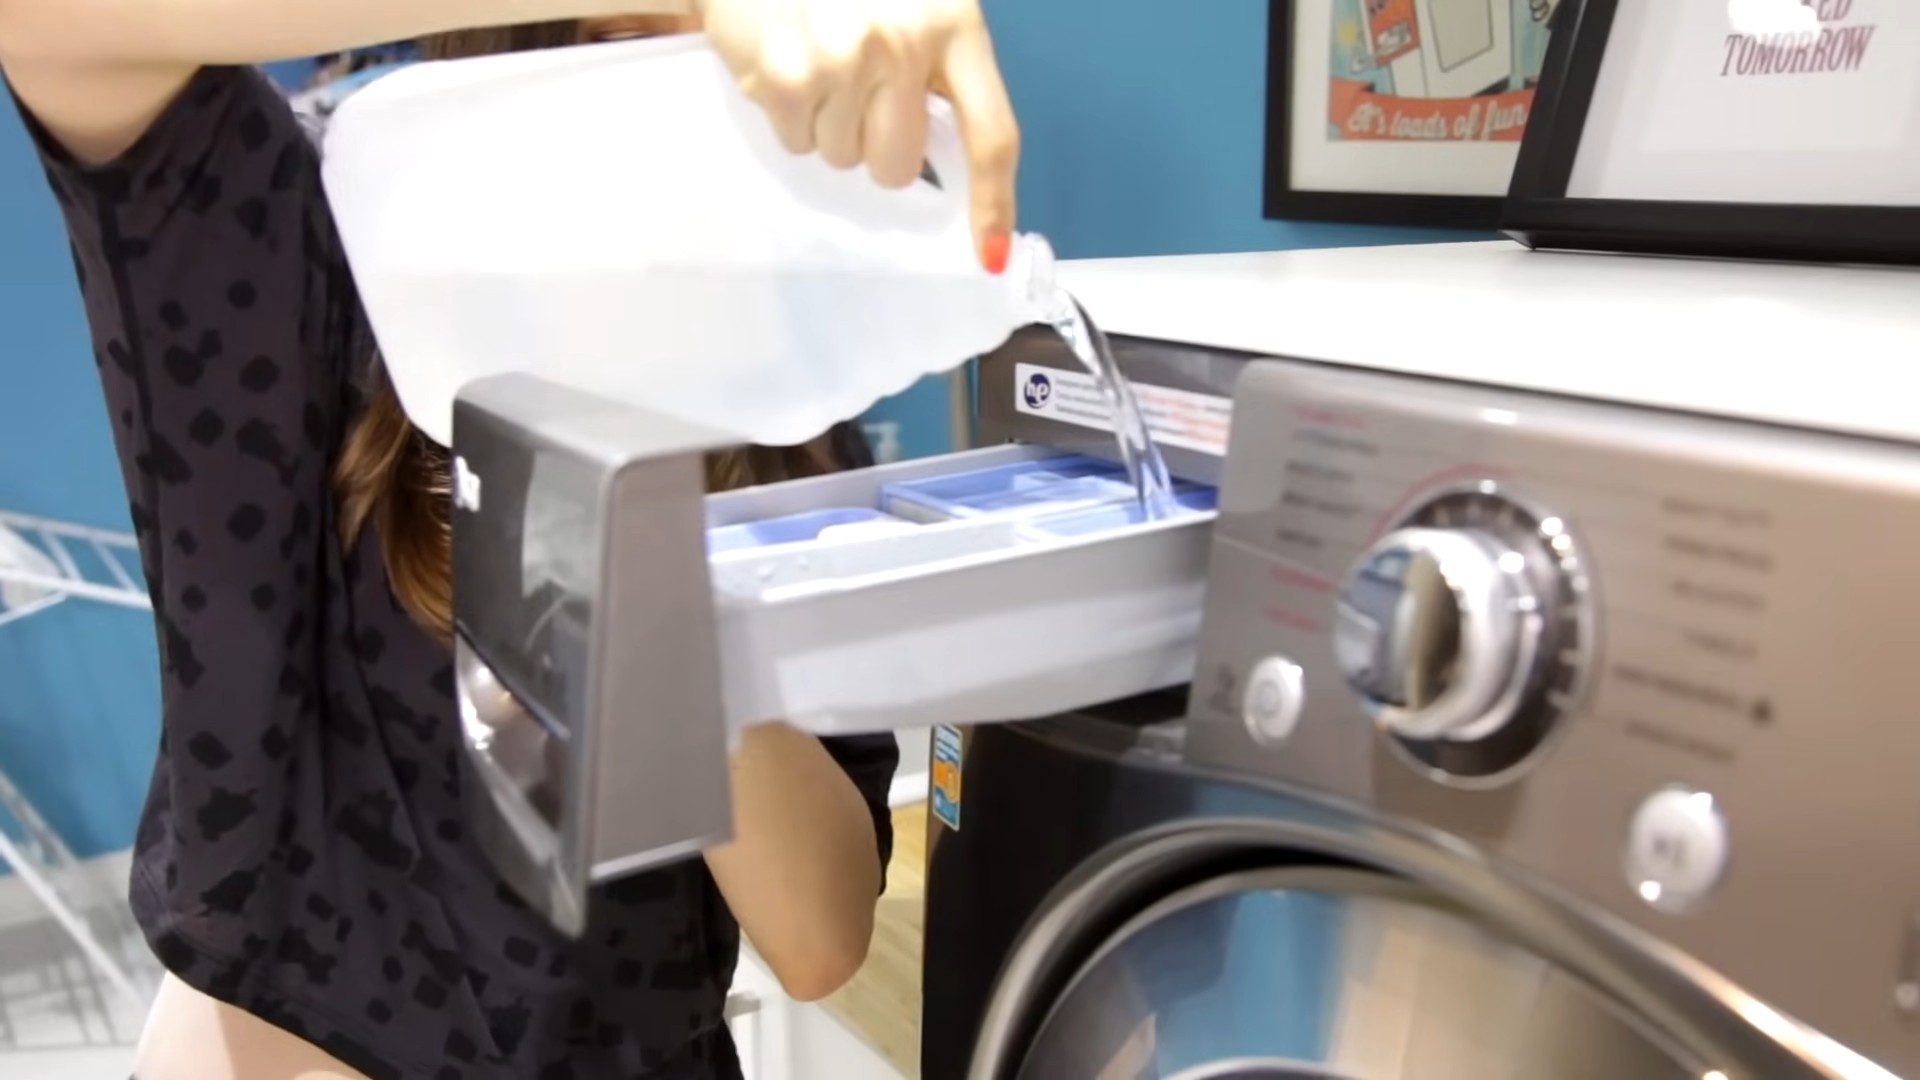
Can I use vinegar in my washing machine?
Yes, vinegar can be a helpful addition to your laundry routine. Adding a cup of white vinegar to the rinse cycle can help soften clothes, remove lingering detergent residue, and freshen fabrics. It’s a natural fabric softener alternative and can help to remove odors from clothes.
What are some other uses for vinegar besides cleaning?
Vinegar has a surprising number of household uses beyond cleaning. It can be used to deodorize garbage disposals, remove mineral deposits from showerheads, and even as a weed killer in your garden (use cautiously and sparingly). It’s a versatile and environmentally friendly solution for many household tasks.
Is vinegar cleaning more expensive than using commercial cleaners?
Vinegar is significantly cheaper than most commercial cleaning products. A single bottle of vinegar can last for many cleaning projects, making it a cost-effective and budget-friendly alternative to store-bought cleaners. This makes it a particularly attractive option for those looking to save money on household expenses.
How often should I clean with vinegar?
The frequency of vinegar cleaning depends on your individual needs and the areas you’re cleaning. For daily quick cleanups, you can use a diluted vinegar solution. For deeper cleaning, you might opt for a more concentrated solution or use vinegar as part of a regular cleaning schedule. Listen to your home’s needs and adjust accordingly.


Leave a Comment