
Bottle garden tomatoes: sounds a bit crazy, right? But trust me, it’s one of the most rewarding and space-saving gardening hacks I’ve ever tried! Imagine plucking juicy, sun-ripened tomatoes from a plant thriving in a recycled plastic bottle – it’s not just a quirky conversation starter, it’s a testament to the ingenuity of DIY gardening.
The concept of container gardening, in general, has been around for centuries, with evidence suggesting ancient civilizations used pots and vessels to cultivate plants. But the modern twist of repurposing everyday items like plastic bottles adds a sustainable and accessible dimension to this age-old practice. It’s a beautiful blend of tradition and innovation!
Now, why would you want to grow bottle garden tomatoes? Well, maybe you’re short on space, living in an apartment with just a balcony. Or perhaps you’re looking for a fun and educational project to do with your kids. Maybe you just want to reduce your environmental impact by recycling and growing your own food. Whatever your reason, this DIY trick is a game-changer. It allows you to enjoy fresh, homegrown tomatoes even without a traditional garden. Plus, it’s incredibly satisfying to see those little seedlings flourish in their upcycled homes. I’m excited to share my tips and tricks to help you get started!
DIY Upside-Down Tomato Planter from a Plastic Bottle
Hey there, fellow gardening enthusiasts! I’m super excited to share one of my favorite DIY projects with you: creating an upside-down tomato planter from a recycled plastic bottle. It’s a fantastic way to grow tomatoes, especially if you’re short on space or just want to try something a little different. Plus, it’s incredibly budget-friendly and a great way to reuse those plastic bottles that might otherwise end up in the trash. Let’s get started!
What You’ll Need
Before we dive into the step-by-step instructions, let’s gather all the necessary materials. Trust me, having everything ready beforehand will make the whole process much smoother.
* A large, sturdy plastic bottle (think a 2-liter soda bottle or a larger juice bottle). Make sure it’s clean!
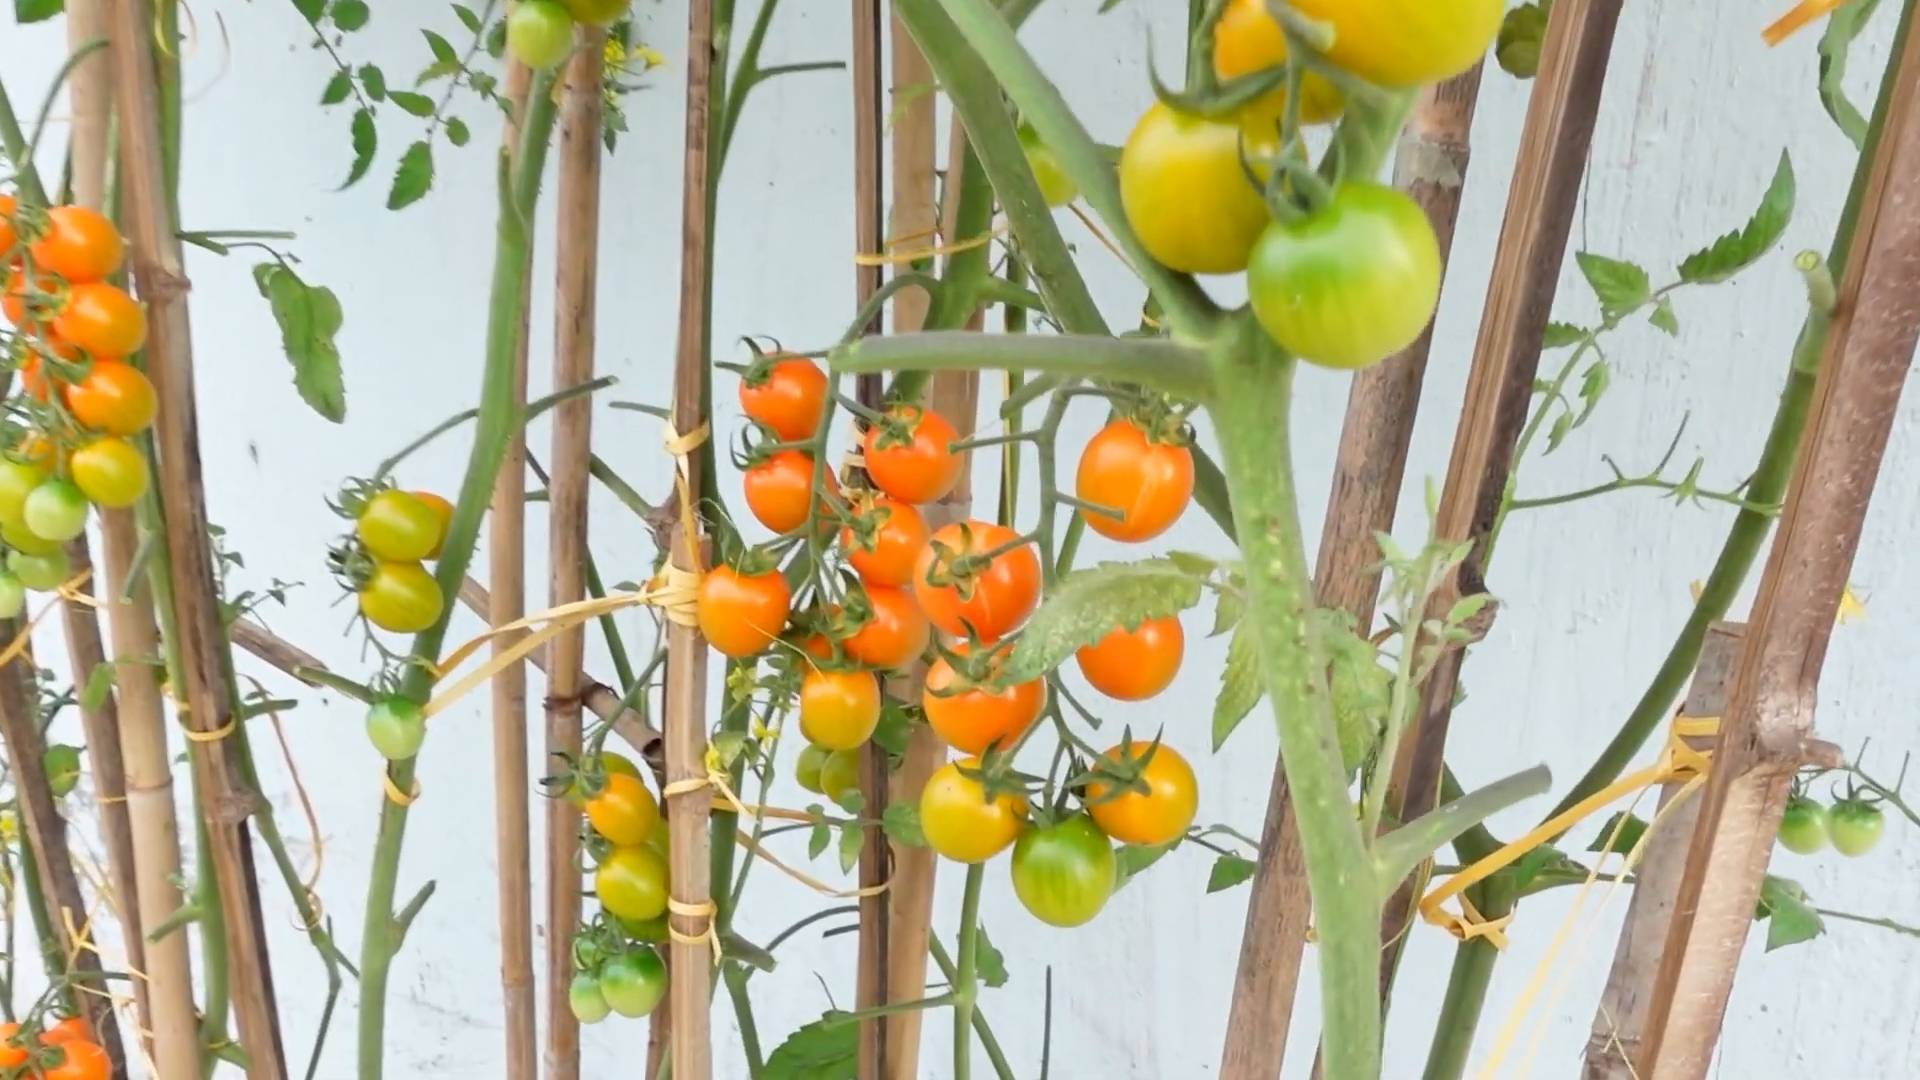
* A healthy tomato seedling. Choose a variety suitable for container gardening, like cherry tomatoes or dwarf varieties.
* Potting mix. Use a good quality potting mix, not garden soil, as it provides better drainage and aeration.
* A utility knife or sharp scissors. Be careful!
* Duct tape or strong packing tape.
* A piece of landscape fabric or burlap (approximately 6×6 inches). This will help prevent the soil from falling out.
* Water.
* A drill or a nail and hammer (optional, for drainage).
* Gloves (optional, but recommended to keep your hands clean).
* Safety glasses (recommended when cutting plastic).
Step-by-Step Instructions
Alright, let’s get our hands dirty! Follow these steps carefully, and you’ll have your upside-down tomato planter ready in no time.
1. Prepare the Bottle: First, we need to prepare the plastic bottle. Rinse it out thoroughly with water and let it dry completely. This is crucial to prevent any mold or bacteria from affecting your tomato plant.
2. Cut the Bottle: Now comes the slightly tricky part – cutting the bottle. Using your utility knife or scissors, carefully cut off the bottom of the bottle. I usually aim for about 4-6 inches from the bottom. Make sure the cut is as clean and even as possible. Safety first! Wear those safety glasses.
3. Prepare the Bottle Cap: This step is important for securing the tomato plant. Carefully cut a hole in the center of the bottle cap. The hole should be large enough to accommodate the stem of your tomato seedling, but not so large that the soil will fall through. A good rule of thumb is to start with a smaller hole and gradually enlarge it until it’s the right size. I often use a drill for this, but a nail and hammer work just as well.
4. Add Drainage (Optional): While not strictly necessary, adding a few drainage holes to the sides of the bottle near the cap can help prevent waterlogging. If you choose to do this, use a drill or a nail and hammer to create a few small holes.
5. Insert the Landscape Fabric: This is where the landscape fabric or burlap comes in. Place the fabric over the bottle cap, covering the hole you just made. This will act as a barrier to prevent the potting mix from falling out when you turn the bottle upside down. Secure the fabric to the cap using duct tape or strong packing tape. Make sure it’s firmly attached.
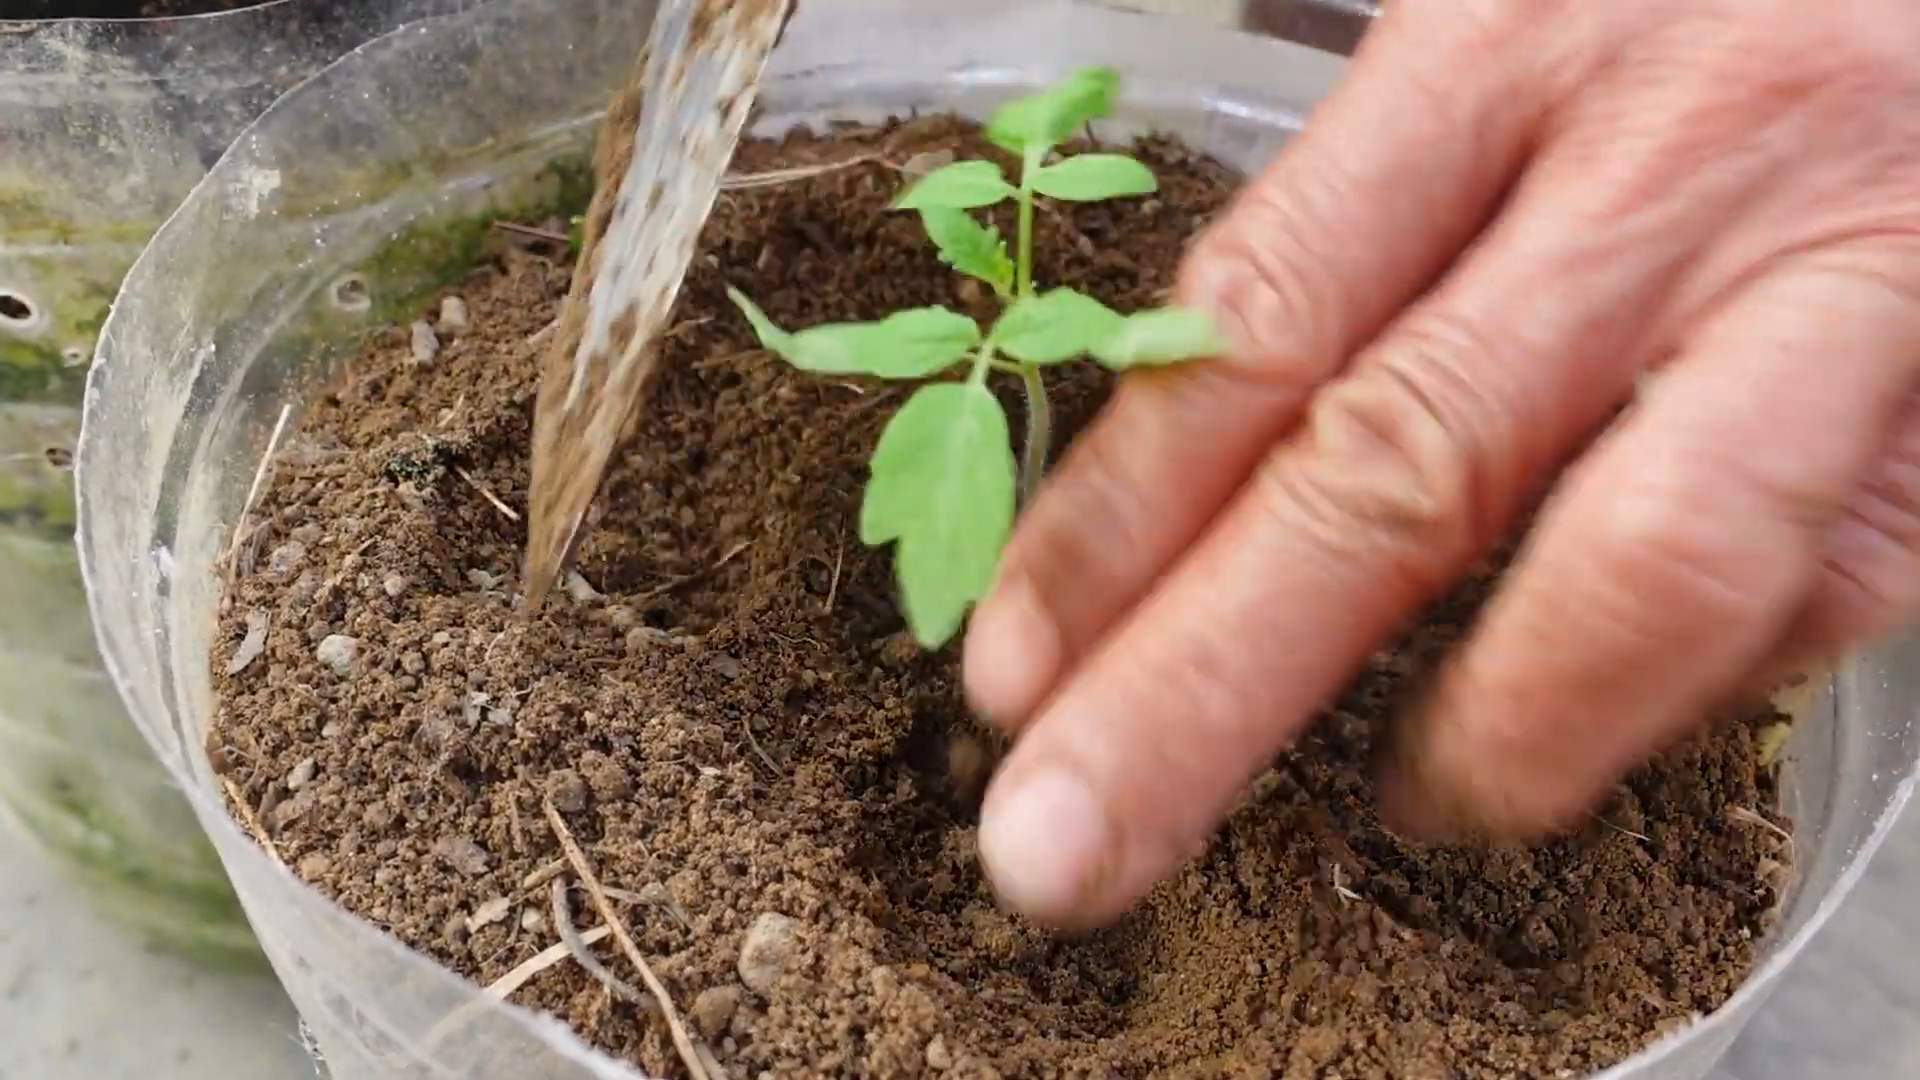
6. Prepare the Tomato Seedling: Gently remove your tomato seedling from its original container. Be careful not to damage the roots. If the roots are tightly bound, gently loosen them with your fingers.
7. Insert the Seedling: Now, carefully feed the root ball of the tomato seedling through the hole in the bottle cap from the inside of the bottle. Gently pull the seedling through until the leaves are outside the bottle and the root ball is securely held in place by the landscape fabric. This step requires a little patience, so take your time.
8. Add Potting Mix: With the tomato seedling in place, it’s time to add the potting mix. Carefully fill the bottle with potting mix, packing it gently around the root ball of the tomato plant. Make sure to leave a little space at the top of the bottle for watering.
9. Secure the Cut Edge (Important!): The cut edge of the bottle can be sharp, so it’s important to cover it with duct tape or strong packing tape. This will prevent you from accidentally cutting yourself when handling the planter. Wrap the tape around the entire edge, making sure it’s securely attached.
10. Water Thoroughly: Once the bottle is filled with potting mix, water the tomato plant thoroughly. This will help settle the soil and ensure that the roots are properly hydrated.
11. Find a Sunny Spot: Tomatoes need plenty of sunlight to thrive, so find a sunny spot to hang your upside-down planter. A patio, balcony, or even a sturdy tree branch will work well.
12. Hang the Planter: Now, we need to create a way to hang the planter. You can use strong rope, chain, or even heavy-duty zip ties. Attach the rope or chain to the top of the bottle, making sure it’s securely fastened. I usually create a loop that I can easily hang from a hook or branch.
13. Hang and Enjoy!: Carefully hang your upside-down tomato planter in your chosen sunny spot. Make sure it’s hanging securely and won’t fall.
Maintaining Your Upside-Down Tomato Planter
Now that your upside-down tomato planter is set up, it’s important to provide proper care to ensure a bountiful harvest. Here are a few tips to keep your tomato plant happy and healthy:
* Watering: Water your tomato plant regularly, especially during hot weather. Check the soil moisture by sticking your finger into the soil. If it feels dry, it’s time to water. Water deeply, until water drains out of the drainage holes (if you added them).
* Fertilizing: Tomatoes are heavy feeders, so it’s important to fertilize them regularly. Use a balanced liquid fertilizer, following the instructions on the package. I usually fertilize my tomato plants every two weeks.
* Sunlight: Make sure your tomato plant gets at least 6-8 hours of sunlight per day. If it’s not getting enough sunlight, the leaves may turn yellow and the plant may not produce as many tomatoes.
* Pruning: Prune your tomato plant regularly to remove suckers (the small shoots that grow between the main stem and the branches). This will help the plant focus its energy on producing tomatoes.
* Pest Control: Keep an eye out for pests, such as aphids, whiteflies, and tomato hornworms. If you notice any pests, treat them promptly with an appropriate insecticide or organic pest control method.
* Support: As your tomato plant grows, it may need some additional support. You can use twine or plant clips to support the branches and prevent them from breaking under the weight of the tomatoes.
Troubleshooting
Sometimes, things don’t go exactly as planned. Here are a few common problems you might encounter with your upside-down tomato planter and how to fix them:
* Soil Falling Out: If the soil is falling out of the bottle, it could be because the hole in the bottle cap is too large or the landscape fabric isn’t securely attached. Try adding more landscape fabric or using a smaller piece of fabric with a tighter weave. You can also try using a thicker layer of duct tape to secure the fabric.
* Plant Wilting: If your tomato plant is wilting, it could be due to lack of water, too much sunlight, or root rot. Check the soil moisture and water accordingly. If the plant is getting too much sunlight, move it to a shadier location. If you suspect root rot, make sure the planter has adequate drainage and avoid overwatering.
* Yellow Leaves: Yellow leaves can be a sign of nutrient deficiency, lack of sunlight, or overwatering. Fertilize your tomato plant regularly and make sure it’s getting enough sunlight. Avoid overwatering and ensure the planter has good drainage.
* No Tomatoes: If your tomato plant isn’t producing tomatoes, it could be due to lack of pollination, insufficient sunlight, or nutrient deficiency. Hand-pollinate the flowers by gently shaking the plant or using a small brush to transfer pollen from one flower to another. Make sure the plant is getting at least 6-8 hours of sunlight per day and fertilize it regularly.
Variations and Tips
* Use Different Bottles: Experiment with different sizes and shapes of plastic bottles. You can even use old laundry detergent bottles or milk jugs. Just make sure the bottle is sturdy enough to support the weight of the soil and the tomato plant.
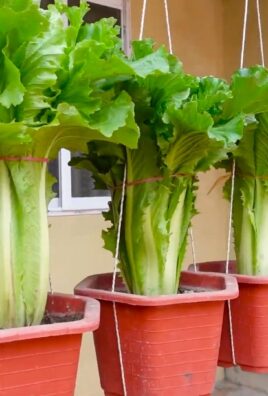
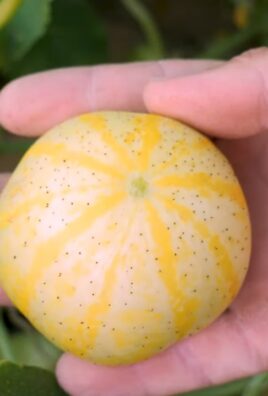
* Grow Other Plants: While this method is perfect for tomatoes, you can also use it to grow other plants, such as herbs, peppers, and strawberries.
* Add a Self-Watering System: To make watering easier, you can add a self-watering system to your upside-down planter. Simply insert a plastic bottle with small holes drilled
Conclusion
So, there you have it! Transforming a simple plastic bottle into a thriving mini-garden for your tomatoes is not just a fun project; it’s a game-changer for anyone looking to maximize their space, recycle creatively, and enjoy the unparalleled taste of homegrown produce. This DIY bottle garden tomatoes method offers a sustainable and efficient way to cultivate these sun-loving fruits, even if you’re short on space or gardening experience.
Why is this a must-try? Because it’s accessible, affordable, and incredibly rewarding. Imagine the satisfaction of nurturing a tiny seedling into a plant bursting with ripe, juicy tomatoes, all within the confines of a repurposed bottle. It’s a testament to the power of resourcefulness and a fantastic way to connect with nature, regardless of your living situation. Plus, it’s a fantastic conversation starter!
But the beauty of this project lies in its adaptability. Feel free to experiment with different tomato varieties. Cherry tomatoes and other smaller varieties thrive particularly well in bottle gardens, but don’t be afraid to try your hand at larger types, providing you offer adequate support as they grow. Consider adding companion plants like basil or marigolds to your bottle garden. These not only enhance the aesthetic appeal but also offer natural pest control and can even improve the flavor of your tomatoes. You can also explore different bottle sizes and configurations. Larger bottles can accommodate more mature plants, while grouping several smaller bottle gardens together can create a visually stunning and productive vertical garden.
Don’t limit yourself to just tomatoes! This method can be adapted for other herbs and vegetables like lettuce, spinach, and peppers. The key is to adjust the size of the bottle and the type of soil to suit the specific needs of the plant.
We wholeheartedly encourage you to give this DIY bottle garden tomatoes project a try. It’s a fantastic way to reduce waste, learn about plant life, and enjoy the delicious fruits (literally!) of your labor. The process is simple, the materials are readily available, and the results are truly remarkable.
Once you’ve embarked on your bottle garden adventure, we’d love to hear about your experience! Share your photos, tips, and challenges in the comments section below. Let’s create a community of bottle garden enthusiasts and inspire others to embrace sustainable gardening practices. Your insights could be invaluable to fellow gardeners, and together, we can make a positive impact on the environment, one bottle garden at a time. So, grab a bottle, some soil, and a tomato seedling, and get ready to experience the joy of homegrown tomatoes in a whole new way! We can’t wait to see what you create!
Frequently Asked Questions (FAQ)
What type of plastic bottle is best for a bottle garden?
The ideal plastic bottle for a bottle garden is a clear, food-grade PET (polyethylene terephthalate) bottle. These bottles are commonly used for soda, water, and juice. Avoid using bottles that have contained harsh chemicals or cleaning products, as these could contaminate the soil and harm your plants. Ensure the bottle is thoroughly cleaned and rinsed before use. The size of the bottle will depend on the type of plant you intend to grow; larger bottles are suitable for larger tomato varieties, while smaller bottles are perfect for cherry tomatoes or herbs.
What kind of soil should I use for my bottle garden tomatoes?
A well-draining potting mix is crucial for successful bottle garden tomatoes. Avoid using garden soil, as it tends to compact in containers and doesn’t provide adequate drainage. A good potting mix will contain a blend of peat moss, perlite, and vermiculite, which helps to retain moisture while allowing excess water to drain away. You can also amend your potting mix with compost or other organic matter to provide additional nutrients for your tomato plants. Consider adding a slow-release fertilizer to the soil to ensure a steady supply of nutrients throughout the growing season.
How often should I water my bottle garden tomatoes?
The frequency of watering will depend on several factors, including the size of the bottle, the type of soil, the weather conditions, and the size of the plant. As a general rule, water your bottle garden tomatoes when the top inch of soil feels dry to the touch. Avoid overwatering, as this can lead to root rot. Ensure that the bottle has adequate drainage holes to allow excess water to escape. During hot weather, you may need to water your plants more frequently. Check the soil moisture regularly and adjust your watering schedule accordingly.
How much sunlight do bottle garden tomatoes need?
Tomatoes are sun-loving plants and require at least 6-8 hours of direct sunlight per day to thrive. Place your bottle garden tomatoes in a sunny location, such as a south-facing window or balcony. If you don’t have access to enough natural sunlight, you can supplement with grow lights. Rotate the bottle garden regularly to ensure that all sides of the plant receive adequate sunlight. Insufficient sunlight can lead to leggy growth and reduced fruit production.
How do I provide support for my tomato plants in a bottle garden?
As your tomato plants grow, they will need support to prevent them from toppling over. You can use bamboo stakes, wooden dowels, or even repurposed chopsticks to provide support. Insert the stakes into the soil near the base of the plant and gently tie the stems to the stakes using soft twine or plant ties. As the plant grows taller, continue to add more support as needed. For larger tomato varieties, you may need to use a small tomato cage to provide adequate support.
How do I fertilize my bottle garden tomatoes?
Tomato plants are heavy feeders and require regular fertilization to produce abundant fruit. You can use a liquid fertilizer specifically formulated for tomatoes, following the instructions on the label. Fertilize your plants every 2-3 weeks during the growing season. You can also use a slow-release fertilizer, which will provide a steady supply of nutrients over a longer period. Avoid over-fertilizing, as this can lead to excessive foliage growth and reduced fruit production.
How do I prevent pests and diseases in my bottle garden tomatoes?
Bottle gardens, being relatively contained environments, can still be susceptible to pests and diseases. Regularly inspect your plants for signs of pests, such as aphids, whiteflies, or spider mites. If you find any pests, you can try spraying them with insecticidal soap or neem oil. To prevent fungal diseases, ensure that your plants have good air circulation and avoid overwatering. You can also use a fungicide if necessary. Remove any diseased leaves or stems promptly to prevent the spread of disease. Companion planting with basil or marigolds can also help to deter pests.
Can I grow different varieties of tomatoes in bottle gardens?
Yes, you can grow different varieties of tomatoes in bottle gardens. However, it’s important to choose varieties that are well-suited for container gardening. Cherry tomatoes, grape tomatoes, and other smaller varieties tend to thrive particularly well in bottle gardens. Larger tomato varieties can also be grown, but they may require larger bottles and more support. Consider the size of the bottle and the growth habit of the tomato variety when making your selection.
How do I transplant my tomato seedlings into a bottle garden?
When your tomato seedlings are large enough to handle, you can transplant them into your bottle garden. Gently remove the seedlings from their original containers and loosen the roots. Dig a hole in the potting mix in the bottle garden and carefully place the seedling in the hole. Backfill with potting mix and gently firm the soil around the base of the plant. Water thoroughly after transplanting. Provide shade for the seedlings for a few days to help them adjust to their new environment.
What do I do with my bottle garden tomatoes at the end of the growing season?
At the end of the growing season, after your tomato plants have finished producing fruit, you can compost the plants and the soil. Clean the plastic bottles thoroughly and store them for future use. You can also recycle the bottles if you prefer. Consider saving seeds from your best-performing tomato plants to grow again next year.
Leave a Comment