
Cabbage in Plastic Bottles: Sounds a little crazy, right? But trust me, this ingenious DIY gardening trick is about to revolutionize your small-space gardening game! I know, I know, you’re probably picturing a garden overflowing with plastic waste, but I promise it’s far from that. Think of it as upcycling meets urban farming, a beautiful marriage of sustainability and self-sufficiency.
Growing cabbage has been a staple in gardens for centuries, dating back to ancient Rome where it was prized for its nutritional value and medicinal properties. While traditionally grown in sprawling fields, modern gardeners are finding innovative ways to cultivate this leafy green, even without acres of land. That’s where this clever hack comes in.
Let’s face it, not everyone has a sprawling backyard to dedicate to a vegetable garden. Apartment dwellers, balcony gardeners, and those with limited space often feel like they’re missing out on the joy of growing their own food. But with this cabbage in plastic bottles method, you can kiss those limitations goodbye! This DIY project is not only space-saving but also incredibly cost-effective, utilizing readily available materials to create a thriving mini-cabbage patch. Plus, it’s a fantastic way to teach kids about recycling and sustainable living. So, are you ready to turn those empty plastic bottles into a vibrant, edible garden? Let’s get started!
Growing Cabbage in Plastic Bottles: A DIY Guide
Hey there, fellow gardening enthusiasts! I’m super excited to share a fun and space-saving way to grow cabbage – in plastic bottles! This method is perfect if you have limited garden space, live in an apartment, or just want to try something a little different. It’s also a fantastic way to recycle those plastic bottles that seem to accumulate so quickly. Let’s get started!
What You’ll Need
Before we dive in, let’s gather all the necessary materials. Trust me, having everything ready beforehand will make the whole process much smoother.
* **Plastic Bottles:** You’ll need large plastic bottles, like the ones used for water or soda (2-liter or larger are ideal). The number of bottles depends on how many cabbage plants you want to grow. I usually aim for one bottle per plant.
* **Cabbage Seeds or Seedlings:** You can start from seeds or buy small cabbage seedlings from a local nursery. Starting from seeds gives you more control, but seedlings are quicker.
* **Potting Soil:** Use a good quality potting mix that drains well. Cabbage needs nutrient-rich soil to thrive.
* **Perlite or Vermiculite (Optional):** Adding perlite or vermiculite to your potting mix improves drainage and aeration.
* **Scissors or a Utility Knife:** For cutting the plastic bottles. Be careful!
* **Drill or Nail and Hammer:** To create drainage holes in the bottom of the bottles.
* **Watering Can or Hose:** For watering your cabbage plants.
* **Fertilizer:** A balanced fertilizer suitable for vegetables. I prefer a slow-release granular fertilizer.
* **Gloves:** To protect your hands.
* **Measuring Cup or Spoon:** For measuring fertilizer.
* **Labels and a Marker (Optional):** To label your bottles with the type of cabbage and planting date.
Preparing the Plastic Bottles
This is a crucial step, so pay close attention! We need to transform those bottles into suitable containers for our cabbage.
1. **Clean the Bottles:** Thoroughly wash the plastic bottles with soap and water to remove any residue. Rinse them well and let them dry completely. This helps prevent any unwanted mold or bacteria growth.
2. **Cut the Bottles:** Decide how tall you want your containers to be. I usually cut the bottles about two-thirds of the way up. You can cut them higher if you want more soil volume. Use scissors or a utility knife to carefully cut around the bottle. Be extra cautious when using a utility knife!
3. **Create Drainage Holes:** This is super important! Cabbage plants don’t like sitting in soggy soil. Use a drill or a nail and hammer to create several drainage holes in the bottom of each bottle. I usually make about 4-5 holes, evenly spaced.
4. **Optional: Paint the Bottles:** While not essential, painting the bottles can make them look more aesthetically pleasing and can also help protect the roots from excessive sunlight. Use a light-colored, non-toxic paint.
Planting Your Cabbage
Now comes the fun part – planting our cabbage!
1. **Fill the Bottles with Soil:** Fill each prepared bottle with your potting mix, leaving about an inch or two of space at the top. If you’re using perlite or vermiculite, mix it into the potting soil before filling the bottles.
2. **Plant the Seeds or Seedlings:**
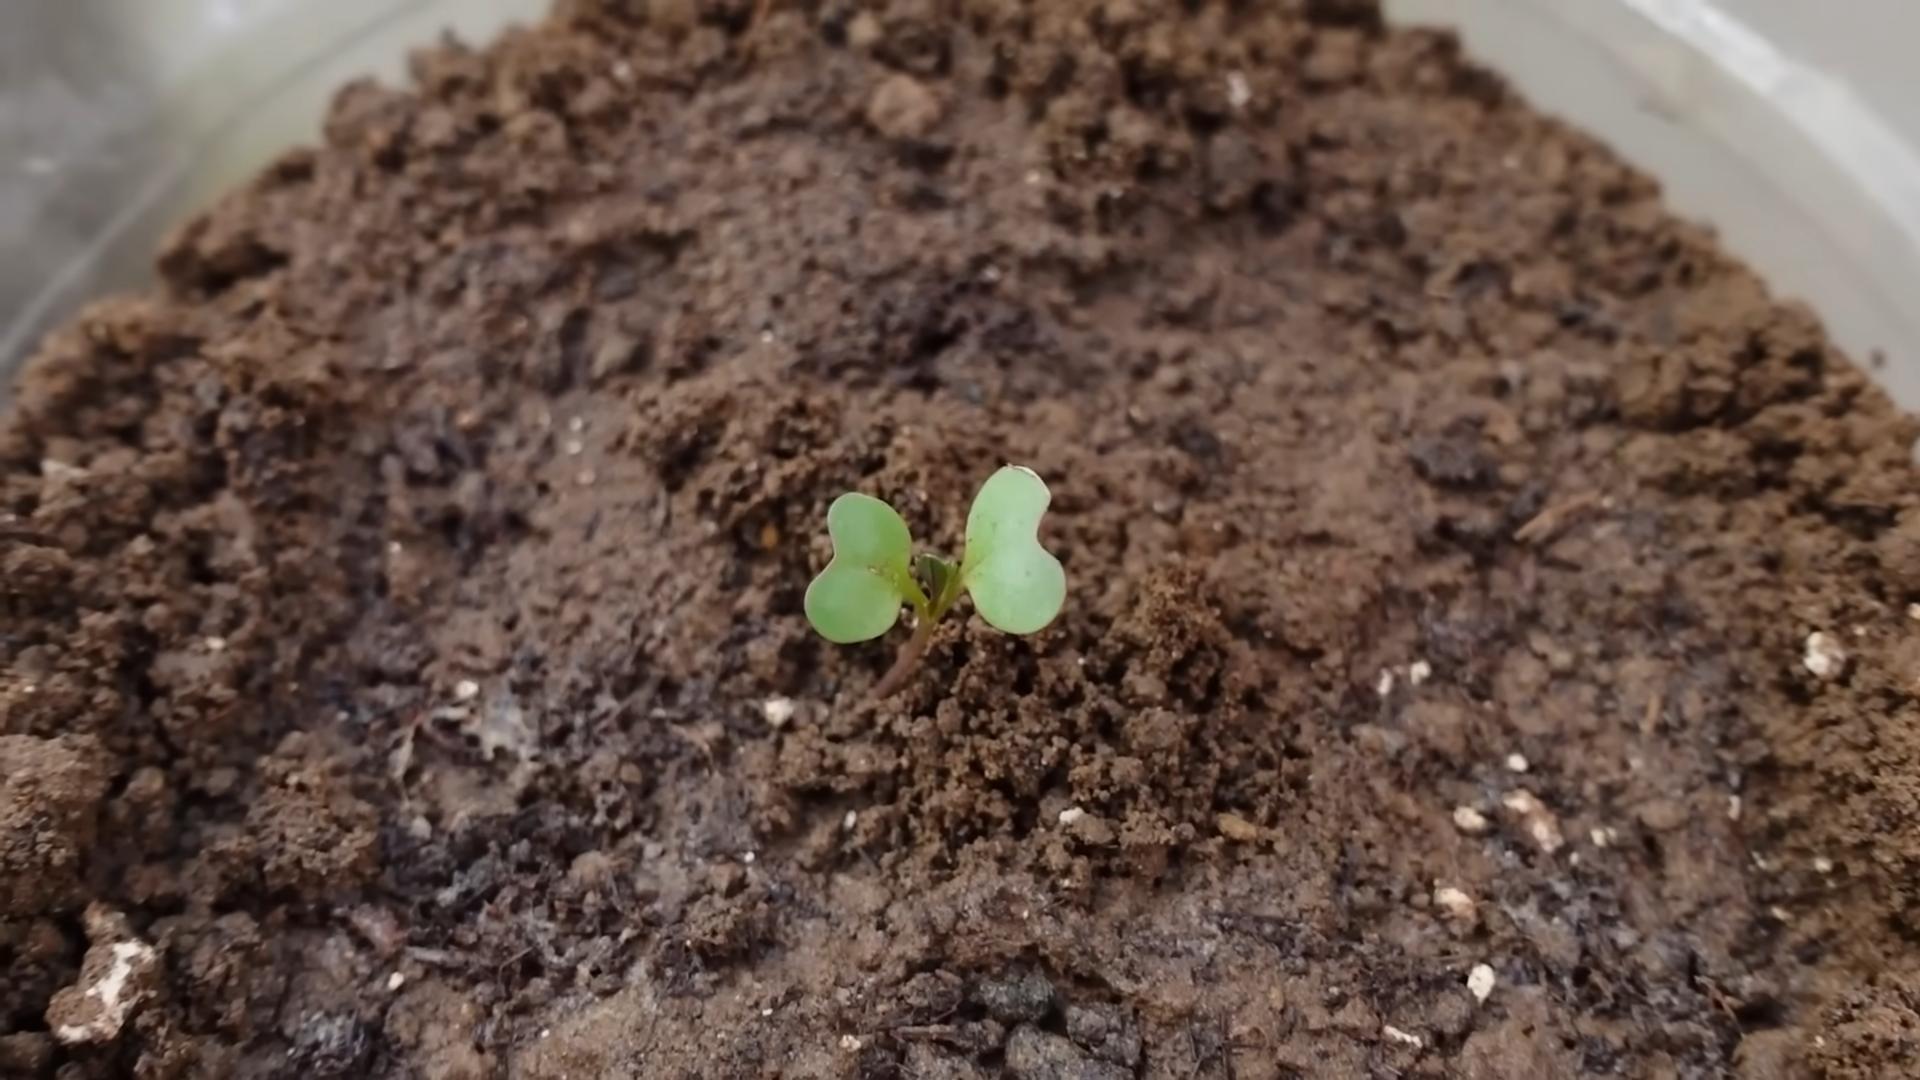
* **From Seeds:** Make a small indentation in the soil (about 1/4 inch deep). Place 2-3 cabbage seeds in each indentation and gently cover them with soil. Water lightly.
* **From Seedlings:** Carefully remove the seedlings from their containers. Gently loosen the roots and place the seedling in the center of the bottle. Fill in around the seedling with soil, making sure the top of the root ball is level with the soil surface. Water thoroughly.
3. **Label the Bottles (Optional):** If you’re growing different varieties of cabbage, label each bottle with the type of cabbage and the planting date. This will help you keep track of everything.
Caring for Your Cabbage Plants
Proper care is essential for healthy and productive cabbage plants.
1. **Watering:** Water your cabbage plants regularly, especially during dry periods. The soil should be consistently moist but not waterlogged. Check the soil moisture by sticking your finger into the soil. If the top inch feels dry, it’s time to water.
2. **Sunlight:** Cabbage needs at least 6 hours of sunlight per day. Place your bottles in a sunny location, such as a balcony, patio, or windowsill. If you don’t have enough natural sunlight, you can supplement with grow lights.
3. **Fertilizing:** Cabbage is a heavy feeder, so regular fertilization is important. Apply a balanced fertilizer every 2-3 weeks, following the instructions on the fertilizer package. I like to use a slow-release granular fertilizer, which provides a steady supply of nutrients over time.
4. **Pest Control:** Keep an eye out for pests, such as aphids, cabbage worms, and slugs. Inspect your plants regularly and take action if you see any signs of infestation. You can use organic pest control methods, such as insecticidal soap or neem oil. Handpicking pests is also an effective method.
5. **Weed Control:** Remove any weeds that may grow in the bottles. Weeds compete with your cabbage plants for nutrients and water.
6. **Rotating the Bottles:** If your plants are only getting sunlight from one direction, rotate the bottles regularly to ensure even growth.
Harvesting Your Cabbage
The moment we’ve all been waiting for!
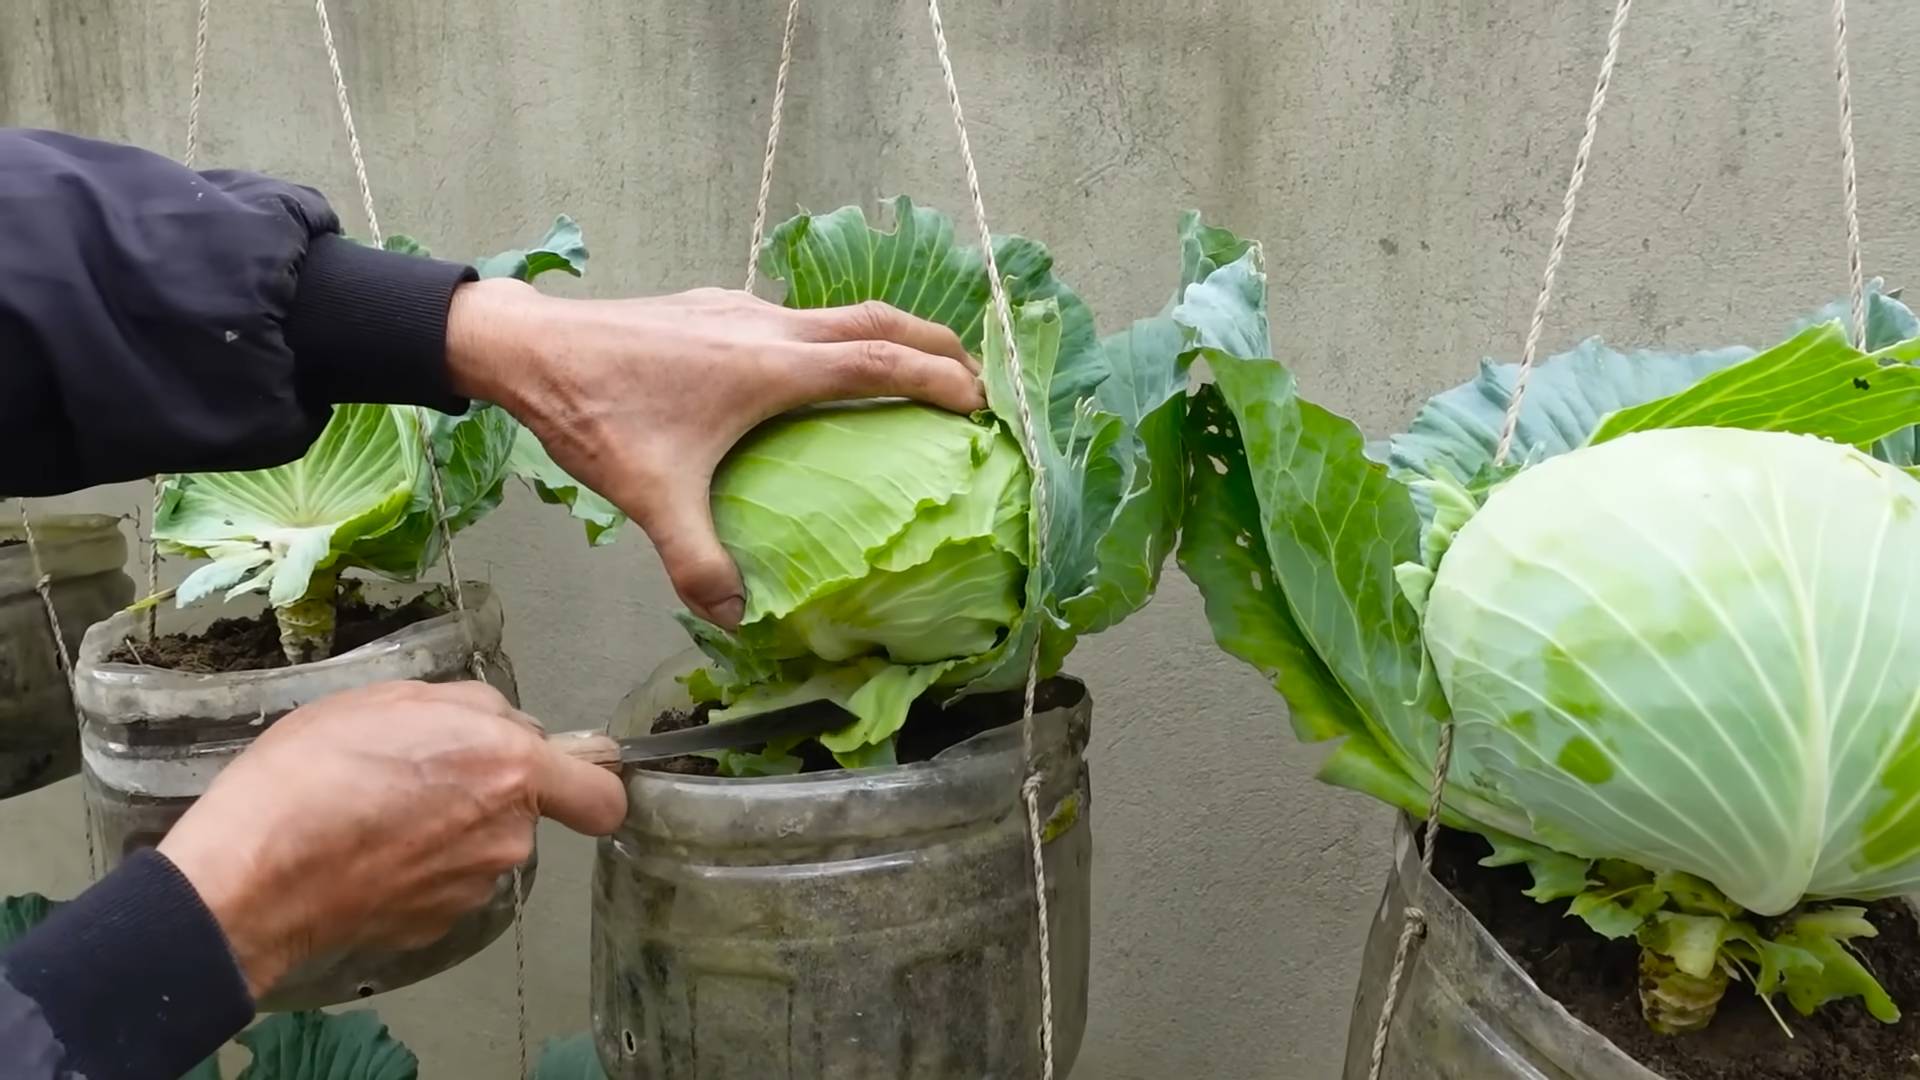
1. **Harvest Time:** Cabbage is usually ready to harvest in 60-100 days, depending on the variety. The head should be firm and compact.
2. **Harvesting:** Use a sharp knife to cut the cabbage head from the stem. Leave a few outer leaves on the plant, as they can sometimes produce smaller secondary heads.
3. **Enjoy Your Harvest:** Enjoy your homegrown cabbage in salads, soups, stews, or any other dish you like!
Troubleshooting
Even with the best care, you might encounter some problems. Here are a few common issues and how to address them:
* **Yellowing Leaves:** This could be a sign of overwatering, underwatering, or nutrient deficiency. Check the soil moisture and adjust your watering accordingly. Fertilize your plants if necessary.
* **Stunted Growth:** This could be caused by poor soil, lack of sunlight, or pest infestation. Make sure your plants are getting enough sunlight and nutrients. Check for pests and take action if necessary.
* **Bolting (Premature Flowering):** This can happen if the plants are exposed to extreme temperature fluctuations. Try to provide a more stable environment for your plants.
* **Root Rot:** This is caused by overwatering and poor drainage. Make sure your bottles have adequate drainage holes and avoid overwatering.
Tips for Success
Here are a few extra tips to help you succeed with growing cabbage in plastic bottles:
* Choose the Right Variety: Some cabbage varieties are better suited for container gardening than others. Look for compact varieties that don’t get too large.
* Use Good Quality Soil: Don’t skimp on the soil! Use a good quality potting mix that drains well and is rich in nutrients.
* Don’t Overcrowd: Give your cabbage plants enough space to grow. One plant per bottle is usually sufficient.
* Monitor Your Plants Regularly: Check your plants regularly for signs of pests, diseases, or nutrient deficiencies. The sooner you catch a problem, the easier it will be to fix.
* Have Fun!: Gardening should be enjoyable! Don’t be afraid to experiment and try new things.
Growing cabbage in plastic bottles is a rewarding and sustainable way to enjoy fresh, homegrown vegetables. With a little bit of effort and attention, you can have a thriving cabbage garden even in a small space. Happy gardening!
Conclusion
So, there you have it! Transforming humble plastic bottles into miniature cabbage gardens is not just a quirky DIY project; it’s a sustainable, space-saving, and surprisingly effective way to cultivate fresh, delicious cabbage right at your doorstep. We’ve walked you through the process, from preparing your bottles to nurturing your seedlings, and hopefully, you’re feeling inspired to give it a try.
Why is this DIY cabbage in plastic bottles method a must-try? Firstly, it’s incredibly eco-friendly. You’re repurposing plastic waste, diverting it from landfills and giving it a new lease on life. Secondly, it’s perfect for urban gardeners or anyone with limited space. These vertical gardens can be placed on balconies, patios, or even hung on walls, maximizing your growing potential. Thirdly, it’s a fantastic way to control the growing environment. You can easily move your cabbage plants to protect them from harsh weather conditions or pests. Finally, it’s a rewarding and educational experience, especially for children, teaching them about plant life cycles and the importance of sustainability.
But the fun doesn’t stop there! Feel free to experiment with variations. Try using different types of plastic bottles – larger ones for bigger cabbage varieties, or smaller ones for more compact options. You could also explore different soil mixes to see what works best for your local climate and cabbage type. Consider adding companion plants like marigolds or basil to deter pests and attract beneficial insects. You can even create a tiered system by stacking the bottles, creating a visually appealing and highly productive vertical garden.
Don’t be afraid to get creative with your bottle designs! Paint them, decorate them, or even add labels to identify your different cabbage varieties. This is your chance to personalize your garden and make it a reflection of your own unique style.
We truly believe that growing cabbage in plastic bottles is a game-changer for home gardeners. It’s a simple, affordable, and sustainable way to enjoy fresh, homegrown produce, regardless of your space constraints. So, grab some plastic bottles, gather your supplies, and get ready to embark on this exciting gardening adventure!
We’re eager to hear about your experiences! Share your photos, tips, and challenges in the comments section below. Let’s build a community of bottle-cabbage growers and inspire others to embrace this innovative and eco-friendly gardening technique. Happy growing!
Frequently Asked Questions (FAQ)
What type of cabbage is best suited for growing in plastic bottles?
While you can technically grow any type of cabbage in plastic bottles, smaller, more compact varieties tend to thrive best. Consider varieties like ‘Dwarf Blue Vates,’ ‘Golden Acre,’ or ‘Red Acre.’ These varieties don’t require as much space as larger cabbages and are well-suited for container gardening. However, with proper care and larger bottles, you can certainly experiment with other types. Just be mindful of the plant’s size and ensure it has enough room to grow.
How often should I water my cabbage plants in plastic bottles?
Watering frequency depends on several factors, including the size of the bottle, the type of soil, the climate, and the stage of growth. Generally, you should water your cabbage plants when the top inch of soil feels dry to the touch. During hot, dry weather, you may need to water them daily, while during cooler, wetter periods, you may only need to water them every few days. Ensure the bottles have adequate drainage to prevent waterlogging, which can lead to root rot. A good rule of thumb is to water thoroughly until water drains out of the bottom of the bottle.
What type of soil is best for growing cabbage in plastic bottles?
Cabbage plants prefer well-draining, nutrient-rich soil. A good potting mix specifically formulated for vegetables is ideal. You can also create your own mix by combining equal parts of garden soil, compost, and perlite or vermiculite. The compost provides essential nutrients, while the perlite or vermiculite improves drainage and aeration. Avoid using heavy clay soil, as it can become waterlogged and hinder root growth. Amending your soil with organic matter like compost or well-rotted manure will also improve its fertility and water-holding capacity.
How much sunlight do cabbage plants need when grown in plastic bottles?
Cabbage plants require at least 6 hours of direct sunlight per day to thrive. Choose a location that receives ample sunlight throughout the day. If you’re growing your cabbage plants indoors, you may need to supplement with artificial grow lights. Rotate the bottles regularly to ensure that all sides of the plants receive adequate sunlight. Insufficient sunlight can lead to leggy growth and reduced yields.
How do I fertilize cabbage plants grown in plastic bottles?
Cabbage plants are heavy feeders and require regular fertilization. Start fertilizing your plants a few weeks after transplanting them into the bottles. Use a balanced liquid fertilizer, such as a 10-10-10 or 20-20-20, diluted to half strength. Fertilize every two to three weeks, following the instructions on the fertilizer label. You can also use organic fertilizers like compost tea or fish emulsion. Avoid over-fertilizing, as this can lead to excessive foliage growth at the expense of head development.
How do I protect my cabbage plants from pests and diseases when grown in plastic bottles?
Growing cabbage in plastic bottles can actually help reduce pest and disease problems, as it elevates the plants off the ground and provides better air circulation. However, it’s still important to monitor your plants regularly for any signs of trouble. Common cabbage pests include cabbage worms, aphids, and flea beetles. You can control these pests with organic insecticides like neem oil or insecticidal soap. Diseases like black rot and clubroot can be prevented by using disease-resistant varieties and ensuring good drainage. Remove any infected leaves or plants immediately to prevent the spread of disease.
Can I grow cabbage in plastic bottles indoors?
Yes, you can grow cabbage in plastic bottles indoors, but you’ll need to provide adequate light and ventilation. Place the bottles near a sunny window or use grow lights to provide at least 6 hours of light per day. Ensure good air circulation to prevent fungal diseases. You may also need to hand-pollinate the flowers if you’re growing cabbage for seed production. Indoor growing can be a great option for extending the growing season or for those who live in areas with harsh climates.
How long does it take to grow cabbage in plastic bottles?
The time it takes to grow cabbage in plastic bottles depends on the variety, the growing conditions, and the size of the bottle. Generally, it takes about 60 to 90 days from transplanting to harvest. Monitor your plants regularly and harvest the cabbage heads when they are firm and compact. Don’t wait too long to harvest, as the heads can split or become bitter.
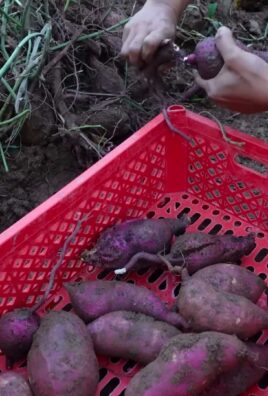
What are some other vegetables I can grow in plastic bottles?
Besides cabbage, many other vegetables can be successfully grown in plastic bottles, including lettuce, spinach, kale, herbs, tomatoes, peppers, and strawberries. The key is to choose varieties that are well-suited for container gardening and to provide them with adequate space, light, water, and nutrients. Experiment with different vegetables and find what works best for your climate and growing conditions.
How do I prepare the plastic bottles for planting?
Preparing the plastic bottles is a crucial step. First, thoroughly clean the bottles with soap and water to remove any residue. Then, cut the bottles in half or create drainage holes in the bottom, depending on your chosen method. If you’re using the upside-down method, make sure the bottle cap is securely fastened. If you’re using the horizontal method, create drainage holes along the bottom of the bottle. Consider painting the bottles white or covering them with reflective material to help reflect sunlight and keep the soil cool.
Leave a Comment