
Calendula Container Gardening: Ever dreamed of bursting blooms right outside your door, even if you don’t have a sprawling garden? I know I have! There’s something incredibly satisfying about growing your own flowers, and calendula, with its vibrant colors and medicinal properties, is the perfect place to start. This DIY guide will unlock the secrets to successful calendula container gardening, transforming your balcony, patio, or even a sunny windowsill into a miniature floral paradise.
Calendula, also known as pot marigold, boasts a rich history, dating back to ancient civilizations where it was prized for its healing abilities. From soothing skin irritations to adding a pop of color to culinary creations, this humble flower has been a staple in gardens and apothecaries for centuries. But you don’t need to be an herbalist to appreciate its beauty and benefits.
In today’s busy world, finding moments of peace and connection with nature can be a challenge. That’s where calendula container gardening comes in! It’s a simple, accessible way to bring the beauty of the natural world into your everyday life. Plus, growing your own calendula allows you to enjoy fresh, organic blooms without the use of harmful chemicals. Ready to get your hands dirty? Let’s dive in and discover the joys of growing calendula in containers!
Calendula Container Gardening: A Burst of Sunshine on Your Patio!
Hey there, fellow gardening enthusiasts! I’m so excited to share my love for calendula and how easy it is to grow these cheerful flowers in containers. Calendula, also known as pot marigold, is not only beautiful but also incredibly useful. Its petals are edible, have medicinal properties, and attract beneficial insects to your garden. Plus, they’re super low-maintenance, making them perfect for beginner gardeners like I once was! Let’s dive into how you can create your own vibrant calendula container garden.
Choosing the Right Container and Soil
First things first, we need to get our supplies sorted. The right container and soil are crucial for happy calendula plants.
* Container Size: I recommend a container that’s at least 12 inches in diameter and 12 inches deep. This gives the roots plenty of room to grow. You can use terracotta pots, plastic containers, or even repurposed buckets – just make sure they have drainage holes!
* Drainage: Drainage is key! Calendula doesn’t like soggy roots. If your container doesn’t have drainage holes, you’ll need to drill some.
* Soil: Use a well-draining potting mix. Avoid using garden soil directly in containers, as it can become compacted and doesn’t drain well. I personally like to use a mix of potting soil, compost, and perlite for extra drainage and nutrients.
Planting Your Calendula
Now for the fun part – planting! You can start calendula from seeds or purchase seedlings from your local garden center. I’ve done both, and both methods work great.
* Starting from Seeds:
* Timing: You can start calendula seeds indoors 6-8 weeks before the last expected frost or direct sow them outdoors after the last frost. I usually prefer direct sowing because it’s less work!
* Sowing: Fill your container with the potting mix, leaving about an inch of space at the top. Sprinkle the seeds evenly over the soil surface and gently press them in. Cover them with a thin layer of soil (about ¼ inch).
* Watering: Water gently to moisten the soil. Keep the soil consistently moist but not soggy until the seeds germinate.
* Germination: Calendula seeds usually germinate in 5-10 days.
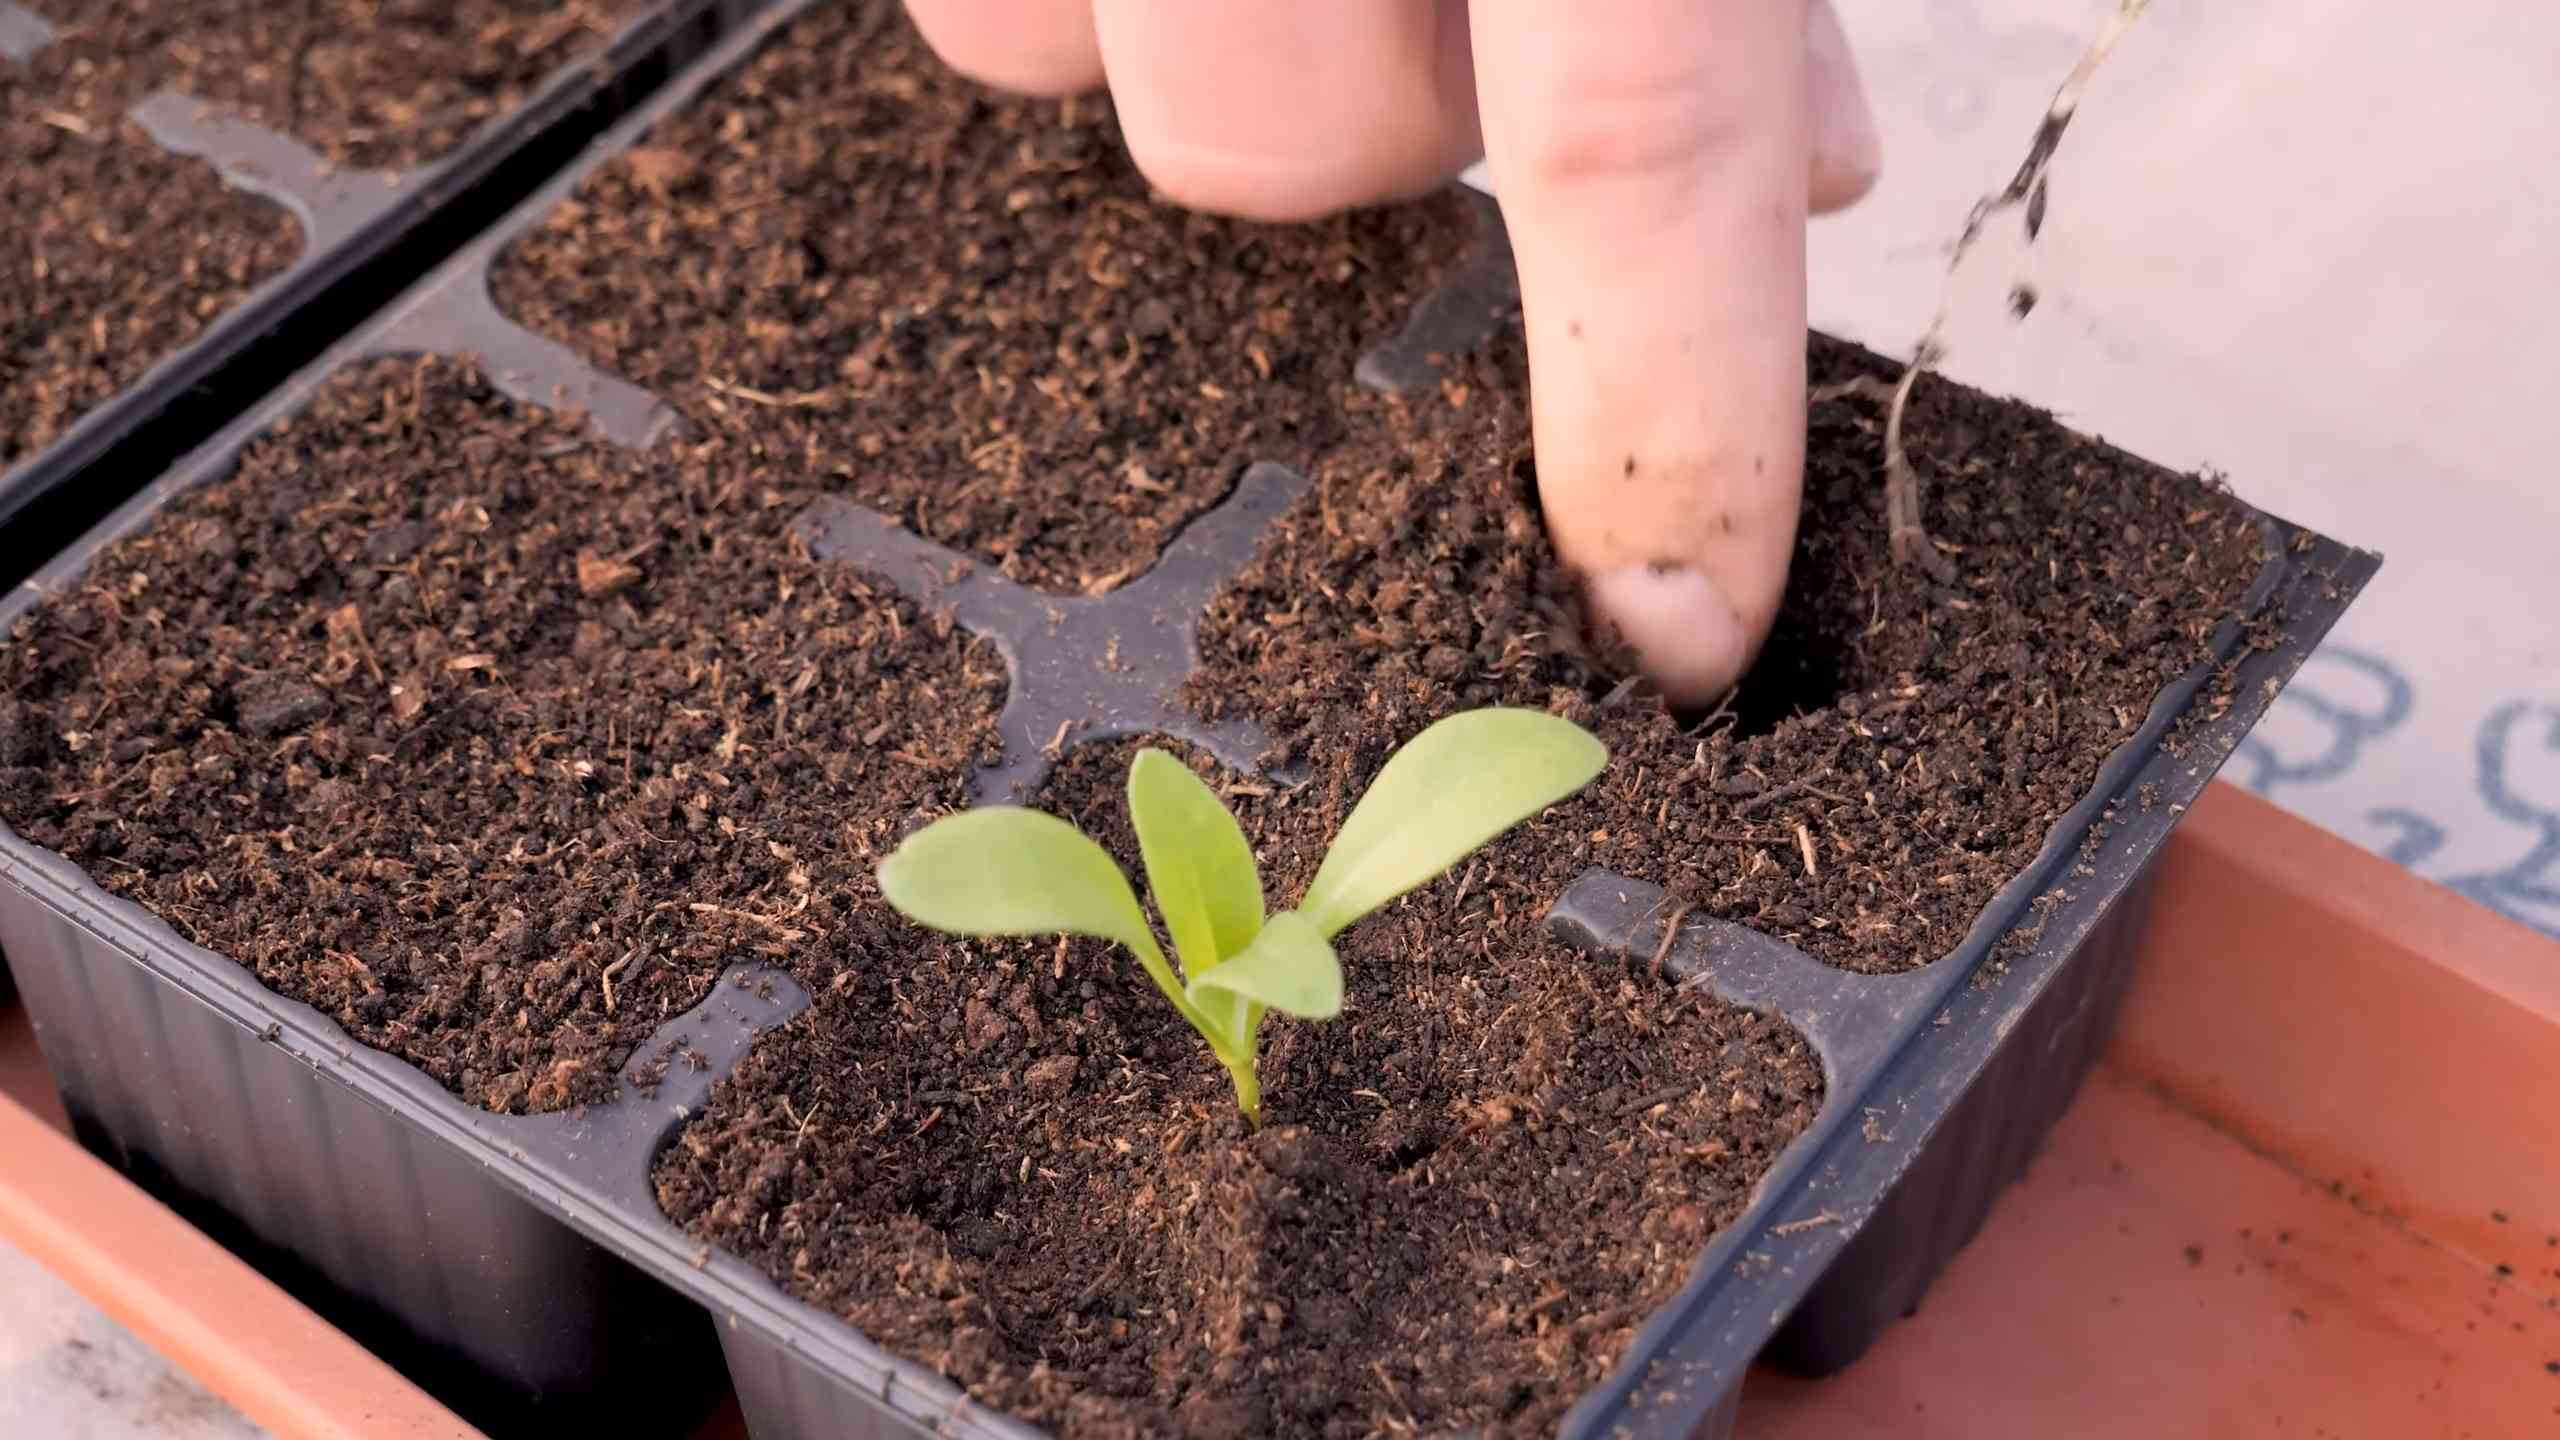
* Thinning: Once the seedlings have a few sets of true leaves, thin them out so that they are spaced about 6-8 inches apart. This gives them enough room to grow and prevents overcrowding.
* Planting Seedlings:
* Choosing Seedlings: Select healthy-looking seedlings with vibrant green leaves and no signs of pests or diseases.
* Planting: Dig a hole in the potting mix that’s slightly larger than the root ball of the seedling. Gently remove the seedling from its container and loosen the roots slightly. Place the seedling in the hole and backfill with potting mix.
* Spacing: Space the seedlings about 6-8 inches apart.
* Watering: Water thoroughly after planting.
Step-by-Step Planting Guide:
1. Prepare the Container: Ensure your container has adequate drainage holes. If not, drill some.
2. Fill with Potting Mix: Fill the container with a well-draining potting mix, leaving about an inch of space at the top.
3. Sow Seeds or Plant Seedlings: Follow the instructions above for starting from seeds or planting seedlings.
4. Water Thoroughly: Water the soil gently but thoroughly after planting.
5. Label Your Container: It’s always a good idea to label your container with the plant name and planting date.
Caring for Your Calendula Plants
Calendula is pretty low-maintenance, but here are a few tips to keep your plants thriving:
* Sunlight: Calendula prefers full sun (6-8 hours of sunlight per day) but can tolerate partial shade. In hotter climates, some afternoon shade can be beneficial.
* Watering: Water regularly, especially during hot, dry weather. Allow the top inch of soil to dry out between waterings. Avoid overwatering, as this can lead to root rot. I usually check the soil moisture with my finger – if it feels dry, it’s time to water.
* Fertilizing: Calendula doesn’t need a lot of fertilizer. You can feed your plants with a balanced liquid fertilizer every 2-3 weeks during the growing season. I like to use a fertilizer that’s specifically formulated for flowering plants.
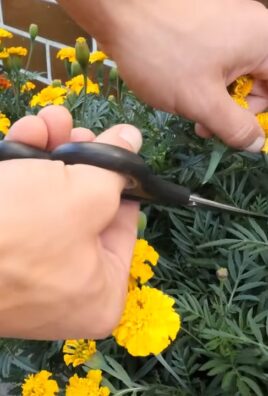
* Deadheading: Deadheading, or removing spent flowers, encourages the plant to produce more blooms. Simply pinch or cut off the dead flowers just below the flower head. This is probably the most important thing you can do to keep your calendula blooming all season long!
* Pest Control: Calendula is relatively pest-resistant, but aphids and spider mites can sometimes be a problem. If you notice any pests, you can spray your plants with insecticidal soap or neem oil. I always try to use organic pest control methods whenever possible.
* Disease Prevention: Good air circulation is important for preventing fungal diseases. Make sure your plants are spaced adequately and avoid overhead watering. If you notice any signs of disease, such as powdery mildew, you can treat your plants with a fungicide.
Detailed Care Instructions:
1. Sunlight: Place your container in a location that receives at least 6 hours of sunlight per day.
2. Watering: Water when the top inch of soil feels dry. Avoid overwatering.
3. Fertilizing: Feed your plants with a balanced liquid fertilizer every 2-3 weeks during the growing season.
4. Deadheading: Remove spent flowers regularly to encourage more blooms.
5. Pest and Disease Control: Monitor your plants for pests and diseases and treat them as needed.
Harvesting and Using Calendula
One of the best things about growing calendula is that you can harvest the petals and use them in a variety of ways!
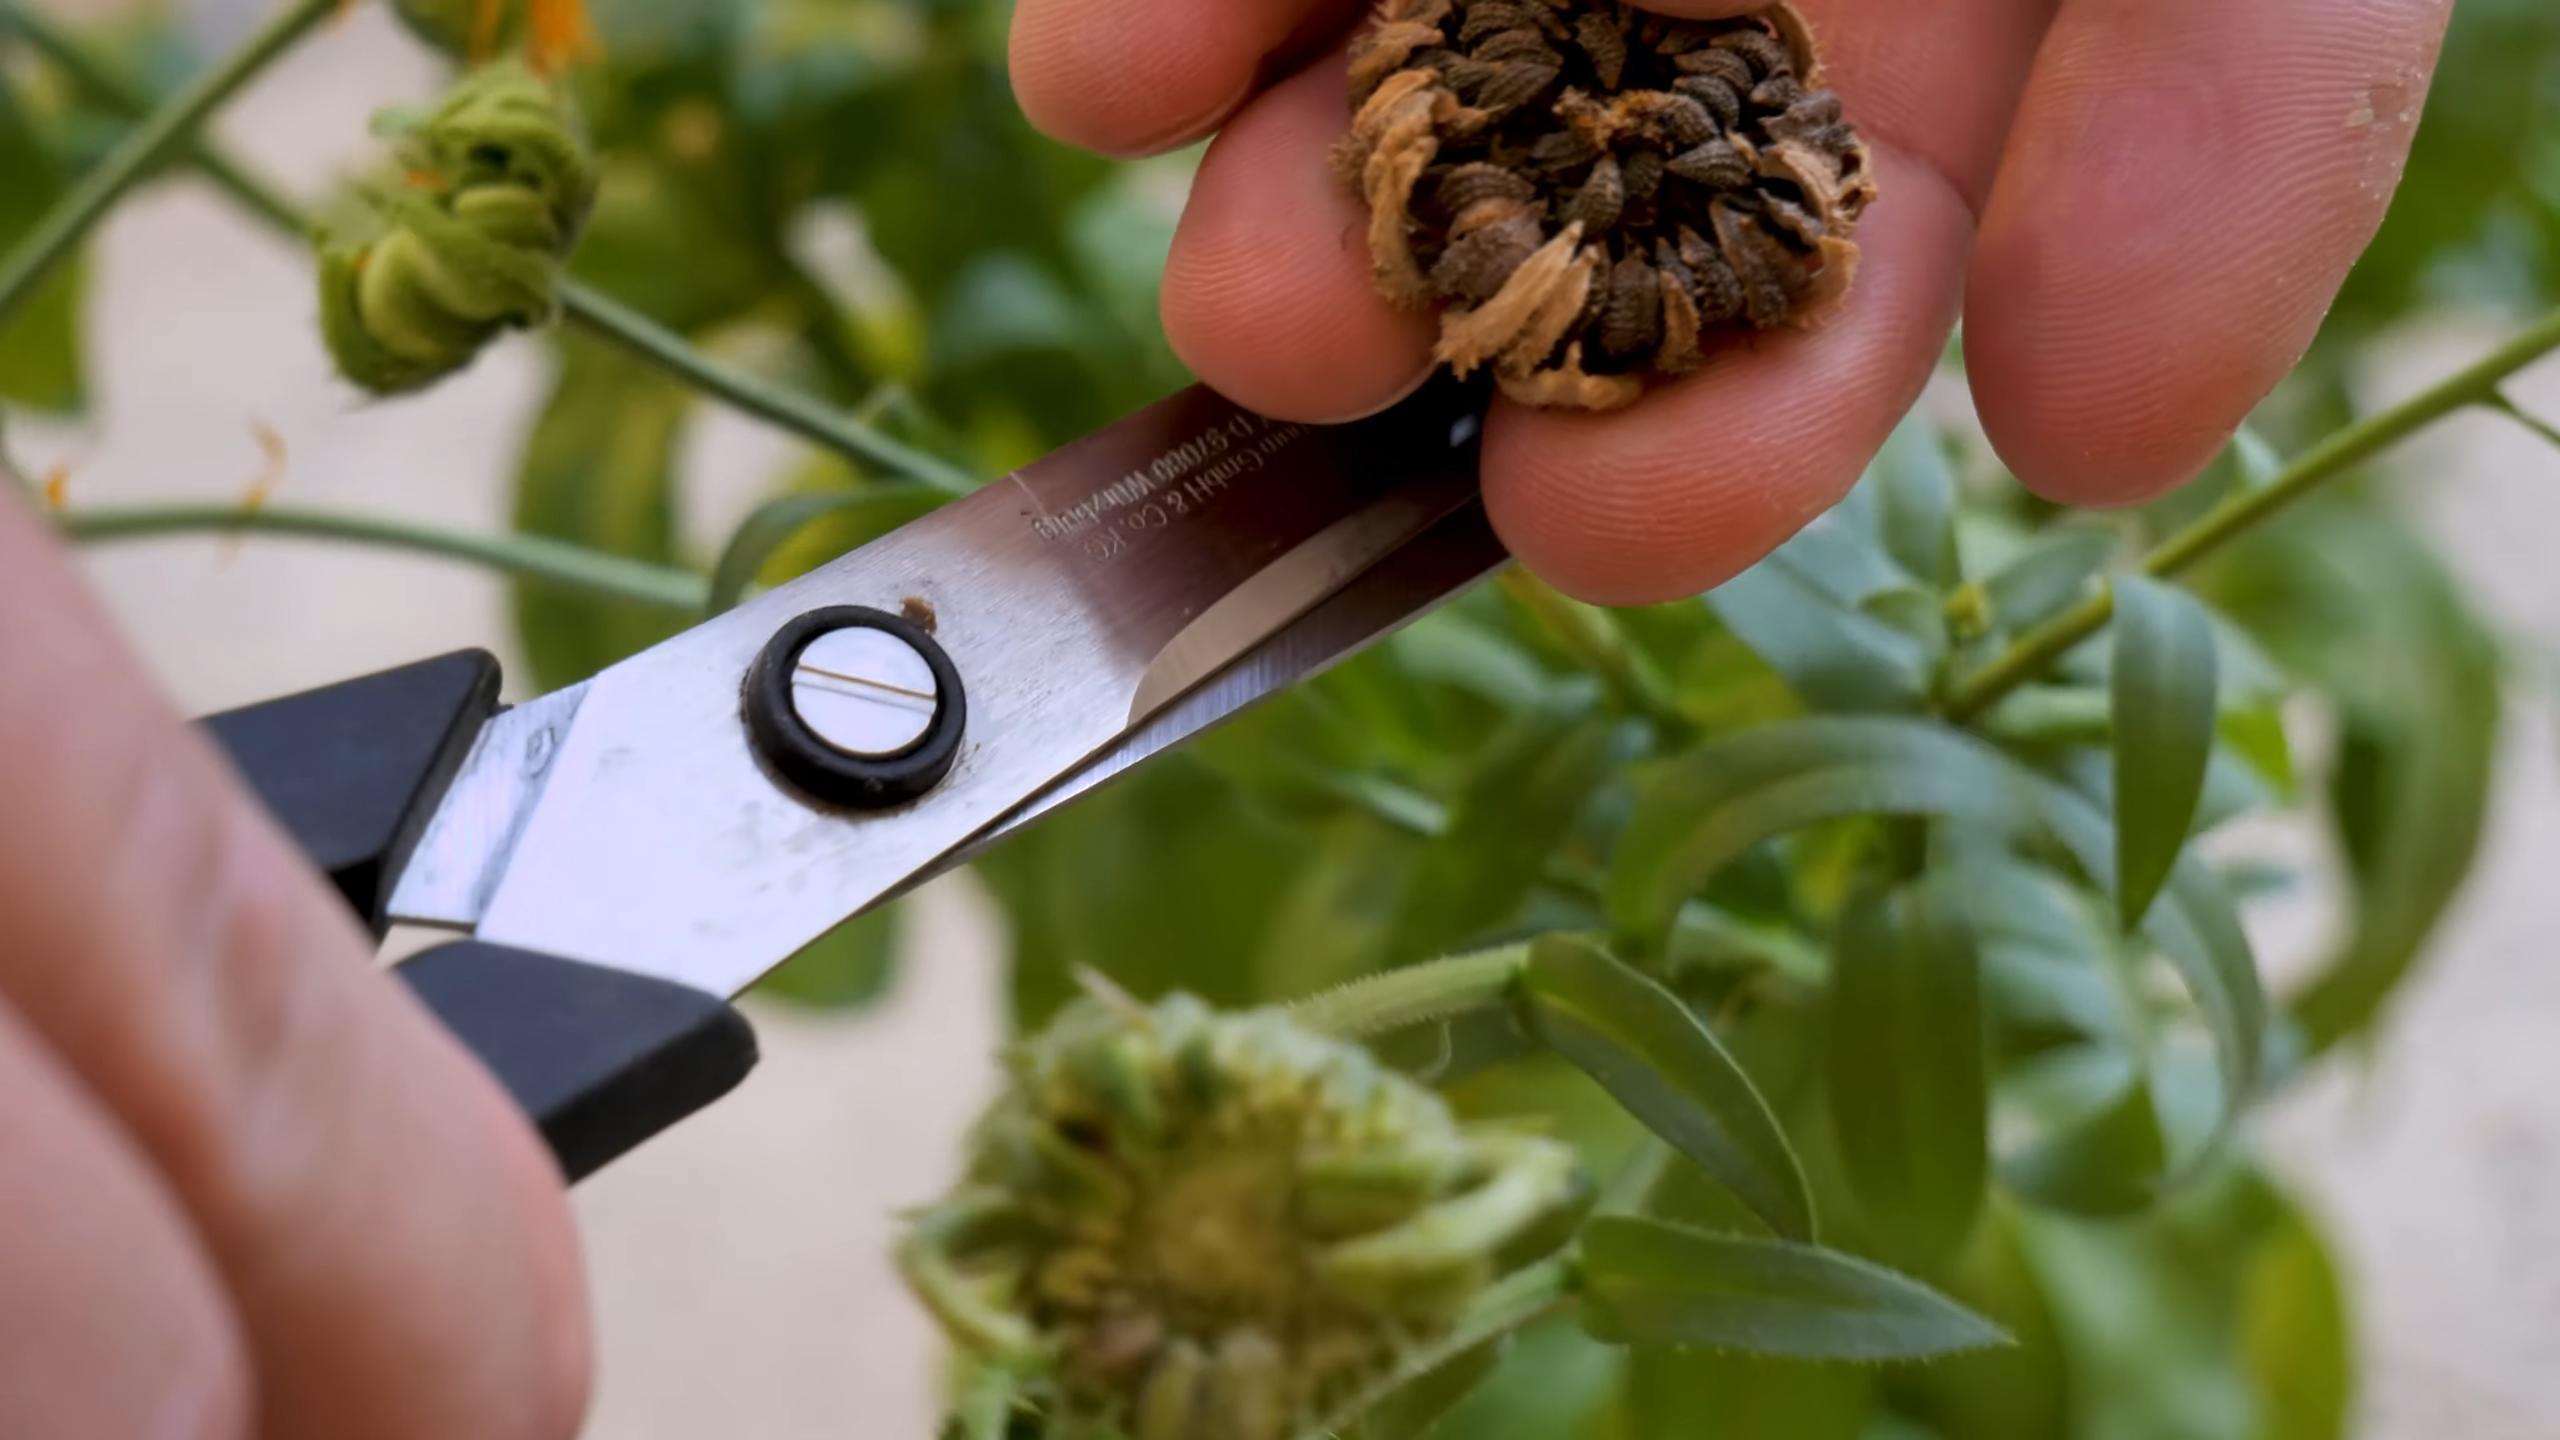
* Harvesting: Harvest the flowers in the morning after the dew has dried. Choose flowers that are fully open and have bright, vibrant petals.
* Drying: You can dry the petals by spreading them out on a screen or tray in a cool, dry place. Alternatively, you can use a dehydrator.
* Using: Calendula petals can be used in salads, soups, and other dishes. They can also be used to make teas, tinctures, and salves. I love adding them to my homemade lip balm for their soothing properties.
Harvesting and Usage Guide:
1. Harvesting Time: Harvest flowers in the morning after the dew has dried.
2. Selection: Choose fully open flowers with bright, vibrant petals.
3. Drying: Dry the petals by spreading them out on a screen or using a dehydrator.
4. Culinary Uses: Add fresh or dried petals to salads, soups, and other dishes.
5. Medicinal Uses: Use the petals to make teas, tinctures, and salves.
Troubleshooting Common Problems
Even with the best care, you might encounter a few problems along the way. Here are some common issues and how to address them:
* Yellowing Leaves: This could be a sign of overwatering, underwatering, or nutrient deficiency. Check the soil moisture and adjust your watering accordingly. If the soil is dry, water thoroughly. If the soil is soggy, allow it to dry out before watering again. You can also try fertilizing your plants with a balanced fertilizer.
* Lack of Blooms: This could be due to insufficient sunlight, lack of fertilizer, or failure to deadhead. Make sure your plants are getting enough sunlight and fertilize them regularly. Don’t forget to deadhead spent flowers!
* Pests: Aphids and spider mites are common pests that can attack calendula. Spray your plants with insecticidal soap or neem oil to control these pests.
* Diseases: Powdery mildew is a common fungal disease that can affect calendula. Improve air circulation and treat your plants with a fungicide if necessary.
Troubleshooting Tips:
1. Yellowing Leaves: Adjust watering and fertilize if needed.
2. Lack of Blooms: Ensure adequate sunlight, fertilize, and deadhead regularly.
3. Pests: Treat with insecticidal soap or neem oil.
4. Diseases: Improve air circulation and treat with a fungicide.
Extending the Blooming Season
Want to keep your calendula blooming for as long as possible? Here are a few tips:
* Succession Planting: Sow seeds every few weeks to ensure a continuous supply of blooms.
* Deadheading: As mentioned earlier, deadheading is crucial for encouraging more blooms.
* Fertilizing:
Conclusion
So, there you have it! Transforming your outdoor space with vibrant, cheerful calendula through container gardening is not just a possibility, it’s a delightful and rewarding reality waiting to unfold. We’ve explored the simplicity of the process, from selecting the perfect container and nurturing the soil to understanding the specific needs of these sun-loving blooms. But why is this DIY trick a must-try? Because it offers a potent combination of beauty, practicality, and personal satisfaction.
Imagine stepping onto your patio or balcony and being greeted by a burst of golden-orange hues. Calendula isn’t just a pretty face; it’s a powerhouse of benefits. These flowers are incredibly easy to grow, making them perfect for beginner gardeners. They attract beneficial insects, helping to keep your garden healthy and thriving. Plus, the petals are edible and have medicinal properties, adding a unique touch to salads, teas, and even homemade skincare products.
But the real magic lies in the flexibility of container gardening. You’re not limited by space or soil conditions. Whether you have a sprawling backyard or a tiny apartment balcony, you can enjoy the beauty and benefits of calendula. And the best part? You’re in complete control. You can choose the container that best suits your style, experiment with different soil mixes, and tailor the growing conditions to your specific environment.
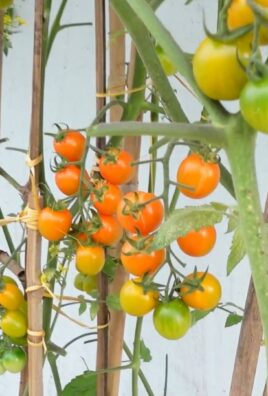
Looking for variations? Consider companion planting. Calendula thrives alongside other herbs and vegetables, such as tomatoes, basil, and lettuce. Not only will this create a visually appealing display, but it will also help to deter pests and improve the overall health of your garden. You could also try growing different varieties of calendula, from the classic orange to the more unusual yellow or cream-colored blooms. Experiment with different container sizes and shapes to create a unique and personalized display. For a truly stunning effect, try cascading calendula varieties in hanging baskets.
Don’t be afraid to get creative and have fun! The beauty of DIY is that there are no hard and fast rules. The most important thing is to experiment and find what works best for you.
We wholeheartedly encourage you to try this DIY calendula container gardening trick. It’s a simple, affordable, and incredibly rewarding way to add beauty, functionality, and a touch of personal flair to your outdoor space. And once you’ve experienced the joy of growing your own calendula, we’d love to hear about it! Share your photos, tips, and experiences in the comments below. Let’s create a community of calendula enthusiasts and inspire others to embrace the beauty of container gardening. Happy gardening!
Frequently Asked Questions (FAQ)
What is the best time of year to start calendula in containers?
Calendula is a cool-season flower, so the best time to start it in containers is either in early spring or late summer/early fall. For a spring bloom, start seeds indoors 6-8 weeks before the last expected frost. You can also direct sow seeds outdoors once the soil has warmed up and the danger of frost has passed. For a fall bloom, sow seeds in late summer or early fall, giving the plants enough time to mature before the first frost. In warmer climates, calendula can be grown year-round.
What kind of soil is best for calendula in containers?
Calendula prefers well-draining soil that is rich in organic matter. A good potting mix for containers should contain a blend of peat moss, perlite, and vermiculite. You can also amend the soil with compost or aged manure to improve its fertility and drainage. Avoid using heavy clay soil, as it can become waterlogged and lead to root rot. The ideal pH for calendula is between 6.0 and 7.0.
How much sunlight does calendula need in containers?
Calendula thrives in full sun, which means it needs at least 6 hours of direct sunlight per day. However, in hot climates, it can benefit from some afternoon shade to prevent the flowers from scorching. If you’re growing calendula indoors, place the container near a sunny window or use grow lights to provide adequate light. Insufficient sunlight can lead to leggy growth and reduced flowering.
How often should I water calendula in containers?
Water calendula regularly, especially during hot and dry weather. The soil should be kept consistently moist, but not waterlogged. Check the soil moisture by sticking your finger into the soil. If the top inch feels dry, it’s time to water. Avoid overwatering, as this can lead to root rot. When watering, water deeply and thoroughly, allowing the excess water to drain out of the bottom of the container.
Do I need to fertilize calendula in containers?
Calendula is not a heavy feeder, but it can benefit from occasional fertilization. Use a balanced liquid fertilizer diluted to half strength every 2-3 weeks during the growing season. Avoid over-fertilizing, as this can lead to excessive foliage growth and reduced flowering. You can also amend the soil with compost or aged manure at planting time to provide a slow-release source of nutrients.
How do I deadhead calendula in containers?
Deadheading is the process of removing spent flowers to encourage more blooms. To deadhead calendula, simply pinch or cut off the faded flowers just below the flower head. This will prevent the plant from putting energy into seed production and encourage it to produce more flowers. Deadheading also helps to keep the plant looking neat and tidy.
Are there any pests or diseases that affect calendula in containers?
Calendula is generally pest and disease resistant, but it can be susceptible to aphids, spider mites, and powdery mildew. Aphids and spider mites can be controlled with insecticidal soap or neem oil. Powdery mildew can be prevented by providing good air circulation and avoiding overhead watering. If powdery mildew does occur, treat it with a fungicide.
Can I harvest calendula petals from my container plants?
Yes, you can harvest calendula petals from your container plants for culinary and medicinal uses. Harvest the petals in the morning after the dew has dried. Choose flowers that are fully open and free from pests or diseases. Gently pluck the petals from the flower head and spread them out on a screen or tray to dry. Once the petals are completely dry, store them in an airtight container in a cool, dark place.
How do I overwinter calendula in containers?
In mild climates, calendula can be overwintered outdoors in containers. Simply cut back the foliage and move the container to a sheltered location. In colder climates, you can bring the container indoors and place it near a sunny window. Water sparingly during the winter months and avoid fertilizing. Calendula may go dormant during the winter, but it will resume growth in the spring.
Can I grow calendula from seed in containers?
Yes, growing calendula from seed in containers is easy and rewarding. You can either start seeds indoors 6-8 weeks before the last expected frost or direct sow seeds outdoors once the soil has warmed up. Sow seeds about 1/4 inch deep and keep the soil moist until they germinate. Once the seedlings have emerged, thin them to the strongest plant per container.
Leave a Comment