
Clean Fridge Fast: Is your refrigerator a chaotic landscape of forgotten leftovers and mystery spills? Let’s face it, cleaning the fridge is nobody’s favorite chore. But what if I told you that you could conquer this kitchen beast in a fraction of the time you thought possible? This isn’t just about tidying up; it’s about reclaiming your sanity and ensuring your food stays fresh and safe!
Throughout history, preserving food has been a constant human endeavor. From ancient ice houses to the modern marvel of refrigeration, we’ve always sought ways to extend the life of our sustenance. A clean fridge is a direct extension of that effort, preventing spoilage and minimizing the risk of foodborne illnesses. Think of it as a modern-day ritual of food preservation!
In today’s busy world, time is precious. Who wants to spend an entire afternoon scrubbing shelves and deciphering the origins of that green fuzz in the back? That’s why I’m sharing my top clean fridge fast DIY tricks and hacks. These simple strategies will not only save you time but also help you maintain a healthier and more organized kitchen. Get ready to transform your fridge from a source of dread into a sparkling sanctuary of freshness!

DIY: Sparkling Clean Fridge in Under an Hour!
Okay, let’s be honest, cleaning the fridge is nobody’s favorite chore. But a clean fridge is a happy fridge (and a happy you!). Plus, it helps your food last longer and prevents those mysterious smells. I’m going to walk you through my super-efficient method for getting your fridge sparkling clean in under an hour. Trust me, you’ll thank me later!
What You’ll Need: The Arsenal of Clean
Before we dive in, let’s gather our supplies. Having everything ready beforehand will save you tons of time.
* Cleaning Solution: I prefer a mixture of warm water and baking soda. It’s natural, effective, and absorbs odors. You can also use a mild dish soap solution if you prefer. Avoid harsh chemicals, as they can leave a residue that could contaminate your food.
* Microfiber Cloths: These are my go-to for cleaning everything! They’re super absorbent and won’t leave streaks. Have a few on hand.
* Old Toothbrush: Perfect for getting into those tight corners and crevices.
* Sponge: For scrubbing tougher spots.
* Trash Bag: For disposing of old food and packaging.
* Cooler or Large Bag: To temporarily store food while you clean.
* Paper Towels: For quick cleanups and drying.
* Optional: Essential oil (lemon or grapefruit are great for a fresh scent), vinegar (for stubborn stains).
Phase 1: The Great Purge and Prep
This is where we empty the fridge and get it ready for its spa day.
1. Unplug the Fridge (Optional but Recommended): This is a safety precaution, especially if you’re going to be using water. Plus, it gives your fridge a little break. If you choose not to unplug, be extra careful around electrical components.
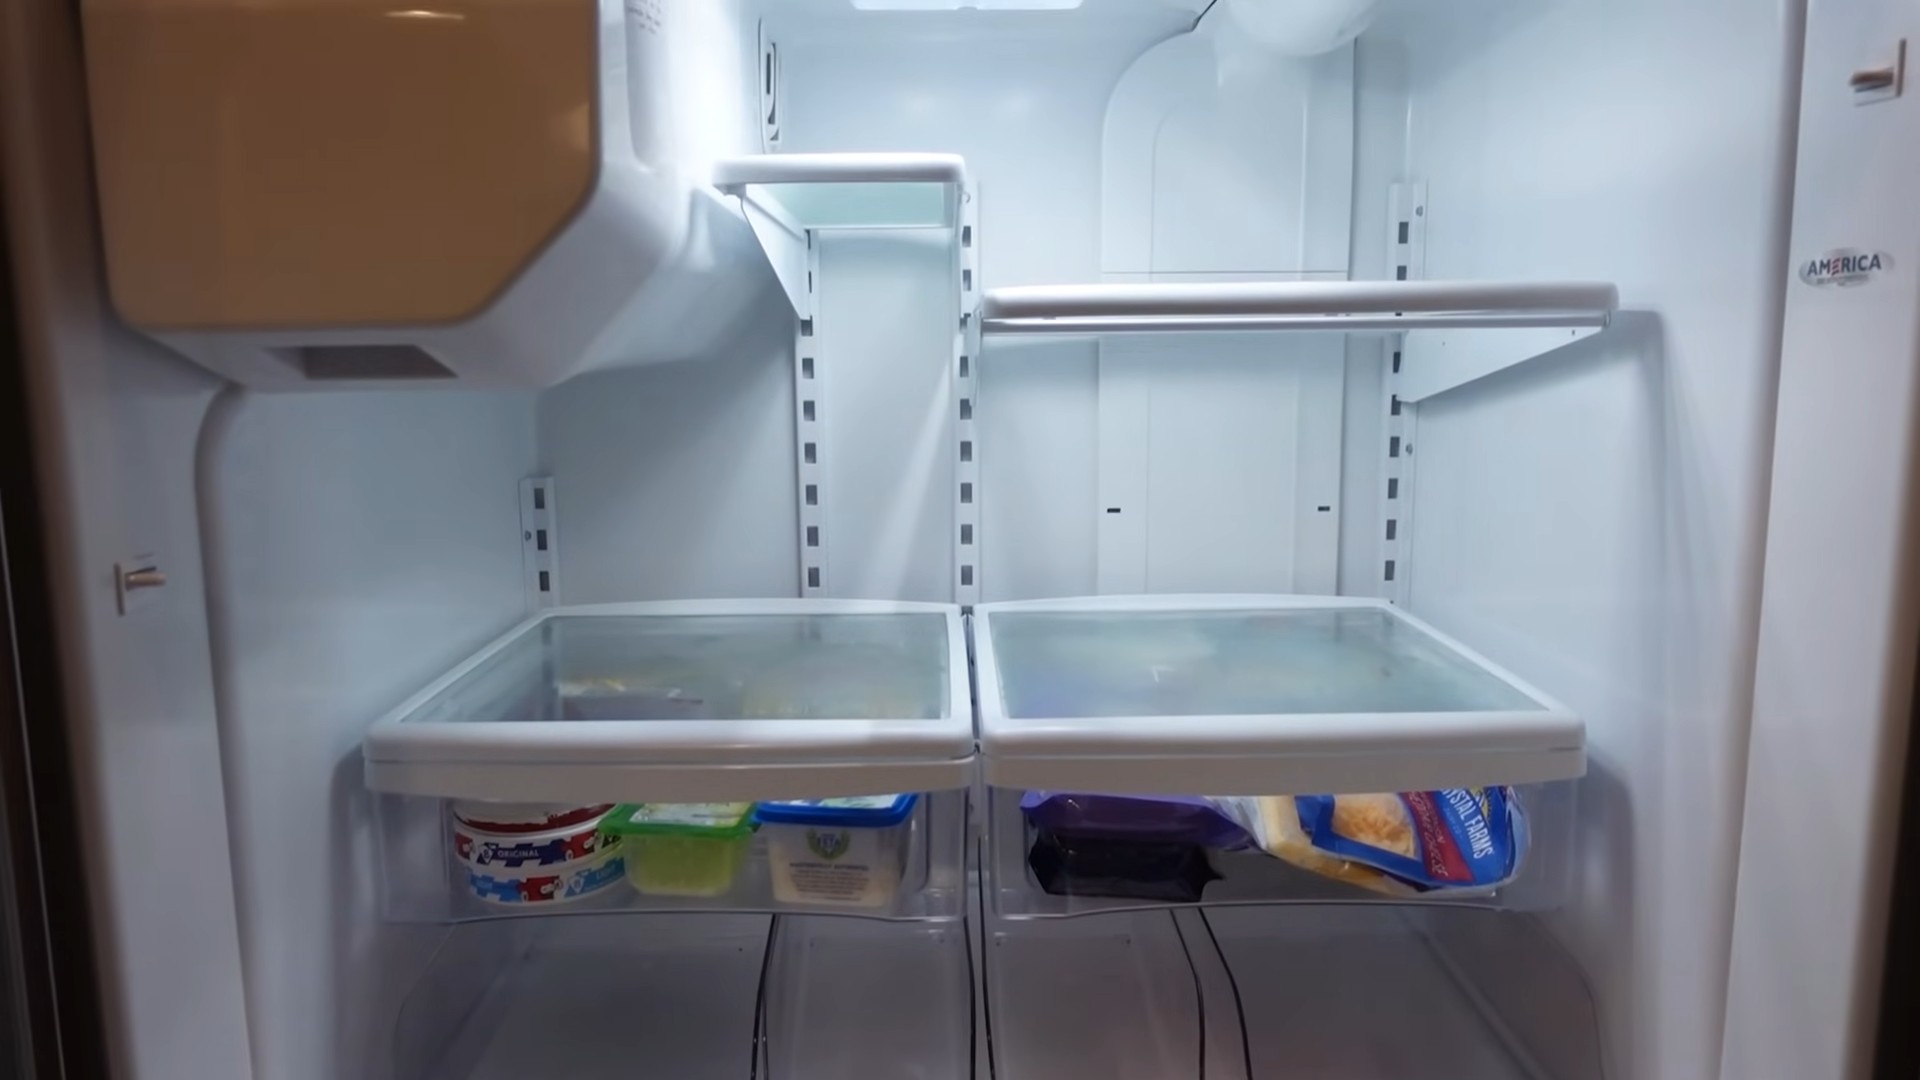
2. Empty the Fridge: Take everything out! I mean everything. This is the most important step. As you remove items, check expiration dates and toss anything that’s past its prime. Be honest with yourself – that jar of pickles from 2020 probably isn’t worth saving.
3. Sort and Store: As you’re emptying, sort your food into categories (dairy, produce, condiments, etc.). Place perishable items in your cooler or large bag with ice packs to keep them cold. This is crucial to prevent food spoilage.
4. Remove Shelves and Drawers: Take out all removable shelves, drawers, and bins. This will allow you to clean them thoroughly and reach every nook and cranny inside the fridge.
5. Prepare Your Cleaning Solution: Mix your warm water and baking soda (about 1 tablespoon of baking soda per quart of water) in a bowl or spray bottle. If you’re using dish soap, use a very small amount – just a squirt or two in a bowl of warm water.
Phase 2: Scrub-a-Dub-Dub: Cleaning the Interior
Now for the fun part – getting rid of all that grime!
1. Wipe Down the Interior Walls: Dip your microfiber cloth into your cleaning solution and thoroughly wipe down all interior surfaces of the fridge, including the walls, ceiling, and floor. Pay special attention to areas where spills have occurred.
2. Tackle Stubborn Stains: For tough stains, let the cleaning solution sit for a few minutes before scrubbing with your sponge or old toothbrush. If the stain persists, try a paste of baking soda and water. Apply the paste, let it sit for a few minutes, and then scrub. For really stubborn stains, you can use a diluted vinegar solution (1 part vinegar to 1 part water).
3. Clean the Door: Don’t forget the door! Wipe down the shelves, compartments, and seals. Use your old toothbrush to clean the seals, as they tend to accumulate crumbs and grime.
4. Rinse and Dry: Once you’ve cleaned all the interior surfaces, rinse them with a clean, damp microfiber cloth. Then, dry everything thoroughly with a clean, dry microfiber cloth or paper towels. This will prevent water spots and mildew growth.
Phase 3: Shelves and Drawers: Giving Them Some Love
These removable parts often get the dirtiest, so let’s give them some extra attention.
1. Wash Shelves and Drawers: Wash the shelves, drawers, and bins in warm, soapy water. You can do this in your sink or bathtub. Use your sponge to scrub away any food residue or stains.
2. Rinse Thoroughly: Rinse all the shelves and drawers thoroughly with clean water to remove any soap residue.
3. Dry Completely: Dry the shelves and drawers completely with a clean, dry microfiber cloth or let them air dry. Make sure they are completely dry before putting them back in the fridge to prevent moisture buildup.
Phase 4: The Finishing Touches: Reassembly and Odor Control
Almost there! Now we put everything back together and make sure our fridge smells fresh.
1. Reassemble the Fridge: Once everything is dry, put the shelves, drawers, and bins back into the fridge.
2. Restock the Fridge: Carefully put your food back into the fridge, making sure to organize it in a way that makes sense for you. Place items with earlier expiration dates in the front so you don’t forget about them.
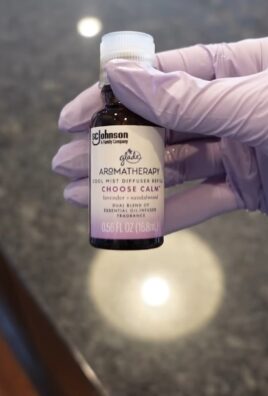
3. Odor Control: To keep your fridge smelling fresh, place an open box of baking soda in the back. You can also use a cotton ball soaked in vanilla extract or a few drops of essential oil (lemon or grapefruit) on a cotton ball.
4. Wipe Down the Exterior: Finally, wipe down the exterior of the fridge with a clean, damp microfiber cloth. You can use a stainless steel cleaner if you have a stainless steel fridge.
5. Plug the Fridge Back In: If you unplugged the fridge, plug it back in.
Extra Tips and Tricks for a Super Clean Fridge:
* Prevent Spills: Line your shelves with paper towels or plastic wrap to catch spills and make cleanup easier.
* Regular Maintenance: Wipe up spills immediately to prevent them from becoming stubborn stains.
* Check Expiration Dates Regularly: Get into the habit of checking expiration dates every week to prevent food waste and keep your fridge clean.
* Organize Your Fridge: A well-organized fridge is easier to clean and helps you find what you need quickly.
* Use Fridge Liners: Consider using reusable fridge liners for your drawers. These are easy to remove and wash, making cleanup a breeze.
* Clean the Condenser Coils: The condenser coils are located on the back or bottom of your fridge. Cleaning them regularly (every 6 months or so) will help your fridge run more efficiently. Unplug the fridge and use a vacuum cleaner with a brush attachment to remove dust and debris.
* Don’t Overcrowd: Overcrowding your fridge can restrict airflow and make it harder to keep food cold.
* Label Leftovers: Label and date your leftovers so you know when they were made and when they need to be eaten.
* Consider a Water Filter: If your fridge has a water filter, replace it regularly according to the manufacturer’s instructions.
* Deep Clean Regularly: Even with regular maintenance, it’s a good idea to deep clean your fridge every few months.
And there you have it! A sparkling clean fridge in under an hour. Now you can enjoy a fresh, organized fridge and say goodbye to those mysterious smells. Happy cleaning!
Conclusion
So, there you have it! This simple, yet incredibly effective DIY trick for a clean fridge fast is more than just a cleaning hack; it’s a game-changer for your kitchen hygiene and overall well-being. Think about it: a clean fridge isn’t just aesthetically pleasing; it’s a crucial step in preventing foodborne illnesses, extending the shelf life of your groceries, and even reducing unpleasant odors that can permeate your entire kitchen.
We’ve walked you through the process, highlighting how easy it is to create your own natural cleaning solution using ingredients you likely already have in your pantry. No harsh chemicals, no lingering toxic smells, just a sparkling clean fridge achieved with minimal effort and maximum impact.
But the beauty of this DIY approach lies in its adaptability. Feel free to experiment with variations to suit your specific needs and preferences. For instance, if you’re dealing with particularly stubborn stains or lingering odors, consider adding a few drops of essential oils like lemon, grapefruit, or tea tree oil to your cleaning solution. These oils not only provide a pleasant scent but also possess powerful antibacterial and antifungal properties.
Another variation you might want to explore is using baking soda as a gentle abrasive for tougher spots. Simply make a paste of baking soda and water, apply it to the affected area, let it sit for a few minutes, and then scrub gently with a soft cloth. Remember to always test any new cleaning solution or abrasive on a small, inconspicuous area first to ensure it doesn’t damage the surface of your fridge.
Beyond the basic cleaning solution, consider investing in some organizational tools to help maintain a clean and tidy fridge in the long run. Clear storage containers, shelf liners, and even a simple labeling system can make a world of difference in keeping your fridge organized and preventing spills and messes from accumulating.
Why is this DIY trick a must-try? Because it’s cost-effective, eco-friendly, and incredibly efficient. You’re saving money on expensive commercial cleaners, reducing your exposure to harmful chemicals, and achieving a superior level of cleanliness with minimal effort. It’s a win-win-win situation!
We are confident that once you try this DIY trick, you’ll be amazed at how easy it is to achieve a sparkling clean fridge in a fraction of the time. It’s a simple change that can have a significant impact on your kitchen hygiene and overall well-being.
So, what are you waiting for? Gather your ingredients, follow the steps outlined in this article, and prepare to be amazed by the results. And most importantly, we encourage you to share your experience with us! Let us know how this DIY trick worked for you, what variations you tried, and any tips or tricks you discovered along the way. Your feedback is invaluable and helps us continue to provide you with the best possible cleaning solutions. Share your before and after photos on social media and tag us! We can’t wait to see your sparkling clean fridges!
FAQ
What if I don’t have vinegar? Can I use something else?
Yes, absolutely! While vinegar is a fantastic natural cleaner and deodorizer, you can substitute it with lemon juice. Lemon juice has similar acidic properties and a refreshing scent. Use equal parts lemon juice and water in place of the vinegar solution. Another option, although slightly less effective for deodorizing, is a mild dish soap solution. Just be sure to rinse thoroughly to remove any soap residue.
How often should I clean my fridge using this method?
Ideally, you should aim to give your fridge a thorough cleaning using this DIY method at least once a month. However, spot cleaning spills and messes as they occur is crucial for maintaining a clean and hygienic fridge. A quick wipe-down of shelves and drawers every week can also help prevent buildup and keep your fridge looking its best.
Is this cleaning solution safe for all types of fridge surfaces?
Generally, yes, this DIY cleaning solution is safe for most fridge surfaces, including plastic, glass, and stainless steel. However, it’s always a good idea to test the solution on a small, inconspicuous area first, especially if you have a particularly delicate or unusual fridge surface. Avoid using abrasive scrubbers or harsh chemicals, as these can scratch or damage the finish.
My fridge has a really bad odor. Will this DIY cleaning solution get rid of it?
This DIY cleaning solution is effective at neutralizing many common fridge odors. However, for particularly stubborn or strong odors, you may need to take additional steps. First, identify and remove the source of the odor (e.g., spoiled food). Then, try placing an open box of baking soda or a bowl of activated charcoal in your fridge to absorb lingering odors. You can also try wiping down the interior of your fridge with a solution of equal parts water and vanilla extract.
Can I use essential oils other than lemon, grapefruit, or tea tree oil?
Yes, you can experiment with other essential oils, but be sure to choose oils that are safe for use around food and have antibacterial or antifungal properties. Lavender, eucalyptus, and peppermint oil are all good options. Use essential oils sparingly, as a little goes a long way. A few drops are usually sufficient to add a pleasant scent and boost the cleaning power of your solution.
What’s the best way to clean the door seals of my fridge?
The door seals of your fridge can accumulate dirt, grime, and mold over time, so it’s important to clean them regularly. Use a soft cloth or sponge dampened with warm, soapy water to wipe down the seals. For stubborn grime, you can use an old toothbrush to gently scrub the seals. Be sure to dry the seals thoroughly after cleaning to prevent mold growth.
How can I prevent my fridge from getting dirty in the first place?
Prevention is key to keeping your fridge clean and organized. Here are a few tips:
* Store food in airtight containers to prevent spills and leaks.
* Wipe up spills immediately.
* Check expiration dates regularly and discard expired food.
* Organize your fridge so that frequently used items are easily accessible.
* Use shelf liners to protect your shelves from spills and messes.
What if I have hard water? Will that affect the cleaning solution?
Hard water can sometimes leave spots or streaks on surfaces after cleaning. If you have hard water, you can try using distilled water to make your DIY cleaning solution. You can also add a small amount of white vinegar to the solution to help counteract the effects of hard water. Be sure to dry the surfaces thoroughly after cleaning to prevent water spots.
Is it necessary to unplug my fridge before cleaning it?
While it’s not strictly necessary to unplug your fridge before cleaning it, it’s generally a good idea to do so for safety reasons. Unplugging your fridge will prevent any accidental shocks or electrical issues while you’re cleaning. Plus, it will give your fridge a chance to defrost slightly, which can make it easier to remove stubborn ice buildup.
How do I clean the ice dispenser and water filter?
Refer to your refrigerator’s manual for specific instructions on cleaning the ice dispenser and replacing the water filter. Generally, you’ll need to remove the ice bin and wash it with warm, soapy water. You can also use a damp cloth to wipe down the interior of the ice dispenser. Replace the water filter according to the manufacturer’s recommendations to ensure that your water is clean and fresh.


Leave a Comment