
Clean Kitchen Sink: Is your kitchen sink looking less than sparkling? Let’s face it, the kitchen sink is the unsung hero of our homes, battling food scraps, greasy dishes, and everything in between. But all that hard work can leave it looking grimy and dull. Don’t despair! I’m here to share some amazing DIY tricks and hacks to get your sink shining like new again.
For generations, a clean and organized kitchen has been a symbol of a well-kept home. In many cultures, the kitchen is considered the heart of the house, and maintaining its cleanliness is a sign of respect and care. While our ancestors may have used simpler methods, the desire for a spotless sink remains the same.
Why bother with these DIY tricks? Because a clean kitchen sink isn’t just about aesthetics. It’s about hygiene! A dirty sink can harbor bacteria and unpleasant odors, impacting your overall kitchen environment. Plus, who wants to spend time in a grimy space? These simple, cost-effective solutions will not only make your sink look fantastic but also create a healthier and more enjoyable cooking experience. So, grab your supplies, and let’s get started on transforming your sink from drab to fab!
DIY Deep Clean Your Kitchen Sink: A Sparkling Transformation!
Okay, let’s face it, our kitchen sinks take a beating. From food scraps to greasy pans, they’re a breeding ground for grime and bacteria. But don’t worry, I’m here to guide you through a simple, yet effective, DIY deep clean that will leave your sink sparkling and smelling fresh! This isn’t just a quick wipe-down; we’re going for a truly deep clean.
What You’ll Need:
Before we dive in, let’s gather our supplies. I promise, you probably already have most of these lying around!
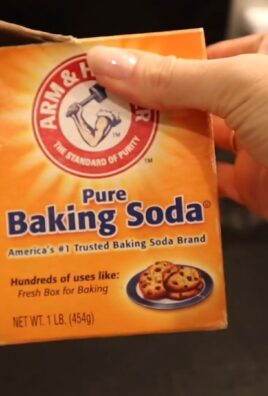
* Baking Soda
* White Vinegar
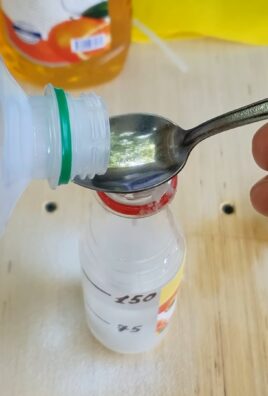
* Dish Soap
* Lemon (optional, but adds a lovely scent!)
* Salt (coarse salt is best)
* Old Toothbrush or Scrub Brush
* Microfiber Cloths or Sponges
* Boiling Water
* Rubber Gloves (optional, but recommended for sensitive skin)
* Spray Bottle (optional, for vinegar)
* Olive Oil (for stainless steel sinks)
Prepping Your Sink: The Foundation for Cleanliness
Before we unleash the cleaning power, we need to prep the area. This ensures we’re not just moving dirt around.
1. Clear the Decks: Remove everything from your sink – dishes, sponges, dish rack, everything! We want a completely empty canvas.
2. Rinse Away Loose Debris: Give the sink a good rinse with warm water to wash away any loose food particles or grime. This makes the cleaning process much easier.
3. Dry the Sink: Use a clean microfiber cloth to dry the sink thoroughly. This allows the cleaning agents to work more effectively.
The Baking Soda & Vinegar Power Duo: Our Cleaning Arsenal
This is where the magic happens! Baking soda and vinegar are a dynamic duo when it comes to cleaning. The baking soda acts as a gentle abrasive, while the vinegar cuts through grease and grime.
1. Coat the Sink with Baking Soda: Generously sprinkle baking soda all over the sink, covering the bottom, sides, and even the faucet. Don’t be shy!
2. Vinegar Time! Now, slowly pour white vinegar over the baking soda. You’ll see it fizz – that’s the chemical reaction working its magic! If you have a spray bottle, you can spray the vinegar instead of pouring it. This can help distribute it more evenly.
3. Let it Sit: Allow the baking soda and vinegar mixture to sit for about 10-15 minutes. This gives it time to loosen the grime and break down any stubborn stains.
Scrub-a-Dub-Dub: Getting Down to the Nitty-Gritty
Now it’s time to get our hands dirty (well, cleaner, actually!).
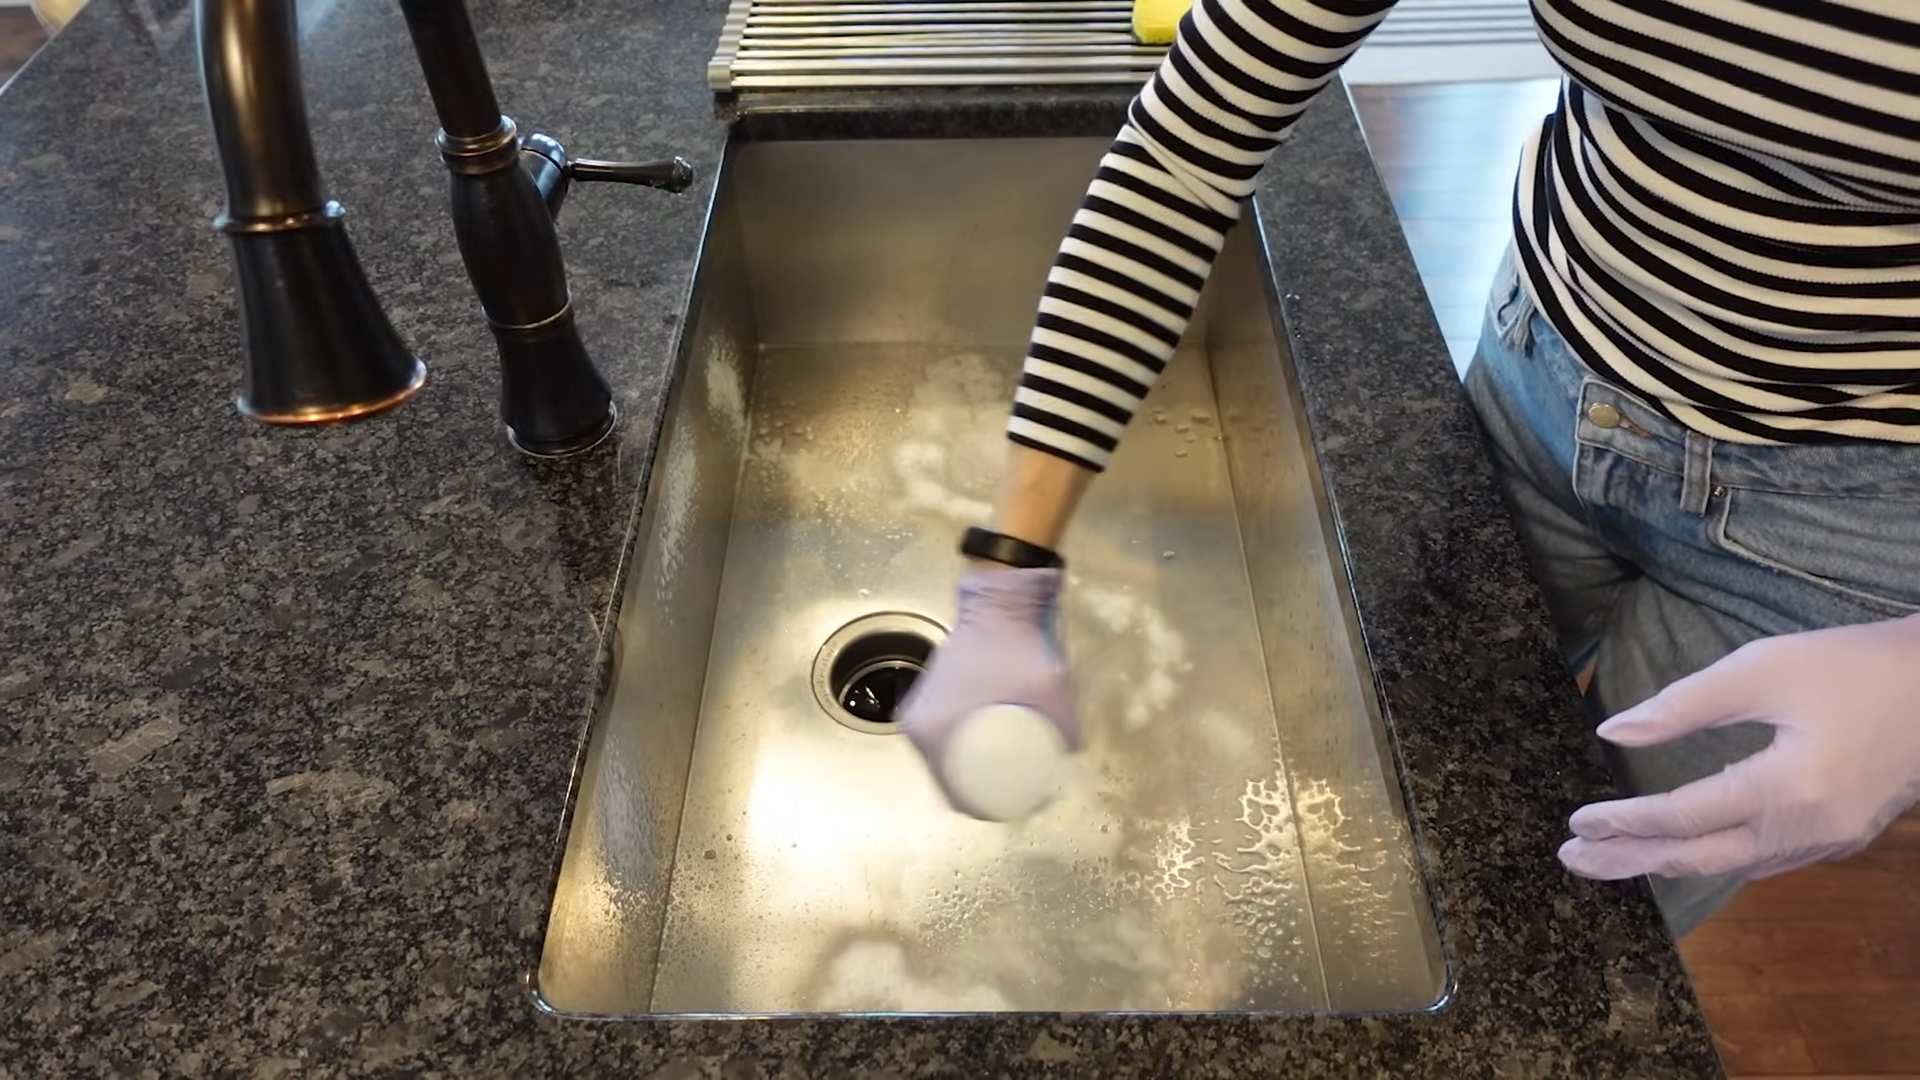
1. Scrub, Scrub, Scrub: Using your old toothbrush or scrub brush, scrub the entire sink thoroughly. Pay special attention to the corners, edges, and around the drain, where grime tends to accumulate.
2. Focus on Stubborn Stains: If you encounter any stubborn stains, make a paste of baking soda and a little water. Apply the paste to the stain and let it sit for a few minutes before scrubbing again.
3. Clean the Faucet: Don’t forget the faucet! Use the toothbrush to scrub around the base and any hard-to-reach areas. You can also use a vinegar-soaked cloth to wipe down the faucet.
Rinsing and Inspecting: The Moment of Truth
Almost there! Now it’s time to rinse away the cleaning agents and see the results of our hard work.
1. Rinse Thoroughly: Rinse the sink thoroughly with warm water, making sure to remove all traces of baking soda and vinegar.
2. Inspect for Remaining Grime: Take a close look at the sink. Are there any spots you missed? If so, repeat the scrubbing process in those areas.
3. Boiling Water Flush: Carefully pour a kettle of boiling water down the drain. This helps to flush out any remaining debris and grease that may be lurking in the pipes. Be careful not to splash yourself with the boiling water!
Dealing with Specific Sink Types: Tailoring the Clean
The cleaning process is generally the same for most sink types, but there are a few nuances to consider.
Stainless Steel Sinks:
Stainless steel sinks are prone to water spots and streaks. After rinsing, dry the sink thoroughly with a clean microfiber cloth. For extra shine, you can apply a small amount of olive oil to a clean cloth and buff the sink. This will help protect the surface and give it a beautiful luster.
Porcelain Sinks:
Porcelain sinks can be more delicate than stainless steel. Avoid using abrasive cleaners or scrub brushes, as they can scratch the surface. Stick to baking soda and vinegar, and use a soft sponge or cloth for scrubbing.
Composite Sinks:
Composite sinks are generally durable and easy to clean. However, they can be susceptible to staining. For stubborn stains, try using a paste of baking soda and hydrogen peroxide.
Adding the Finishing Touches: Scent and Shine
Now that our sink is clean, let’s add some finishing touches to make it truly sparkle and smell amazing!
1. Lemon Power (Optional): Cut a lemon in half and rub it all over the sink. The lemon juice will help to disinfect the surface and leave a fresh, citrusy scent.
2. Salt Scrub for the Drain: Pour a cup of coarse salt down the drain, followed by hot water. This helps to deodorize the drain and prevent clogs.
3. Dry and Buff: Once again, dry the sink thoroughly with a clean microfiber cloth. Buff the surface to remove any water spots and enhance the shine.
Maintaining Your Sparkling Sink: Prevention is Key
Now that you have a sparkling clean sink, let’s talk about how to keep it that way!
* Rinse After Each Use: Make it a habit to rinse the sink after each use to prevent food particles and grime from building up.
* Wipe Down Regularly: Wipe down the sink with a damp cloth and a little dish soap every day to remove any spills or splatters.
* Avoid Harsh Chemicals: Avoid using harsh chemicals or abrasive cleaners, as they can damage the sink’s surface.
* Use a Sink Strainer: A sink strainer will catch food particles and prevent them from clogging the drain.
* Deep Clean Regularly: Repeat this deep cleaning process every few weeks to keep your sink in tip-top shape.
Troubleshooting Common Sink Problems:
Sometimes, despite our best efforts, we encounter specific sink problems. Here’s how to tackle a few common issues:
* Clogged Drain: If your drain is clogged, try using a plunger or a drain snake to dislodge the blockage. You can also try pouring a mixture of baking soda and vinegar down the drain, followed by hot water.
* Hard Water Stains: Hard water stains can be difficult to remove. Try using a solution of equal parts white vinegar and water to soak the affected area. You can also use a commercial hard water stain remover.
* Rust Stains: Rust stains can occur in stainless steel sinks. Try using a paste of baking soda and lemon juice to scrub the rust away. You can also use a commercial rust remover.
Extra Tips and Tricks:
* Use a Magic Eraser: For particularly stubborn stains, a magic eraser can be a lifesaver. Just be careful not to scrub too hard, as it can scratch the surface.
* Essential Oils: Add a few drops of your favorite essential oil to the baking soda and vinegar mixture for an extra boost of fragrance. Lemon, tea tree, and eucalyptus are all great options.
* Prevent Water Spots: To prevent water spots on stainless steel sinks, dry the sink immediately after each use. You can also use a stainless steel cleaner and polish.
And there you have it! A sparkling clean kitchen sink that you can be proud of. Remember, consistency is key. By incorporating these simple cleaning habits into your routine, you can keep your sink looking its best for years to come. Happy cleaning!
Conclusion
So, there you have it! A simple, effective, and surprisingly satisfying way to achieve a sparkling clean kitchen sink using ingredients you likely already have in your pantry. Forget harsh chemicals and expensive cleaning solutions. This DIY method is not only budget-friendly but also environmentally conscious, reducing your reliance on potentially harmful substances.
Why is this DIY trick a must-try? Because it delivers real results. It tackles stubborn stains, eliminates unpleasant odors, and leaves your sink looking and feeling refreshed. A clean kitchen sink is more than just aesthetically pleasing; it’s a crucial step in maintaining a hygienic kitchen environment, preventing the spread of germs and bacteria. Think about all the food preparation that happens around your sink – keeping it clean is paramount for the health and safety of your family.
Beyond the basic method, there are plenty of ways to customize this cleaning routine to suit your specific needs and preferences. For instance, if you’re dealing with particularly tough stains, consider letting the baking soda paste sit for a longer period, perhaps even overnight. For an extra boost of disinfecting power, add a few drops of tea tree oil or eucalyptus oil to your vinegar solution. These essential oils not only have antibacterial properties but also leave behind a pleasant, natural scent.
Another variation involves using lemon juice instead of vinegar. Lemon juice is a natural bleaching agent and can be particularly effective at removing hard water stains and brightening stainless steel. Simply cut a lemon in half and rub it directly onto the affected areas, allowing the juice to sit for a few minutes before rinsing.
If you have a garbage disposal, don’t forget to give it some attention as well. After cleaning your sink, pour a cup of baking soda down the drain, followed by a cup of vinegar. Let it fizz for about 30 minutes, then flush with hot water. This will help to deodorize and unclog your garbage disposal, keeping your entire sink area fresh and clean.
This DIY approach to a clean kitchen sink is not just about cleaning; it’s about taking control of your home environment and making conscious choices about the products you use. It’s about embracing a more sustainable and healthier lifestyle.
We are confident that once you try this simple yet effective method, you’ll be amazed by the results. It’s a game-changer for maintaining a sparkling clean and hygienic kitchen.
So, what are you waiting for? Gather your supplies, roll up your sleeves, and give your kitchen sink the TLC it deserves. We encourage you to try this DIY trick and share your experience with us! Let us know in the comments below how it worked for you, what variations you tried, and any tips or tricks you discovered along the way. We love hearing from our readers and learning from your experiences. Together, we can create a community of clean and happy homes! Don’t forget to share this article with your friends and family so they can benefit from this amazing DIY cleaning solution too!
Frequently Asked Questions
1. How often should I clean my kitchen sink using this DIY method?
The frequency of cleaning depends on how often you use your sink and how prone it is to staining. As a general guideline, we recommend cleaning your sink thoroughly using this DIY method at least once a week. However, if you notice stains or odors developing more frequently, you may need to clean it more often. Daily rinsing and wiping down with a mild soap and water can also help to prevent buildup and maintain cleanliness between deeper cleans.
2. Can I use this method on all types of kitchen sinks?
This DIY cleaning method is generally safe for most types of kitchen sinks, including stainless steel, porcelain, and composite sinks. However, it’s always a good idea to test a small, inconspicuous area first to ensure that the ingredients don’t cause any discoloration or damage. Avoid using abrasive scrub brushes or harsh chemicals on delicate surfaces like enamel or acrylic sinks. For specific sink materials, consult the manufacturer’s instructions for recommended cleaning practices.
3. What if I don’t have baking soda or vinegar? Are there any alternatives?
While baking soda and vinegar are the key ingredients in this DIY cleaning method, there are some alternatives you can use if you don’t have them on hand. For example, you can use lemon juice or cream of tartar instead of vinegar. Lemon juice is a natural bleaching agent and can be particularly effective at removing hard water stains. Cream of tartar is a mild abrasive that can help to scrub away stubborn grime. If you don’t have baking soda, you can try using a paste made from salt and water. However, baking soda is generally more effective at absorbing odors and loosening stains.
4. How do I get rid of stubborn stains that won’t come off with baking soda and vinegar?
For particularly stubborn stains, you may need to use a stronger cleaning solution. Try making a paste of baking soda and hydrogen peroxide. Apply the paste to the stain, let it sit for 30 minutes, and then scrub with a soft brush. You can also try using a commercial cleaner specifically designed for your sink material. Always follow the manufacturer’s instructions carefully and test the cleaner in an inconspicuous area first. For rust stains, try using a rust remover or a paste made from lemon juice and salt.
5. My kitchen sink smells bad even after cleaning it. What could be the cause?
If your kitchen sink smells bad even after cleaning it, the problem may be in your garbage disposal or drain. Food particles and grease can build up in these areas, causing unpleasant odors. To deodorize your garbage disposal, pour a cup of baking soda down the drain, followed by a cup of vinegar. Let it fizz for about 30 minutes, then flush with hot water. You can also grind up some citrus peels or ice cubes to help freshen the disposal. If the odor persists, you may need to clean the drain trap or call a plumber to inspect for blockages.
6. Can I use this method to clean my bathroom sink as well?
Yes, this DIY cleaning method can be used to clean your bathroom sink as well. The ingredients are safe and effective for removing soap scum, toothpaste stains, and other common bathroom grime. However, be careful when using vinegar on certain types of bathroom fixtures, such as marble or granite countertops, as it can etch the surface. Always test in an inconspicuous area first.
7. Is this DIY cleaning method safe for septic systems?
Yes, this DIY cleaning method is generally safe for septic systems. Baking soda and vinegar are both natural and biodegradable, and they won’t harm the beneficial bacteria in your septic tank. However, avoid using excessive amounts of these ingredients, as they can disrupt the balance of your septic system. If you have any concerns, consult with a septic system professional.
8. How can I prevent my kitchen sink from getting dirty in the first place?
Prevention is key to keeping your kitchen sink clean and hygienic. Here are a few tips to help prevent buildup and stains:
* Rinse your sink after each use to remove food particles and soap residue.
* Wipe down your sink with a clean cloth or sponge daily.
* Avoid pouring grease down the drain.
* Use a sink strainer to catch food scraps.
* Clean your sink regularly with a mild soap and water.
* Dry your sink after each use to prevent water spots and mineral buildup.
By following these simple tips, you can keep your kitchen sink looking its best and reduce the need for frequent deep cleaning.

Leave a Comment