
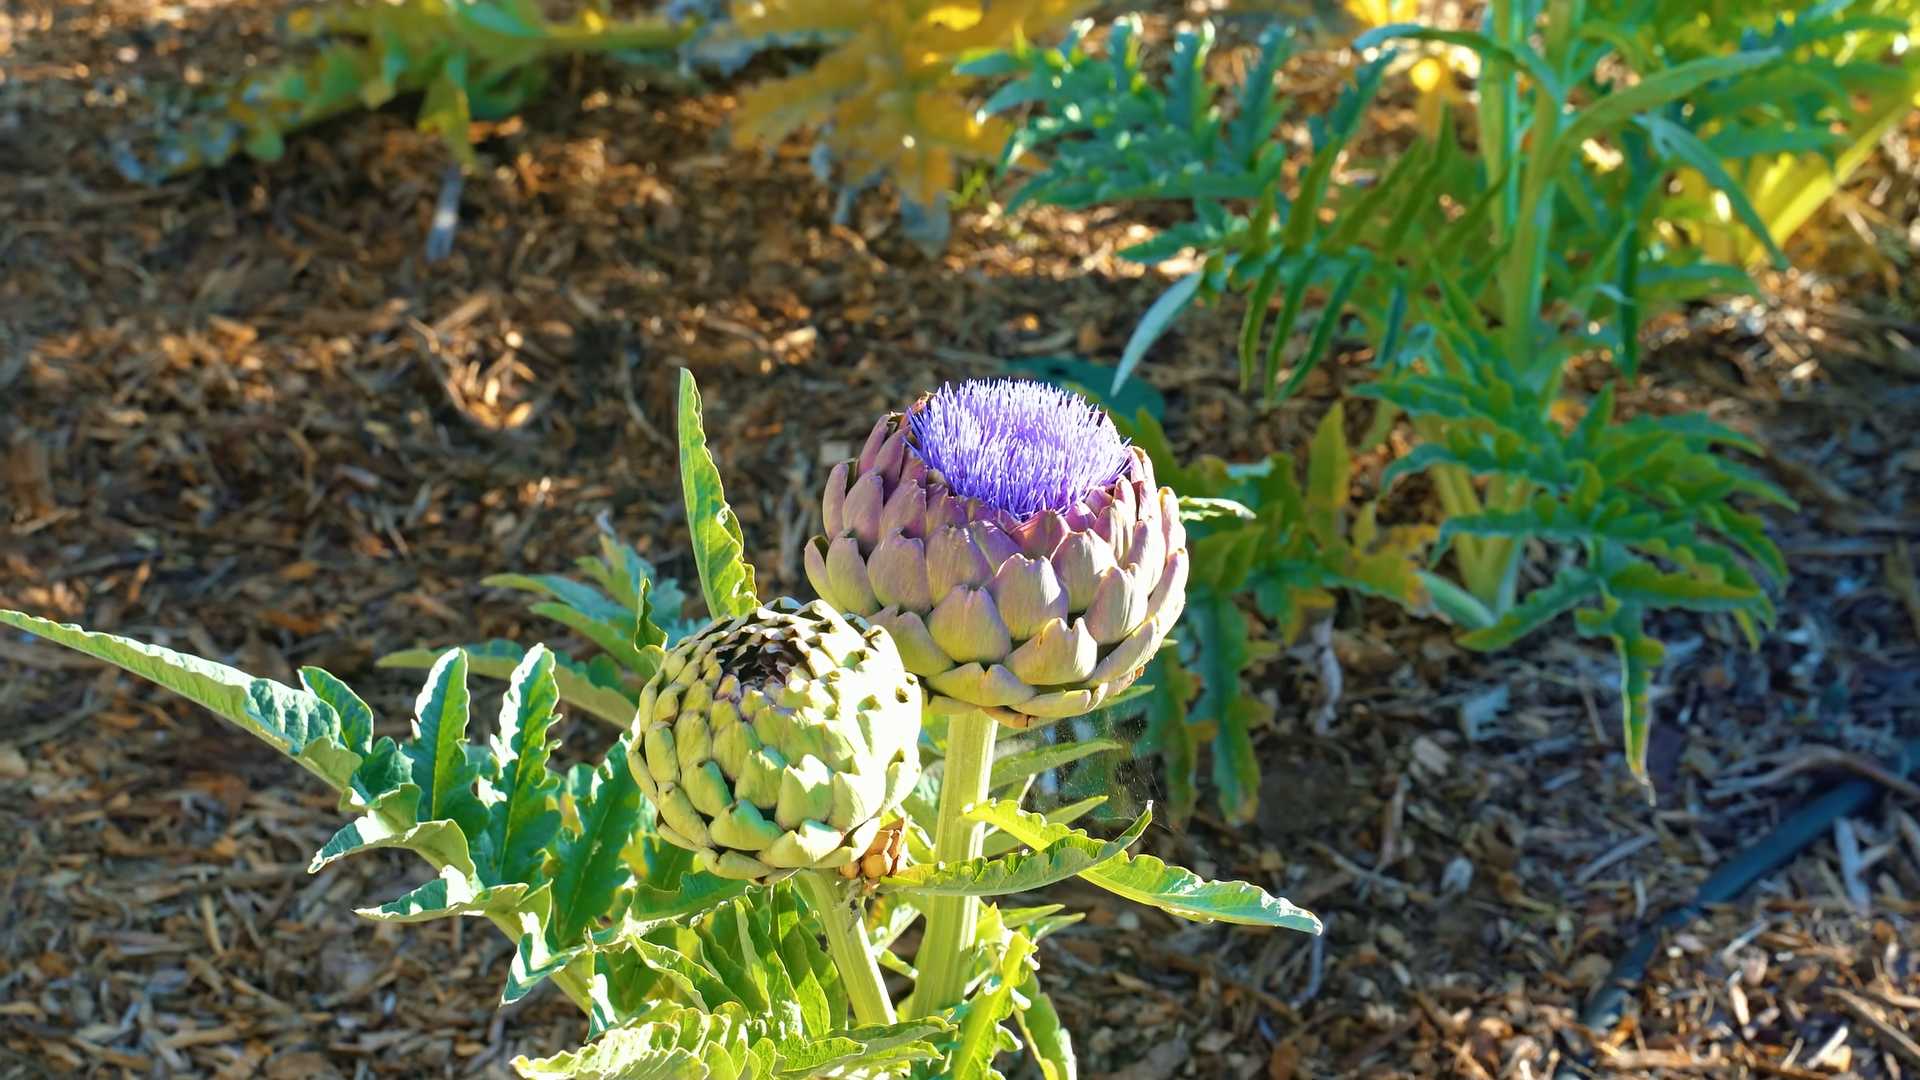
Growing Artichokes at Home might seem like a culinary dream reserved for seasoned gardeners, but I’m here to tell you it’s totally achievable, even if you’re a beginner! Forget those expensive grocery store prices and imagine plucking your own spiky treasures straight from your backyard.
Artichokes, with their architectural beauty and delectable hearts, have a rich history. Originating in the Mediterranean, they were prized by the ancient Greeks and Romans for their culinary and medicinal properties. For centuries, they’ve been a symbol of abundance and sophisticated taste. Now, you can bring that touch of Mediterranean elegance to your own garden!
Why should you bother with this DIY project? Well, beyond the bragging rights (which are totally deserved!), growing artichokes at home allows you to control the quality of your food, avoid harmful pesticides, and enjoy the freshest, most flavorful artichokes imaginable. Plus, it’s incredibly rewarding to nurture a plant from seedling to harvest. This guide will provide you with simple, step-by-step instructions and clever hacks to ensure your artichoke adventure is a delicious success. Let’s get started!
DIY Cleaning Hacks from the Pros: Sparkling Home, Happy You!
Okay, let’s be honest, cleaning isn’t exactly anyone’s favorite pastime. But a clean home? That’s a game-changer! I’ve gathered some amazing cleaning hacks from professional cleaners that will make your life so much easier. Get ready to ditch the elbow grease and embrace a sparkling clean home with these tips and tricks!
Tackling the Kitchen: Grease and Grime Be Gone!
The kitchen, the heart of the home, often bears the brunt of our culinary adventures. Let’s get it gleaming!
Cleaning the Microwave Like a Pro
This is one of my absolute favorite hacks because it’s so simple and effective. No more scrubbing!
1. Gather Your Supplies: You’ll need a microwave-safe bowl, water, vinegar (or lemon juice), and a sponge or cloth.
2. Prepare the Cleaning Solution: Fill the bowl with about 1 cup of water. Add 2 tablespoons of white vinegar or lemon juice. The vinegar/lemon helps to loosen the grime.
3. Microwave Magic: Place the bowl in the microwave and heat it on high for 5-7 minutes. You want the water to boil and create steam.
4. Let it Sit: Leave the microwave door closed for another 3-5 minutes. This allows the steam to further loosen the stuck-on food particles.
5. Wipe it Down: Carefully remove the bowl (it will be hot!). Use a sponge or cloth to easily wipe away the loosened grime. You’ll be amazed at how easily it comes off!
6. Final Touches: For stubborn spots, you might need a little extra scrubbing, but it should be minimal. Wipe down the turntable and the outside of the microwave as well.
Degreasing the Stovetop with Baking Soda
Burnt-on grease on the stovetop? No problem! Baking soda is your new best friend.
1. Gather Your Supplies: You’ll need baking soda, water, a sponge or cloth, and a spray bottle (optional).
2. Create a Baking Soda Paste: Mix baking soda with a little water to form a thick paste. The consistency should be similar to toothpaste.
3. Apply the Paste: Generously apply the baking soda paste to the greasy areas of your stovetop.
4. Let it Sit: Allow the paste to sit for at least 15-20 minutes. For really stubborn grease, you can let it sit for a few hours.
5. Scrub and Wipe: Use a damp sponge or cloth to scrub the stovetop. The baking soda will act as a gentle abrasive, lifting the grease.
6. Rinse and Dry: Rinse the stovetop thoroughly with clean water and dry it with a clean cloth.
7. For Burner Grates: For burner grates, you can soak them in a solution of hot water and baking soda for a few hours before scrubbing.
Cleaning the Oven with Ammonia (Use with Caution!)
Important Safety Note: Ammonia can be irritating. Ensure proper ventilation by opening windows and wearing gloves. Never mix ammonia with bleach, as this creates toxic fumes.
1. Gather Your Supplies: You’ll need ammonia, a bowl, hot water, a sponge or cloth, and gloves.
2. Prepare the Oven: Remove the oven racks and any loose debris.
3. Ammonia Treatment: Pour about 1/2 cup of ammonia into a bowl and place it inside the cold oven.
4. Boiling Water: Place a pot of boiling water on the bottom rack of the oven.
5. Close the Door: Close the oven door and let it sit overnight. The ammonia fumes and steam will loosen the baked-on grime.
6. Ventilate and Clean: The next day, open the oven door and windows to ventilate the area. Remove the bowl of ammonia and the pot of water.
7. Wipe it Down: Use a damp sponge or cloth to easily wipe away the loosened grime. You may need to scrub a little for stubborn spots.
8. Rinse and Dry: Rinse the oven thoroughly with clean water and dry it with a clean cloth.
9. Clean Oven Racks: Soak the oven racks in hot, soapy water for a few hours, then scrub them clean.
Bathroom Bliss: Sparkling Showers and Gleaming Toilets
The bathroom can be a breeding ground for grime and mildew. Let’s conquer it!
Shower Head Cleaning with Vinegar
Hard water stains and mineral buildup can clog your shower head and reduce water pressure. This hack will restore it to its former glory.
1. Gather Your Supplies: You’ll need white vinegar, a plastic bag (sandwich bag or larger), a rubber band or twist tie, and a toothbrush (optional).
2. Fill the Bag with Vinegar: Fill the plastic bag with enough white vinegar to completely submerge the shower head.
3. Secure the Bag: Attach the bag to the shower head using a rubber band or twist tie. Make sure the shower head is fully submerged in the vinegar.
4. Soak Overnight: Let the shower head soak in the vinegar overnight. This will dissolve the mineral buildup.
5. Remove and Rinse: Remove the bag and discard the vinegar. Rinse the shower head thoroughly with water.
6. Scrub (Optional): If there are any stubborn deposits, use a toothbrush to gently scrub them away.
7. Run the Shower: Run the shower for a few minutes to flush out any remaining vinegar and debris.
Toilet Bowl Cleaning with Baking Soda and Vinegar
This is a natural and effective way to clean and deodorize your toilet bowl.
1. Gather Your Supplies: You’ll need baking soda, white vinegar, and a toilet brush.
2. Sprinkle Baking Soda: Sprinkle about 1 cup of baking soda into the toilet bowl.
3. Pour in Vinegar: Slowly pour about 2 cups of white vinegar into the bowl. The mixture will fizz.
4. Let it Fizz: Let the mixture fizz for about 30 minutes. This will help to loosen stains and grime.
5. Scrub and Flush: Use a toilet brush to scrub the bowl thoroughly. Flush the toilet to rinse.
Cleaning Grout with Baking Soda and Hydrogen Peroxide
Dirty grout can make your bathroom look dingy. This hack will brighten it up!
1. Gather Your Supplies: You’ll need baking soda, hydrogen peroxide, a small bowl, a toothbrush or grout brush, and gloves.
2. Create a Paste: Mix baking soda with enough hydrogen peroxide to form a thick paste.
3. Apply the Paste: Apply the paste to the grout lines.
4. Let it Sit: Let the paste sit for at least 15-20 minutes. For heavily stained grout, you can let it sit for longer.
5. Scrub: Use a toothbrush or grout brush to scrub the grout lines.
6. Rinse: Rinse the grout lines thoroughly with water.
Living Room and Bedroom Refresh: Dust and Odor Control
Let’s not forget the living room and bedroom! These spaces need some love too.
Dusting Like a Pro: Microfiber Magic
Ditch the feather duster! Microfiber cloths are the key to effective dusting.
1. Gather Your Supplies: You’ll need microfiber cloths and a spray bottle with water (optional).
2. Dampen the Cloth (Optional): Lightly dampen the microfiber cloth with water. This helps to trap dust more effectively.
3. Dust from Top to Bottom: Start dusting from the highest surfaces and work your way down. This prevents dust from falling onto already cleaned surfaces.
4. Clean the Cloth Frequently: Shake out or rinse the microfiber cloth frequently to remove accumulated dust.
5. For Electronics: Use a dry microfiber cloth to dust electronics.
Freshening Up Upholstery with Baking Soda
Baking soda is a natural odor absorber and can help to freshen up your upholstery.
1. Gather Your Supplies: You’ll need baking soda and a vacuum cleaner with an upholstery attachment.
2. Sprinkle Baking Soda: Generously sprinkle baking soda over the upholstery.
3. Let it Sit: Let the baking soda sit for at least 30 minutes, or even overnight for stubborn odors.
4. Vacuum Thoroughly: Vacuum the upholstery thoroughly to remove the baking soda.
Window Cleaning for Streak-Free Shine
Streaky windows are a pet peeve! This hack will give you sparkling clean windows.
1. Gather Your Supplies: You’ll need white vinegar, water, a spray bottle, a microfiber cloth, and a squeegee (optional).
2. Prepare the Cleaning Solution: Mix equal parts
Conclusion
So, there you have it! Growing artichokes at home might seem daunting at first, but with a little patience and the right approach, you can enjoy the unique flavor and satisfaction of harvesting your own homegrown delicacies. This DIY trick, focusing on starting your artichokes from seed indoors, offers a significant advantage over directly sowing them in the garden, especially in regions with shorter growing seasons. It allows you to give your artichoke plants a head start, ensuring they are strong and healthy enough to produce those prized buds in their first year.
Why is this a must-try? Because it unlocks the potential for a truly rewarding gardening experience. Imagine the pride of serving a dish featuring artichokes you nurtured from tiny seeds! Beyond the bragging rights, you’ll also have access to fresher, more flavorful artichokes than you can typically find in stores. Plus, you’ll know exactly what went into growing them, avoiding any unwanted pesticides or chemicals.
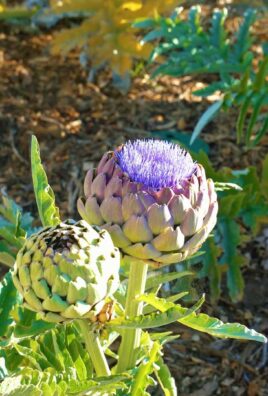
But the fun doesn’t stop there! Feel free to experiment with different artichoke varieties. ‘Green Globe’ is a classic choice, known for its large, meaty buds. ‘Violetta’ offers a beautiful purple hue and a slightly sweeter flavor. ‘Imperial Star’ is a good option for cooler climates, as it matures relatively quickly.
Consider also the location of your artichoke patch. While they thrive in full sun, providing some afternoon shade in hotter climates can prevent the buds from scorching. Soil preparation is also key. Artichokes are heavy feeders, so amending your soil with plenty of compost and well-rotted manure will provide them with the nutrients they need to flourish.
Don’t be afraid to get creative with your artichoke harvest! Grilled artichokes with a lemon-herb vinaigrette are always a crowd-pleaser. Steamed artichokes with drawn butter are a simple yet elegant appetizer. And artichoke hearts add a delicious depth of flavor to pasta dishes, salads, and dips.
We wholeheartedly encourage you to give this DIY trick a try. It’s a fantastic way to connect with nature, learn new gardening skills, and enjoy the unparalleled taste of homegrown artichokes. Once you’ve embarked on your artichoke-growing adventure, we’d love to hear about your experiences! Share your tips, tricks, and triumphs in the comments below. Let’s build a community of artichoke enthusiasts and inspire others to discover the joy of growing their own food. Remember, the journey of growing artichokes at home is just as rewarding as the delicious harvest itself. So, grab your seeds, prepare your soil, and get ready to experience the magic of homegrown artichokes!
Frequently Asked Questions (FAQ)
What is the best time to start artichoke seeds indoors?
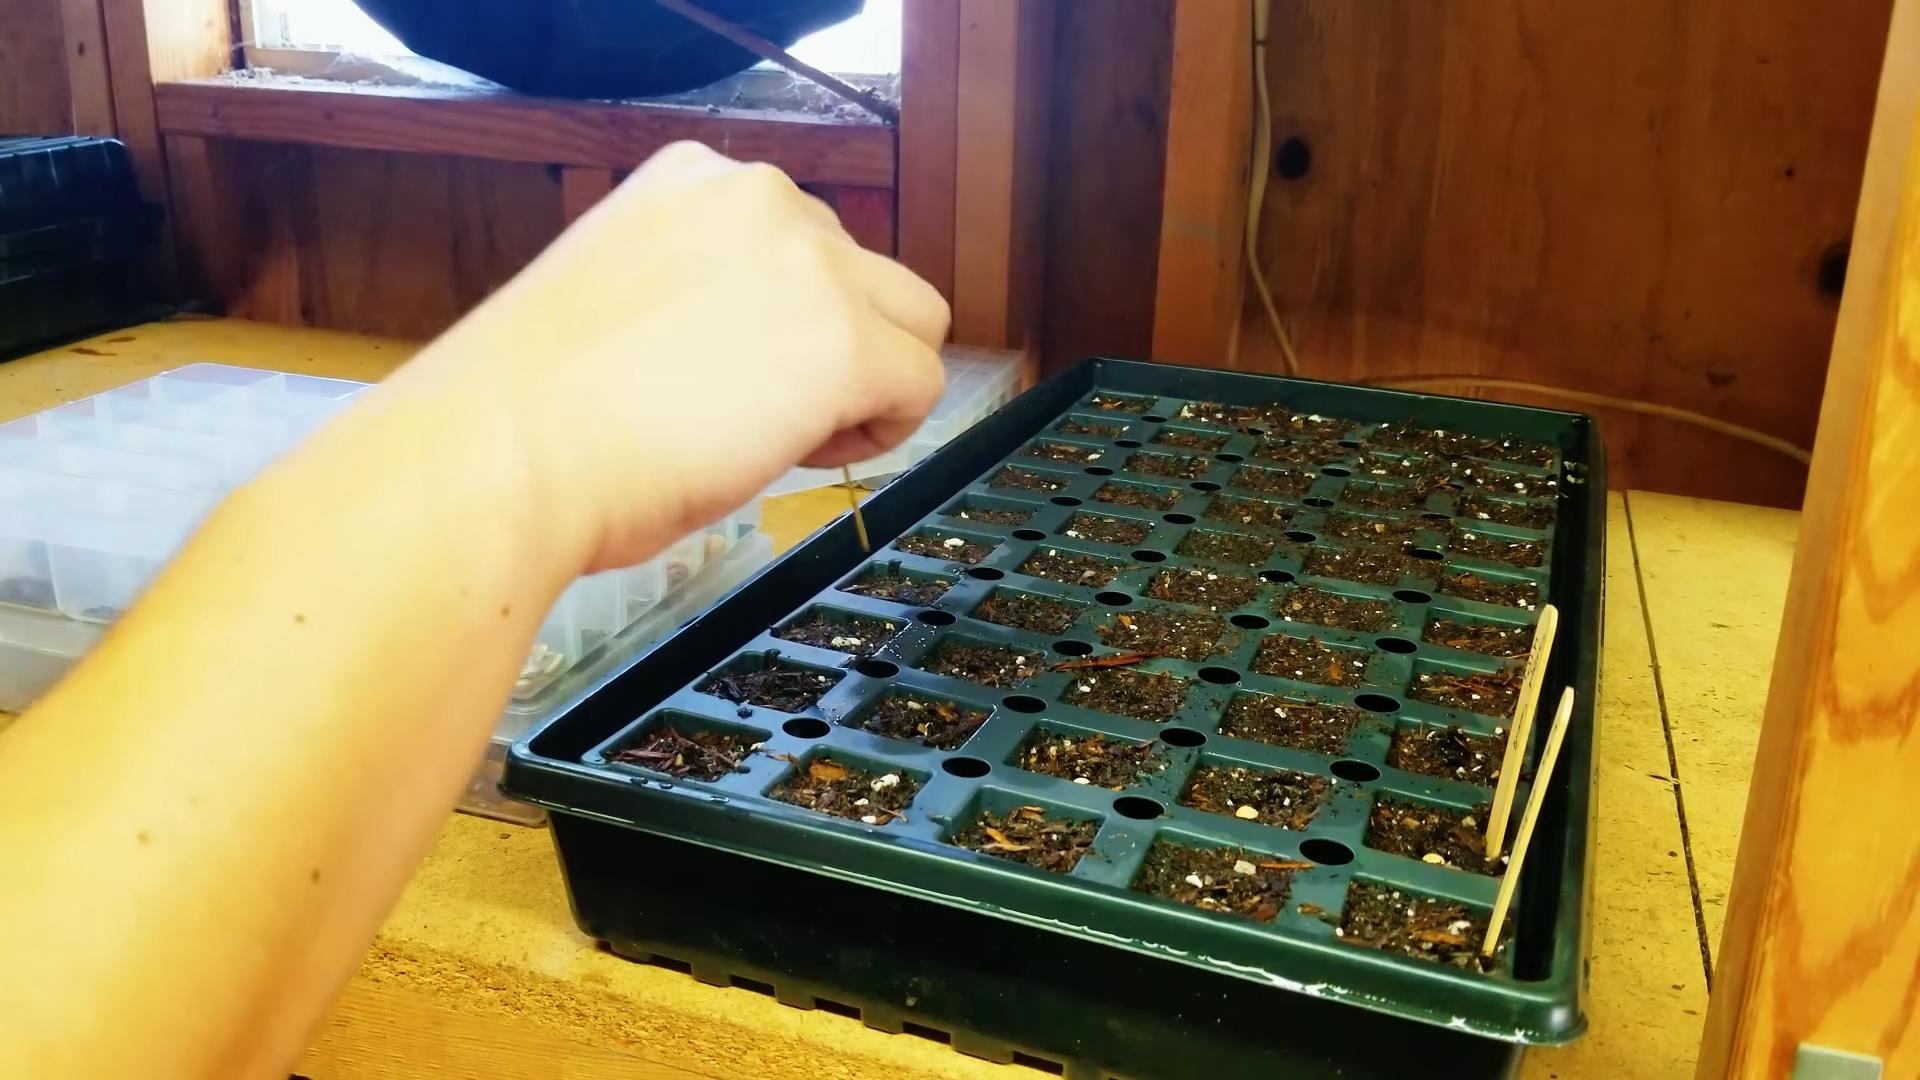
The ideal time to start your artichoke seeds indoors is typically 8-10 weeks before the last expected frost in your area. This gives the seedlings ample time to develop a strong root system before being transplanted outdoors. Check your local frost dates to determine the appropriate timing for your region. Starting early is crucial for maximizing your chances of a harvest in the first year, especially in cooler climates.
How do I germinate artichoke seeds successfully?
Artichoke seeds can be a bit finicky to germinate, but following these steps will increase your success rate:
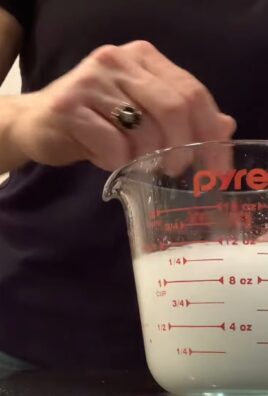
1. **Chill the seeds:** Stratification, or chilling the seeds, can improve germination rates. Place the seeds in a damp paper towel inside a sealed plastic bag and refrigerate for 2-3 weeks.
2. **Sow in seed-starting mix:** Use a high-quality seed-starting mix that is well-draining.
3. **Maintain consistent moisture:** Keep the soil consistently moist but not waterlogged.
4. **Provide warmth:** Artichoke seeds germinate best at temperatures between 70-75°F (21-24°C). Use a heat mat if necessary.
5. **Provide light after germination:** Once the seedlings emerge, provide them with plenty of bright, indirect light. A grow light is ideal.
When can I transplant my artichoke seedlings outdoors?
Transplant your artichoke seedlings outdoors after the last expected frost and when the soil has warmed up. Harden off the seedlings for a week or two before transplanting to acclimate them to outdoor conditions. To harden off, gradually expose the seedlings to increasing amounts of sunlight and outdoor temperatures each day. Choose a sunny location with well-drained soil.
How much space do artichoke plants need?
Artichoke plants can grow quite large, so they need plenty of space. Allow at least 3-4 feet between plants and 4-6 feet between rows. This will ensure that the plants have enough room to grow and that air can circulate freely, reducing the risk of disease.
What kind of soil do artichokes prefer?
Artichokes thrive in well-drained, fertile soil that is rich in organic matter. Amend your soil with plenty of compost and well-rotted manure before planting. The ideal soil pH is between 6.0 and 7.0.
How often should I water my artichoke plants?
Artichokes need consistent moisture, especially during hot, dry weather. Water deeply and regularly, especially when the buds are developing. Avoid overhead watering, as this can increase the risk of fungal diseases. Mulching around the plants can help to retain moisture in the soil.
Do artichokes need fertilizer?
Yes, artichokes are heavy feeders and benefit from regular fertilization. Apply a balanced fertilizer every few weeks during the growing season. You can also side-dress the plants with compost or well-rotted manure.
How do I know when my artichokes are ready to harvest?
Artichokes are ready to harvest when the buds are plump and firm, and the scales are still tightly closed. The size of the bud will vary depending on the variety. Cut the stem about 2-3 inches below the bud.
Are artichokes perennial plants?
In mild climates (zones 7-10), artichokes are perennial plants and will come back year after year. In colder climates, they are often grown as annuals. However, you can try to overwinter them by cutting back the foliage and mulching heavily around the base of the plant.
What are some common pests and diseases that affect artichokes?
Common pests that affect artichokes include aphids, snails, and slugs. Diseases include powdery mildew and botrytis blight. Monitor your plants regularly and take action promptly if you notice any signs of pests or diseases. Organic pest control methods, such as insecticidal soap and copper tape, can be effective. Ensure good air circulation around the plants to prevent fungal diseases.
Can I grow artichokes in containers?
Yes, you can grow artichokes in containers, but you will need a large container (at least 20 gallons) to accommodate their root system. Use a high-quality potting mix and provide regular watering and fertilization. Container-grown artichokes may need to be overwintered indoors in colder climates.
How do I overwinter artichokes in cold climates?
In colder climates, you can try to overwinter artichokes by cutting back the foliage to a few inches above the ground after the first frost. Mulch heavily around the base of the plant with straw or leaves to protect the roots from freezing. You can also dig up the plants and store them in a cool, dark place over the winter. Replant them in the spring after the last frost.

Leave a Comment