
Dawn soap cleaning hacks – who knew such a humble bottle could unlock a treasure trove of cleaning power? I’m constantly amazed by the versatility of this everyday household staple. For generations, Dawn dish soap has been a trusted ally in tackling greasy messes, but its uses extend far beyond the kitchen sink. Think about it: our grandmothers likely used a simpler version of this same soap to keep their homes sparkling!
In today’s busy world, we’re all searching for efficient and cost-effective ways to maintain a clean and healthy living space. That’s where these DIY cleaning tricks come in. Forget spending a fortune on specialized cleaners; with a little Dawn and some creativity, you can conquer everything from stubborn stains to pesky pests.
This article is packed with ingenious Dawn soap cleaning hacks that will not only save you time and money but also reduce your reliance on harsh chemicals. I’m excited to share these simple yet effective solutions that will transform your cleaning routine and leave your home sparkling clean. Get ready to discover the magic of Dawn!
Planting Sweet Potatoes: A Beginner’s Guide to Bountiful Harvests
Okay, so you want to grow sweet potatoes? Awesome! They’re delicious, nutritious, and surprisingly easy to cultivate once you get the hang of it. I’m going to walk you through everything you need to know, from prepping your slips to harvesting your sweet, orange treasures. Let’s get started!
Getting Started: What You’ll Need
Before we dive into the planting process, let’s gather our supplies. Having everything ready beforehand will make the whole experience smoother and more enjoyable.
* Sweet Potato Slips: These are baby sweet potato plants grown from a mature sweet potato. You can buy them online, from a local nursery, or even grow your own (more on that later!).
* Well-Draining Soil: Sweet potatoes thrive in loose, well-draining soil. Sandy loam is ideal, but you can amend your existing soil to improve drainage.
* Compost or Aged Manure: This will enrich the soil and provide essential nutrients for your sweet potatoes.
* Gardening Gloves: Protect your hands from dirt and potential irritants.
* Trowel or Shovel: For digging holes and transplanting the slips.
* Watering Can or Hose: To keep your sweet potatoes hydrated.
* Optional: Raised Beds or Mounds: These can improve drainage and soil temperature, especially in cooler climates.
* Optional: Mulch: Straw, hay, or plastic mulch can help retain moisture, suppress weeds, and warm the soil.
Growing Your Own Sweet Potato Slips (Optional but Rewarding!)
If you’re feeling adventurous, you can grow your own sweet potato slips. It’s a fun project and a great way to save money. Here’s how:
1. Choose a Healthy Sweet Potato: Select a firm, disease-free sweet potato from your local grocery store or farmer’s market. Organic is always a good choice.
2. Prepare the Potato: There are two main methods:
* Water Method: Suspend the sweet potato in a jar or glass of water, with the bottom half submerged. You can use toothpicks to hold it in place.
* Soil Method: Bury the sweet potato horizontally in a container filled with moist potting mix, leaving the top exposed.
3. Provide Warmth and Light: Place the jar or container in a warm, sunny location. A temperature of around 75-85°F (24-29°C) is ideal.
4. Wait for Sprouts: In a few weeks, you should start to see sprouts (slips) emerging from the sweet potato.
5. Harvest the Slips: Once the slips are 6-8 inches long, gently twist or cut them off the sweet potato.
6. Root the Slips: Place the slips in a glass of water, making sure the bottom inch or two is submerged. Roots should develop within a few days.
7. Transplant the Slips: Once the roots are about an inch long, they’re ready to be transplanted into your garden.
Preparing the Garden Bed
Sweet potatoes need a sunny spot with well-draining soil. Here’s how to get your garden bed ready:
1. Choose a Sunny Location: Sweet potatoes need at least 6-8 hours of direct sunlight per day.
2. Test the Soil: Ideally, the soil pH should be between 5.5 and 6.5. You can use a soil testing kit to determine the pH and amend the soil accordingly.
3. Improve Drainage: If your soil is heavy clay, amend it with compost, aged manure, or sand to improve drainage.
4. Enrich the Soil: Mix in a generous amount of compost or aged manure to provide essential nutrients.
5. Create Raised Beds or Mounds (Optional): This is especially helpful in areas with poor drainage or cool soil temperatures. Raised beds or mounds will warm the soil faster and improve drainage.
Planting Your Sweet Potato Slips
Now for the fun part – planting!
1. Wait for Warm Weather: Sweet potatoes are warm-weather crops and should be planted after the last frost when the soil temperature reaches at least 65°F (18°C).
2. Space the Slips: Plant the slips 12-18 inches apart in rows that are 3-4 feet apart. This gives the vines plenty of room to spread.
3. Dig the Holes: Dig holes deep enough to bury the roots of the slips, leaving the leaves above the soil surface.
4. Plant the Slips: Gently place the slips in the holes and cover the roots with soil.
5. Water Thoroughly: Water the newly planted slips thoroughly to help them establish.
6. Mulch (Optional): Apply a layer of mulch around the plants to help retain moisture, suppress weeds, and warm the soil. Black plastic mulch is particularly effective for warming the soil in cooler climates.
Caring for Your Sweet Potato Plants
Once your sweet potatoes are planted, they’ll need regular care to thrive.
1. Watering: Water regularly, especially during dry spells. Sweet potatoes need consistent moisture, but avoid overwatering, which can lead to root rot. Aim for about 1 inch of water per week.
2. Weeding: Keep the garden bed free of weeds, which can compete with the sweet potatoes for nutrients and water. Hand-pull weeds carefully to avoid disturbing the roots of the sweet potatoes.
3. Fertilizing: Sweet potatoes don’t need a lot of fertilizer, but a side dressing of compost or a balanced fertilizer a few weeks after planting can be beneficial. Avoid high-nitrogen fertilizers, which can promote vine growth at the expense of tuber development.
4. Vine Management: Sweet potato vines can be quite vigorous and may spread beyond their designated area. You can prune the vines to keep them under control, but be careful not to remove too much foliage, as this can reduce tuber production.
5. Pest and Disease Control: Sweet potatoes are generally resistant to pests and diseases, but watch out for common garden pests like aphids, flea beetles, and sweet potato weevils. Use organic pest control methods, such as insecticidal soap or neem oil, to control these pests.
Harvesting Your Sweet Potatoes
The moment you’ve been waiting for! Harvesting sweet potatoes is a rewarding experience.
1. Timing: Sweet potatoes are typically ready to harvest about 90-120 days after planting, depending on the variety. A good indicator is when the leaves start to turn yellow.
2. Choose a Dry Day: Harvest your sweet potatoes on a dry day to prevent rot.
3. Dig Carefully: Use a garden fork or shovel to carefully dig around the plants, being careful not to damage the tubers. Start digging a foot or two away from the plant to avoid accidentally spearing the sweet potatoes.
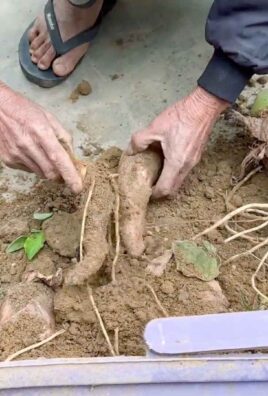
4. Lift the Tubers: Gently lift the tubers from the soil.
5. Curing: Curing is essential for developing the sweetness and flavor of sweet potatoes.
* Clean the Tubers: Gently brush off any excess soil from the tubers.
* Cure in a Warm, Humid Place: Place the sweet potatoes in a warm, humid place (80-85°F or 27-29°C) for 7-10 days. A well-ventilated shed or garage works well. You can increase humidity by placing a pan of water in the curing area.
6. Storage: After curing, store the sweet potatoes in a cool, dry, and dark place (55-60°F or 13-16°C). They should keep for several months.
Troubleshooting Common Problems
Even with the best planning, you might encounter some challenges. Here are a few common problems and how to address them:
* Poor Tuber Development: This can be caused by several factors, including poor soil, lack of sunlight, or excessive nitrogen fertilizer. Make sure your soil is well-draining and rich in nutrients, and avoid over-fertilizing.
* Root Rot: This is caused by overwatering or poorly draining soil. Improve drainage and water only when the soil is dry to the touch.
* Pest Infestations: Monitor your plants regularly for pests and take action promptly. Use organic pest control methods to minimize harm to beneficial insects.
* Cracked Sweet Potatoes: Inconsistent watering can cause sweet potatoes to crack. Try to maintain consistent soil moisture throughout the growing season.
Sweet Potato Varieties to Consider
There are tons of sweet potato varieties to choose from, each with its own unique characteristics. Here are a few popular options:
* Beauregard: A classic orange-fleshed variety with excellent flavor and yield.
* Jewel
Conclusion
So, there you have it! Unleashing the power of Dawn dish soap for cleaning goes far beyond just washing dishes. This simple, readily available product is a true multi-tasker, capable of tackling grease, grime, and stains throughout your home. The versatility and effectiveness of these Dawn soap cleaning hacks make them a must-try for anyone looking to simplify their cleaning routine and achieve sparkling results without harsh chemicals or expensive specialized products.
Why is this a must-try? Because it’s economical, effective, and environmentally conscious. You’re likely already using Dawn in your kitchen, so you’re not adding another product to your cleaning arsenal. The concentrated formula means a little goes a long way, saving you money. And by using a gentler cleaner, you’re reducing your exposure to potentially harmful chemicals and minimizing your impact on the environment.
But don’t stop there! Experiment with these hacks and discover even more ways Dawn can simplify your life. For instance, try adding a few drops of Dawn to your car wash bucket for a streak-free shine. Or, mix it with baking soda to create a powerful scrubbing paste for stubborn stains on your stovetop or oven. You can even use it to pre-treat laundry stains before washing. The possibilities are truly endless!
We encourage you to dive in and try these Dawn soap cleaning hacks for yourself. Start with a small, manageable project, like cleaning your bathroom mirrors or degreasing your kitchen sink. Once you see the amazing results, you’ll be hooked!
And most importantly, we want to hear about your experiences! Share your own Dawn cleaning hacks, tips, and tricks in the comments below. Let us know what worked for you, what variations you tried, and any unexpected uses you discovered. Together, we can unlock the full potential of this amazing cleaning product and create a cleaner, healthier, and happier home. Your insights could help others discover new and innovative ways to use Dawn, making cleaning less of a chore and more of a rewarding experience. So, grab your bottle of Dawn, get cleaning, and share your story! We can’t wait to hear from you.
Frequently Asked Questions (FAQs)
Is Dawn dish soap safe to use on all surfaces?
While Dawn is generally considered safe for most surfaces, it’s always a good idea to test it in an inconspicuous area first, especially on delicate or porous materials. For example, while Dawn is great for cleaning grease off of stovetops, you should avoid using it on unsealed wood, as it can potentially damage the finish. Similarly, be cautious when using it on painted surfaces, and always dilute it with plenty of water. When in doubt, consult the manufacturer’s instructions for the surface you’re cleaning.
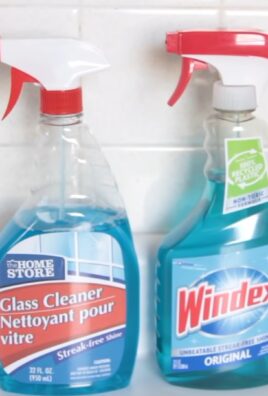
Can I use any brand of dish soap for these cleaning hacks?
While other dish soaps may work to some extent, Dawn is specifically formulated to cut through grease and grime, making it particularly effective for these cleaning hacks. Its concentrated formula and unique blend of surfactants provide superior cleaning power compared to many other brands. While you can certainly experiment with other dish soaps, you may not achieve the same level of results. For optimal performance, we recommend sticking with Dawn.
How much Dawn soap should I use for each cleaning hack?
The amount of Dawn soap you need will vary depending on the specific cleaning task and the severity of the grime. As a general rule, start with a small amount – a few drops to a teaspoon – and adjust as needed. Remember, a little goes a long way with Dawn’s concentrated formula. Overusing soap can leave a residue that’s difficult to rinse away. It’s always better to start with less and add more if necessary.
Is Dawn dish soap safe for pets and children?
Dawn is generally considered safe for pets and children when used as directed. However, it’s important to keep it out of reach of children and pets to prevent accidental ingestion. If your pet or child ingests Dawn, contact your veterinarian or poison control center immediately. When using Dawn to clean pet-related items, such as food bowls or bedding, be sure to rinse them thoroughly to remove any soap residue.
Can I use Dawn dish soap to clean my car?
Yes, Dawn can be used to wash your car, but it’s important to use it sparingly and rinse thoroughly. Dawn can strip away wax, so you may need to re-wax your car after washing it with Dawn. To wash your car with Dawn, add a small amount (about a tablespoon) to a bucket of water and use a soft sponge or wash mitt to clean the car. Rinse thoroughly with clean water and dry with a microfiber towel.
Will Dawn dish soap remove tough stains from clothing?
Dawn can be an effective pre-treatment for many types of clothing stains, especially grease and oil-based stains. To use Dawn as a stain remover, apply a small amount directly to the stain and gently rub it in. Let it sit for a few minutes, then wash the garment as usual. For stubborn stains, you may need to repeat the process or soak the garment in a solution of Dawn and water before washing. Always test the solution on an inconspicuous area of the fabric first to ensure it doesn’t cause discoloration.
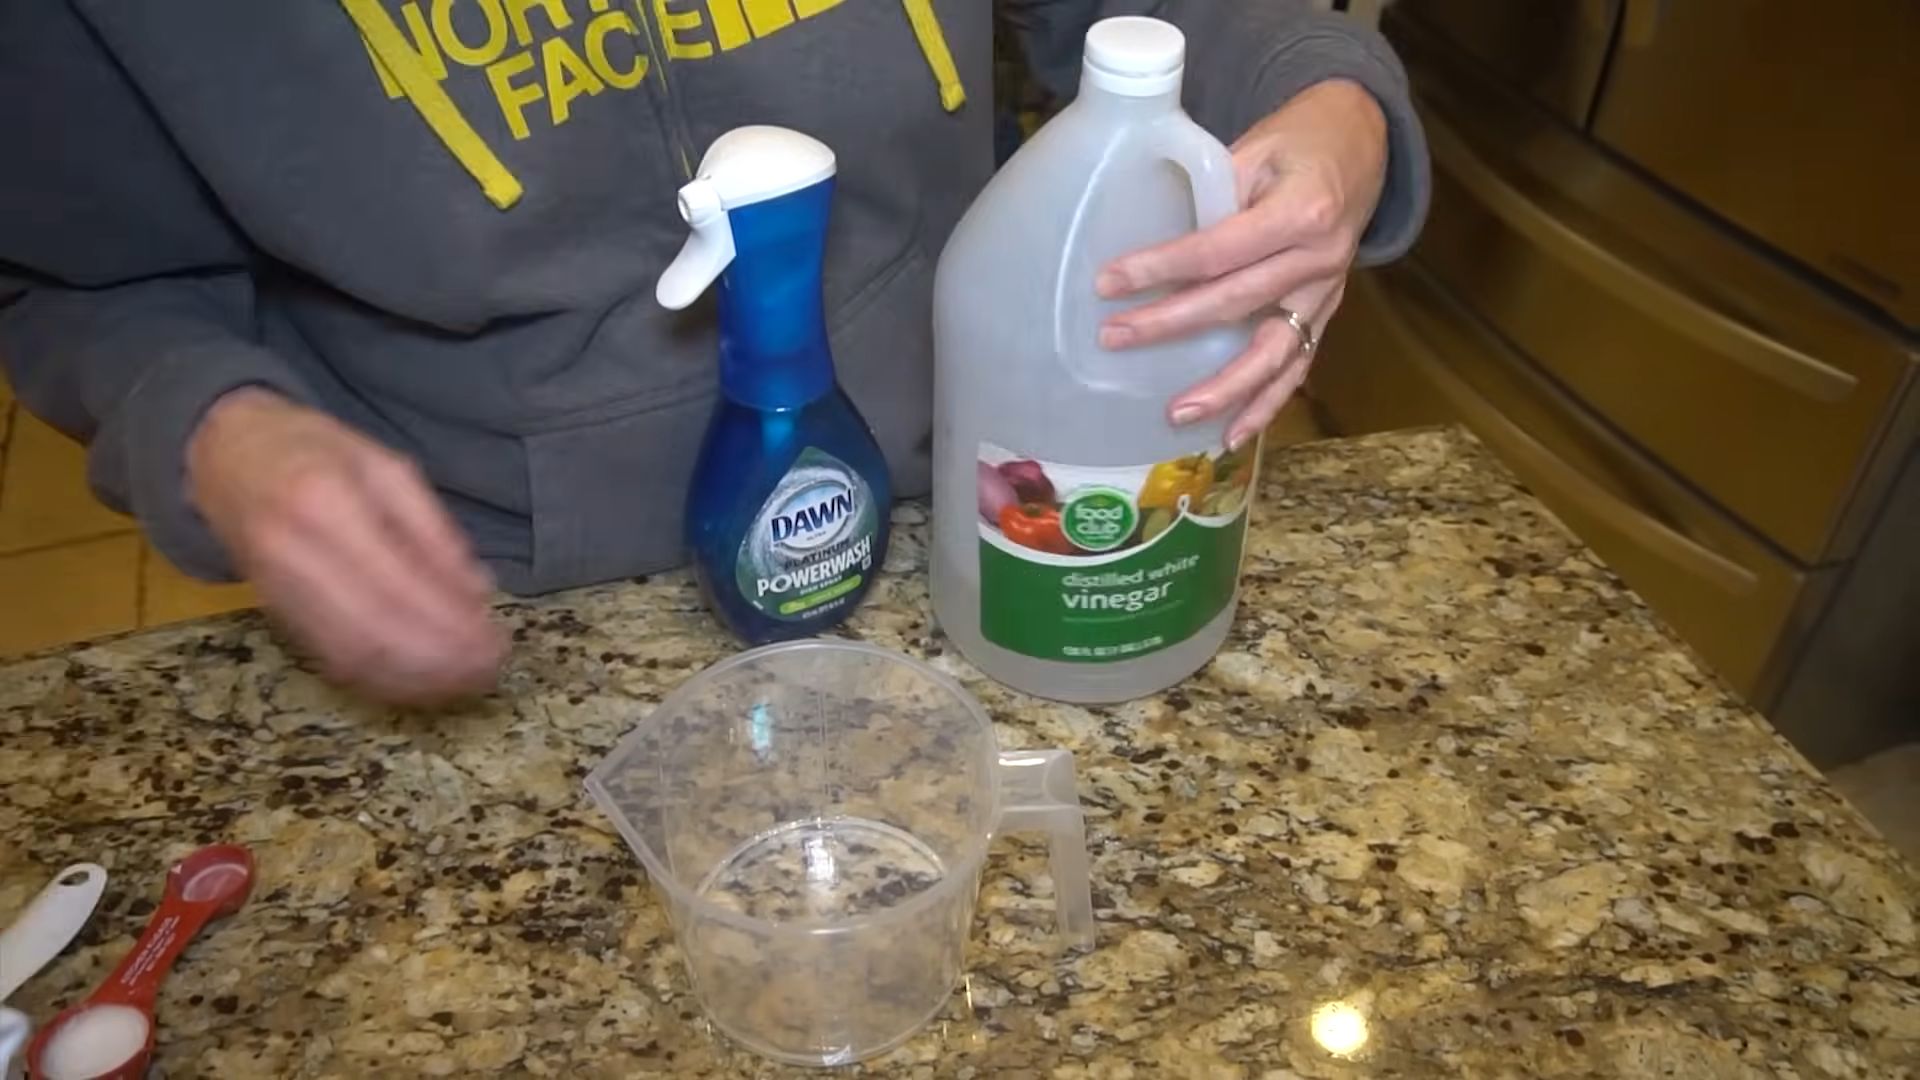
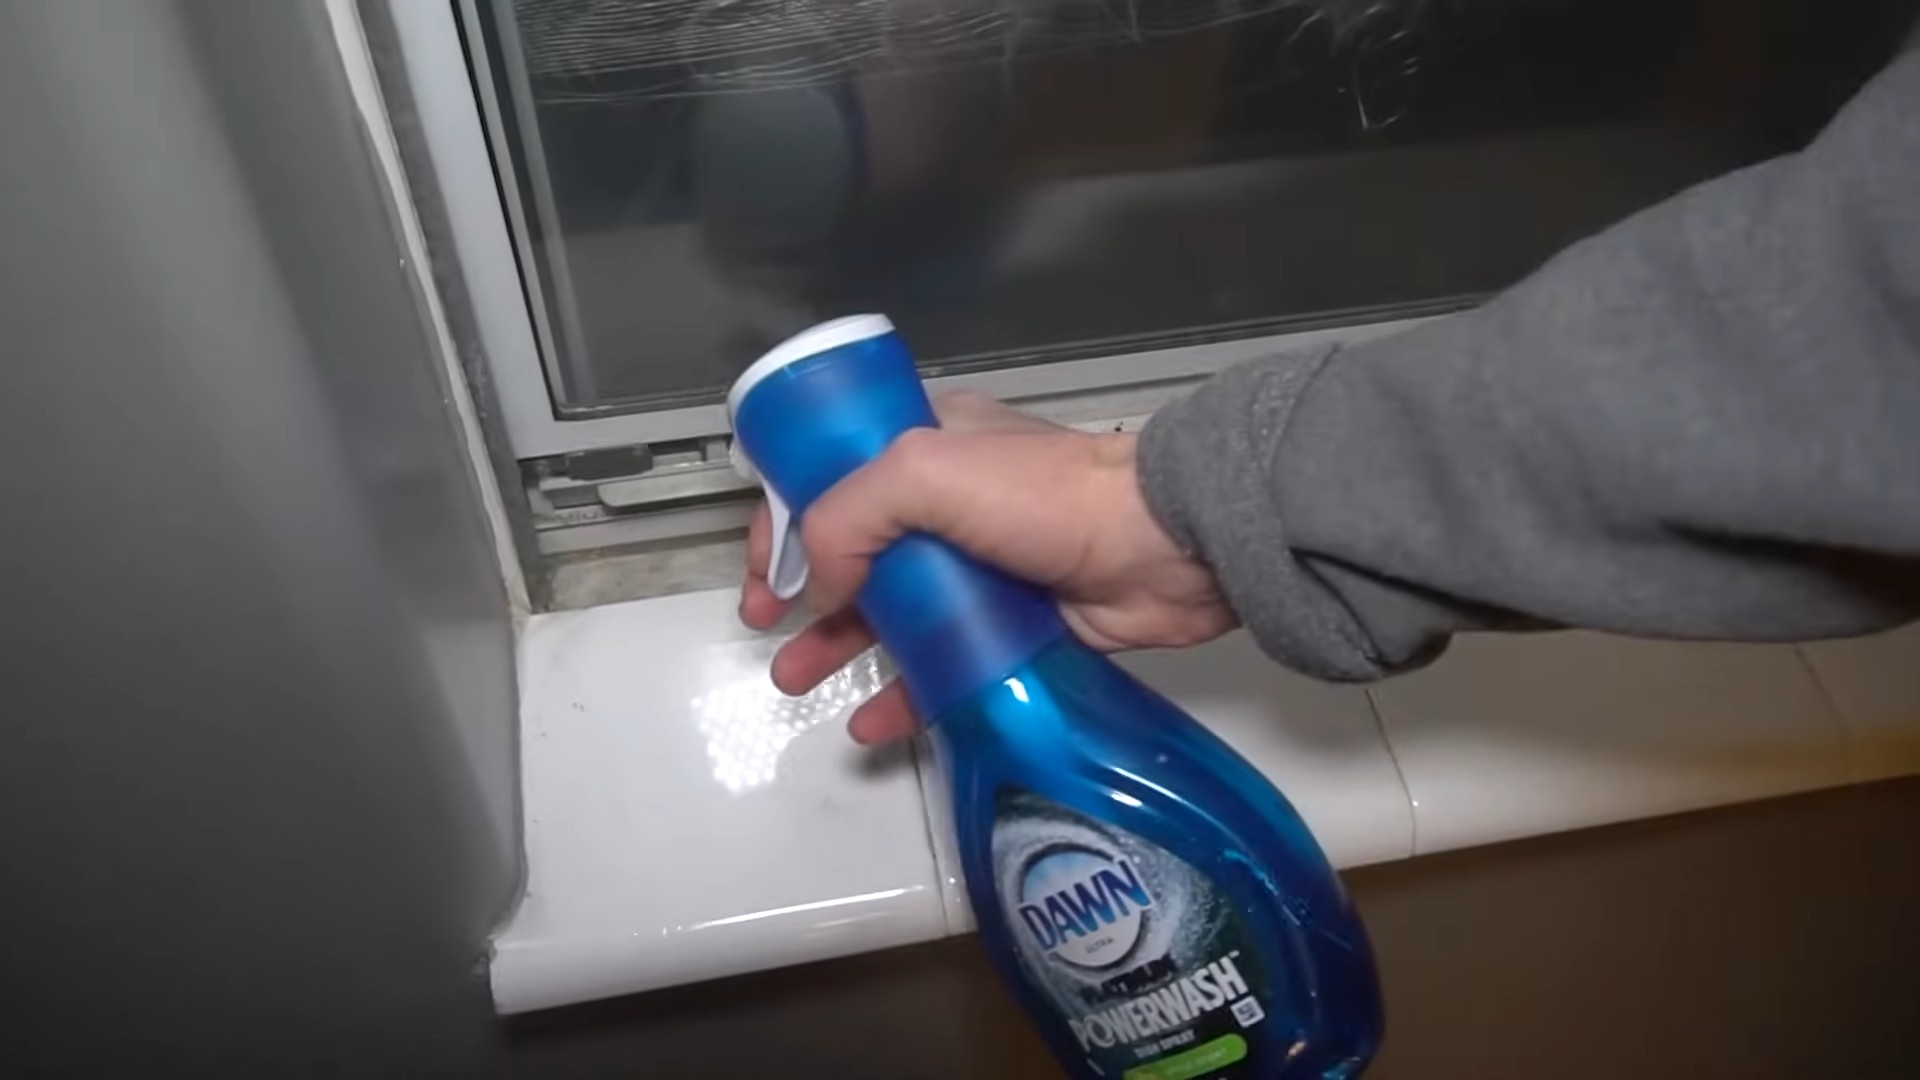
How can I prevent streaks when cleaning windows with Dawn?
To prevent streaks when cleaning windows with Dawn, use a very small amount of soap (just a drop or two) in a bucket of water. Use a microfiber cloth or squeegee to clean the windows, and rinse thoroughly with clean water. You can also use a solution of vinegar and water to rinse the windows, as vinegar helps to prevent streaks. Dry the windows with a clean, dry microfiber cloth.
Can Dawn dish soap be used to clean jewelry?
Yes, Dawn can be used to clean jewelry, especially diamond and gemstone jewelry. To clean your jewelry with Dawn, mix a few drops of Dawn with warm water and soak the jewelry for 10-15 minutes. Gently scrub the jewelry with a soft-bristled brush, such as a toothbrush, to remove any dirt or grime. Rinse thoroughly with clean water and dry with a soft cloth. Avoid using Dawn on delicate or porous gemstones, such as pearls or opals, as it can damage them.
Is Dawn dish soap environmentally friendly?
Dawn is considered to be relatively environmentally friendly compared to many other cleaning products. It is biodegradable and does not contain phosphates, which can contribute to water pollution. However, it’s still important to use Dawn responsibly and avoid overusing it. When possible, choose the concentrated formula to reduce packaging waste.
What are some other unexpected uses for Dawn dish soap?
Beyond the cleaning hacks mentioned in the article, Dawn can also be used to:
* Remove poison ivy oil from skin.
* Clean paintbrushes.
* Remove sticky residue from labels and stickers.
* Defog bathroom mirrors.
* Clean swimming pools and hot tubs (in small amounts).
* Remove fleas from pets (consult your veterinarian first).
Remember to always use caution and test in an inconspicuous area before using Dawn on any new surface or material. And don’t forget to share your own discoveries with us!
Leave a Comment