
Deep cleaning solvent baking soda – sounds like a science experiment, right? Well, in a way, it is! But don’t worry, you won’t need a lab coat or goggles for this one. I’m going to share a simple yet incredibly effective DIY cleaning trick that will leave your home sparkling.
Baking soda, or sodium bicarbonate, has been a household staple for centuries. Egyptians used natural deposits of natron, which contained baking soda, as a cleaning agent. Fast forward to today, and it’s still a go-to for everything from baking to deodorizing. But when you combine its power with a solvent, like vinegar or even a bit of dish soap, magic happens!
Let’s face it, nobody enjoys spending hours scrubbing stubborn stains and grime. We all crave a clean and fresh home, but time is precious. That’s where this deep cleaning solvent baking soda hack comes in. It’s a game-changer for tackling those tough cleaning tasks without harsh chemicals or endless elbow grease. I’ll show you how to create your own powerful cleaning solution using just a few simple ingredients you probably already have in your pantry. Get ready to say goodbye to stubborn messes and hello to a sparkling clean home with minimal effort!
DIY Oven Cleaning Powerhouse: Baking Soda and Deep Cleaning Solvent
Okay, so you’re staring at your oven, and it looks like a Jackson Pollock painting gone wrong – splattered grease, burnt bits, and a general air of “I haven’t been cleaned in, well, ever.” Don’t despair! I’m going to walk you through a super effective, surprisingly easy DIY oven cleaning method using baking soda and a deep cleaning solvent. Trust me, it’s way better than those harsh chemical cleaners, and you probably already have most of the ingredients.
What You’ll Need:
* Baking Soda
* Deep Cleaning Solvent (I recommend a citrus-based one for extra degreasing power and a pleasant scent, but any good quality one will do)
* Water
* Spray Bottle
* Rubber Gloves (Protect those hands!)
* Sponge or Scrub Brush (Non-abrasive is best to avoid scratching)
* Plastic Scraper (Optional, but helpful for stubborn spots)
* Paper Towels or Rags
* Small Bowl
* Old Towel or Newspaper (To protect your floor)
Safety First!
Before we dive in, let’s talk safety. Even though we’re using relatively gentle ingredients, it’s always a good idea to protect yourself:
* Wear rubber gloves. The deep cleaning solvent can be irritating to the skin, and prolonged exposure isn’t fun.
* Ensure good ventilation. Open a window or two to keep the air circulating.
* Avoid getting the mixture in your eyes. If you do, rinse immediately with plenty of water.
* Unplug your oven. This is crucial to prevent any electrical accidents.
Step-by-Step Instructions:
Alright, let’s get this oven sparkling!
Phase 1: The Baking Soda Paste
This is where the magic begins. Baking soda is a fantastic natural cleaner and deodorizer.
1. Prepare the Paste: In your small bowl, mix together about ½ cup of baking soda with enough water to form a thick, spreadable paste. You want it to be similar to the consistency of frosting. Add water gradually, mixing as you go, to avoid making it too runny.
2. Coat the Oven: Using your fingers (with gloves on, of course!) or a sponge, spread the baking soda paste all over the interior surfaces of your oven. This includes the walls, floor, door (inside), and even the racks if they’re particularly grimy. Avoid the heating elements! You want a nice, even coating.
3. Let it Sit: This is the key to the whole process. Let the baking soda paste sit for at least 12 hours, or even better, overnight. The longer it sits, the more time it has to loosen the baked-on grime. I usually do this before bed so it can work its magic while I sleep.
Phase 2: The Deep Cleaning Solvent Boost
Now, we’re going to kick things up a notch with the deep cleaning solvent. This will help break down the tougher grease and grime that the baking soda has loosened.
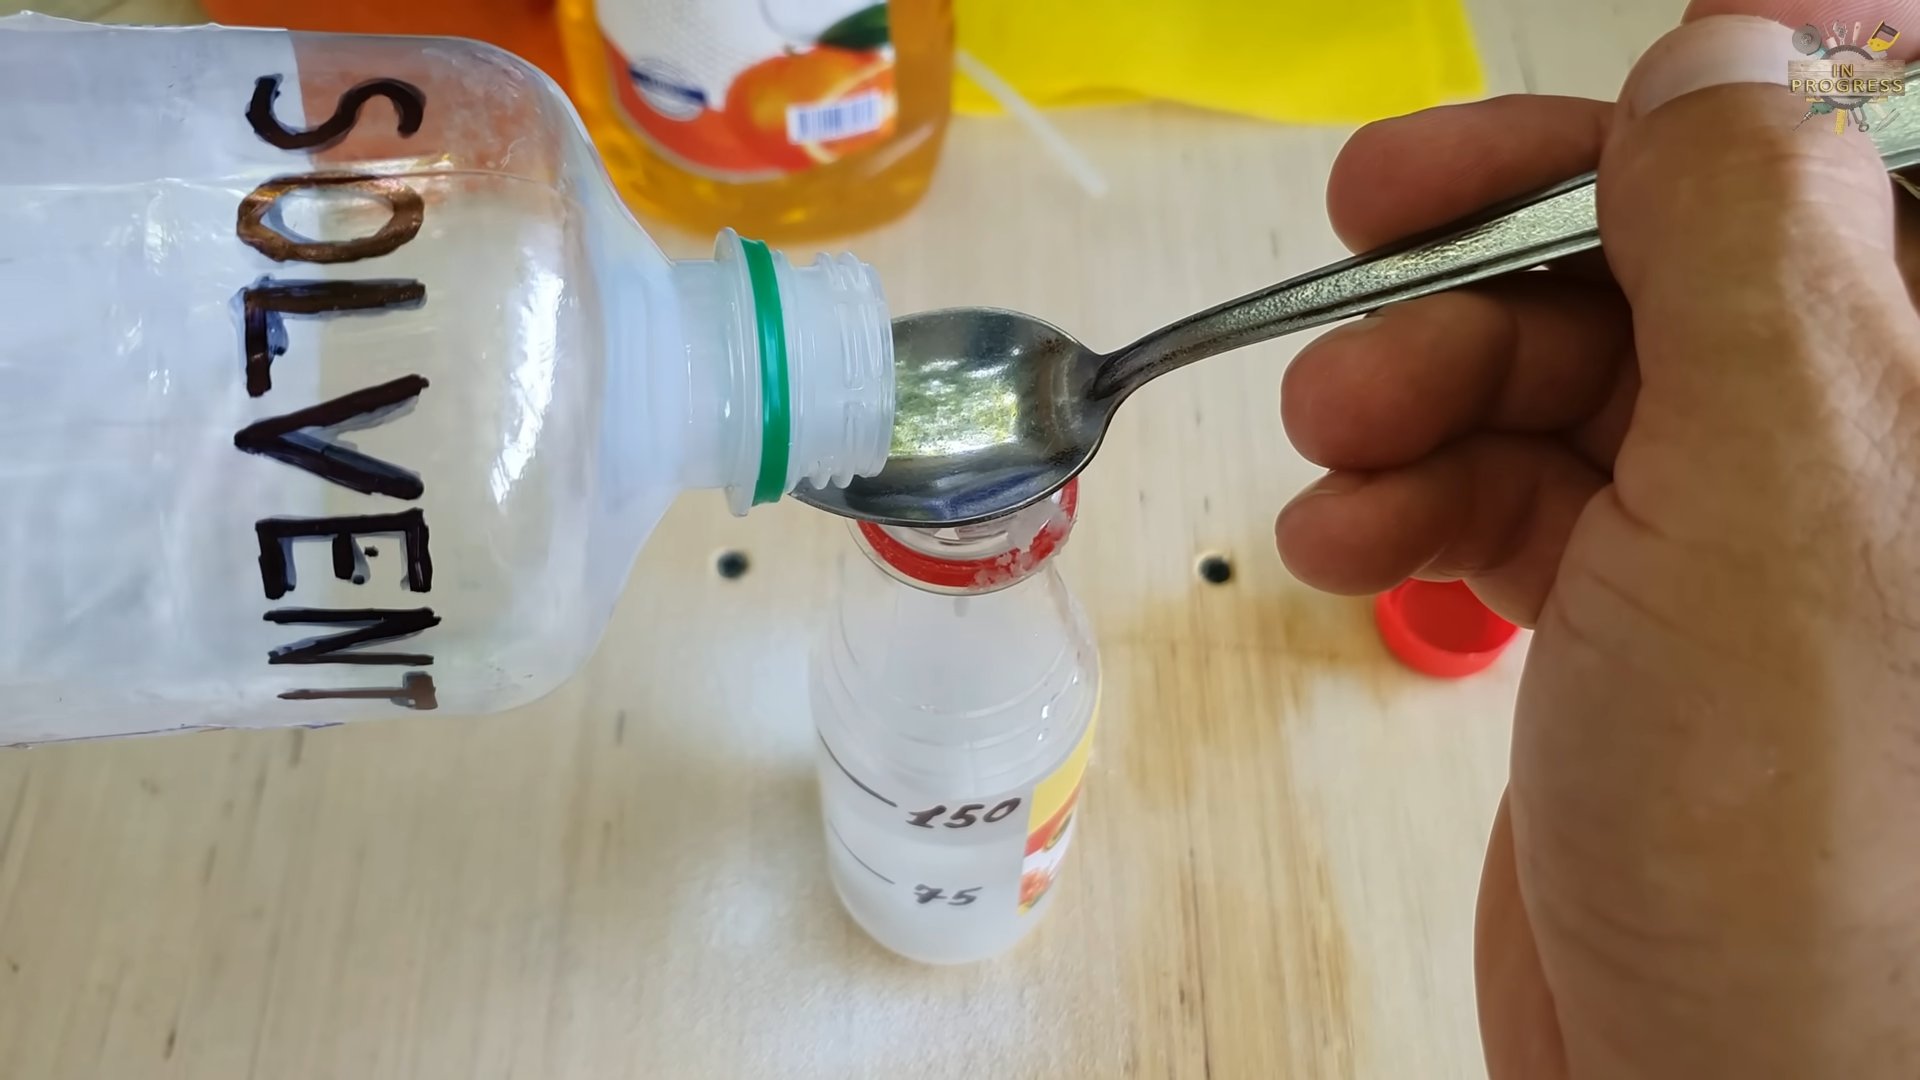
1. Prepare the Solvent Solution: In your spray bottle, mix the deep cleaning solvent with water according to the manufacturer’s instructions. Usually, it’s a ratio of 1:1 or 1:2 (solvent to water), but always check the label.
2. Spray the Oven: Generously spray the baking soda-coated interior of your oven with the solvent solution. You don’t need to soak it, but make sure all the surfaces are damp.
3. Let it Sit (Again!): Let the solvent solution sit for about 30 minutes. This will give it time to work its way into the grime and further loosen it.
Phase 3: Scrubbing and Scraping
Time to get those elbows working!
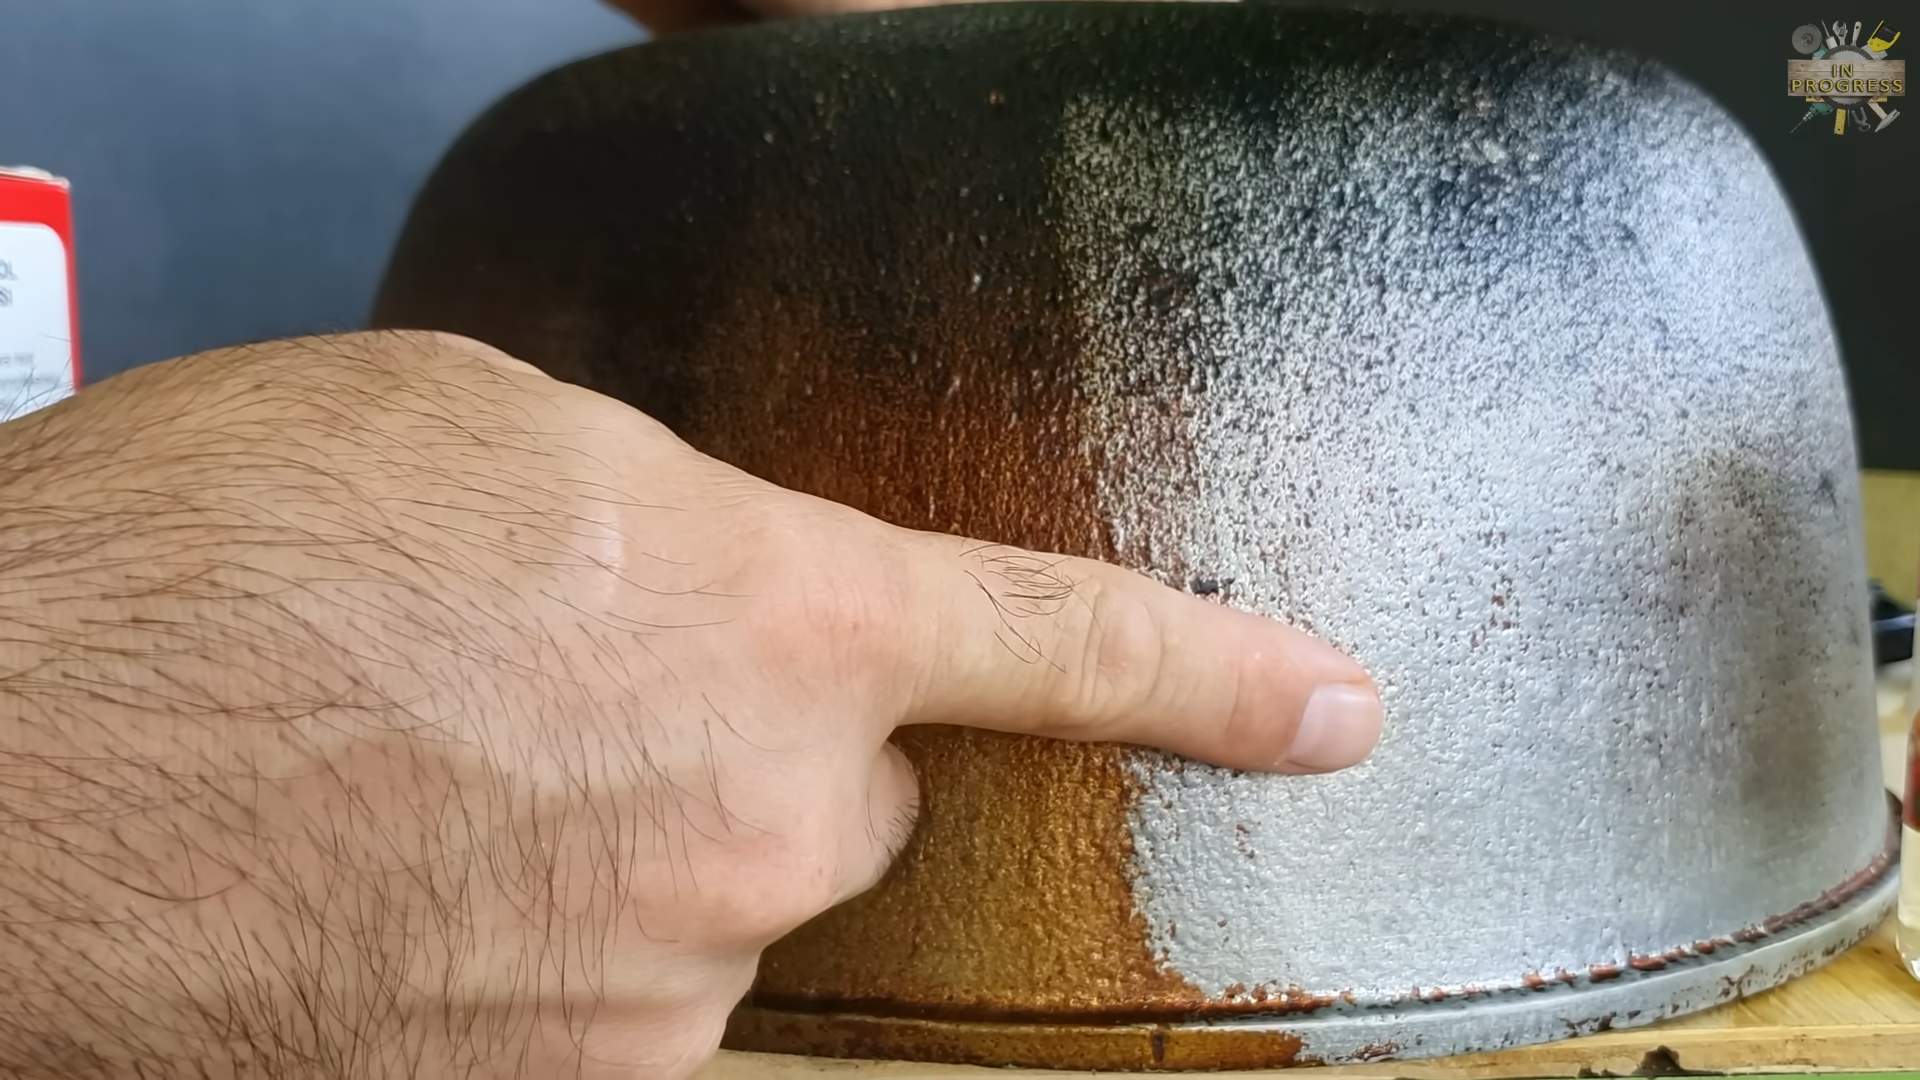
1. Scrub the Surfaces: Using your sponge or scrub brush, start scrubbing the interior surfaces of your oven. You’ll notice that the grime is much easier to remove now, thanks to the baking soda and solvent.
2. Tackle Stubborn Spots: For those really stubborn spots, use your plastic scraper to gently scrape away the grime. Be careful not to scratch the oven’s surface. You can also try applying a little more of the solvent solution directly to the spot and letting it sit for a few minutes before scrubbing again.
3. Clean the Racks: If you coated your oven racks with the baking soda paste, now’s the time to clean them. You can either scrub them in the oven or remove them and clean them in your sink. If you choose to clean them in the sink, fill it with hot, soapy water and let the racks soak for a while before scrubbing.
Phase 4: Rinsing and Wiping
Almost there! Now we need to remove all the baking soda and solvent residue.
1. Rinse with Water: Using a clean sponge and water, rinse all the interior surfaces of your oven thoroughly. You may need to rinse several times to remove all the residue.
2. Wipe Dry: Use paper towels or clean rags to wipe the oven dry. Make sure to get into all the corners and crevices.
3. Inspect and Repeat (If Necessary): Take a good look at your oven. If you see any remaining grime or residue, repeat the scrubbing and rinsing steps until it’s completely clean.
Phase 5: The Final Touches
These last steps will ensure your oven is not only clean but also fresh and ready to use.
1. Clean the Oven Door: Don’t forget the oven door! Clean the glass with a glass cleaner to remove any streaks or smudges.
2. Replace the Racks: Once the racks are clean and dry, replace them in the oven.
3. Run a Low-Temperature Cycle: To ensure that all the moisture is gone and to eliminate any lingering odors, run your oven on a low-temperature cycle (around 200°F or 93°C) for about 15-20 minutes.
Tips and Tricks for a Sparkling Oven:
* Prevention is Key: To avoid having to do such a deep clean in the future, try to wipe up spills as soon as they happen.
* Line the Bottom: Consider lining the bottom of your oven with aluminum foil or a baking sheet to catch drips and spills.
* Regular Cleaning: Give your oven a quick wipe-down after each use to prevent grime from building up.
* Citrus Power: For extra degreasing power, add a few drops of lemon essential oil to your deep cleaning solvent solution. The citrus scent is also a bonus!
* Vinegar Rinse: For a final rinse, use a solution of equal parts water and white vinegar. This will help remove any remaining baking soda residue and leave your oven sparkling.
* Self-Cleaning Ovens: If you have a self-cleaning oven, you can still use this method for a more thorough clean. Just be sure to remove any large pieces of food or debris before running the self-cleaning cycle.
* Don’t Forget the Exterior: While you’re cleaning the inside of your oven, don’t forget the exterior! Wipe down the door, knobs, and control panel with a damp cloth and a mild cleaner.
* Check the Vent: Make sure the oven vent is clear of any obstructions. This will help ensure proper ventilation and prevent smoke from building up inside the oven.
* Patience is a Virtue: Don’t rush the process. The longer you let the baking soda paste and solvent solution sit, the easier it will be to remove the grime.
* Consider a Steam Clean: For a lighter clean, you can try a steam clean. Place a bowl of water in the oven and heat it to a low temperature for about 30 minutes. The steam will help loosen the grime, making it easier to wipe away.
Troubleshooting:
* Baking Soda Paste is Too Dry: Add a little more water until you reach the desired consistency.
* Baking Soda Paste is Too Runny: Add a little more baking soda until it thickens up.
* Grime is Still Stubborn: Try applying more of the solvent solution directly to the spot and letting it sit for a longer period of time. You can also try using a more abrasive scrub brush, but be careful not to scratch the oven’s surface.
* Oven Smells Like Baking Soda: This is normal. The smell will dissipate after a few uses. You can also try placing a bowl of vinegar in the oven overnight to absorb the odor.
* Solvent Smell is Too Strong: Make sure you have good ventilation. You can also try using a citrus-based solvent, which has a more pleasant scent.
And there you have it! A sparkling clean oven, all thanks to the power of baking soda and deep cleaning solvent. I hope this guide has been helpful. Happy cleaning!
Conclusion
So, there you have it! Mastering this simple yet incredibly effective DIY deep cleaning solvent using baking soda is a game-changer for anyone looking to maintain a sparkling clean home without resorting to harsh chemicals. We’ve walked you through the process, highlighting its simplicity, affordability, and eco-friendliness. But why is this DIY trick a must-try?
Firstly, the sheer versatility of this baking soda-based cleaning solution is undeniable. From tackling stubborn grime in your oven to revitalizing your bathroom tiles and even freshening up your carpets, this single solution can replace a whole cabinet full of specialized cleaners. Think of the space you’ll save, not to mention the money!
Secondly, and perhaps more importantly, you’re creating a safer environment for yourself, your family, and your pets. Commercial cleaning products often contain harsh chemicals that can irritate skin, trigger allergies, and even contribute to indoor air pollution. By opting for a DIY solution with baking soda, you’re choosing a gentler, more natural approach to cleaning.
But the benefits don’t stop there. This DIY deep cleaning solvent is also incredibly customizable. Feel free to experiment with different essential oils to add a pleasant fragrance and boost the cleaning power. A few drops of tea tree oil can provide extra antibacterial properties, while lemon oil can help cut through grease and leave a refreshing scent. You can also adjust the consistency of the paste by adding more or less water, depending on the surface you’re cleaning. For tougher stains, consider adding a splash of white vinegar for an extra boost of cleaning power – just be sure to test it in an inconspicuous area first.
Don’t be afraid to get creative! Try using this solution to clean your grout, polish your stainless steel appliances, or even remove stains from your laundry. The possibilities are truly endless.
We understand that trying something new can sometimes feel daunting, but we promise you, this DIY deep cleaning solvent is incredibly easy to make and use. The results speak for themselves. You’ll be amazed at how effectively it cleans and how much money you’ll save in the long run.
So, what are you waiting for? Gather your ingredients, follow the simple steps outlined in this article, and prepare to be amazed. We’re confident that this DIY deep cleaning solvent will become a staple in your cleaning routine.
We’re eager to hear about your experiences! Share your before-and-after photos, your favorite variations, and any tips or tricks you discover along the way. Let’s build a community of DIY cleaning enthusiasts who are passionate about creating a cleaner, healthier, and more sustainable home. Head over to the comments section and let us know how this DIY deep cleaning solvent worked for you! Your feedback is invaluable and will help others discover the magic of baking soda.
Frequently Asked Questions (FAQ)
What exactly *is* baking soda, and why is it such a good cleaner?
Baking soda, also known as sodium bicarbonate, is a naturally occurring mineral that has a wide range of uses, from baking to cleaning. Its mild alkalinity helps to dissolve dirt, grease, and grime, making it an effective cleaning agent. It’s also a gentle abrasive, which means it can help to scrub away stubborn stains without scratching surfaces. Unlike many commercial cleaners, baking soda is non-toxic, odorless, and environmentally friendly. Its chemical formula (NaHCO3) allows it to react with both acids and bases, neutralizing odors and breaking down complex molecules that cause stains. This dual action makes it a powerful and versatile cleaning tool.
Can I use this DIY deep cleaning solvent on all surfaces?
While this DIY deep cleaning solvent is generally safe for most surfaces, it’s always a good idea to test it in an inconspicuous area first, especially on delicate or painted surfaces. Avoid using it on aluminum, as baking soda can cause discoloration. For natural stone surfaces like marble or granite, use caution and dilute the solution further, as the abrasive nature of baking soda could potentially scratch the surface over time. Always rinse the cleaned area thoroughly with water to remove any residue. If you’re unsure about a particular surface, consult the manufacturer’s instructions or a professional cleaner.
How long will this DIY deep cleaning solvent last?
The shelf life of this DIY deep cleaning solvent depends on how you store it. If you’re using a simple mixture of baking soda and water, it’s best to use it within a few days, as the water can evaporate and the mixture can dry out. If you’re adding essential oils, the solution may last a bit longer, as the oils can help to preserve it. Store the solution in an airtight container in a cool, dark place to maximize its shelf life. If you notice any changes in color, odor, or consistency, it’s best to discard the solution and make a fresh batch. Since it’s so easy and inexpensive to make, it’s always a good idea to prepare a fresh batch each time you need it.
Can I add other ingredients to this DIY deep cleaning solvent?
Absolutely! One of the best things about this DIY cleaning solution is its versatility. As mentioned earlier, essential oils are a great addition for fragrance and added cleaning power. White vinegar can be added for extra stain-fighting power, but be careful when mixing it with baking soda, as it will create a fizzing reaction. Always add vinegar slowly and in a well-ventilated area. You can also add a small amount of dish soap for extra grease-cutting power. Experiment with different combinations to find what works best for your needs. Just be sure to research the compatibility of the ingredients before mixing them together.
Is this DIY deep cleaning solvent safe for septic systems?
Yes, baking soda is generally considered safe for septic systems. It’s a natural substance that breaks down easily and doesn’t contain any harsh chemicals that could harm the beneficial bacteria in your septic tank. In fact, baking soda can even help to balance the pH levels in your septic system, which can promote healthy bacterial activity. However, it’s always a good idea to use cleaning products sparingly, even those that are considered safe for septic systems. Avoid pouring large amounts of any cleaning solution down the drain at once, as this could potentially disrupt the balance of your septic system.
What are some specific cleaning tasks this DIY deep cleaning solvent is best for?
This DIY deep cleaning solvent is incredibly versatile and can be used for a wide range of cleaning tasks. Here are a few examples:
* **Oven cleaning:** Make a paste of baking soda and water, apply it to the inside of your oven, let it sit overnight, and then scrub away the grime.
* **Bathroom cleaning:** Use the solution to clean your tiles, grout, sinks, and toilets.
* **Carpet cleaning:** Sprinkle baking soda on your carpet, let it sit for a few hours, and then vacuum it up to freshen and deodorize.
* **Stainless steel polishing:** Make a paste of baking soda and water and gently rub it on your stainless steel appliances to remove fingerprints and water spots.
* **Grout cleaning:** Apply the paste to your grout lines, let it sit for a few minutes, and then scrub with a brush.
* **Deodorizing:** Place an open box of baking soda in your refrigerator, freezer, or other areas to absorb odors.
What if the stain is really stubborn?
For particularly stubborn stains, you may need to repeat the cleaning process or try a stronger solution. You can try adding more baking soda to the paste or using a more abrasive scrubbing tool. You can also try pre-treating the stain with a mixture of baking soda and vinegar before applying the full cleaning solution. For really tough stains, you may need to consult a professional cleaner. Remember to always test any cleaning solution in an inconspicuous area first to avoid damaging the surface.
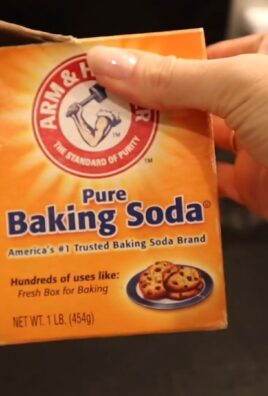
Where can I buy baking soda?
Baking soda is readily available at most grocery stores, pharmacies, and discount retailers. It’s typically sold in boxes or bags in the baking aisle. You can also find it online at various retailers. Baking soda is a very affordable cleaning product, so you shouldn’t have any trouble finding it at a reasonable price.
How does this compare to commercial deep cleaning solvents?
Commercial deep cleaning solvents often contain harsh chemicals, artificial fragrances, and other additives that can be harmful to your health and the environment. They can also be quite expensive. This DIY deep cleaning solvent, on the other hand, is made with natural ingredients, is non-toxic, and is very affordable. While it may not be as powerful as some commercial cleaners, it’s still very effective at cleaning most surfaces and is a much safer and more sustainable option. By making your own cleaning solution, you have complete control over the ingredients and can avoid exposing yourself and your family to harmful chemicals.

Leave a Comment