
Dish soap vinegar cleaning mix – sounds like a science experiment, right? Well, in a way, it is! But instead of bubbling beakers and lab coats, think sparkling clean surfaces and a happy, healthy home. For generations, resourceful folks have been combining simple ingredients to tackle tough cleaning jobs. This isn’t just some newfangled internet trend; it’s a time-honored tradition of making the most of what you have.
I’m sure you’ve experienced the frustration of stubborn grime, soap scum, or even just that lingering musty smell that store-bought cleaners just can’t seem to conquer. That’s where the magic of a dish soap vinegar cleaning mix comes in. It’s a powerful, yet surprisingly gentle, solution that can cut through grease, disinfect surfaces, and leave your home smelling fresh – all without harsh chemicals or a hefty price tag.
In this DIY guide, I’ll walk you through everything you need to know to create your own effective cleaning concoction. We’ll cover the perfect ratios, the best uses, and even some clever variations to tackle specific cleaning challenges. Get ready to ditch those expensive, chemical-laden cleaners and embrace the power of simple, natural ingredients!
DIY All-Purpose Cleaning Solution: Dish Soap and Vinegar Magic!
Hey there, fellow DIY enthusiasts! I’m so excited to share one of my absolute favorite cleaning hacks with you: a super effective, all-purpose cleaning solution made with just two ingredients – dish soap and vinegar! Seriously, this stuff is a game-changer. It’s cheap, easy to make, and works wonders on a variety of surfaces. Plus, you probably already have everything you need in your kitchen. Let’s get started!
Why This Combo Works So Well
Before we dive into the how-to, let’s quickly chat about why this seemingly simple mixture is so powerful.
* Vinegar’s Acidity: Vinegar is a mild acid, which makes it fantastic for cutting through grease, grime, and hard water stains. It also has some disinfecting properties, making it a great choice for everyday cleaning.
* Dish Soap’s Surfactants: Dish soap contains surfactants, which are molecules that help to break down the surface tension of water. This allows the solution to penetrate dirt and lift it away from surfaces.
* The Perfect Partnership: Together, vinegar and dish soap create a cleaning powerhouse that can tackle a wide range of messes.
What You’ll Need
Okay, let’s gather our supplies. The beauty of this DIY is its simplicity!
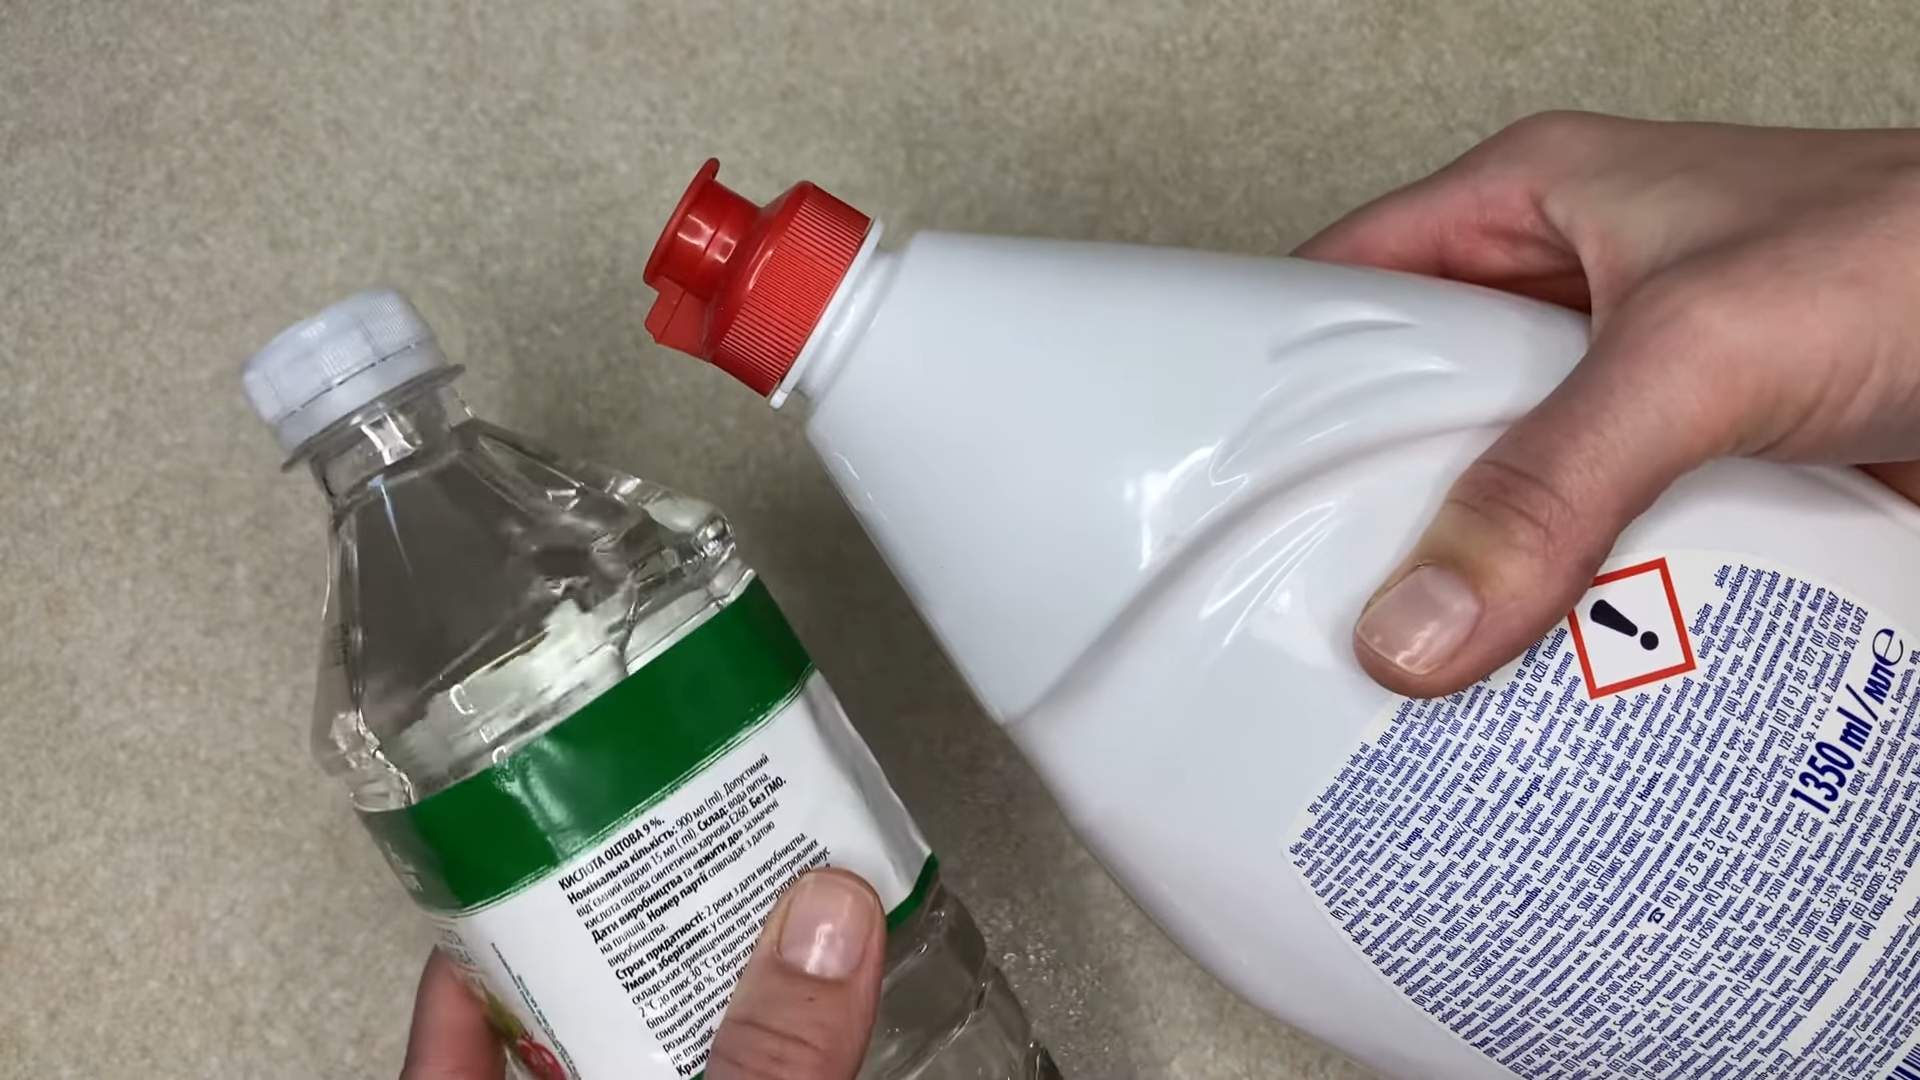
* White Vinegar: Plain white vinegar is the star of the show. Don’t use apple cider vinegar or other types, as they might leave a residue or stain.
* Dish Soap: I recommend using a clear dish soap. Colored or heavily scented soaps can sometimes leave a film or alter the scent of the solution. Dawn is a popular choice, but any clear dish soap will do.
* Spray Bottle: You’ll need a clean, empty spray bottle to store and dispense your cleaning solution.
* Water (Optional): Depending on the strength you desire, you might want to dilute the mixture with water.
* Measuring Cup or Spoons: For accurate measurements, especially if you’re making a larger batch.
* Funnel (Optional): A funnel can make it easier to pour the ingredients into the spray bottle without making a mess.
Mixing Your Cleaning Solution: Step-by-Step
Alright, let’s get mixing! This is the easiest part.
1. Choose Your Ratio: The most common ratio is 1:1 – equal parts vinegar and dish soap. However, you can adjust this to suit your needs. For lighter cleaning, you can use more water. For tougher messes, you can use a higher concentration of vinegar. I usually start with 1:1 and adjust from there.
2. Pour in the Vinegar: Carefully pour the vinegar into your spray bottle. If you’re using a funnel, this will help prevent spills. For a standard 16-ounce spray bottle, I usually start with about 8 ounces of vinegar.
3. Add the Dish Soap: Now, add the dish soap. Be careful not to add too much, as it can create excessive suds. Again, for a 16-ounce bottle, I’d add about 8 ounces of dish soap.
4. (Optional) Add Water: If you want to dilute the solution, add water to the spray bottle. This is especially helpful if you’re using a strong-smelling dish soap or if you’re cleaning delicate surfaces.
5. Gently Mix: Close the spray bottle tightly and gently swirl the mixture to combine the ingredients. Avoid shaking vigorously, as this can create too many bubbles.
6. Label Your Bottle: This is super important! Label your spray bottle clearly with “Dish Soap & Vinegar Cleaning Solution” so you don’t accidentally use it for something else.
Where to Use Your DIY Cleaner
This cleaning solution is incredibly versatile! Here are some of my favorite places to use it:
* Kitchen Counters: It’s great for wiping down kitchen counters after cooking. Just spray, let it sit for a minute, and wipe clean.
* Sinks and Faucets: It effectively removes soap scum and water spots from sinks and faucets.
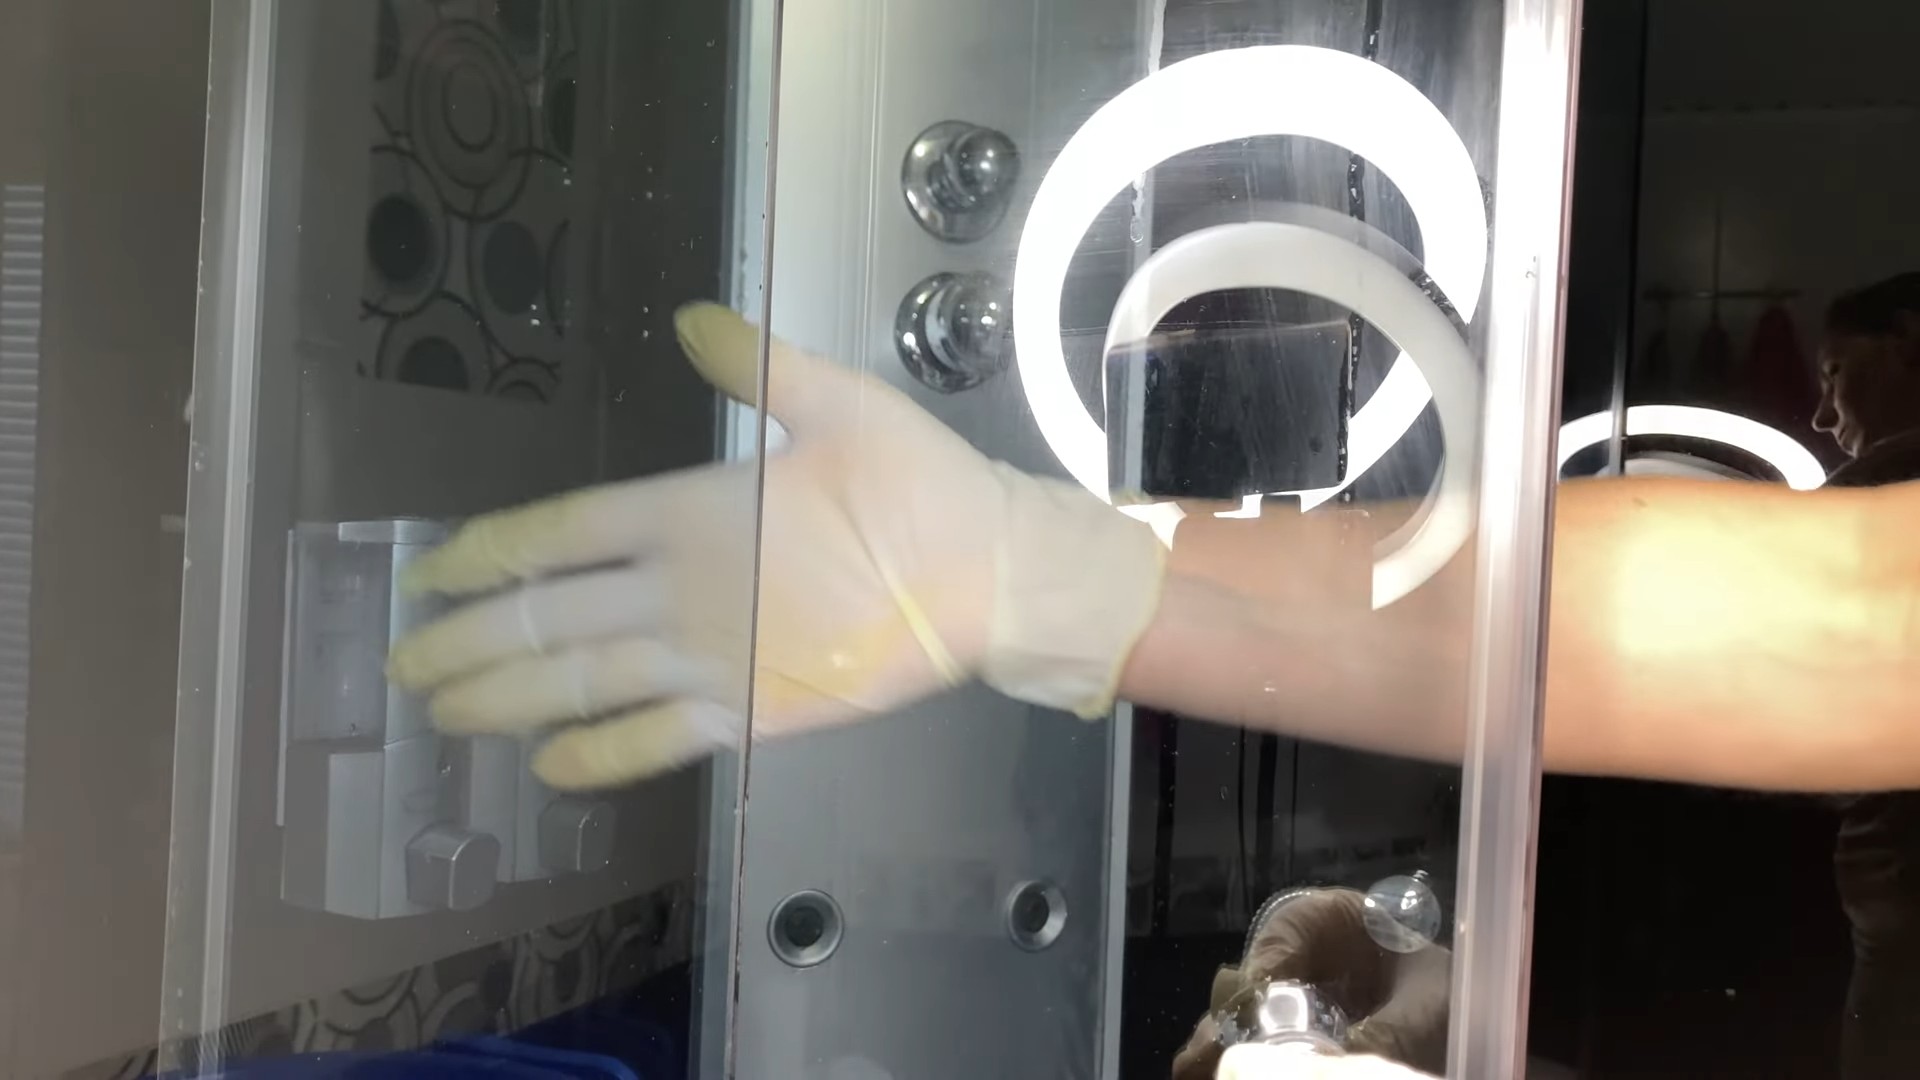
* Showers and Tubs: This solution can help prevent mildew and soap scum buildup in showers and tubs.
* Toilets: Spray it inside the toilet bowl, let it sit for a few minutes, and then scrub with a toilet brush.
* Floors (with caution): You can use it on some types of floors, but always test it in an inconspicuous area first to make sure it doesn’t damage the finish. Avoid using it on hardwood floors, as vinegar can damage the wood.
* Appliances: It’s great for cleaning the exterior of appliances like refrigerators, ovens, and dishwashers.
* Windows and Mirrors: Dilute the solution with more water for streak-free cleaning of windows and mirrors.
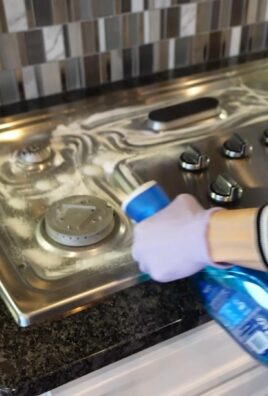
* Greasy Stovetops: This is where the combo really shines. Spray, let sit for a few minutes and wipe away the grease.
Areas to Avoid
While this cleaning solution is fantastic, there are a few places where you shouldn’t use it:
* Natural Stone Surfaces: Avoid using it on granite, marble, or other natural stone surfaces, as the vinegar can etch the stone.
* Hardwood Floors: As mentioned earlier, vinegar can damage hardwood floors.
* Waxed Furniture: The vinegar can strip the wax from waxed furniture.
* Electronics: Never spray this solution directly onto electronics.
Tips and Tricks for Maximum Cleaning Power
Here are a few extra tips to help you get the most out of your DIY cleaning solution:
* Test First: Always test the solution in an inconspicuous area before using it on a large surface, especially if you’re unsure about the material.
* Let it Sit: For tougher messes, let the solution sit for a few minutes before wiping it away. This gives the vinegar and dish soap time to break down the dirt and grime.
* Use a Microfiber Cloth: Microfiber cloths are excellent for cleaning because they trap dirt and dust effectively.
* Rinse Thoroughly: After cleaning, rinse the surface with clean water to remove any residue.
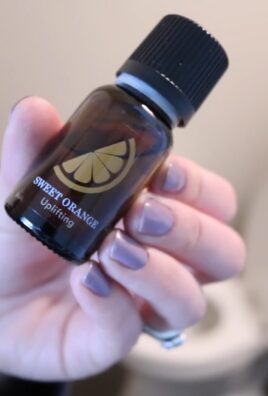
* Add Essential Oils (Optional): If you want to add a pleasant scent to your cleaning solution, you can add a few drops of your favorite essential oil. Lemon, lavender, and tea tree oil are all great choices.
* Warm Vinegar: For extra cleaning power, you can warm the vinegar slightly before mixing it with the dish soap. Be careful not to overheat it, as it can release fumes.
* Don’t Mix with Bleach: Never mix this cleaning solution with bleach, as it can create toxic fumes.
Troubleshooting Common Issues
Sometimes, you might encounter a few issues when using this cleaning solution. Here’s how to troubleshoot them:
* Streaking: If you’re experiencing streaking, try diluting the solution with more water or using a clean, dry microfiber cloth to wipe the surface.
* Too Many Suds: If you’re getting too many suds, you’ve probably added too much dish soap. Try diluting the solution with more vinegar and water.
* Lingering Vinegar Smell: The vinegar smell will usually dissipate quickly. If it’s bothering you, you can add a few drops of essential oil to the solution or open a window to ventilate the area.
* Cloudy Solution: Sometimes, the solution can become cloudy. This is usually due to the dish soap reacting with the vinegar. It doesn’t affect the cleaning power of the solution.
Making a Larger Batch
If you find yourself using this cleaning solution frequently, you might want to make a larger batch. Here’s how to do it:
1. Choose a Larger Container: Find a clean, empty container with a lid. A gallon jug or a large spray bottle will work well.
2. Calculate the Ratios: Determine the amount of vinegar and dish soap you’ll need based on the 1:1 ratio (or your preferred ratio). For example, if you’re making a gallon of solution, you’ll need half a gallon of vinegar and half a gallon of dish soap.
3. Mix the Ingredients: Pour the vinegar and dish soap into the container and gently stir to combine.
4. Store Properly: Store the solution in a cool, dry place away from direct sunlight.
A Note on Safety
While this cleaning solution is generally safe, it’s important to take a few precautions:
* Keep Out of Reach of Children and Pets: Store the solution in a safe place where children and pets cannot access it.
* Avoid Contact with Eyes: If the solution gets in your eyes, rinse them thoroughly with water.
* Wear Gloves (Optional): If you have sensitive skin, you might want to wear gloves when using the solution.
* Ventilate the Area: When cleaning in
Conclusion
So, there you have it! This simple yet incredibly effective dish soap vinegar cleaning mix is a game-changer for anyone looking to simplify their cleaning routine and achieve sparkling results without harsh chemicals. We’ve explored why this dynamic duo works so well, offering a powerful combination of grease-cutting action and gentle disinfecting properties.
Why is this DIY trick a must-try? Because it’s economical, environmentally friendly, and surprisingly versatile. You’re likely already have both ingredients in your home, saving you a trip to the store and reducing your reliance on expensive, pre-packaged cleaning products. Plus, you’re minimizing your exposure to potentially harmful chemicals, creating a healthier living environment for you and your family.
But the benefits don’t stop there. This cleaning mix is incredibly adaptable. For a boost of freshness, consider adding a few drops of your favorite essential oil, such as lemon, lavender, or tea tree. Lemon oil, in particular, complements the cleaning power and leaves a bright, citrusy scent. If you’re tackling particularly stubborn grime, try letting the mixture sit for a few minutes before scrubbing. For delicate surfaces, dilute the mixture further with water to prevent any potential damage. You can also experiment with different ratios of dish soap to vinegar to find the perfect balance for your specific cleaning needs. Some people prefer a 1:1 ratio, while others find that a slightly higher concentration of vinegar works best for them.
Don’t be afraid to get creative! This dish soap vinegar cleaning mix can be used on a wide range of surfaces, from kitchen countertops and bathroom tiles to shower doors and even windows. Just be sure to test it on an inconspicuous area first to ensure it doesn’t damage the surface.
We’re confident that once you try this simple DIY cleaning solution, you’ll be amazed by its effectiveness and versatility. It’s a cost-effective, eco-friendly, and surprisingly powerful way to keep your home clean and fresh.
So, ditch the harsh chemicals and embrace the power of this simple yet effective cleaning solution. We encourage you to give this dish soap vinegar cleaning mix a try and see the amazing results for yourself. And most importantly, we want to hear about your experience! Share your tips, tricks, and success stories in the comments below. Let’s build a community of clean-living enthusiasts who are passionate about finding simple, sustainable solutions for a healthier home. We can’t wait to see what you discover!
Frequently Asked Questions
Is this cleaning mix safe for all surfaces?
While the dish soap vinegar cleaning mix is generally safe for most surfaces, it’s always a good idea to test it on an inconspicuous area first, especially on delicate materials like marble, granite, or wood. Vinegar is acidic and can potentially etch or damage these surfaces if left on for too long or used in a concentrated form. For these surfaces, consider diluting the mixture further with water or using a different cleaning solution altogether. Always err on the side of caution and prioritize the preservation of your valuable surfaces.
What type of dish soap should I use?
Any standard liquid dish soap will work well in this cleaning mix. However, avoid using dish soaps that contain bleach or other harsh chemicals, as these can react negatively with the vinegar and create potentially harmful fumes. Opt for a gentle, biodegradable dish soap for a more environmentally friendly option. You can also choose a dish soap with a pleasant scent to add a touch of freshness to your cleaning routine. Ultimately, the best dish soap to use is the one that you already have on hand and that you feel comfortable using in your home.
How long will the cleaning mix last?
The dish soap vinegar cleaning mix can be stored for several weeks in a sealed container. However, it’s best to use it within a few weeks for optimal effectiveness. Over time, the ingredients may start to separate, but this doesn’t necessarily mean that the mixture is no longer effective. Simply shake the container well before each use to re-combine the ingredients. To maximize its shelf life, store the cleaning mix in a cool, dark place away from direct sunlight.
Can I use this cleaning mix to clean my windows?
Yes, the dish soap vinegar cleaning mix can be used to clean windows and leave them streak-free. However, it’s important to dilute the mixture with water to prevent streaking. A ratio of 1 part cleaning mix to 10 parts water is generally recommended. Use a spray bottle to apply the diluted mixture to the windows, and then wipe them clean with a microfiber cloth or squeegee. Avoid cleaning windows on a hot, sunny day, as the mixture may dry too quickly and leave streaks.
What if I don’t have vinegar? Can I substitute it with something else?
While vinegar is the key ingredient that provides the disinfecting and deodorizing properties of this cleaning mix, you can try substituting it with lemon juice in a pinch. Lemon juice is also acidic and has some cleaning properties, but it may not be as effective as vinegar. If you’re looking for a stronger alternative, consider using a commercial cleaning product that is specifically designed for the surface you’re cleaning. However, keep in mind that these products may contain harsh chemicals that are not as environmentally friendly as the dish soap vinegar cleaning mix.
Is this cleaning mix safe to use around pets and children?
While the dish soap vinegar cleaning mix is generally considered safe for use around pets and children, it’s still important to take precautions. Keep the cleaning mix out of reach of children and pets, and avoid spraying it directly on them. If your pet or child accidentally ingests the cleaning mix, contact a veterinarian or poison control center immediately. As with any cleaning product, it’s always best to err on the side of caution and supervise children and pets when using the cleaning mix.
Can I use this cleaning mix to clean my toilet?
Yes, the dish soap vinegar cleaning mix can be used to clean your toilet. Pour about a cup of the mixture into the toilet bowl and let it sit for 15-20 minutes. Then, scrub the bowl with a toilet brush and flush. The vinegar will help to disinfect the toilet bowl and remove stains, while the dish soap will help to clean the surface. For stubborn stains, you may need to repeat the process or use a stronger cleaning solution.
Does the vinegar smell linger after cleaning?
The vinegar smell will dissipate relatively quickly after cleaning. To minimize the smell, you can open windows and ventilate the area while cleaning. You can also add a few drops of essential oil to the cleaning mix to mask the vinegar smell. Lemon, lavender, and tea tree oil are all good options. The essential oil will not only help to mask the vinegar smell but also add a pleasant fragrance to your home.
Leave a Comment