
DIY Carpet Cleaner: Are you tired of stubborn stains and lingering odors ruining the look and feel of your carpets? I know I am! Let’s face it, professional carpet cleaning can be expensive, and those store-bought solutions often leave behind a chemical smell that lingers for days. But what if I told you that you could achieve professional-level results with ingredients you probably already have in your pantry?
For centuries, people have sought natural and effective ways to maintain their homes. From ancient civilizations using plant-based dyes to clean textiles to modern-day eco-conscious consumers, the desire for a clean and healthy living space has always been a priority. This DIY carpet cleaner trick taps into that rich history, offering a simple, affordable, and environmentally friendly solution to a common household problem.
In this article, I’m going to share my favorite DIY carpet cleaner recipe and some clever hacks that will not only save you money but also give you peace of mind knowing exactly what’s going onto your carpets. Say goodbye to harsh chemicals and hello to a fresh, clean, and inviting home! I’ll walk you through each step, ensuring you achieve the best possible results. Let’s get started and transform your carpets today!
DIY Carpet Cleaner: Revive Your Rugs with Natural Ingredients!
Hey there, fellow DIY enthusiasts! Are your carpets looking a little sad? Stains, dirt, and general wear and tear can really take a toll. But before you shell out big bucks for professional cleaning or harsh chemicals, let’s try a natural, budget-friendly solution! I’m going to walk you through creating your own powerful carpet cleaner using ingredients you probably already have in your pantry. Trust me, it’s easier than you think, and the results are amazing!
What You’ll Need
Before we dive in, let’s gather our supplies. This recipe is for a general carpet cleaning solution, perfect for tackling everyday dirt and grime.
* **Baking Soda:** This is your main cleaning agent. Baking soda is a natural deodorizer and helps to lift dirt and stains.
* **White Vinegar:** Vinegar acts as a disinfectant and helps to break down stubborn stains. Don’t worry about the smell; it dissipates quickly!
* **Dish Soap (Clear, Mild):** A small amount of dish soap helps to emulsify grease and lift dirt. Make sure it’s clear to avoid any potential dyes staining your carpet. I recommend something like Dawn Free & Clear.
* **Essential Oils (Optional):** For a fresh, clean scent, add a few drops of your favorite essential oils. Lavender, lemon, tea tree, and eucalyptus are all great choices.
* **Warm Water:** This is the base of our solution.
* **Spray Bottle:** For applying the cleaner to smaller areas or spot treatments.
* **Bucket:** For mixing larger batches of the cleaner.
* **Sponge or Scrub Brush:** For working the cleaner into the carpet fibers.
* **Vacuum Cleaner:** Essential for removing the cleaner and lifted dirt.
* **Clean Towels:** For blotting up excess moisture.
* **Rubber Gloves:** To protect your hands.
Mixing Your DIY Carpet Cleaner
This is where the magic happens! We’ll create two versions: a spray bottle solution for spot cleaning and a larger batch for overall carpet cleaning.
Spray Bottle Solution (Spot Cleaning)
This is perfect for tackling those unexpected spills and stains.
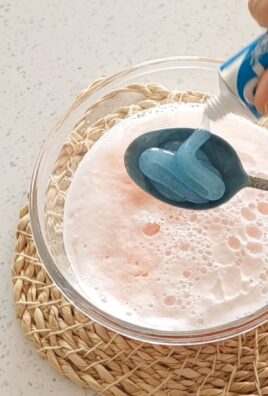
1. **Combine Ingredients:** In a spray bottle, mix 1 cup of warm water, 1/4 cup of white vinegar, 1 tablespoon of baking soda, and a few drops of clear dish soap. If you’re using essential oils, add 5-10 drops.
2. **Shake Well:** Secure the lid tightly and shake the bottle vigorously to ensure all ingredients are well combined. Be careful, the baking soda and vinegar will create a fizz!
3. **Test Patch:** Before applying to the stain, test the solution on an inconspicuous area of your carpet to ensure it doesn’t cause any discoloration.
4. **Apply to Stain:** Spray the solution directly onto the stain, making sure to saturate the area.
5. **Blot and Scrub:** Gently blot the stain with a clean towel, working from the outside in to prevent spreading. If the stain is stubborn, use a soft-bristled brush to gently scrub the area.
6. **Let it Sit:** Allow the solution to sit for 5-10 minutes to work its magic.
7. **Blot Again:** Blot the area again with a clean, dry towel to remove any remaining solution and lifted dirt.
8. **Dry Thoroughly:** Allow the area to air dry completely. You can speed up the process by using a fan or opening windows.
9. **Vacuum:** Once the area is completely dry, vacuum to restore the carpet fibers.
Bucket Solution (Overall Carpet Cleaning)
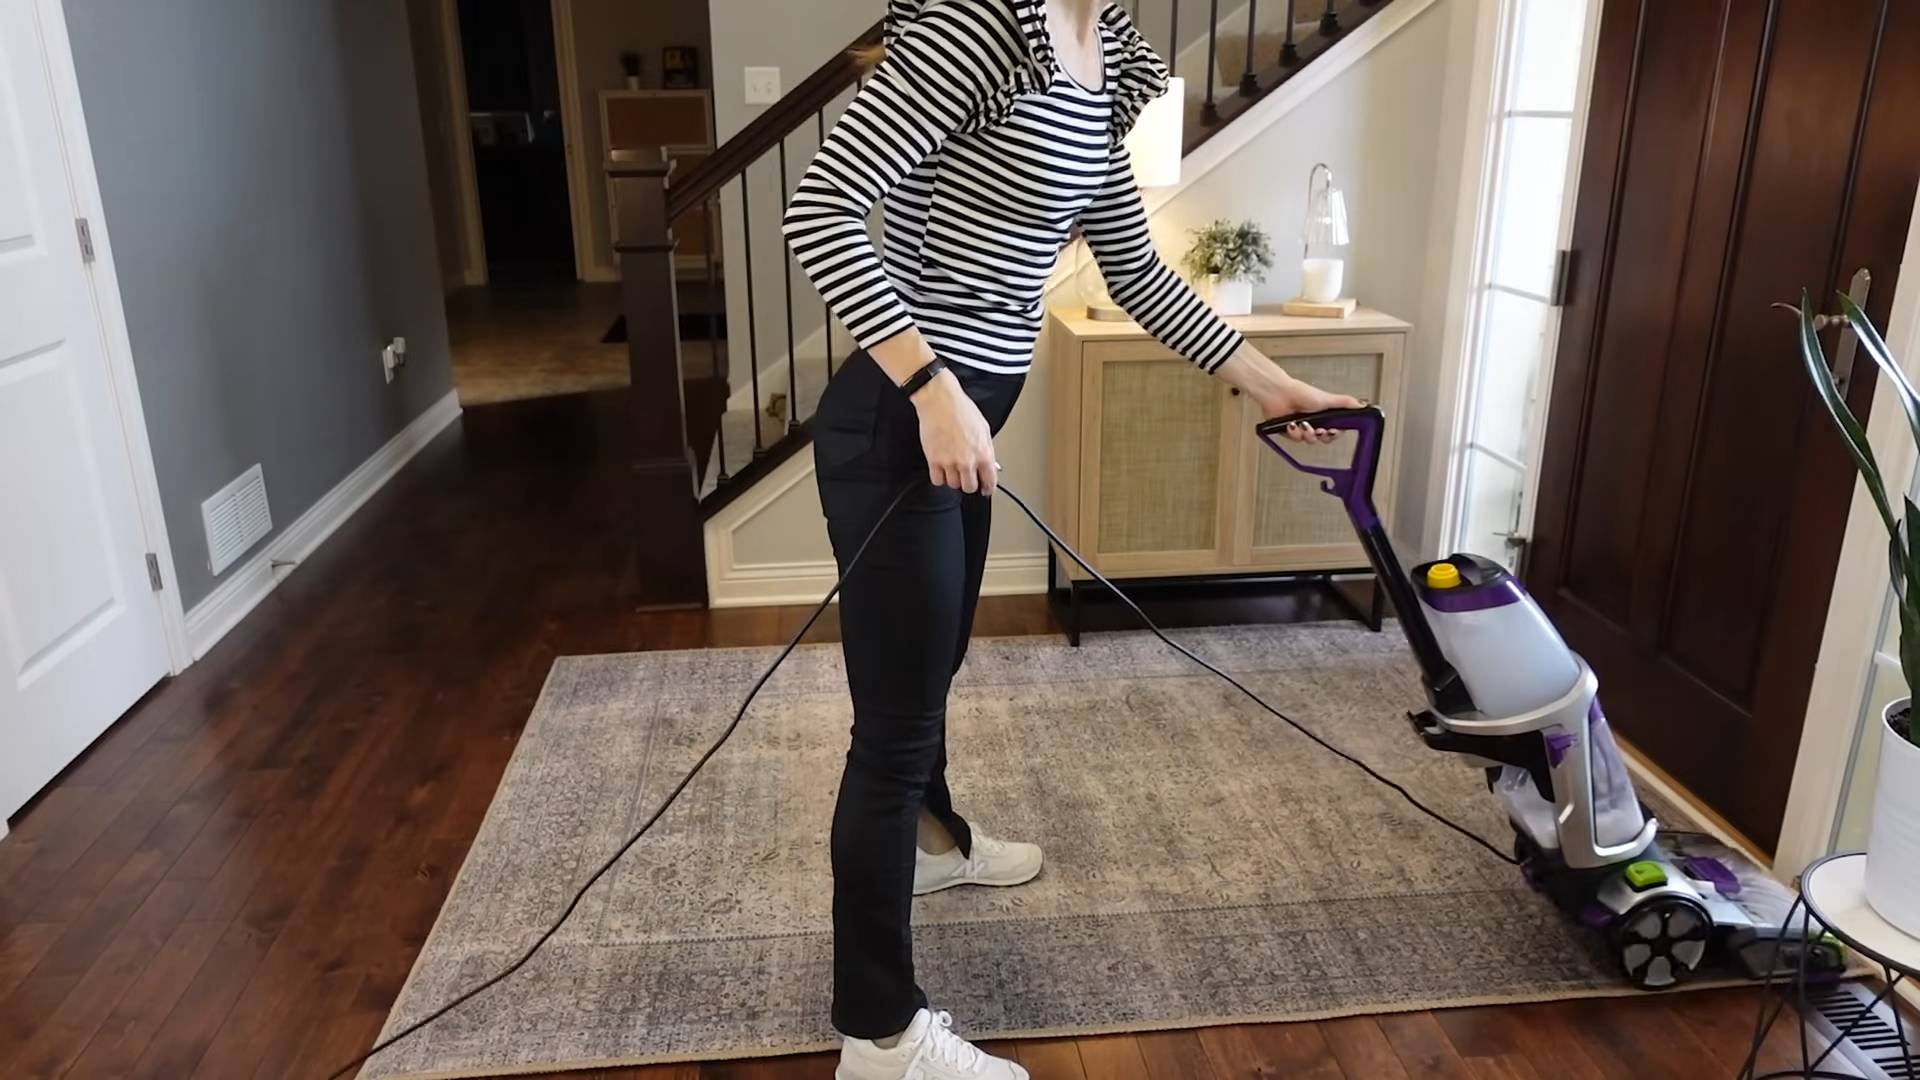
This is for a more thorough cleaning of your entire carpeted area. You can use this with a carpet cleaning machine or manually.
1. **Combine Ingredients:** In a bucket, mix 1 gallon of warm water, 1/2 cup of white vinegar, 1/4 cup of baking soda, and 1 tablespoon of clear dish soap. Add 10-20 drops of essential oils, if desired.
2. **Mix Well:** Stir the mixture thoroughly to ensure all ingredients are dissolved. Again, be mindful of the fizzing action between the baking soda and vinegar.
3. **Test Patch:** As with the spray bottle solution, test the cleaner on an inconspicuous area of your carpet before applying it to the entire room.
4. **Apply to Carpet:**
* **With a Carpet Cleaning Machine:** Pour the solution into the clean water tank of your carpet cleaning machine, following the manufacturer’s instructions.
* **Manually:** Dip a clean sponge or scrub brush into the solution and wring out the excess. Work the cleaner into the carpet fibers in small sections, using a circular motion. Avoid over-saturating the carpet.
5. **Clean the Entire Area:** Continue applying the cleaner to the entire carpeted area, working in sections.
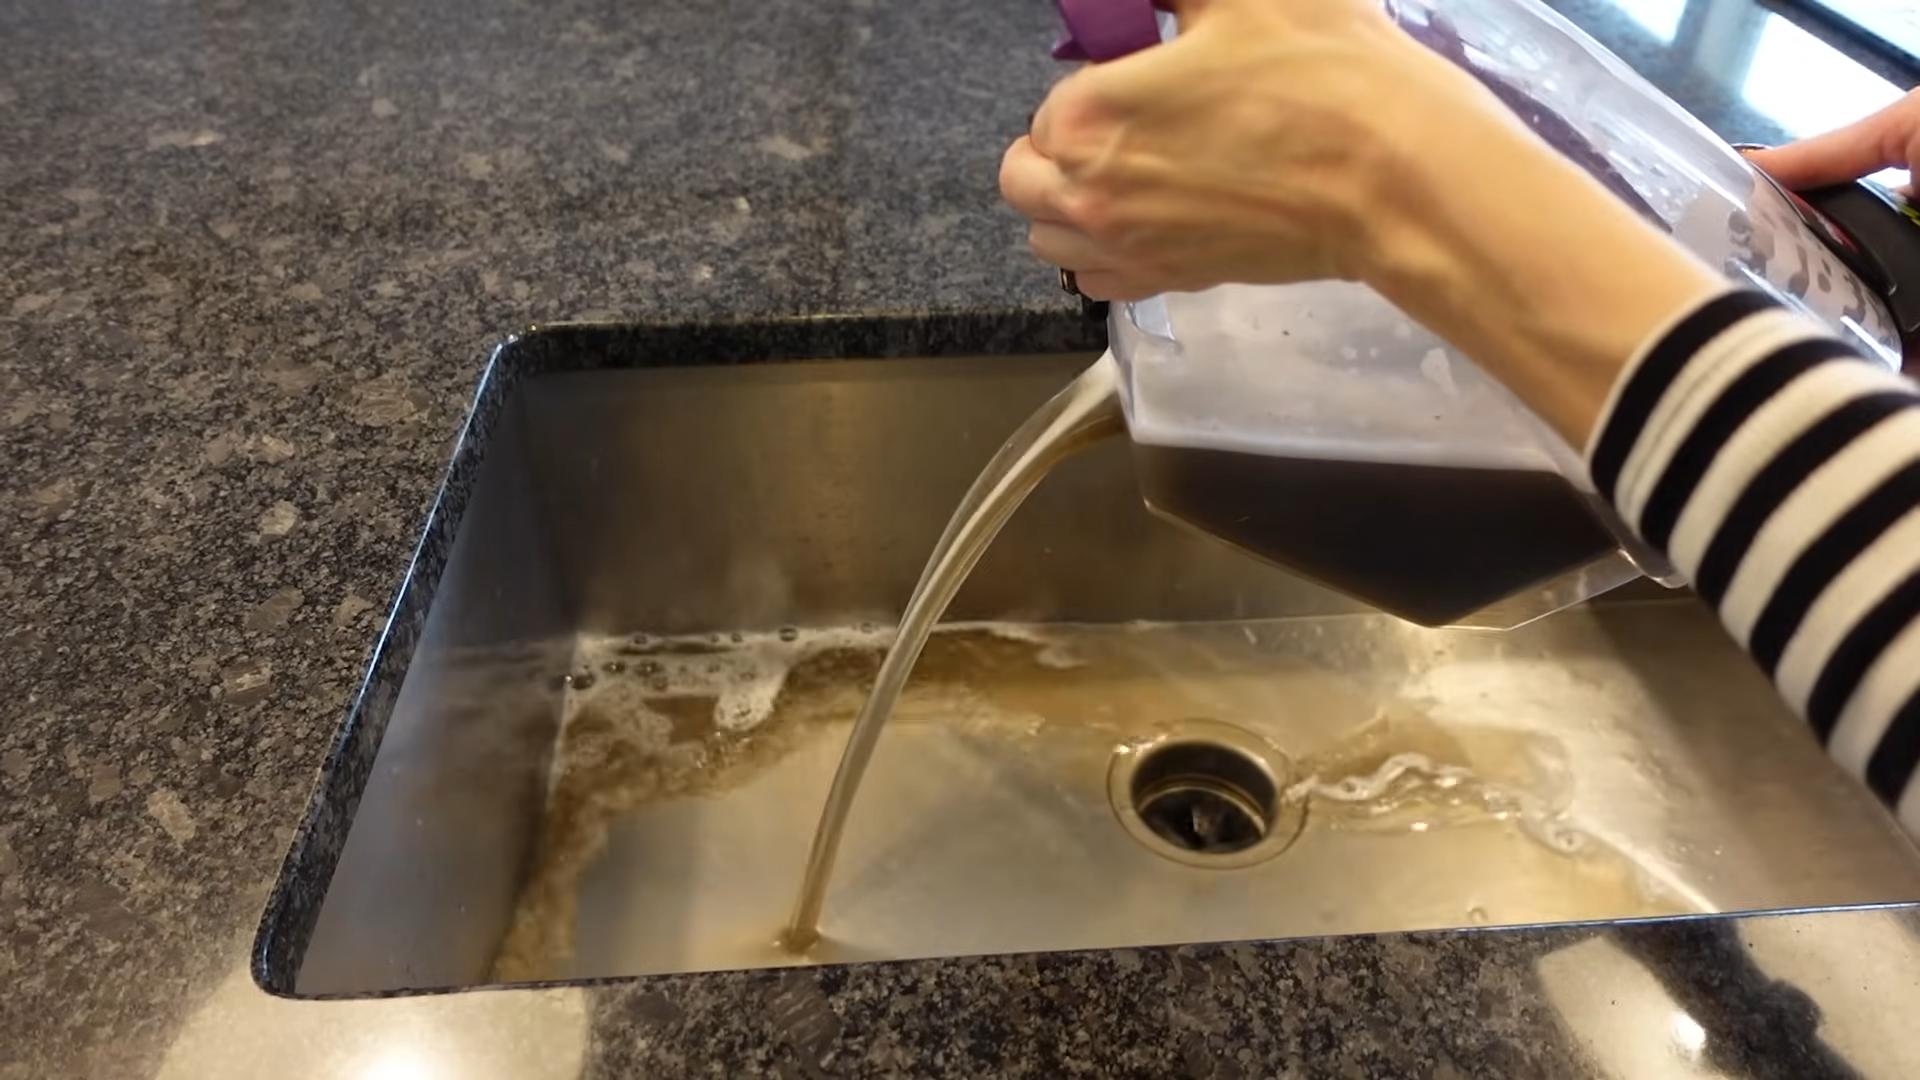
6. **Extract the Solution:**
* **With a Carpet Cleaning Machine:** Use the machine to extract the dirty water from the carpet, following the manufacturer’s instructions. Make multiple passes over each section to remove as much moisture as possible.
* **Manually:** Use clean towels to blot up the excess solution from the carpet. You may need to use several towels to absorb all the moisture.
7. **Rinse (Optional):** If you feel like there’s too much residue left on your carpet, you can rinse it with clean water. Use a spray bottle or a damp sponge to apply clean water to the carpet, then blot it up with clean towels.
8. **Dry Thoroughly:** Allow the carpet to air dry completely. This may take several hours or even overnight, depending on the humidity and ventilation. Use fans and open windows to speed up the drying process.
9. **Vacuum:** Once the carpet is completely dry, vacuum it thoroughly to restore the carpet fibers and remove any remaining residue.
Tackling Specific Stains
While our general carpet cleaner is effective for most stains, some require a little extra attention. Here are a few tips for tackling common carpet stains:
* **Pet Stains:** For pet stains, blot up as much of the stain as possible with a clean towel. Then, saturate the area with the spray bottle solution and let it sit for 15-20 minutes. Blot again with a clean towel and follow the drying and vacuuming instructions. You can also add a few drops of enzymatic cleaner to the solution for extra odor removal.
* **Red Wine Stains:** Act fast! Blot up as much of the wine as possible with a clean towel. Then, sprinkle baking soda liberally over the stain and let it sit for several hours or overnight. Vacuum up the baking soda. If the stain persists, use the spray bottle solution.
* **Coffee Stains:** Blot up as much of the coffee as possible with a clean towel. Then, use the spray bottle solution and follow the drying and vacuuming instructions.
* **Grease Stains:** Sprinkle cornstarch or baking soda over the grease stain and let it sit for 30 minutes to absorb the grease. Vacuum up the powder. Then, use the spray bottle solution and follow the drying and vacuuming instructions.
Important Considerations
* **Always test the cleaner on an inconspicuous area first.** This is crucial to ensure that the solution doesn’t damage or discolor your carpet.
* **Avoid over-saturating your carpet.** Too much moisture can lead to mold and mildew growth.
* **Dry your carpet thoroughly.** This is essential to prevent mold and mildew growth. Use fans and open windows to speed up the drying process.
* **Vacuum regularly.** Regular vacuuming helps to prevent dirt and debris from becoming embedded in your carpet fibers.
* **Consider the type of carpet you have.** Some carpets, such as wool or silk, may require special cleaning methods. If you’re unsure, consult a professional carpet cleaner.
* **For heavily soiled carpets, you may need to repeat the cleaning process.** Don’t be discouraged if the first cleaning doesn’t completely remove all the stains.
Why This Works
The power of this DIY carpet cleaner lies in the combination of its natural ingredients:
* **Baking Soda:** Acts as a mild abrasive to lift dirt and stains, while also deodorizing the carpet.
* **White Vinegar:** Helps to break down stubborn stains and disinfect the carpet.
* **Dish Soap:** Emulsifies grease and helps to lift dirt.
* **Essential Oils:** Provide a fresh, clean scent and can also have antibacterial properties.
By using these ingredients, you can effectively clean your carpets without exposing yourself or your family to harsh chemicals. Plus, it’s a much more affordable option than professional cleaning or store-bought carpet cleaners.
Maintaining Your Clean Carpet
Once you’ve revived your carpets with this DIY cleaner, here are a few tips to keep them looking their best:
* **Vacuum Regularly:** Aim to vacuum high-traffic areas at least twice a week and less-trafficked areas once a week.
* **Address Spills Immediately:** The quicker you address spills, the less likely they are to stain. Blot up liquids immediately with a clean towel.
* **Use
Conclusion
So, there you have it! Ditching those expensive, chemical-laden store-bought cleaners and embracing this simple, effective DIY carpet cleaner is a game-changer for your home. Not only will you save money, but you’ll also breathe easier knowing you’re using a solution that’s safe for your family, pets, and the environment. The beauty of this recipe lies in its versatility. Feel free to experiment with different essential oils to create a scent that truly resonates with you. Lavender for relaxation, citrus for a burst of energy, or tea tree for its antibacterial properties 鈥?the possibilities are endless!
Beyond the basic recipe, consider these variations to tailor the cleaner to your specific needs. For heavily soiled areas, pre-treat with a paste of baking soda and water before using the spray. If you’re dealing with pet odors, add a few extra drops of your chosen essential oil, focusing on those known for their odor-neutralizing capabilities like lemon or eucalyptus. And for those with sensitive skin, always do a patch test in an inconspicuous area before applying the cleaner to the entire carpet.
This DIY carpet cleaner isn’t just about cleaning; it’s about creating a healthier, happier home. It’s about taking control of the ingredients you bring into your living space and making conscious choices that benefit both your well-being and the planet. The satisfaction of knowing you’ve created a powerful cleaning solution with simple, readily available ingredients is truly rewarding.
We wholeheartedly encourage you to give this DIY carpet cleaner a try. You’ll be amazed at how effective it is at lifting dirt, removing stains, and leaving your carpets fresh and revitalized. Don’t be afraid to experiment with the recipe and find what works best for your carpets and your preferences.
But the journey doesn’t end here! We want to hear about your experiences. Did you try a different essential oil blend? Did you discover a particularly effective pre-treatment method? Share your tips, tricks, and success stories in the comments below. Let’s build a community of DIY enthusiasts who are passionate about creating clean, healthy homes. Your insights could be invaluable to others who are just starting out on their DIY cleaning journey. Together, we can revolutionize the way we clean our carpets and create a more sustainable future. So, grab your ingredients, get mixing, and prepare to be amazed by the power of this simple, yet effective, DIY carpet cleaner! We can’t wait to hear all about it!
Frequently Asked Questions (FAQ)
1. What type of carpet is this DIY carpet cleaner safe for?
This DIY carpet cleaner is generally safe for most types of carpets, including synthetic fibers like nylon, polyester, and olefin. However, it’s crucial to exercise caution when using it on natural fibers like wool or silk. These delicate materials are more susceptible to damage from moisture and certain ingredients. Always perform a spot test in an inconspicuous area before applying the cleaner to the entire carpet. If you notice any discoloration, shrinkage, or other adverse effects, discontinue use immediately. For wool and silk carpets, consider consulting a professional carpet cleaner who specializes in these materials. They can provide expert advice and cleaning services that are tailored to the specific needs of your carpets.
2. Can I use this DIY carpet cleaner in a carpet cleaning machine?
While this DIY carpet cleaner is primarily designed for spot cleaning and light cleaning, it can be used in some carpet cleaning machines. However, it’s essential to check your machine’s manual first to ensure that it’s compatible with homemade cleaning solutions. Some machines may have specific requirements or restrictions regarding the types of cleaners that can be used. If your machine is compatible, dilute the DIY carpet cleaner with water according to the machine’s instructions. It’s also a good idea to rinse the carpet thoroughly with clean water after cleaning to remove any residue. Be aware that using a DIY solution in a machine might void the warranty, so proceed with caution.
3. How often should I use this DIY carpet cleaner?
The frequency of cleaning depends on several factors, including the amount of foot traffic your carpets receive, the presence of pets or children, and your personal preferences. For high-traffic areas or homes with pets, you may need to clean your carpets more frequently, perhaps once a week or every other week. For less frequently used areas, cleaning once a month or even less often may suffice. Regular vacuuming is essential for maintaining the cleanliness of your carpets and preventing dirt and debris from becoming embedded in the fibers. This DIY carpet cleaner is best used for spot cleaning stains and refreshing your carpets between professional cleanings.
4. What essential oils are best to use in this DIY carpet cleaner?
The best essential oils to use in this DIY carpet cleaner depend on your personal preferences and the desired effect. Lavender is a popular choice for its relaxing scent and antibacterial properties. Lemon and other citrus oils are known for their refreshing aroma and ability to cut through grease and grime. Tea tree oil is a powerful antiseptic and antifungal agent, making it ideal for combating mold and mildew. Eucalyptus oil has a strong, invigorating scent and can help to freshen up your carpets. Peppermint oil can help to repel insects and leave your carpets smelling minty fresh. When choosing essential oils, be sure to select high-quality, pure oils from a reputable source.
5. How do I store the leftover DIY carpet cleaner?
Store any leftover DIY carpet cleaner in a clean, airtight spray bottle. Label the bottle clearly with the contents and the date it was made. Keep the bottle in a cool, dark place away from direct sunlight and heat. This will help to preserve the potency of the ingredients and prevent the cleaner from spoiling. The shelf life of the DIY carpet cleaner will depend on the ingredients used, but it generally lasts for several weeks to a few months. If you notice any changes in color, odor, or consistency, discard the cleaner.
6. Is this DIY carpet cleaner safe for pets and children?
While this DIY carpet cleaner is generally safer than commercial cleaners, it’s still important to exercise caution when using it around pets and children. Essential oils can be toxic to pets if ingested, so be sure to keep the cleaner out of their reach. When cleaning, ventilate the area well to prevent pets and children from inhaling the fumes. After cleaning, allow the carpets to dry completely before allowing pets and children to play on them. If you have any concerns about the safety of the cleaner, consult with your veterinarian or pediatrician.
7. What if the DIY carpet cleaner doesn’t remove a stain completely?
Some stubborn stains may require additional treatment. For heavily soiled areas, pre-treat with a paste of baking soda and water before using the spray. Let the paste sit on the stain for several hours or overnight, then vacuum it up before applying the DIY carpet cleaner. For grease stains, try blotting the area with a clean cloth dampened with dish soap and water. For pet stains, use an enzymatic cleaner specifically designed to break down pet odors and stains. If the stain persists, consider consulting a professional carpet cleaner.
8. Can I add vinegar to this DIY carpet cleaner?
While vinegar is a popular cleaning agent, it’s generally not recommended for use on carpets, especially those made of natural fibers like wool or silk. Vinegar is acidic and can damage the fibers, causing discoloration, shrinkage, or other adverse effects. If you choose to use vinegar, dilute it heavily with water and test it in an inconspicuous area first. Use it sparingly and rinse the carpet thoroughly with clean water after cleaning.
9. How do I prevent my carpets from getting dirty in the first place?
Prevention is key to keeping your carpets clean and fresh. Place mats at all entrances to trap dirt and debris before they can be tracked onto your carpets. Vacuum regularly, at least once a week, to remove loose dirt and dust. Clean up spills immediately to prevent them from setting into stains. Avoid wearing shoes on your carpets to reduce the amount of dirt and grime that gets tracked in. Consider using area rugs in high-traffic areas to protect your carpets from wear and tear. By taking these simple steps, you can extend the life of your carpets and keep them looking their best.
Leave a Comment