
DIY Cleaning Solutions: Who knew saving money and protecting your family could be so intertwined? I’m always on the lookout for ways to make my home sparkle without resorting to harsh chemicals, and that’s exactly what sparked my journey into the world of homemade cleaners. For generations, our grandmothers relied on simple, natural ingredients like vinegar, baking soda, and lemon to keep their homes spotless. Think about it – before the age of mass-produced cleaning products, these were the go-to solutions, passed down through families and cultures worldwide.
But why should you ditch the store-bought stuff and embrace DIY Cleaning Solutions? Well, for starters, many commercial cleaners contain ingredients that can be harmful to your health and the environment. Plus, they can be surprisingly expensive! By creating your own cleaning concoctions, you’re not only reducing your exposure to potentially toxic chemicals, but you’re also saving a significant amount of money in the long run. In this article, I’m going to share some of my favorite, tried-and-true DIY cleaning recipes that are easy to make, effective, and safe for your family and pets. Get ready to transform your cleaning routine and discover the power of natural ingredients!
DIY Cleaning Solutions: Ditch the Chemicals, Embrace the Natural!
Hey there, fellow cleaning enthusiasts! Are you tired of harsh chemicals and sky-high prices for your cleaning supplies? I know I was! That’s why I dove headfirst into the world of DIY cleaning solutions, and let me tell you, it’s been a game-changer. Not only are these recipes incredibly effective, but they’re also eco-friendly, budget-friendly, and surprisingly easy to make. So, grab your spray bottles and let’s get started!
All-Purpose Cleaner: Your New Best Friend
This all-purpose cleaner is my go-to for almost everything. From countertops to sinks to even light floor cleaning, it’s a true workhorse.
What you’ll need:
* Spray bottle (16 oz is a good size)
* 1/2 cup white vinegar
* 2 cups water
* 10-20 drops of your favorite essential oil (lemon, lavender, tea tree, and eucalyptus are all great choices)
Step-by-step instructions:
1. Gather your ingredients: Make sure you have everything ready to go before you start. This will make the process smoother and faster.
2. Combine vinegar and water: In your spray bottle, pour in the white vinegar and water. I usually use a small funnel to avoid spills.
3. Add essential oils: Now for the fun part! Add your essential oils. I love lemon for its fresh scent and antibacterial properties, but feel free to experiment and find your favorite blend. Remember, essential oils are potent, so start with a smaller amount and add more if needed.
4. Shake well: Secure the spray nozzle and shake the bottle vigorously to combine all the ingredients.
5. Label your bottle: This is super important! Clearly label your bottle as “All-Purpose Cleaner” to avoid any confusion.
6. Test before use: Before spraying on a large surface, test the cleaner in an inconspicuous area to ensure it doesn’t damage the material.
Using your all-purpose cleaner:
* Spray the cleaner onto the surface you want to clean.
* Let it sit for a few seconds to loosen dirt and grime.
* Wipe clean with a damp cloth or sponge.
* For tougher stains, let the cleaner sit for a few minutes before wiping.
Glass Cleaner: Streak-Free Shine Guaranteed
Say goodbye to streaks and hello to sparkling clean windows and mirrors with this simple glass cleaner.
What you’ll need:
* Spray bottle
* 1/4 cup white vinegar
* 2 cups water
* Optional: 1-2 drops of dish soap (use sparingly!)
Step-by-step instructions:
1. Prepare your bottle: Make sure your spray bottle is clean and dry.
2. Mix vinegar and water: Pour the white vinegar and water into the spray bottle.
3. Add dish soap (optional): If you’re using dish soap, add just a drop or two. Too much soap can leave streaks.
4. Shake gently: Gently shake the bottle to combine the ingredients. Avoid creating too many bubbles if you’re using dish soap.
5. Label your bottle: Label the bottle clearly as “Glass Cleaner.”
Using your glass cleaner:
* Spray the cleaner onto the glass surface.
* Wipe clean with a microfiber cloth or newspaper. Microfiber cloths are great for streak-free results.
* For stubborn spots, spray again and let it sit for a few seconds before wiping.
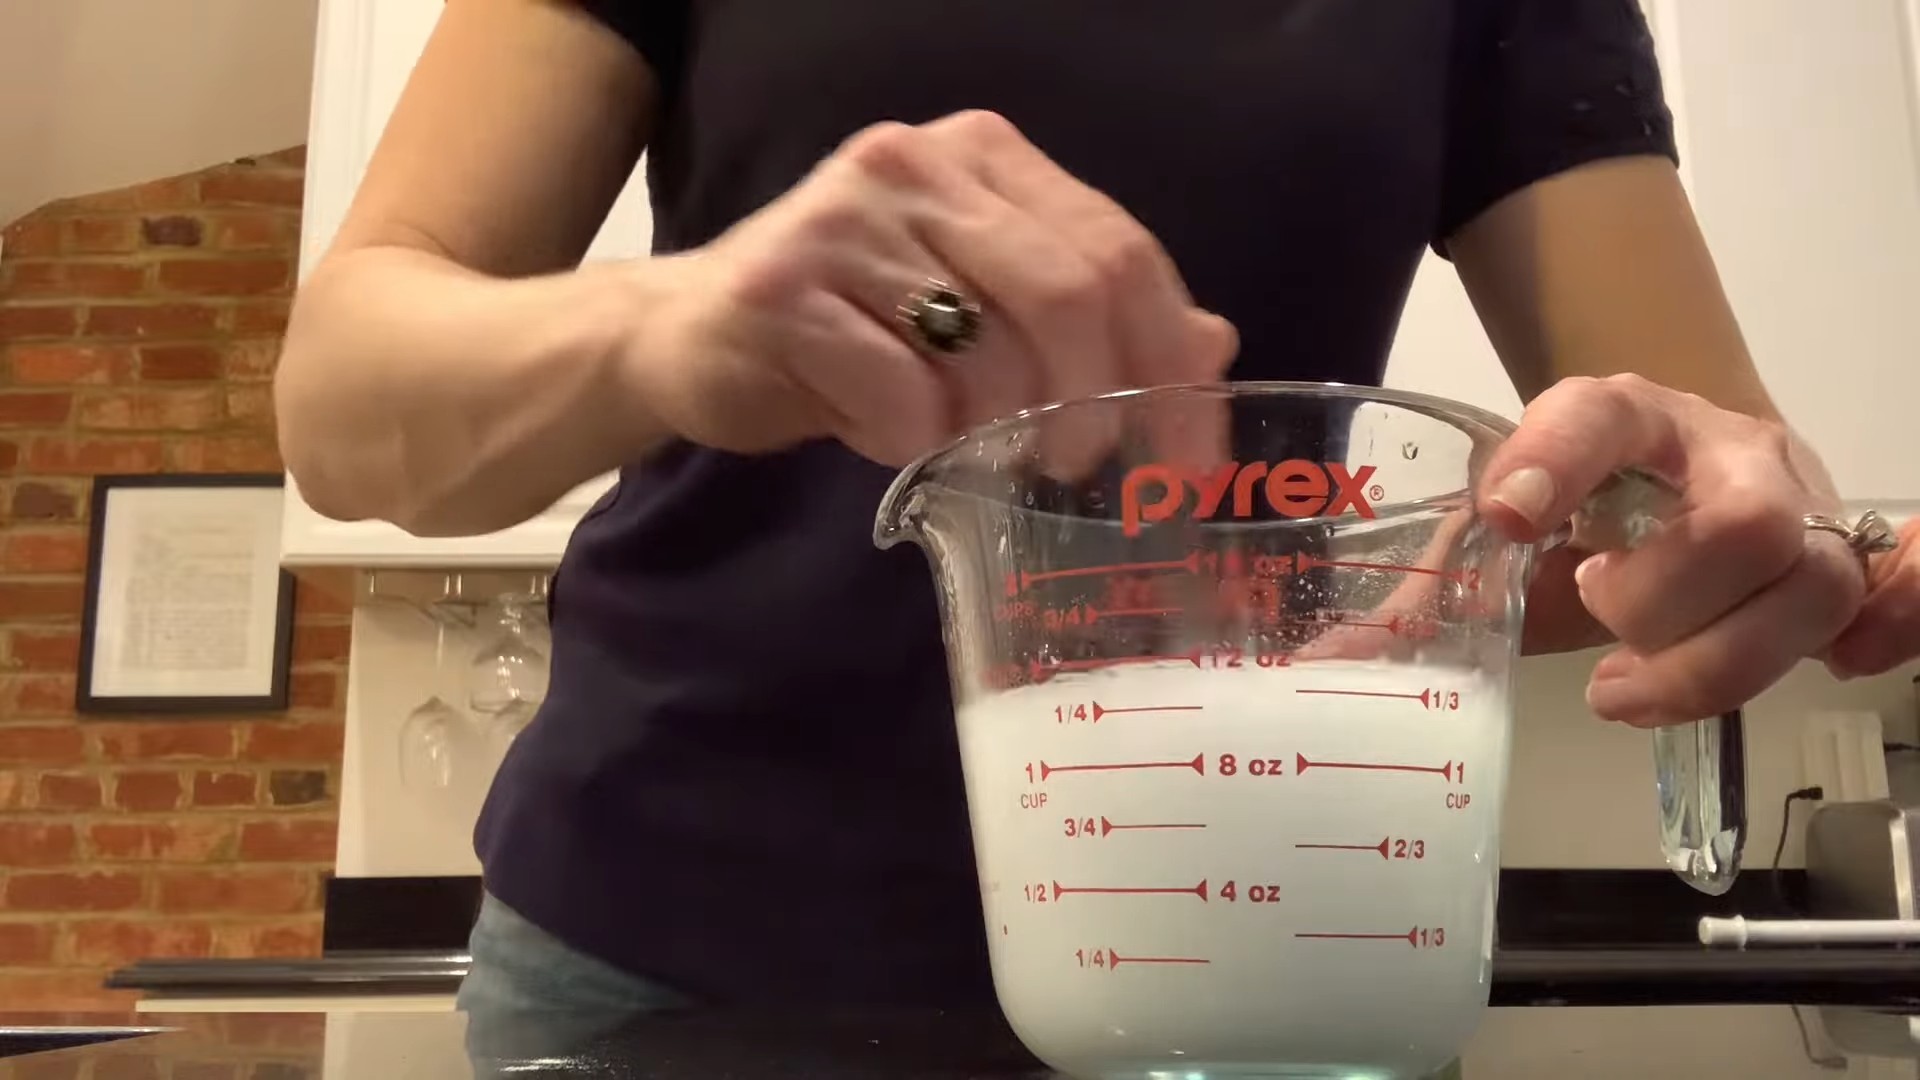
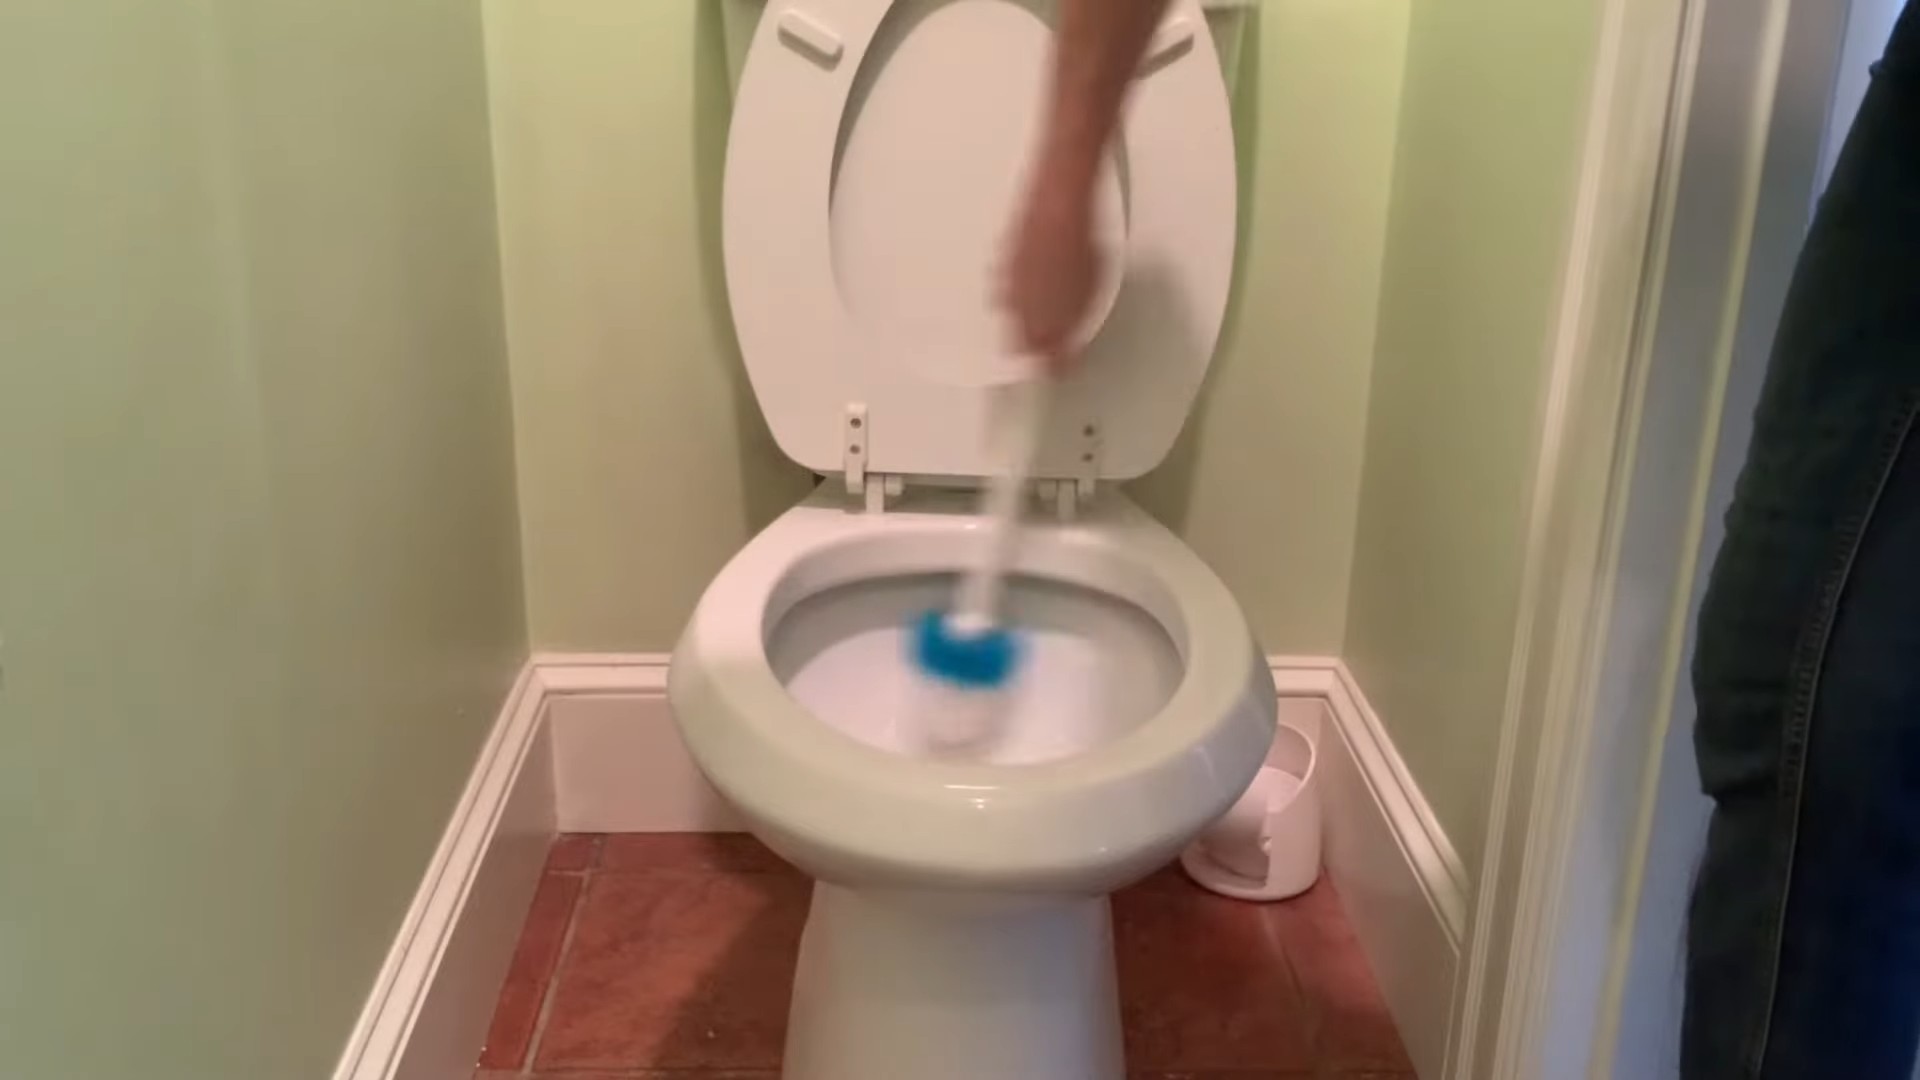
Toilet Bowl Cleaner: Keep it Fresh and Clean
This toilet bowl cleaner is a natural and effective way to keep your toilet fresh and clean.
What you’ll need:
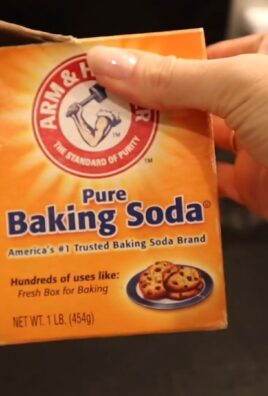
* 1/2 cup baking soda
* 1 cup white vinegar
* Optional: 5-10 drops of tea tree essential oil (for its antibacterial properties)
Step-by-step instructions:
1. Sprinkle baking soda: Sprinkle the baking soda evenly around the inside of the toilet bowl.
2. Pour in vinegar: Slowly pour the white vinegar over the baking soda. It will fizz!
3. Add essential oil (optional): Add the tea tree essential oil, if using.
4. Let it sit: Let the mixture sit for at least 15-20 minutes, or even longer for tougher stains.
5. Scrub and flush: Scrub the toilet bowl with a toilet brush and then flush.
Tips for a sparkling toilet:
* For extra cleaning power, let the mixture sit overnight.
* Use a pumice stone to remove stubborn stains.
* Clean your toilet regularly to prevent buildup.
Oven Cleaner: Tackling Baked-On Grime
Cleaning the oven is often a dreaded task, but this DIY oven cleaner makes it much easier.
What you’ll need:
* Baking soda
* Water
* Spray bottle
* Spatula or scraper
* Gloves
Step-by-step instructions:
1. Prepare the oven: Remove oven racks and any loose debris.
2. Make a baking soda paste: In a bowl, mix baking soda with enough water to form a thick paste.
3. Apply the paste: Spread the baking soda paste all over the inside of the oven, avoiding the heating elements.
4. Let it sit: Let the paste sit for at least 12 hours, or even overnight. The longer it sits, the easier it will be to remove the grime.
5. Spray with vinegar: After the paste has sat, spray it generously with white vinegar. It will fizz again!
6. Scrub and scrape: Use a spatula or scraper to loosen the baked-on grime.
7. Wipe clean: Wipe the oven clean with a damp cloth or sponge. You may need to rinse and repeat a few times to remove all the baking soda residue.
8. Replace oven racks: Once the oven is clean and dry, replace the oven racks.
Important notes for oven cleaning:
* Wear gloves to protect your hands.
* Avoid getting baking soda paste on the heating elements.
* For heavily soiled ovens, you may need to repeat the process.
Drain Cleaner: Unclogging Drains Naturally
Forget harsh chemical drain cleaners! This DIY solution is a safe and effective way to unclog drains.
What you’ll need:
* 1/2 cup baking soda
* 1 cup white vinegar
* Boiling water
Step-by-step instructions:
1. Pour baking soda: Pour the baking soda down the drain.
2. Pour in vinegar: Follow with the white vinegar. It will fizz!
3. Let it sit: Let the mixture sit for 30 minutes.
4. Flush with boiling water: Carefully pour a pot of boiling water down the drain.
Tips for preventing clogged drains:
* Avoid pouring grease down the drain.
* Use a drain strainer to catch hair and food particles.
* Flush your drains regularly with hot water.
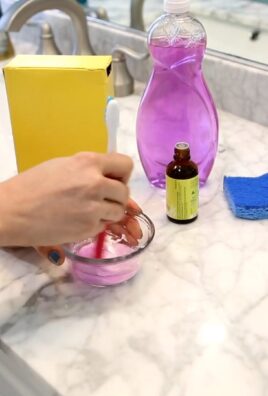
Furniture Polish: Revive Your Wood Furniture
Give your wood furniture a new lease on life with this simple and natural furniture polish.
What you’ll need:
* 1/4 cup olive oil
* 1 tablespoon white vinegar or lemon juice
* Soft cloth
Step-by-step instructions:
1. Combine ingredients: In a small bowl, combine the olive oil and white vinegar or lemon juice.
2. Apply to furniture: Dip a soft cloth into the mixture and apply it to your wood furniture in a circular motion.
3. Buff to shine: Use a clean, dry cloth to buff the furniture to a shine.
Important considerations for furniture polish:
* Test the polish in an inconspicuous area first to ensure it doesn’t damage the finish.
* Use sparingly to avoid a greasy residue.
* This polish is best for sealed wood surfaces.
Laundry Detergent: Clean Clothes, Clean Conscience
Making your own laundry detergent is surprisingly easy and can save you a lot of money.
What you’ll need:
* 1 cup washing soda
* 1 cup borax
* 1 bar of castile soap (like Dr. Bronner’s), grated
Step-by-step instructions:
1. Grate the soap: Grate the castile soap using a cheese grater or food processor.
2. Combine ingredients: In a large bowl, combine the washing soda, borax, and grated castile soap.
3. Mix well: Mix the ingredients thoroughly until they are well combined.
4. Store in an airtight container: Store the laundry detergent in an airtight container.
Using your
Conclusion
So, there you have it! Ditching the harsh chemicals and embracing these simple, yet incredibly effective, DIY cleaning solutions is not just a trend; it’s a smart choice for your health, your wallet, and the environment. We’ve explored how to harness the power of everyday ingredients like vinegar, baking soda, lemon, and essential oils to create cleaning powerhouses that rival, and often surpass, their store-bought counterparts.
Why is this a must-try? Because you’re taking control. You know exactly what’s going into your cleaning products, eliminating the mystery and potential health risks associated with undisclosed chemicals. You’re saving money by using inexpensive, readily available ingredients. And you’re reducing your environmental footprint by minimizing plastic waste and avoiding the release of harmful substances into our waterways. It’s a win-win-win!
But the beauty of these DIY cleaning solutions lies in their adaptability. Feel free to experiment with different essential oil combinations to create your signature scents. Lavender and tea tree oil offer antibacterial properties and a calming aroma, while citrus oils like lemon and orange provide a refreshing and invigorating clean. For tougher stains, consider adding a bit of borax to your baking soda paste for extra scrubbing power. If you find vinegar too pungent, infuse it with citrus peels or herbs for a more pleasant scent.
Don’t be afraid to get creative and tailor these recipes to your specific needs and preferences. For example, if you have hard water, you might need to increase the amount of vinegar in your all-purpose cleaner. Or, if you’re cleaning delicate surfaces, dilute your solutions further to prevent damage. The key is to start with the basic recipes and then adjust them as needed until you find what works best for you.
We’ve covered a range of applications, from tackling stubborn grease in the kitchen to disinfecting surfaces in the bathroom. Remember that homemade cleaning solutions are not just for general cleaning; they can also be used for specialized tasks like cleaning your oven, polishing furniture, or even removing stains from carpets. The possibilities are endless!
Ultimately, the best way to discover the magic of DIY cleaning solutions is to try them for yourself. Start with one recipe, like the all-purpose cleaner or the glass cleaner, and see the difference it makes. You’ll be amazed at how effective these simple solutions can be.
We encourage you to embrace the DIY spirit and transform your cleaning routine. Not only will you be creating a healthier and more sustainable home, but you’ll also be empowering yourself with the knowledge and skills to take control of your cleaning products.
So, grab your ingredients, put on your favorite music, and get ready to experience the joy of cleaning with natural, homemade solutions. And most importantly, we want to hear about your experiences! Share your tips, tricks, and variations in the comments below. Let’s build a community of DIY cleaning enthusiasts and inspire others to make the switch. What are you waiting for? It’s time to unlock the power of DIY cleaning solutions!
Frequently Asked Questions (FAQ)
Are DIY cleaning solutions as effective as store-bought cleaners?
Yes, in many cases, DIY cleaning solutions can be just as effective, if not more so, than store-bought cleaners. Ingredients like vinegar, baking soda, and lemon have natural cleaning properties that can tackle a wide range of messes. Vinegar is a great disinfectant and degreaser, baking soda is a mild abrasive and deodorizer, and lemon has antibacterial and brightening properties. The key is to use the right solution for the right task and to follow the recipes carefully. While some heavy-duty cleaning tasks might require specialized products, for everyday cleaning, DIY solutions are often more than sufficient.
How long do DIY cleaning solutions last?
The shelf life of DIY cleaning solutions depends on the ingredients used. Solutions containing water should generally be used within a few weeks to prevent bacterial growth. Solutions containing vinegar or alcohol will last longer, typically several months. It’s always a good idea to label your solutions with the date you made them and to discard them if they show signs of spoilage, such as discoloration or a foul odor. Essential oils can also help to extend the shelf life of your solutions due to their antibacterial properties.
Can I use essential oils in all of my DIY cleaning solutions?
While essential oils can add a pleasant scent and antibacterial properties to your DIY cleaning solutions, it’s important to use them safely and responsibly. Not all essential oils are safe for all surfaces, and some may be harmful to pets or children. Always research the specific essential oil you’re using and follow the recommended dilution ratios. It’s also a good idea to test the solution on a small, inconspicuous area before applying it to a larger surface. Avoid using essential oils on delicate surfaces like marble or granite, as they can potentially damage the finish.
Are DIY cleaning solutions safe for all surfaces?
No, not all DIY cleaning solutions are safe for all surfaces. For example, vinegar can be harmful to marble, granite, and other natural stone surfaces. Baking soda can be abrasive and should be used with caution on delicate surfaces. Always test your DIY cleaning solution on a small, inconspicuous area before applying it to a larger surface. Research the specific cleaning needs of each surface in your home and choose your solutions accordingly. When in doubt, dilute your solutions further or opt for a gentler cleaning method.
Can I mix different DIY cleaning solutions together?
It’s generally not recommended to mix different DIY cleaning solutions together, as this can create dangerous chemical reactions. For example, mixing vinegar and bleach can produce chlorine gas, which is toxic. Always use caution when handling cleaning products, whether they’re store-bought or homemade. If you’re unsure about whether it’s safe to mix two solutions, it’s best to err on the side of caution and avoid doing so.
What are some good essential oils to use in DIY cleaning solutions?
Some popular essential oils for DIY cleaning solutions include:
* Lavender: Known for its calming aroma and antibacterial properties.
* Tea tree oil: A powerful disinfectant and antifungal agent.
* Lemon: A refreshing scent and degreasing properties.
* Orange: A bright and uplifting scent with antibacterial benefits.
* Eucalyptus: A strong scent and antiviral properties.
* Peppermint: A refreshing scent and insect repellent.
Remember to always dilute essential oils properly and to research their safety before using them.
How do I store my DIY cleaning solutions?
Store your DIY cleaning solutions in clean, airtight containers. Glass spray bottles are a good option for liquid solutions, while jars or containers with lids are suitable for powders and pastes. Label each container clearly with the name of the solution and the date it was made. Store your solutions in a cool, dark place away from direct sunlight and heat. Keep them out of reach of children and pets.
What if my DIY cleaning solution doesn’t work as well as I expected?
If your DIY cleaning solution isn’t working as well as you expected, try adjusting the recipe. You may need to increase the concentration of the active ingredients, such as vinegar or baking soda. You can also try using a different cleaning method, such as scrubbing harder or letting the solution sit for longer before wiping it away. If you’re still not satisfied with the results, you may need to consider using a stronger cleaning product.
Are there any safety precautions I should take when using DIY cleaning solutions?
Yes, always take safety precautions when using DIY cleaning solutions. Wear gloves to protect your hands from irritation. Avoid getting solutions in your eyes. If you do, rinse them immediately with water. Work in a well-ventilated area to avoid inhaling fumes. Keep solutions out of reach of children and pets. Never mix different cleaning solutions together. And always research the safety of the ingredients you’re using.
Can I use DIY cleaning solutions to clean my oven?
Yes, you can use DIY cleaning solutions to clean your oven. A popular method is to make a paste of baking soda and water and apply it to the inside of the oven. Let the paste sit overnight, then scrub it away with a damp sponge. You can also use a vinegar and water solution to wipe down the oven after scrubbing. Be sure to remove all traces of the baking soda paste before using the oven.
Leave a Comment