
DIY furniture polish: Ever looked at your beloved wooden furniture and wished it had that showroom shine back? I know I have! We often think achieving that lustrous glow requires expensive, store-bought products filled with mystery ingredients. But what if I told you that the secret to revitalizing your furniture is likely hiding in your pantry right now?
For generations, resourceful homemakers have relied on natural ingredients to care for their homes. Think about it – before the age of mass-produced cleaners, people used simple, readily available items like vinegar, olive oil, and beeswax to keep their furniture looking its best. This tradition speaks to a deep connection with nature and a desire to create a healthy, sustainable home environment.
Let’s face it, commercial furniture polishes can be harsh on both your furniture and your health. Many contain volatile organic compounds (VOCs) that can irritate your skin and respiratory system. Plus, they often leave behind a sticky residue that attracts dust. That’s why learning how to make your own DIY furniture polish is a game-changer. Not only will you save money and reduce your exposure to harmful chemicals, but you’ll also gain a deeper appreciation for the art of natural home care. This article will guide you through simple, effective recipes that will leave your furniture gleaming and your home smelling fresh. Get ready to unlock the secrets to a beautifully polished home, the natural way!
DIY Concrete Countertops: A Weekend Project for Stunning Results
Okay, so you’re thinking about concrete countertops, huh? Awesome! They’re seriously stylish, surprisingly durable, and a whole lot cheaper than granite or quartz. Plus, the satisfaction of saying “I made that!” every time someone compliments them? Priceless. This guide will walk you through the entire process, from building the mold to sealing the finished product. Don’t be intimidated – it’s totally doable, even for a beginner. Just follow these steps, and you’ll have gorgeous concrete countertops in no time.
Planning and Preparation: The Key to Success
Before we even think about mixing concrete, let’s get organized. This is where good planning saves you headaches later.
* Measure, Measure, Measure! This is the most crucial step. Accurately measure the dimensions of your existing countertops or the space where you want your new concrete ones. Add a slight overhang (usually 1-2 inches) for a professional look. Write everything down!
* Design Considerations: Think about the thickness you want your countertops to be. A standard thickness is 1.5-2 inches. Also, consider any cutouts you’ll need for sinks, faucets, or cooktops. Plan these out precisely and note their locations.
* Choose Your Concrete Mix: There are specialized concrete countertop mixes available. These are formulated to be stronger, less prone to cracking, and easier to work with. Look for a mix specifically designed for countertops. You can find these at most home improvement stores or online. Avoid using regular concrete mix, as it’s not ideal for this application.
* Gather Your Supplies: Make a comprehensive list of everything you’ll need and get it all before you start. Trust me, running to the store mid-project is a buzzkill.
Here’s a list of essential supplies:
* Concrete countertop mix
* Melamine boards (for the mold)
* Screws
* Silicone caulk
* Reinforcement (wire mesh or rebar)
* Concrete sealer
* Concrete color pigment (optional)
* Release agent (cooking spray or form release)
* Mixing tub or wheelbarrow
* Concrete mixer (optional, but highly recommended)
* Trowel
* Rubber mallet
* Vibrating sander
* Diamond polishing pads (various grits)
* Safety glasses
* Dust mask
* Gloves
* Measuring buckets
* Level
* Clamps
* Painter’s tape
Building the Mold: Your Countertop’s Blueprint
The mold is what gives your countertop its shape, so precision is key.
1. Cut the Melamine: Cut the melamine boards according to your measurements. You’ll need pieces for the base, sides, and any internal forms for sink cutouts. Remember to account for the thickness of the melamine when calculating the dimensions of the base.
2. Assemble the Mold: Screw the side pieces to the base, creating a box. Use screws every few inches to ensure a tight seal. Make sure the corners are square! A framing square is your best friend here.
3. Create Cutouts: If you have sink or faucet cutouts, create forms using melamine and attach them securely inside the mold. Use silicone caulk to seal the edges of the cutout forms to prevent concrete from seeping underneath.
4. Caulk the Seams: Apply a bead of silicone caulk along all the inside seams of the mold. This will prevent concrete from leaking out and create a smooth edge on your finished countertop. Smooth the caulk with your finger for a clean finish.
5. Apply Release Agent: Generously spray the inside of the mold with a release agent, such as cooking spray or a commercial form release. This will make it much easier to remove the countertop from the mold later.
Mixing and Pouring the Concrete: The Heart of the Project
This is where the magic happens!
1. Prepare the Concrete Mix: Follow the instructions on your concrete mix bag carefully. Add water gradually, mixing until you achieve a thick, but pourable consistency. The mix should be similar to a thick oatmeal. A concrete mixer will make this process much easier, but you can also mix by hand in a wheelbarrow or mixing tub.
2. Add Pigment (Optional): If you’re using concrete pigment, add it to the mix now and blend thoroughly. Remember, a little goes a long way!
3. Pour the First Layer: Pour a layer of concrete into the mold, about halfway up.
4. Add Reinforcement: Place your wire mesh or rebar into the wet concrete. Make sure it’s completely embedded and doesn’t touch the sides or bottom of the mold. This will significantly strengthen your countertop.
5. Pour the Second Layer: Pour the remaining concrete into the mold, filling it to the top.
6. Vibrate the Concrete: This is crucial for removing air bubbles and ensuring a dense, strong countertop. Use a vibrating sander (without sandpaper) and run it along the sides and bottom of the mold. You can also tap the mold with a rubber mallet. Do this for several minutes to allow the air bubbles to rise to the surface.
7. Screed the Surface: Use a straight edge (like a piece of wood or a metal ruler) to level the surface of the concrete. Drag the straight edge across the top of the mold, removing any excess concrete.
8. Trowel the Surface: Use a trowel to smooth the surface of the concrete. This doesn’t have to be perfect at this stage, as you’ll be polishing it later.
Curing and Demolding: Patience is a Virtue
This is the hardest part – waiting!
1. Cure the Concrete: Cover the mold with plastic sheeting to prevent the concrete from drying out too quickly. This is crucial for proper curing. Keep the concrete damp for at least 7 days. You can mist it with water periodically.
2. Demold the Countertop: After 7 days, carefully remove the screws from the mold. Gently tap the sides of the mold with a rubber mallet to loosen the concrete. With a helper, carefully lift the countertop out of the mold.
Polishing and Sealing: The Finishing Touches
This is where your countertop goes from rough to radiant!
1. Initial Inspection: After removing the countertop from the mold, inspect it for any imperfections, such as air bubbles or small cracks. You can fill these with a concrete patching compound.
2. Wet Polishing: This is best done outdoors or in a well-ventilated area, as it creates a lot of dust. Start with a coarse grit diamond polishing pad (e.g., 50 grit) and gradually work your way up to finer grits (e.g., 100, 200, 400, 800, 1500, 3000). Use plenty of water during the polishing process to keep the pads cool and prevent dust.
3. Honing the Edges: Use the same diamond polishing pads to hone the edges of the countertop, creating a smooth, rounded profile.
4. Cleaning: Thoroughly clean the countertop with water and a mild detergent to remove any remaining concrete dust.
5. Sealing: Apply a concrete sealer according to the manufacturer’s instructions. This will protect your countertop from stains and water damage. You may need to apply multiple coats. Allow each coat to dry completely before applying the next.
6. Final Inspection: Once the sealer has dried, inspect your countertop for any imperfections. Touch up any areas as needed.
Installation: Putting it All Together
Almost there!
1. Prepare the Cabinets: Ensure your cabinets are level and sturdy. You may need to add shims to level them.
2. Apply Adhesive: Apply a bead of construction adhesive to the top of the cabinets.
3. Position the Countertop: Carefully lift the countertop into place and position it correctly.
4. Secure the Countertop: Use clamps to hold the countertop in place while the adhesive dries. You can also use screws to secure the countertop to the cabinets from underneath.
5. Caulk the Seams: Apply a bead of silicone caulk along the backsplash and any seams between the countertop and the cabinets. This will prevent water from seeping underneath.
And that’s it! You’ve successfully created your own concrete countertops. Now, stand back and admire your handiwork. You deserve it! Remember to clean your countertops regularly with a mild detergent and avoid using harsh chemicals. With proper care, your concrete countertops will last for years to come.
Conclusion
So, there you have it! This DIY furniture polish isn’t just a recipe; it’s a gateway to revitalizing your beloved wooden furniture and breathing new life into your home. We’ve explored a simple, cost-effective, and environmentally friendly alternative to commercial products, one that puts you in control of the ingredients and the results.
Why is this DIY trick a must-try? Because it offers a trifecta of benefits: it’s gentle on your furniture, avoiding harsh chemicals that can strip away natural oils and damage the finish over time; it’s kind to your wallet, utilizing ingredients you likely already have in your pantry; and it’s a conscious choice for a more sustainable lifestyle, reducing your reliance on mass-produced, often heavily packaged, products.
Beyond the basic recipe, the possibilities for customization are endless. Experiment with different essential oils to create a signature scent that fills your home with warmth and personality. Lavender, lemon, orange, and cedarwood are all excellent choices, each offering unique aromatic and therapeutic properties. For darker woods, consider adding a touch of brewed coffee to the mixture to enhance the richness of the color. If you’re dealing with particularly dry or damaged wood, a slightly higher proportion of olive oil can provide extra nourishment and protection.
Remember to always test your DIY furniture polish on an inconspicuous area first to ensure compatibility with your furniture’s finish. A small spot on the underside of a table or the back of a chair is ideal. This simple precaution can save you from potential headaches down the road.
We’re confident that once you experience the satisfaction of creating your own effective and natural furniture polish, you’ll never go back to store-bought alternatives. The subtle sheen, the delightful aroma, and the peace of mind knowing you’re using safe and sustainable ingredients are all part of the magic.
Don’t just take our word for it, though. We wholeheartedly encourage you to give this DIY furniture polish a try. Gather your ingredients, follow the simple steps, and witness the transformation of your furniture firsthand. We’re eager to hear about your experiences! Share your before-and-after photos, your favorite scent combinations, and any tips or tricks you discover along the way in the comments section below. Let’s build a community of DIY enthusiasts who are passionate about preserving the beauty and longevity of their wooden furniture, one homemade polish at a time. Your feedback will not only inspire others but also help us refine and improve this recipe for everyone. Let’s make this the ultimate guide to creating the perfect DIY furniture polish!
Frequently Asked Questions (FAQ)
What kind of wood is this DIY furniture polish suitable for?
This DIY furniture polish is generally safe for most types of finished wood furniture, including hardwoods like oak, maple, and cherry, as well as softer woods like pine. However, it’s crucial to test the polish on an inconspicuous area first, regardless of the wood type. Avoid using it on unfinished wood, as the oils can penetrate and potentially stain the surface. For antique furniture or pieces with delicate finishes, consult with a professional before applying any homemade polish.
How often should I use this DIY furniture polish?
The frequency of polishing depends on the furniture’s usage and environment. In general, polishing every one to three months is sufficient for most pieces. Furniture that is frequently used or exposed to dust and sunlight may benefit from more frequent polishing. Over-polishing can lead to a buildup of residue, so it’s best to err on the side of caution. Observe your furniture and polish only when it appears dull or dry.
Can I use this DIY furniture polish on leather furniture?
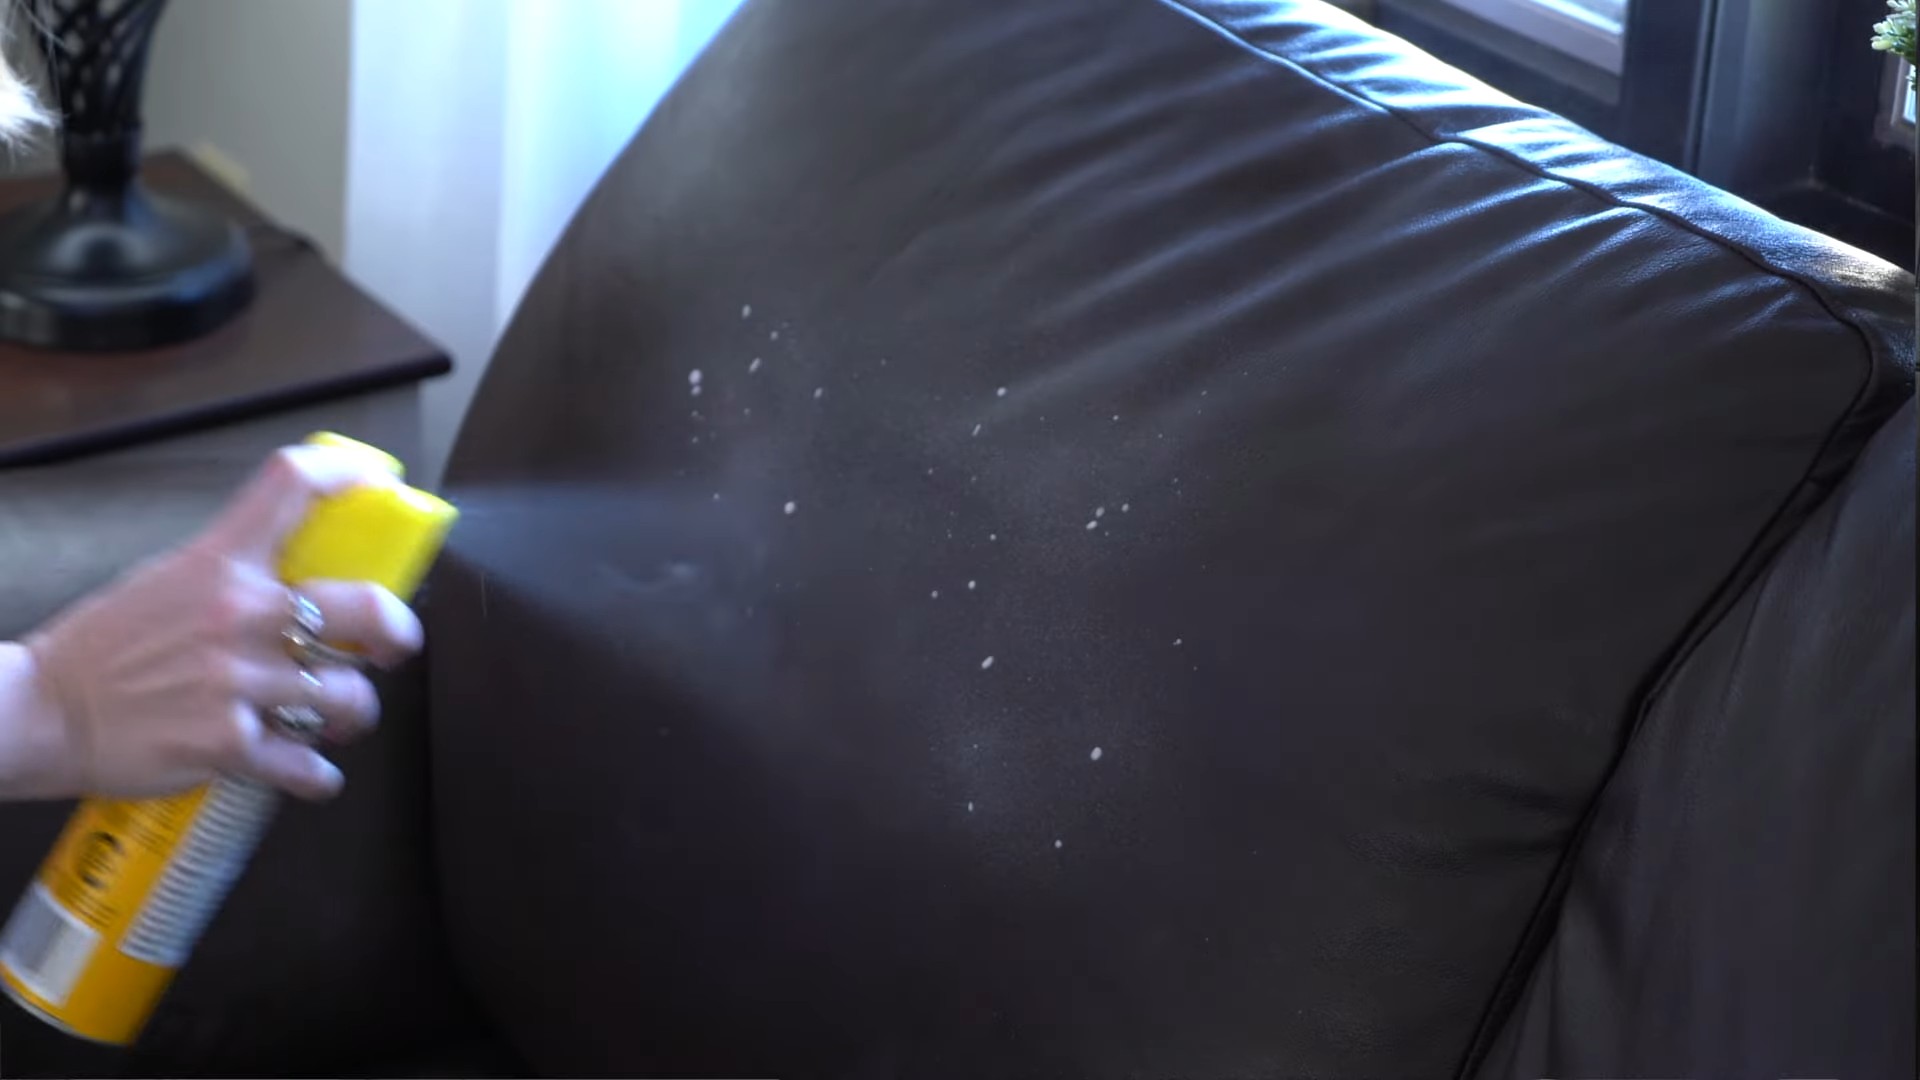
No, this DIY furniture polish is specifically formulated for wood furniture and is not suitable for leather. Leather requires specialized cleaning and conditioning products designed to maintain its unique properties. Using wood polish on leather can damage the surface and lead to discoloration or cracking.
What if I don’t have olive oil? Can I use another type of oil?
Yes, you can substitute olive oil with other oils, but the results may vary slightly. Good alternatives include almond oil, jojoba oil, or even avocado oil. These oils are all relatively light and non-greasy, making them suitable for polishing wood. Avoid using vegetable oil or other cooking oils, as they can become rancid over time and leave a sticky residue.
How should I store the DIY furniture polish?
Store your DIY furniture polish in an airtight container in a cool, dark place. A glass jar is ideal, as it won’t react with the ingredients. Properly stored, the polish should last for several months. If you notice any changes in color, odor, or consistency, discard the polish.
My furniture has a lot of buildup from previous polishes. How do I remove it before using this DIY polish?
Before applying the DIY furniture polish, it’s essential to remove any existing buildup. You can do this by gently wiping the furniture with a solution of warm water and a mild dish soap. Use a soft cloth and avoid excessive scrubbing. Rinse the surface with clean water and allow it to dry completely before applying the DIY polish. For stubborn buildup, you may need to use a commercial furniture cleaner specifically designed to remove polish residue. Always follow the manufacturer’s instructions and test the cleaner on an inconspicuous area first.
Can I add vinegar to this recipe? I’ve heard it’s a good cleaner.
While vinegar is a great natural cleaner, it’s generally not recommended for use on finished wood furniture. Vinegar is acidic and can potentially damage the finish over time, leading to dullness or discoloration. It’s best to stick to the recommended ingredients in the recipe, which are gentle and nourishing for wood.
What essential oils are best to use in this DIY furniture polish?
The best essential oils to use depend on your personal preferences and the desired effect. Some popular choices include:
* **Lemon:** Provides a fresh, clean scent and helps to cut through grease and grime.
* **Orange:** Offers a cheerful, uplifting aroma and has natural cleaning properties.
* **Lavender:** Creates a calming and relaxing atmosphere and has antiseptic properties.
* **Cedarwood:** Provides a warm, woody scent and helps to repel insects.
* **Tea Tree:** Has antibacterial and antifungal properties and can help to disinfect surfaces.
Experiment with different combinations to find your favorite scent. Remember to use high-quality, pure essential oils for the best results.
Is this DIY furniture polish safe for children and pets?
This DIY furniture polish is generally safer than commercial products, as it doesn’t contain harsh chemicals. However, it’s still important to keep it out of reach of children and pets. Essential oils can be toxic if ingested, so store the polish in a secure location. If you have pets that tend to lick furniture, consider using a polish without essential oils or wiping down the furniture after polishing to remove any residue.
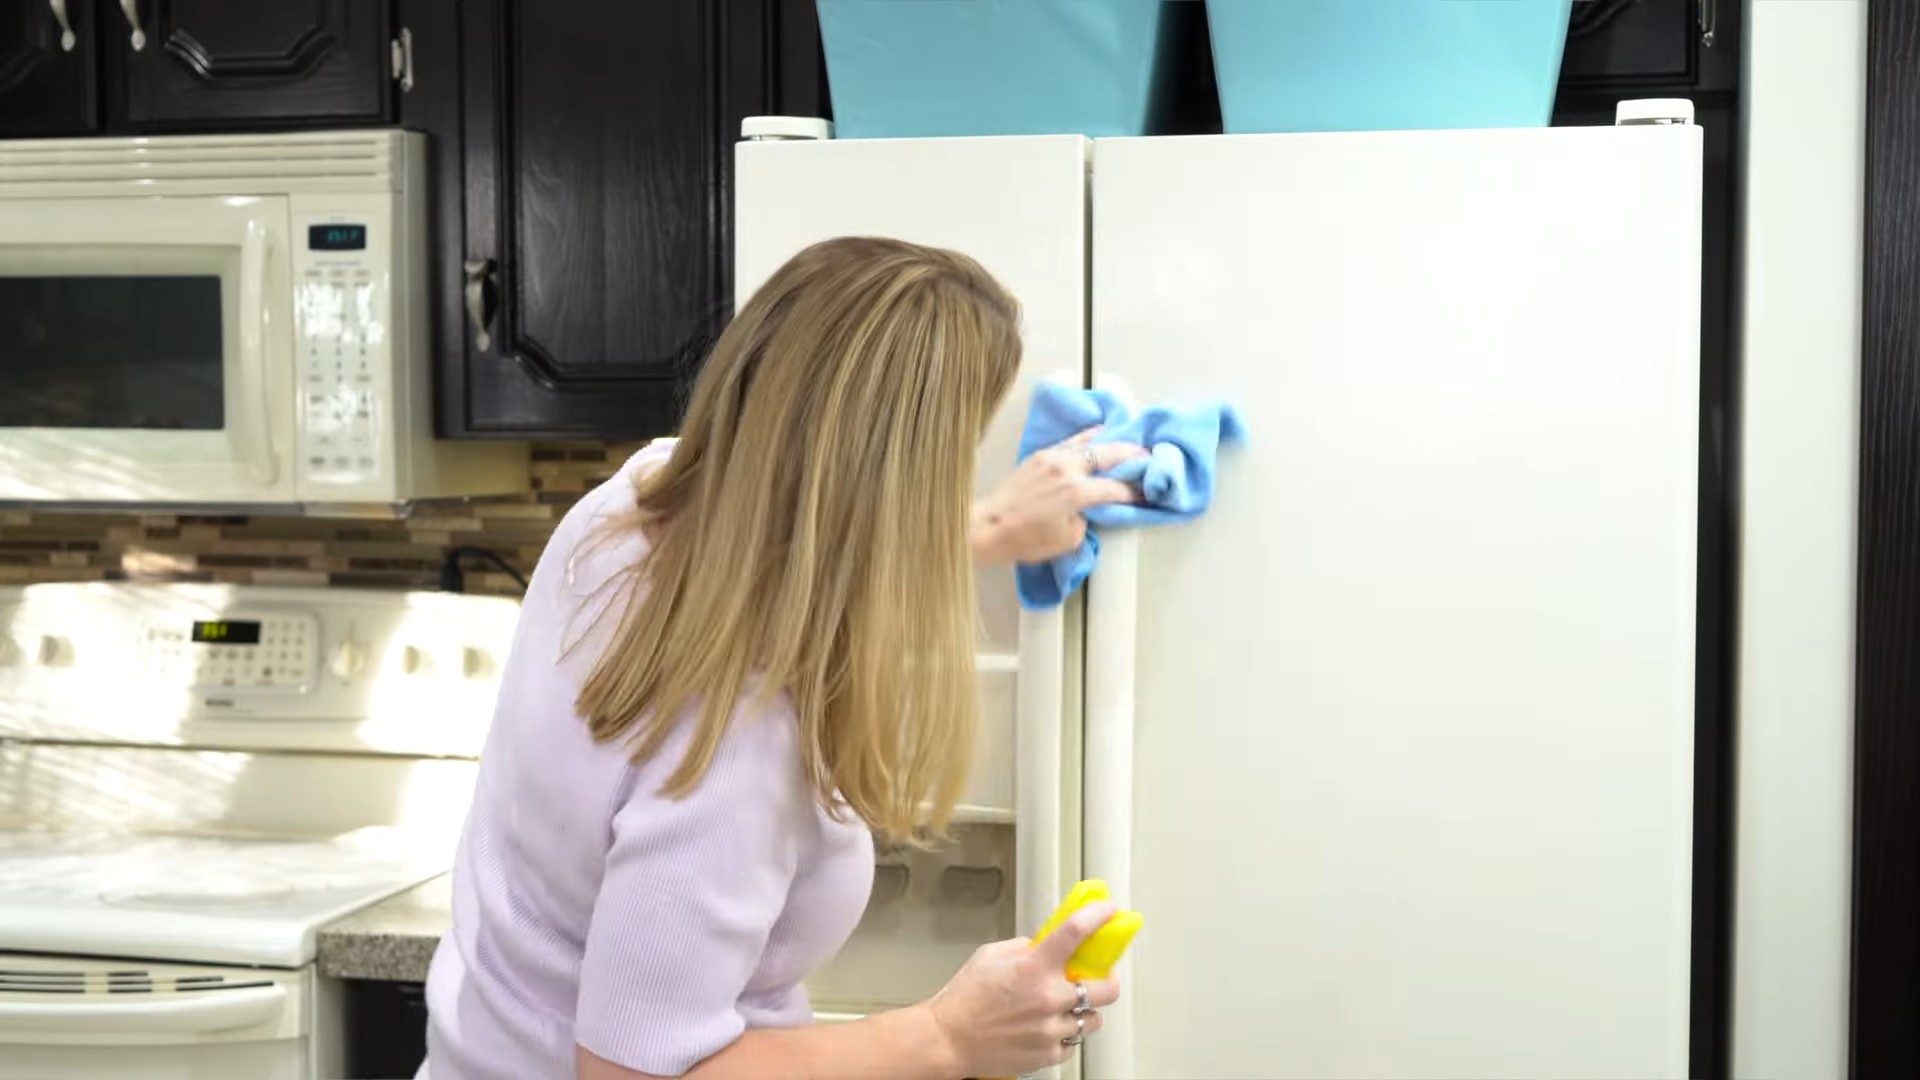
What kind of cloth should I use to apply the DIY furniture polish?
Use a soft, lint-free cloth to apply the DIY furniture polish. Microfiber cloths are an excellent choice, as they are gentle on the surface and effectively remove dust and dirt. Avoid using abrasive cloths or paper towels, as they can scratch the finish. A clean, old t-shirt can also work well.

Leave a Comment