
DIY Home Decor Ideas – ever feel like your space is missing that special something? Like it needs a personal touch, a spark of your own creativity? I totally get it! We all crave a home that reflects our unique style, but sometimes, those store-bought decorations just don’t cut it. They lack the soul, the story, the “you” factor.
For centuries, people have been crafting and creating to personalize their living spaces. From ancient cave paintings to intricate tapestries, the desire to make a house a home is deeply ingrained in our human history. But let’s be honest, not everyone has the time or budget for elaborate projects. That’s where these simple, yet impactful, DIY Home Decor Ideas come in!
In today’s fast-paced world, taking the time to create something with your own hands is not only therapeutic but also incredibly rewarding. These DIY tricks and hacks will help you transform your living space without breaking the bank. I’m going to show you how to add personality, charm, and a whole lot of “wow” to your home, one easy project at a time. So, grab your glue gun, unleash your inner artist, and let’s get crafting!
Unlocking the Magic: Unexpected DIY Hacks with Vinegar and Vaseline
Okay, friends, let’s dive into some seriously cool DIY hacks using two ingredients you probably already have in your pantry and bathroom: vinegar and Vaseline! You might be surprised at how versatile these everyday items can be. I’m going to walk you through some of my favorite uses, step-by-step, so you can try them out yourself. Get ready to be amazed!
Tackling Stubborn Stains with Vinegar
Vinegar is a natural cleaning powerhouse. Its acidity helps break down grime, dissolve mineral deposits, and even deodorize. Forget harsh chemicals; let’s harness the power of vinegar!
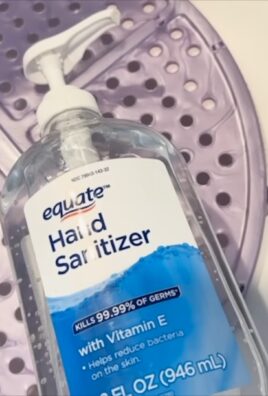
Cleaning Your Showerhead
Hard water deposits can clog your showerhead, reducing water pressure and making your showers less enjoyable. Here’s how to give your showerhead a vinegar bath:
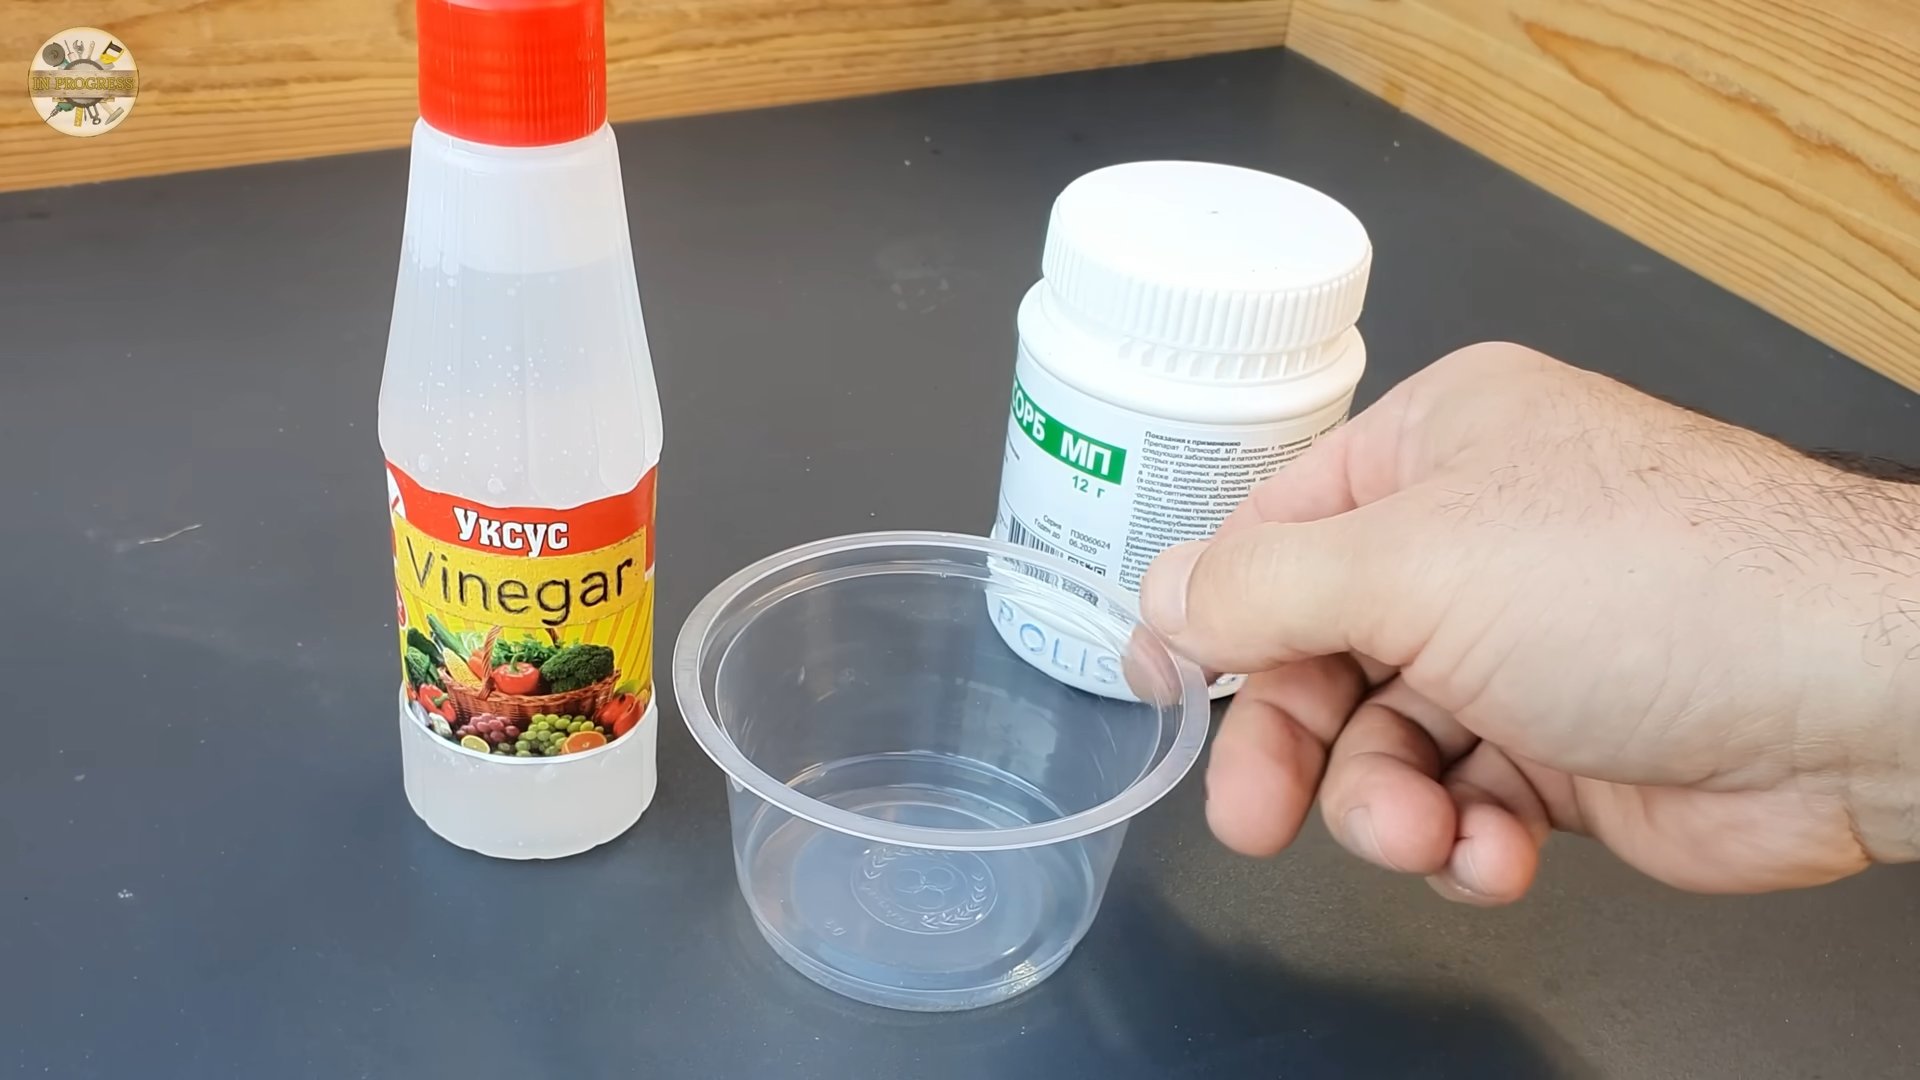
1. Gather Your Supplies: You’ll need white vinegar, a plastic bag (a Ziploc bag works great), a rubber band or twist tie, and an old toothbrush.
2. Fill the Bag: Pour enough white vinegar into the plastic bag to completely submerge the showerhead.
3. Secure the Bag: Carefully position the bag over the showerhead, ensuring the showerhead is fully immersed in the vinegar. Use the rubber band or twist tie to secure the bag tightly around the showerhead’s neck.
4. Soak Overnight: Let the showerhead soak in the vinegar overnight (at least 8 hours). This allows the vinegar to dissolve the mineral deposits.
5. Remove and Scrub: The next morning, remove the bag and discard the vinegar. Use the old toothbrush to scrub away any remaining mineral deposits.
6. Rinse Thoroughly: Turn on the shower and let the water run for a few minutes to flush out any remaining vinegar and loosened debris.
7. Enjoy Your Revitalized Shower: You should notice a significant improvement in water pressure and spray pattern.
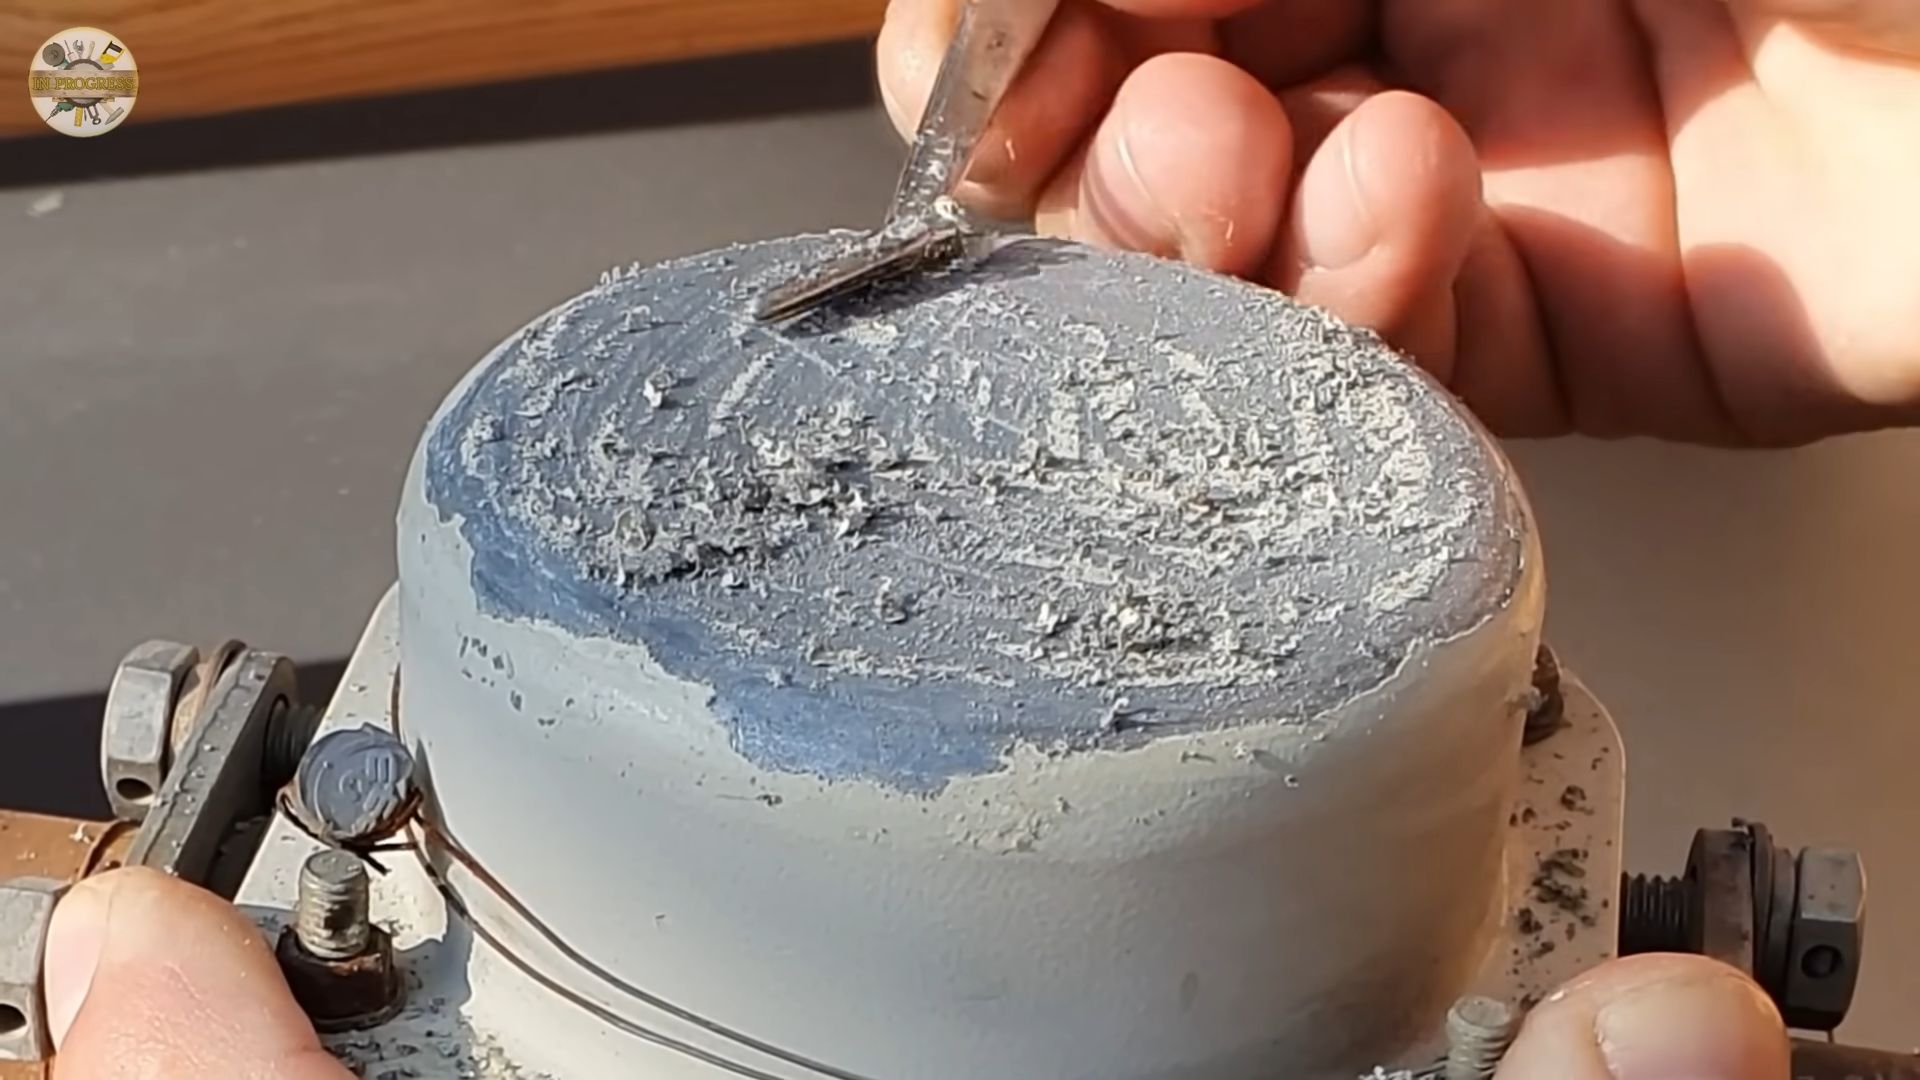
De-Scaling Your Kettle
A scaly kettle not only looks unappealing but can also affect the taste of your tea or coffee. Vinegar to the rescue!
1. Prepare the Solution: Fill your kettle with equal parts white vinegar and water. For a heavily scaled kettle, you can use a higher concentration of vinegar.
2. Boil the Mixture: Bring the vinegar and water mixture to a boil.
3. Let it Sit: Once boiling, turn off the kettle and let the solution sit for at least 30 minutes, or even longer for stubborn scaling.
4. Empty and Rinse: Carefully empty the kettle and rinse it thoroughly with clean water several times to remove any lingering vinegar taste and smell.
5. Boil with Fresh Water: To be extra sure, boil a kettle full of fresh water and discard it. This will eliminate any remaining vinegar residue.
Cleaning Your Microwave
Microwave splatters can be a pain to clean. This vinegar trick makes it a breeze!
1. Mix Vinegar and Water: In a microwave-safe bowl, combine equal parts white vinegar and water (about 1 cup of each).
2. Microwave the Solution: Microwave the mixture on high for 5-10 minutes. The steam will loosen the grime and splatters.
3. Let it Stand: Carefully remove the bowl (it will be hot!) and let the microwave sit with the door closed for another 5 minutes. This allows the steam to continue working.
4. Wipe Clean: Use a damp cloth or sponge to easily wipe away the loosened grime. No scrubbing required!
Vaseline: More Than Just a Moisturizer
Vaseline, or petroleum jelly, is a true multi-tasker. Its occlusive properties create a protective barrier, locking in moisture and preventing dryness. But its uses extend far beyond just moisturizing dry skin!
DIY Lip Scrub
Say goodbye to chapped lips with this simple and effective lip scrub.
1. Gather Your Ingredients: You’ll need Vaseline, granulated sugar (brown or white sugar works), and a small container.
2. Mix the Scrub: In the small container, combine 1 tablespoon of Vaseline with 1 teaspoon of sugar. Adjust the ratio to your preference – more sugar for a coarser scrub, less for a gentler one.
3. Apply and Scrub: Gently apply the scrub to your lips and massage in a circular motion for about 1-2 minutes.
4. Rinse or Wipe Off: Rinse your lips with warm water or wipe off the scrub with a damp cloth.
5. Apply Lip Balm: Follow up with a moisturizing lip balm to keep your lips soft and hydrated.
Taming Flyaways
Dealing with pesky flyaways? A tiny dab of Vaseline can work wonders.
1. Take a Small Amount: Rub a very small amount of Vaseline (about the size of a grain of rice) between your fingertips.
2. Apply to Flyaways: Gently smooth your fingertips over the flyaways, focusing on the areas where they are most prominent. Be careful not to use too much, as it can make your hair look greasy.
3. Style as Usual: Style your hair as usual. The Vaseline will help keep the flyaways in place without weighing down your hair.
Protecting Skin During Hair Dyeing
Prevent hair dye from staining your skin with this simple trick.
1. Apply Vaseline to Hairline: Before dyeing your hair, apply a thin layer of Vaseline along your hairline, around your ears, and on the back of your neck.
2. Dye Your Hair: Proceed with dyeing your hair as usual, following the instructions on the hair dye package.
3. Wipe Away Excess Dye: After dyeing your hair, wipe away any excess dye from your skin using a damp cloth. The Vaseline will have created a barrier, preventing the dye from staining your skin.
Making Perfume Last Longer
Want your favorite perfume to last all day? Vaseline can help!
1. Apply Vaseline to Pulse Points: Before applying perfume, dab a small amount of Vaseline onto your pulse points (wrists, neck, behind your ears).
2. Spray Perfume: Spray your perfume onto the Vaseline-coated pulse points.
3. Enjoy Long-Lasting Fragrance: The Vaseline will help to hold the fragrance, making it last longer throughout the day.
Removing Makeup
Out of makeup remover? Vaseline can gently and effectively remove makeup, even waterproof mascara.
1. Apply Vaseline to Face: Gently massage a small amount of Vaseline onto your face, focusing on areas with makeup.
2. Let it Sit: Let the Vaseline sit for a few minutes to dissolve the makeup.
3. Wipe Away: Use a soft cloth or cotton pad to gently wipe away the Vaseline and makeup.
4. Cleanse Your Face: Follow up with your regular facial cleanser to remove any remaining Vaseline residue.
Combining Vinegar and Vaseline: A Powerful Duo
Believe it or not, there are even some instances where combining vinegar and Vaseline can be beneficial!
Soothing Dry, Cracked Heels
This combination can help to soften and heal dry, cracked heels.
1. Vinegar Soak: Soak your feet in a basin of warm water with 1/2 cup of white vinegar for 15-20 minutes. The vinegar helps to soften the dead skin.
2. Exfoliate: Use a pumice stone or foot file to gently exfoliate the softened skin on your heels.
3. Apply Vaseline: Generously apply Vaseline to your heels.
4. Cover with Socks: Put on a pair of clean cotton socks and leave them on overnight.
5. Repeat Regularly: Repeat this process several times a week for best results.
Important Note: While this method can be helpful for mild to moderate dry, cracked heels, it’s important to consult with a doctor or podiatrist if you have severe cracks, bleeding, or any signs of infection.
These are just a few of the many amazing things you can do with vinegar and Vaseline. I hope you’ve enjoyed learning about these DIY hacks and are inspired to try them out yourself. Remember to always test any new product or method on a small, inconspicuous area first to ensure you don’t have any adverse reactions. Happy DIY-ing!
Conclusion
So, there you have it! Transforming your living space doesn’t require a hefty budget or professional interior designer. These DIY home decor ideas offer a fantastic way to inject personality, creativity, and a touch of your unique style into every corner of your home. From the simple elegance of repurposed materials to the bold statement of hand-painted accents, the possibilities are truly endless.
The beauty of these projects lies not only in their affordability but also in the satisfaction of creating something beautiful with your own two hands. Imagine the pride you’ll feel every time you admire that stunning gallery wall you curated, or the cozy ambiance created by the hand-knitted throw pillows you crafted. These aren’t just decorations; they’re reflections of your individuality and a testament to your resourcefulness.
Remember that stunning macrame wall hanging we discussed? Or the personalized photo display that captures your cherished memories? These are just a few examples of how you can elevate your home’s aesthetic without breaking the bank. And the best part? You can completely customize each project to perfectly match your existing decor and personal preferences.
Don’t be afraid to experiment with different colors, textures, and materials. Perhaps you’d like to try a rustic-chic look with reclaimed wood, or a modern minimalist vibe with sleek metal accents. The choice is entirely yours! Consider incorporating natural elements like dried flowers, branches, or stones to bring a touch of the outdoors inside. You could even try upcycling old furniture or accessories to give them a new lease on life.
One variation you might consider is focusing on seasonal decor. As the seasons change, you can easily swap out your DIY creations to reflect the current mood and atmosphere. Think cozy autumnal hues in the fall, festive sparkle during the holidays, and fresh, vibrant colors in the spring. This is a great way to keep your home feeling fresh and inviting all year round.
Another fantastic idea is to involve your family and friends in the DIY process. This can be a fun and rewarding way to bond and create lasting memories together. Imagine spending an afternoon crafting personalized ornaments for the Christmas tree or painting a mural in your child’s bedroom. These are the moments that truly make a house a home.
Ultimately, the goal of these DIY home decor ideas is to empower you to create a space that you truly love. A space that reflects your personality, inspires your creativity, and provides a sense of comfort and belonging. So, ditch the expensive store-bought decorations and embrace the joy of DIY.
We strongly encourage you to try out these DIY home decor ideas and see for yourself the transformative power they hold. Start small, be patient, and most importantly, have fun! We’re confident that you’ll be amazed at what you can create with a little bit of imagination and effort.
And finally, we’d love to hear about your experiences! Share your DIY home decor creations with us on social media using #DIYHomeDecorMagic. We can’t wait to see what you come up with! Let’s inspire each other to create beautiful and personalized homes, one DIY project at a time.
FAQ
What if I’m not very crafty? Can I still do these DIY projects?
Absolutely! Many of these DIY home decor ideas are designed to be beginner-friendly. Start with a simple project, like painting a picture frame or creating a basic macrame plant hanger. There are tons of online tutorials and videos that can guide you through each step. Don’t be afraid to make mistakes – that’s part of the learning process! The most important thing is to have fun and enjoy the creative process. As you gain confidence, you can gradually tackle more challenging projects. Remember, even the most experienced crafters started somewhere!
Where can I find the materials for these DIY projects?
The beauty of DIY is that you can often use materials you already have around the house. Look for old jars, fabric scraps, paint remnants, and other items that can be repurposed. You can also find affordable supplies at craft stores, dollar stores, and online retailers. Flea markets and thrift stores are great places to find unique and vintage items to incorporate into your projects. Don’t be afraid to get creative and think outside the box!
How can I personalize these DIY projects to match my existing decor?
Personalization is key to making your DIY home decor truly unique. Consider the color palette, style, and overall aesthetic of your home. Choose materials and designs that complement your existing decor. For example, if you have a modern minimalist home, you might opt for clean lines, neutral colors, and simple geometric patterns. If you have a more bohemian style, you might incorporate natural textures, vibrant colors, and eclectic patterns. You can also personalize your projects by adding monograms, quotes, or other meaningful details.
What are some tips for making my DIY projects look professional?
While DIY projects are all about creativity and self-expression, there are a few things you can do to make them look more polished and professional. First, pay attention to detail. Take your time and make sure your cuts are clean, your seams are straight, and your paint is even. Second, use high-quality materials. While it’s tempting to save money by using cheap supplies, investing in better materials will often result in a more durable and visually appealing finished product. Third, don’t be afraid to experiment and practice. The more you practice, the better you’ll become at your chosen craft. Finally, don’t be afraid to ask for help or advice from more experienced crafters.
How can I incorporate sustainable practices into my DIY home decor projects?
Sustainability is becoming increasingly important, and there are many ways to incorporate eco-friendly practices into your DIY projects. Start by using recycled or upcycled materials whenever possible. Look for items that you can repurpose, such as old clothes, furniture, or packaging. You can also choose eco-friendly materials, such as organic cotton, bamboo, or recycled paper. When using paint or other finishes, opt for low-VOC or water-based products. Finally, be mindful of your waste and try to minimize your environmental impact.
What if I mess up a DIY project?
Don’t worry, everyone makes mistakes! The important thing is to learn from them and not give up. If you mess up a project, try to salvage it if possible. You might be able to fix a mistake with a little bit of creativity or ingenuity. If not, don’t be afraid to start over. Remember, the goal is to have fun and enjoy the process. Even if you don’t end up with a perfect finished product, you’ll still have learned something new and gained valuable experience.
How can I display my DIY home decor projects?
The way you display your DIY home decor projects is just as important as the projects themselves. Consider the size, shape, and style of your creations when choosing a display method. For example, you might hang a macrame wall hanging on a blank wall, display a collection of painted jars on a shelf, or arrange a gallery wall of framed artwork. Pay attention to lighting and make sure your projects are well-lit. You can also use decorative accents, such as plants, candles, or books, to enhance the overall look.
Are there any safety precautions I should take when doing DIY projects?
Yes, safety should always be a top priority when doing any DIY project. Always wear appropriate safety gear, such as gloves, goggles, and a dust mask, when working with power tools, chemicals, or other potentially hazardous materials. Read and follow all instructions carefully. Work in a well-ventilated area. Keep your workspace clean and organized. And never attempt a project that you’re not comfortable with. If you’re unsure about something, ask for help from a more experienced crafter or consult a professional.
Leave a Comment