
Quick microwave cleaning tips – who doesn’t need them? Let’s be honest, the microwave is the unsung hero of the kitchen, zapping leftovers and popping popcorn with equal enthusiasm. But all that action leaves its mark, doesn’t it? Splatters, spills, and that lingering “mystery smell” can turn your microwave into a biohazard zone faster than you can say “reheat.”
Microwaves have become a staple in modern kitchens, evolving from bulky, futuristic appliances to sleek, countertop necessities. Their convenience has revolutionized how we prepare and consume food. But with great power comes great responsibility… the responsibility to keep it clean! And that’s where these quick microwave cleaning tips come in handy.
I know, I know, cleaning the microwave is probably at the bottom of your to-do list, right next to alphabetizing your spice rack. But trust me, a sparkling clean microwave isn’t just about aesthetics. It’s about hygiene, efficiency, and even the taste of your food! Nobody wants their perfectly warmed-up pizza slice to taste like last week’s forgotten lasagna. Plus, a clean microwave operates more efficiently, saving you energy and preventing potential hazards. So, ditch the elbow grease and harsh chemicals, because I’m about to share some simple, effective, and surprisingly fun DIY tricks to get your microwave looking (and smelling) brand new in minutes!
DIY Microwave Cleaning Hack: Sparkling Clean in Minutes!
Okay, let’s be honest, cleaning the microwave is probably on everyone’s “least favorite chores” list. But fear not! I’ve got a super easy, effective, and surprisingly fun DIY hack to get your microwave sparkling clean in just a few minutes. Forget harsh chemicals and endless scrubbing – this method uses ingredients you probably already have in your kitchen. Trust me, you’ll be amazed at how well it works!
What You’ll Need
Before we dive in, let’s gather our supplies. This is a pretty minimal list, which is part of what makes this hack so great:
* A microwave-safe bowl (glass or ceramic works best)
* 1 cup of water
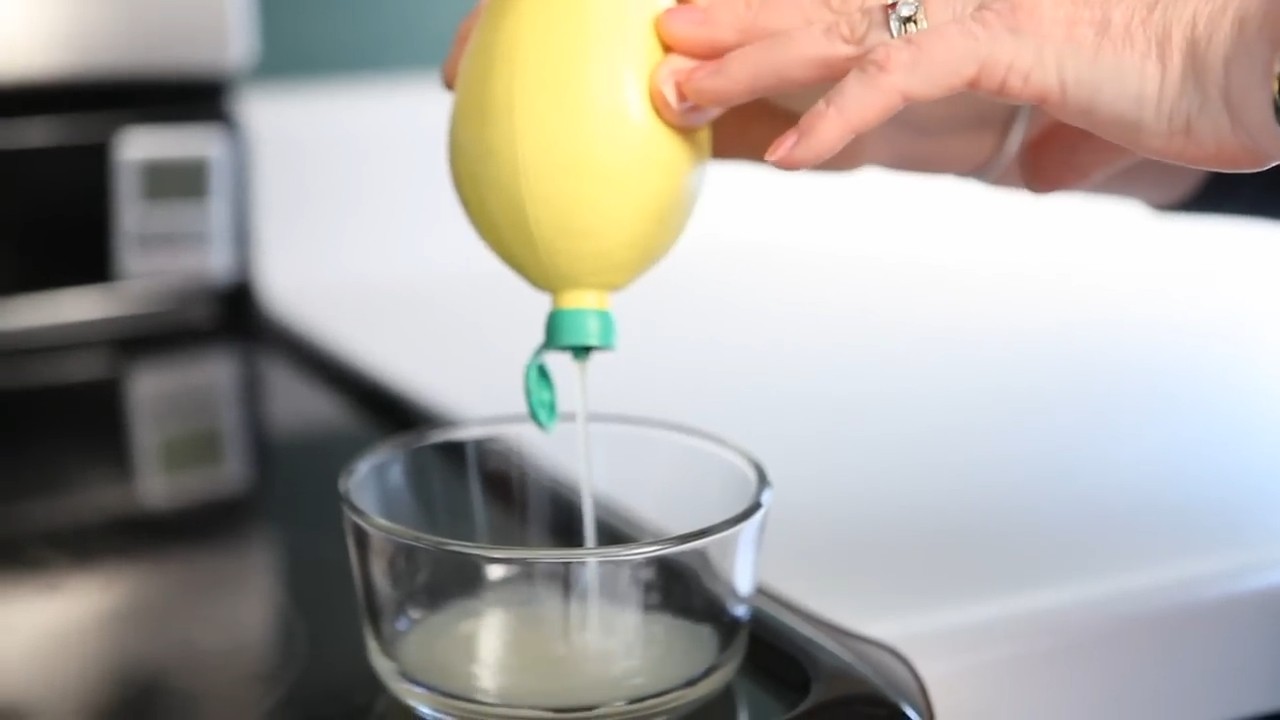
* 2 tablespoons of white vinegar (or lemon juice, if you prefer a citrusy scent!)
* A clean sponge or cloth
* Optional: A toothpick or skewer
The Magic Formula: Steam Cleaning Power
The secret to this hack is steam! The mixture of water and vinegar (or lemon juice) creates steam that loosens all the splattered food and grime inside your microwave, making it incredibly easy to wipe away. It’s like a mini sauna for your microwave!
Step-by-Step Instructions: Microwave Cleaning Made Easy
Alright, let’s get started! Follow these simple steps, and you’ll have a spotless microwave in no time.
1. Prepare the Cleaning Solution: In your microwave-safe bowl, combine the 1 cup of water and 2 tablespoons of white vinegar (or lemon juice). Give it a quick stir to mix everything together. The vinegar smell might seem a bit strong at first, but don’t worry, it dissipates quickly and leaves your microwave smelling fresh. If you’re using lemon juice, you’ll get a lovely citrus aroma.
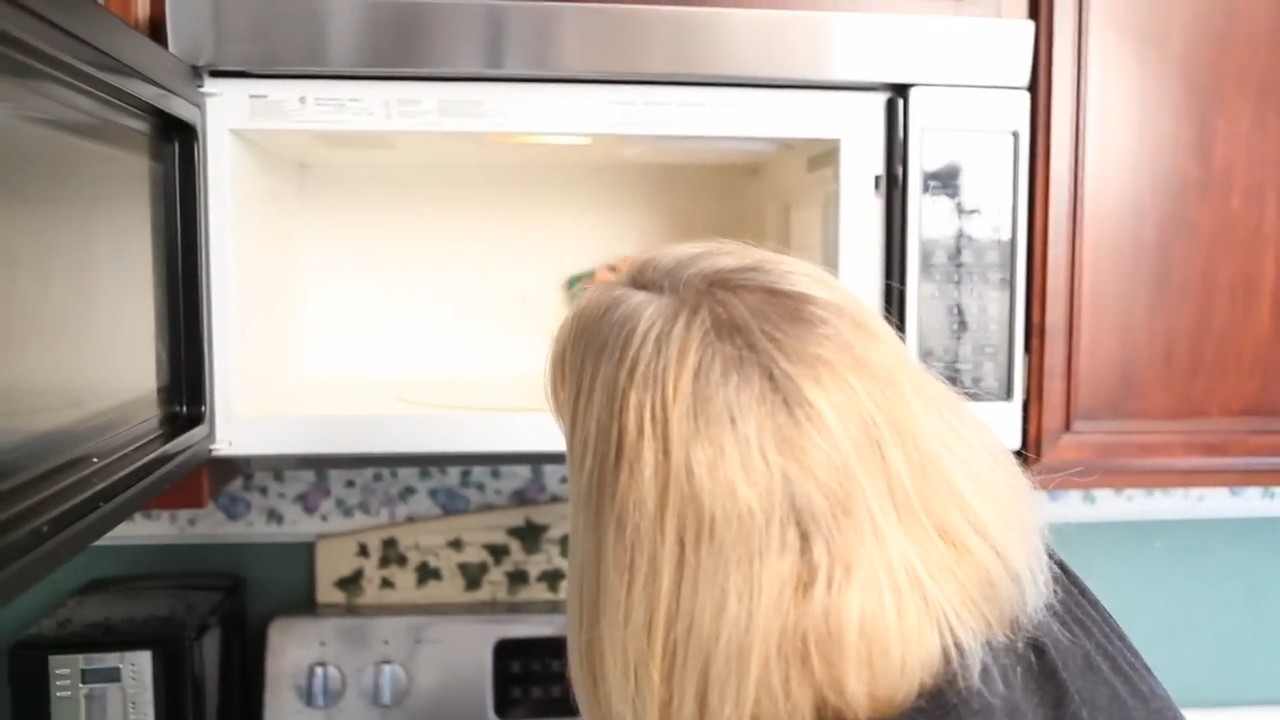
2. Microwave the Solution: Place the bowl with the water and vinegar mixture inside your microwave. Now, here’s the key: microwave it on high for 3-5 minutes. You want the solution to come to a rolling boil and create plenty of steam. The exact time will depend on your microwave’s power, so keep an eye on it. You should see the steam building up inside.
3. Let it Steam: Once the timer goes off, **DO NOT OPEN THE MICROWAVE DOOR IMMEDIATELY!** This is crucial. Leave the bowl inside the microwave with the door closed for another 5-10 minutes. This allows the steam to really work its magic, loosening all the stubborn food particles. The longer you let it sit, the easier the next step will be. I usually aim for the full 10 minutes if my microwave is particularly messy.
4. Carefully Remove the Bowl: After the steaming period, carefully remove the bowl from the microwave. Be cautious, as the bowl and the water will be very hot! Use oven mitts or a towel to protect your hands. Pour the remaining water down the drain.
5. Wipe Down the Interior: Now for the satisfying part! Take your clean sponge or cloth and wipe down the interior of the microwave. You’ll be amazed at how easily the grime comes off. The steam has loosened everything, so you shouldn’t need to scrub hard at all. Pay special attention to the top, sides, and bottom of the microwave.
6. Clean the Turntable and Roller Ring: Remove the turntable and roller ring from the microwave. Wash them with warm, soapy water. Rinse them thoroughly and dry them before placing them back in the microwave. These parts often accumulate food splatters and spills, so giving them a good cleaning is essential.
7. Address Stubborn Spots (If Any): If you encounter any particularly stubborn spots that didn’t come off easily with the sponge, you can use a toothpick or skewer to gently scrape them away. Be careful not to scratch the interior of the microwave. You can also dampen the sponge with a little bit of the leftover vinegar solution (if you have any) and try wiping the spot again.
8. Wipe Down the Exterior: Don’t forget the outside of your microwave! Use a damp cloth to wipe down the exterior, including the door, handle, and control panel. This will remove any fingerprints, smudges, or food splatters.
9. Dry Everything Thoroughly: Once you’ve wiped down the interior and exterior of the microwave, use a clean, dry cloth to dry everything thoroughly. This will prevent water spots and leave your microwave looking its best.
10. Reassemble and Enjoy: Finally, place the turntable and roller ring back into the microwave. Step back and admire your sparkling clean microwave!
Troubleshooting and Tips for Success
* Smell Sensitivity: If you’re sensitive to the smell of vinegar, you can use lemon juice instead. It works just as well and leaves a pleasant citrus scent. You can even add a few drops of your favorite essential oil to the water and vinegar mixture for an extra boost of fragrance. Lavender or lemon essential oil works great!
* Burnt-On Food: For microwaves with heavily burnt-on food, you might need to repeat the steaming process. You can also try adding a tablespoon of baking soda to the water and vinegar mixture for extra cleaning power.
* Preventative Measures: To keep your microwave clean in the future, try covering your food with a microwave-safe lid or plastic wrap while heating it. This will prevent splatters and make cleanup much easier. Also, try to wipe up any spills or splatters as soon as they happen.
* Regular Cleaning: I recommend cleaning your microwave at least once a week, or more often if you use it frequently. Regular cleaning will prevent grime from building up and make the cleaning process much easier.
* Microwave-Safe Bowl: Always make sure the bowl you’re using is microwave-safe. Glass or ceramic bowls are generally the best options. Avoid using plastic bowls, as they can melt or warp in the microwave.
* Supervise the Steaming: While the microwave is running, keep an eye on it to make sure the water doesn’t boil over. If it starts to boil over, stop the microwave and reduce the cooking time.
* Safety First: Always be careful when handling hot bowls and water. Use oven mitts or a towel to protect your hands.
Why This Hack Works So Well
This DIY microwave cleaning hack is so effective because it utilizes the power of steam to loosen grime and food particles. The vinegar (or lemon juice) acts as a natural degreaser, helping to break down grease and oil. The combination of steam and vinegar makes it incredibly easy to wipe away even the most stubborn messes. Plus, it’s a safe and natural alternative to harsh chemical cleaners.
Beyond the Basics: Extra Cleaning Power
Want to take your microwave cleaning to the next level? Here are a few extra tips and tricks:
* Baking Soda Paste: For particularly stubborn stains, make a paste of baking soda and water. Apply the paste to the stain, let it sit for a few minutes, and then scrub gently with a sponge.
* Lemon Steam: For an extra boost of cleaning power and a refreshing scent, add a few lemon slices to the water and vinegar mixture. The lemon will help to break down grease and leave your microwave smelling amazing.
* Essential Oil Infusion: As mentioned earlier, adding a few drops of your favorite essential oil to the water and vinegar mixture can add a pleasant fragrance to your microwave. Lavender, lemon, and tea tree oil are all great options.
* Deep Cleaning: If your microwave is particularly dirty, you can try a deep cleaning method. First, remove the turntable and roller ring and wash them thoroughly. Then, use a scrub brush to scrub the interior of the microwave with a mixture of baking soda and water. Rinse the microwave thoroughly and dry it with a clean cloth.
The Joy of a Clean Microwave
There’s something incredibly satisfying about having a clean microwave. It’s one of those small things that can make a big difference in your overall kitchen experience. Plus, a clean microwave is more efficient and hygienic. So, give this DIY hack a try and enjoy the joy of a sparkling clean microwave! I hope you found this guide helpful and that you’re now equipped to tackle that microwave with confidence. Happy cleaning!
Conclusion
So, there you have it! This simple, yet incredibly effective, DIY microwave cleaning trick is a game-changer for anyone who wants a sparkling clean microwave without harsh chemicals or endless scrubbing. We’ve all been there – staring into a microwave splattered with remnants of forgotten meals, dreading the task ahead. But with just a lemon (or vinegar!), water, and a few minutes of your time, you can transform that daunting chore into a breeze.
Why is this a must-try? Because it’s fast, it’s natural, it’s cost-effective, and most importantly, it works! Forget about expensive cleaning products filled with questionable ingredients. This method harnesses the power of steam to loosen grime and grease, making it incredibly easy to wipe away. Plus, it leaves your microwave smelling fresh and clean, not like a chemical factory.
But the beauty of this DIY microwave cleaning method lies in its adaptability. Feel free to experiment with variations to suit your preferences. Instead of lemon, try using a few tablespoons of white vinegar for a more potent cleaning effect. You can also add a drop or two of your favorite essential oil (like lavender or tea tree) to the water for an extra boost of freshness. If you have particularly stubborn stains, let the steam work its magic for a few extra minutes before wiping.
Ready to say goodbye to microwave grime forever? We wholeheartedly encourage you to give this DIY microwave cleaning trick a try. It’s a small change that can make a big difference in your kitchen routine. And once you experience the satisfaction of a sparkling clean microwave with minimal effort, you’ll wonder why you didn’t try it sooner.
Don’t just take our word for it! We’re confident that you’ll love this simple solution. After you’ve tried it, we’d love to hear about your experience. Share your before-and-after photos, your favorite variations, and any tips you’ve discovered in the comments below. Let’s create a community of sparkling clean microwaves, one lemon (or vinegar!) at a time. Your insights could help others discover the joy of effortless microwave cleaning. So go ahead, give it a whirl, and let us know what you think!
Frequently Asked Questions (FAQ)
Q: Can I use any type of lemon for this DIY microwave cleaning trick?
A: Yes, you can use any type of lemon you have on hand. Meyer lemons, Eureka lemons, or even lemon juice from a bottle will work. The key is the citric acid, which helps to loosen the grime and grease. If using bottled lemon juice, use about 2-3 tablespoons in the water. Fresh lemons will provide a more fragrant result.
Q: What if I don’t have lemons? Can I use something else?
A: Absolutely! White vinegar is an excellent alternative to lemon. It’s a powerful cleaning agent and works just as well, if not better, at loosening grime. Use about 2-3 tablespoons of white vinegar in the water. Be aware that vinegar has a stronger smell than lemon, but the odor will dissipate quickly. You can also try using orange peels for a citrusy scent and cleaning power.
Q: How long should I microwave the lemon water (or vinegar water)?
A: The ideal time is usually around 3-5 minutes, or until the water boils vigorously and the microwave is filled with steam. The exact time will depend on the power of your microwave. If your microwave is particularly dirty, you may want to microwave it for a minute or two longer. Keep a close eye on it to prevent the water from boiling over.
Q: Is it safe to microwave lemon or vinegar?
A: Yes, it is generally safe to microwave lemon or vinegar in water. However, always use a microwave-safe bowl or container. Never microwave metal objects. Also, be careful when removing the bowl from the microwave, as it will be hot. Use oven mitts or a towel to protect your hands.
Q: My microwave is really dirty. Will this DIY trick be enough?
A: For heavily soiled microwaves, you may need to repeat the process or use a little extra elbow grease. After steaming, let the microwave sit for a few minutes to allow the steam to further loosen the grime. Then, use a sponge or cloth to wipe away the loosened debris. For stubborn spots, you can try scrubbing gently with a paste made of baking soda and water.
Q: What kind of bowl should I use in the microwave?
A: Always use a microwave-safe bowl. Glass or ceramic bowls are generally safe. Avoid using plastic bowls that are not specifically labeled as microwave-safe, as they may melt or leach chemicals into the water.
Q: My microwave smells like vinegar after cleaning. How can I get rid of the smell?
A: The vinegar smell should dissipate quickly. You can speed up the process by leaving the microwave door open for a while to air it out. You can also place a small bowl of baking soda inside the microwave overnight to absorb any lingering odors. Alternatively, you can repeat the steaming process with lemon water to freshen the scent.
Q: How often should I clean my microwave using this method?
A: The frequency of cleaning depends on how often you use your microwave and how messy it gets. As a general rule, cleaning your microwave once a week or every other week is a good practice to prevent buildup and keep it smelling fresh.
Q: Can I use this method to clean the outside of my microwave as well?
A: While this method primarily focuses on cleaning the inside of the microwave, you can use the lemon or vinegar water to wipe down the exterior as well. Just be sure to unplug the microwave first and use a clean cloth dampened with the water to wipe the surfaces. Avoid getting water inside the microwave’s vents or electrical components.
Q: What if I don’t have a sponge? What else can I use to wipe down the microwave?
A: You can use a variety of materials to wipe down the microwave after steaming. A microfiber cloth is an excellent choice as it’s absorbent and gentle. Paper towels can also be used, but they may leave behind some lint. Old t-shirts or rags are also suitable options. Just make sure the material is clean and free of any abrasive substances that could scratch the microwave’s interior.
Q: Is this DIY microwave cleaning method safe for all types of microwaves?
A: This method is generally safe for most types of microwaves. However, if you have a particularly old or delicate microwave, it’s always a good idea to consult the manufacturer’s instructions or test the method in a small, inconspicuous area first. If you have any concerns about the safety of this method for your specific microwave, it’s best to err on the side of caution.
Q: Can I add baking soda to the lemon/vinegar water for extra cleaning power?
A: While baking soda is a great cleaning agent, it’s generally not recommended to mix it directly with lemon juice or vinegar in a closed container like a microwave. The combination can create a chemical reaction that produces carbon dioxide gas, which could potentially cause pressure to build up. It’s best to use baking soda separately as a paste for scrubbing stubborn spots after the steaming process.
Leave a Comment