
Cupcake Liner Crafts: Unleash Your Creativity with Easy DIY Projects
Have you ever stared at a box of colorful cupcake liners, thinking there’s got to be more to them than just baking? Well, you’re absolutely right! This article is all about Cupcake Liner Crafts – a fun, affordable, and surprisingly versatile way to unleash your inner artist and create beautiful, unique items for your home and beyond. I’ve always loved finding creative uses for everyday objects, and cupcake liners are a perfect example of something readily available that can be transformed into something truly special.
The history of cupcake liners themselves is fascinating! While the exact origins are debated, their widespread use really took off in the early 20th century, alongside the rise of the modern baking industry. Initially designed purely for practical purposes – preventing sticking and making cleanup easier – they’ve evolved into a readily available crafting material, offering a rainbow of colors and textures just waiting to be explored.
Why You Need These Cupcake Liner Crafts
In today’s world, we’re constantly bombarded with expensive, mass-produced items. But there’s something incredibly rewarding about creating something beautiful with your own two hands, especially when using readily available materials like cupcake liners. These Cupcake Liner Crafts are perfect for anyone looking for a fun, budget-friendly hobby, a creative outlet for stress relief, or a unique way to personalize their home décor. Whether you’re a seasoned crafter or a complete beginner, you’ll find these projects easy to follow and incredibly satisfying to complete. Plus, they’re a fantastic way to get the kids involved in a creative activity!
So, grab your liners, gather your supplies, and let’s dive into a world of imaginative possibilities with these simple yet stunning cupcake liner crafts! Get ready to be amazed by what you can create.
Building a Custom Bookshelf from Reclaimed Wood
I love the look of reclaimed wood, and I’ve always wanted a unique bookshelf. So, I decided to build my own! This project took a bit of time, but the result is a beautiful, one-of-a-kind piece I’m incredibly proud of. Here’s how I did it:
Gathering Your Materials
- Reclaimed wood planks (I used about 10, varying in width and length – aim for a mix of interesting textures and colors!)
- Wood glue
- Wood screws (various lengths, depending on plank thickness)
- Wood filler
- Sandpaper (various grits, starting with coarser and moving to finer)
- Wood stain (your choice of color – I went with a dark walnut)
- Polyurethane sealant (to protect the finish)
- Measuring tape
- Level
- Drill with various drill bits
- Safety glasses
- Work gloves
- Clamps (lots of them!)
- Putty knife
- Paintbrushes (for stain and sealant)
- Drop cloths or newspaper to protect your work area
Preparing the Reclaimed Wood
1. Clean the wood: Before you start, give your reclaimed wood planks a good cleaning. I used a stiff brush to remove loose dirt and debris. For stubborn grime, a pressure washer can be helpful, but be gentle to avoid damaging the wood.
2. Assess and cut: Lay out your planks to visualize your bookshelf design. You’ll likely need to cut some planks to size to create the shelves and sides. Use a measuring tape and a saw (circular saw or hand saw, depending on your comfort level and the wood’s thickness) to make precise cuts. Remember to wear safety glasses!
3. Sanding is key: This is where the real work begins. Start with a coarser grit sandpaper to smooth out any rough patches, splinters, or imperfections. Gradually move to finer grits for a smoother, more polished finish. Sand in the direction of the wood grain for the best results. This step takes time, but it’s crucial for a professional-looking final product. Trust me, your hands will thank you for wearing gloves!
Assembling the Bookshelf
1. Apply wood glue: Once you’ve decided on your bookshelf’s layout, apply a generous amount of wood glue to the ends of the planks where they will join. Don’t skimp on the glue – it’s the backbone of your structure.
2. Clamp it up: This is where having plenty of clamps comes in handy. Clamp the planks together firmly, ensuring they are aligned and level. Let the glue set for at least 30 minutes, or according to the manufacturer’s instructions.
3. Pre-drill and screw: After the glue has set, pre-drill pilot holes to prevent the wood from splitting when you screw it together. Use wood screws of appropriate length to securely fasten the planks. I found it helpful to use a level to ensure everything remained perfectly square as I screwed the pieces together.
4. Fill the gaps: Even with careful work, you might have some small gaps between the planks. Use wood filler to fill these gaps, smoothing it out with a putty knife. Let the filler dry completely before sanding it smooth.
Finishing Touches
1. Sanding round two: After the wood filler has dried, give your bookshelf another thorough sanding. This will ensure a smooth surface for staining and sealing.
2. Apply wood stain: Following the manufacturer’s instructions, apply your chosen wood stain evenly to all surfaces. I used a brush, working with the grain of the wood. Let the stain dry completely before applying a second coat if needed.
3. Seal the deal: Once the stain is dry, apply several coats of polyurethane sealant. This will protect your bookshelf from moisture and wear, ensuring its longevity. Allow each coat to dry completely before applying the next. Again, follow the manufacturer’s instructions for drying times.
4. Final inspection: Before declaring your masterpiece complete, give it one last careful inspection. Are there any areas that need additional sanding or touch-ups? Are you happy with the overall look and feel? If so, congratulations! You’ve successfully built a beautiful, custom bookshelf from reclaimed wood.
Tips and Tricks
- Choose your wood wisely: The character of your reclaimed wood will greatly influence the final look of your bookshelf. Look for planks with interesting textures, knots, and variations in color.
- Don’t rush the process: Take your time with each step, especially the sanding and finishing. This will ensure a high-quality, professional-looking result.
- Safety first: Always wear safety glasses and work gloves when using power tools and working with wood.
- Get creative: Don’t be afraid to experiment with different designs and layouts. The beauty of a DIY project is that you can personalize it to your liking.
- Consider adding hardware: You could add decorative hinges or metal brackets for an extra touch of style.
Troubleshooting
Uneven Shelves:
If your shelves are uneven after assembly, carefully loosen the screws, adjust the position of the shelves, and retighten the screws. A level will be your best friend here.
Gaps between planks:
Use additional wood filler to fill any remaining gaps. Sand smooth after drying.
Stain inconsistencies:
If the stain isn’t applying evenly, make sure the wood is clean and dry before applying. Apply thin, even coats, allowing each coat to dry completely before applying the next.
Conclusion
So there you have it! From whimsical flowers to adorable little animals, the possibilities with cupcake liner crafts are truly endless. This simple, accessible DIY trick opens up a world of creative expression, perfect for individuals of all ages and skill levels. The beauty of cupcake liner crafts lies in their affordability and ease of execution. You likely already have the primary material in your kitchen, and the techniques involved are so straightforward that even the youngest crafters can participate. This makes it an ideal activity for family bonding, classroom projects, or simply a relaxing afternoon spent indulging your creative side. Beyond the sheer fun, cupcake liner crafts offer a fantastic opportunity to upcycle and reduce waste, transforming something that would otherwise be discarded into something beautiful and functional. This eco-friendly aspect adds another layer of satisfaction to the entire process.
Don’t limit yourself to the projects outlined above. Experiment with different colors, patterns, and liner sizes to achieve unique results. Try layering liners for added texture and dimension, or incorporate other craft supplies like glitter, paint, or ribbon to personalize your creations. Consider using these cupcake liner crafts to create festive decorations for parties, unique gift tags, or even charming ornaments for the holiday season. The possibilities are truly limitless. You can even explore different types of cupcake liners – from paper to silicone – to see how they affect the final product. Silicone liners, for example, might lend themselves to more intricate shapes and designs.
We strongly encourage you to try your hand at these amazing cupcake liner crafts. It’s a rewarding experience that combines creativity, resourcefulness, and a touch of whimsy. Once you’ve mastered the basic techniques, you’ll be amazed at the intricate and beautiful creations you can produce. Share your finished projects with us! We’d love to see your unique interpretations and innovative designs. Use the hashtag #CupcakeLinerCrafts on social media to showcase your work and inspire others to embark on their own crafting adventures. Let’s build a vibrant community of cupcake liner craft enthusiasts, sharing ideas, techniques, and the joy of creating something beautiful from something simple. Embrace the fun, embrace the creativity, and embrace the world of cupcake liner crafts!
Frequently Asked Questions
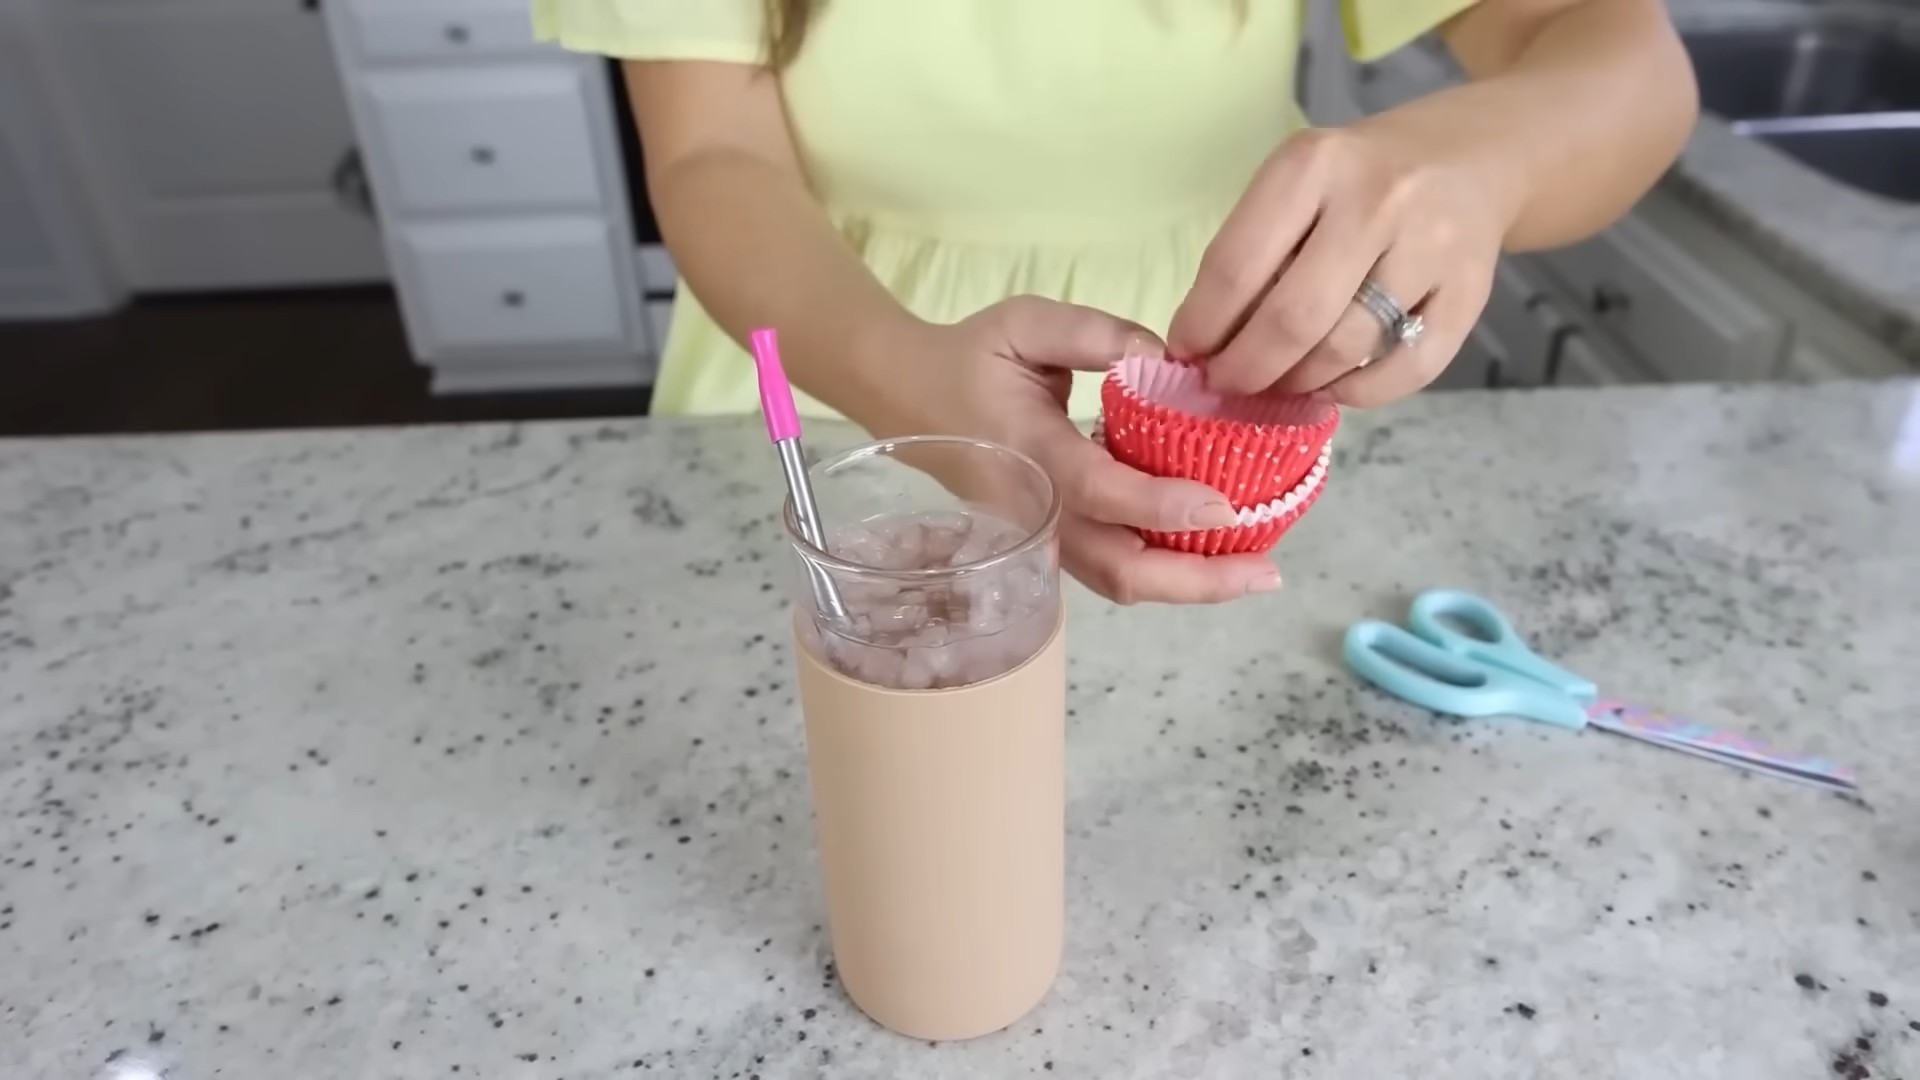
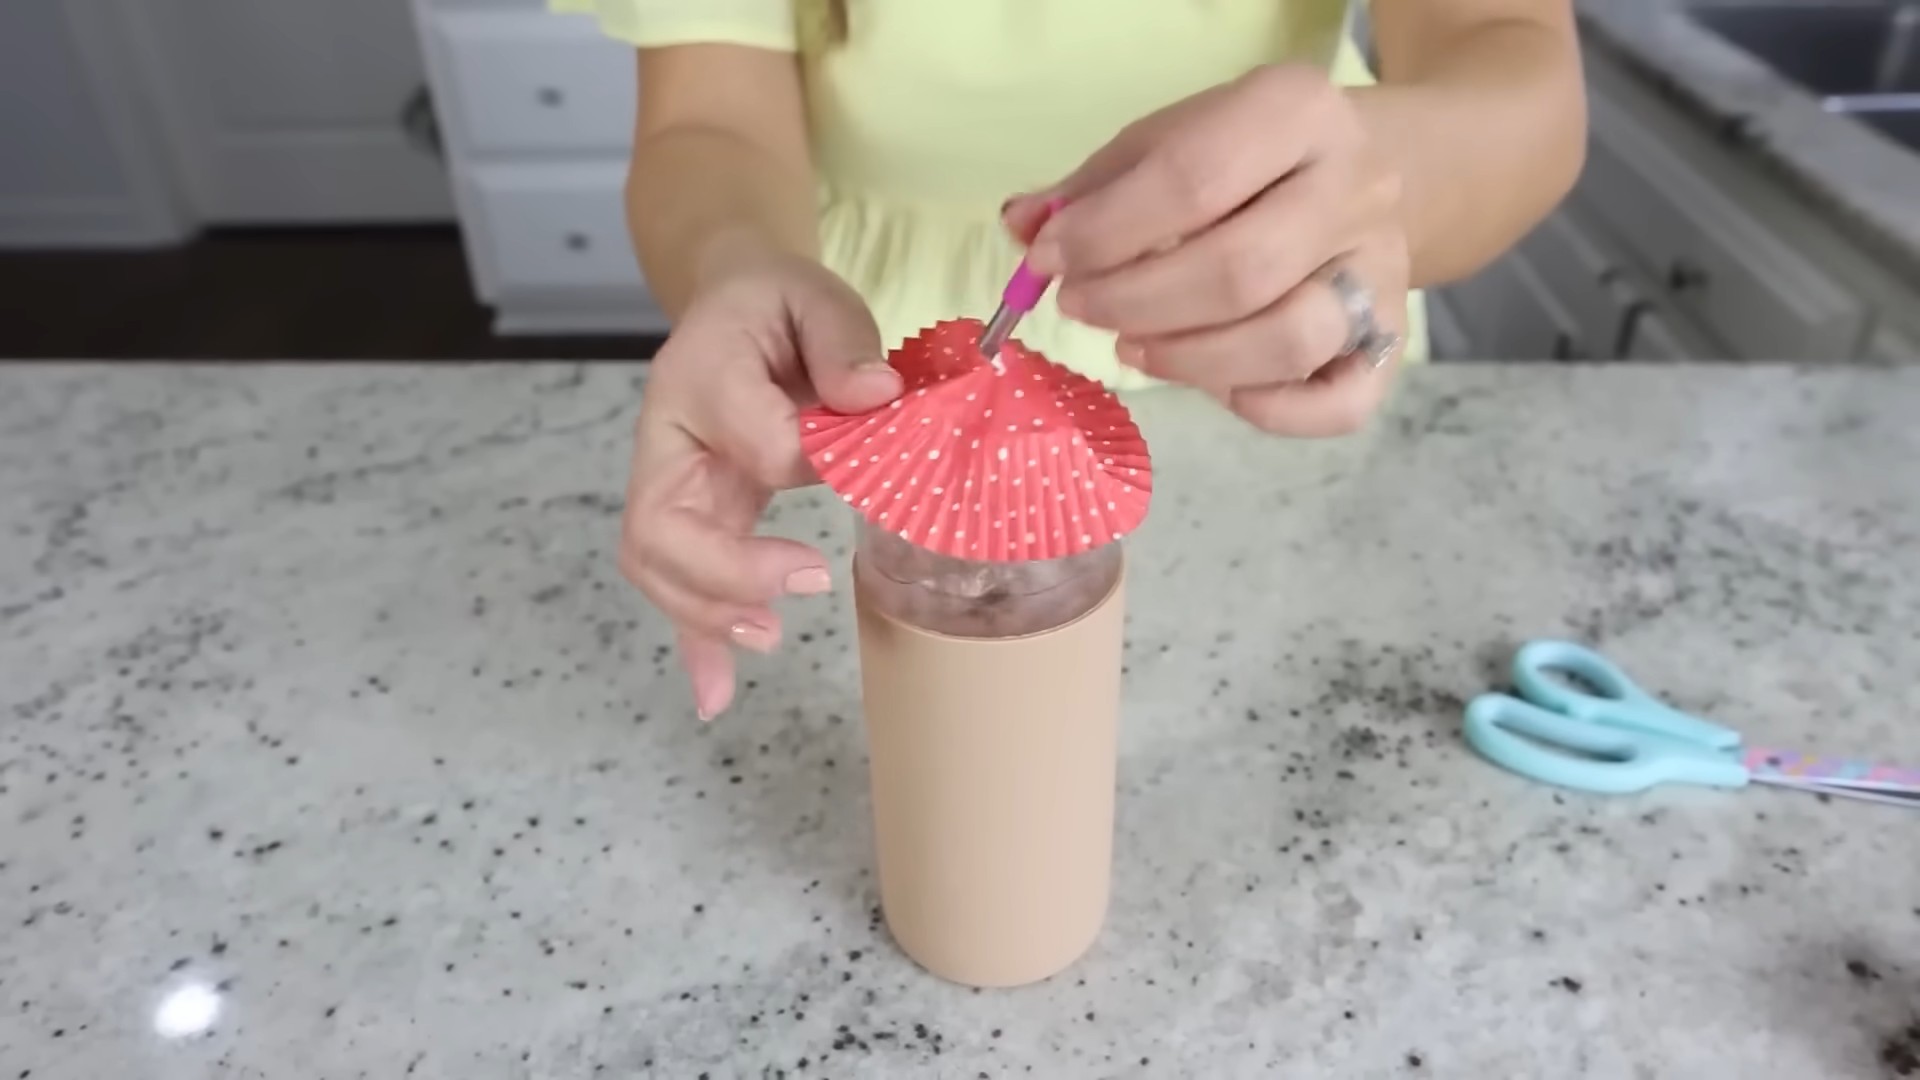
What types of cupcake liners are best for crafting?
While you can experiment with various types, standard paper cupcake liners are generally the easiest to work with for most crafts. They are readily available, inexpensive, and come in a wide array of colors and patterns. However, silicone liners can be used for some projects, offering a different texture and potential for more heat-resistant creations.
Are cupcake liner crafts suitable for children?
Absolutely! Cupcake liner crafts are a fantastic activity for children of all ages. Younger children can participate with adult supervision, focusing on simpler projects like flower making or basic shapes. Older children can tackle more complex designs and techniques, fostering their creativity and fine motor skills. Always supervise young children to ensure safe handling of scissors and other craft tools.
How can I preserve my cupcake liner crafts?
The preservation method depends on the specific craft. For simple decorations, they may not require any special preservation. However, for more delicate or intricate projects, consider using a sealant spray to protect them from moisture and damage. This will help extend their lifespan and maintain their vibrancy.
Where can I find cupcake liners?
Cupcake liners are widely available at most grocery stores, supermarkets, and party supply stores. You can also find a wider variety of colors and patterns online through retailers like Amazon or craft supply websites. Don’t hesitate to check your local dollar store or discount retailer for budget-friendly options.
What if I don’t have the exact tools mentioned in the instructions?
Don’t worry! Many cupcake liner crafts can be adapted to use readily available household items. For example, you can often substitute scissors with a craft knife or even carefully tear the liners by hand for a more rustic look. Get creative and experiment with what you have on hand.
Can I use cupcake liner crafts for outdoor decorations?
While some cupcake liner crafts might withstand light outdoor exposure, it’s generally recommended to keep them indoors to protect them from the elements. Rain, wind, and sunlight can damage the liners and shorten the lifespan of your creations. If you wish to use them outdoors, consider using a weather-resistant sealant or limiting their exposure to inclement weather.
What are some advanced cupcake liner craft techniques?
Once you’ve mastered the basics, you can explore more advanced techniques like quilling (rolling and shaping the liners into intricate designs), layering multiple liners for added texture and dimension, or incorporating other craft supplies like beads, glitter, or paint to add unique details and personalize your creations. There are many tutorials available online to guide you through these advanced techniques.
Are there any safety precautions I should take when making cupcake liner crafts?
Always supervise young children when using scissors or other sharp tools. Be mindful of potential choking hazards, especially with small pieces or embellishments. If using paint or other craft supplies, ensure proper ventilation and follow the manufacturer’s instructions for safe handling and disposal.
Can I sell my cupcake liner crafts?
Yes, you can! Once you’ve perfected your techniques and created unique designs, you can explore selling your cupcake liner crafts at craft fairs, online marketplaces, or through your own online store. Remember to check any relevant regulations and licensing requirements in your area.
How can I share my cupcake liner craft creations?
Share your amazing creations on social media using the hashtag #CupcakeLinerCrafts. We’d love to see your unique designs and inspire others to try this fun and easy craft. You can also share your photos and experiences in online craft communities and forums.

Leave a Comment