
Grow Asparagus Backyard: Ever dream of snipping fresh, vibrant asparagus spears right from your own backyard? I know I have! There’s something incredibly satisfying about nurturing your own food, and asparagus, with its delicate flavor and impressive nutritional profile, is a fantastic choice. But let’s be honest, the thought of growing asparagus can seem a little daunting. It’s often perceived as a crop for experienced gardeners, requiring years of patience before you can enjoy the fruits (or rather, spears!) of your labor.
Historically, asparagus has been prized for centuries, dating back to ancient Greece and Rome, where it was considered a delicacy. Emperors even had special structures built to cultivate it! While you might not need to construct a Roman-style greenhouse, I’m here to tell you that growing asparagus in your backyard is absolutely achievable, even for beginners.
This DIY guide is packed with simple tricks and hacks to help you successfully grow asparagus backyard, transforming your garden into a source of delicious, homegrown goodness. Forget the expensive grocery store prices and the uncertainty of where your produce comes from. I’ll walk you through everything from choosing the right variety and preparing your soil to harvesting your first spears and ensuring a bountiful crop for years to come. So, grab your gardening gloves, and let’s get started on this exciting journey!
Growing Asparagus in Your Backyard: A Comprehensive DIY Guide
Asparagus, that delicious and elegant spring vegetable, is surprisingly easy to grow at home once you understand its quirks. Forget buying it at the grocery store – imagine stepping into your backyard and harvesting your own fresh, tender spears! This guide will walk you through everything you need to know to successfully cultivate asparagus in your own backyard. It’s a long-term investment, but trust me, the rewards are well worth the effort.
Choosing the Right Asparagus Variety
Before you even think about digging, you need to select the right asparagus variety for your climate and preferences. Here are a few popular and reliable choices:
* ‘Jersey Knight’: This is an all-male hybrid, meaning it produces very few seeds. This is a huge advantage because seed production drains energy from the plant, reducing spear production. ‘Jersey Knight’ is known for its high yields and disease resistance. It’s a great choice for beginners.
* ‘Jersey Giant’: Similar to ‘Jersey Knight,’ ‘Jersey Giant’ is another all-male hybrid with excellent yields and disease resistance. It tends to produce slightly larger spears.
* ‘Purple Passion’: If you’re looking for something a little different, ‘Purple Passion’ is a beautiful variety with deep purple spears that turn green when cooked. It’s sweeter and more tender than green varieties.
* ‘Mary Washington’: An older heirloom variety, ‘Mary Washington’ is still a reliable choice, especially if you’re looking for something more traditional. It’s known for its good flavor and adaptability.
Consider your local climate and soil conditions when making your selection. Your local nursery can offer valuable advice on which varieties thrive in your area.
Preparing the Asparagus Bed: The Foundation for Success
Asparagus is a perennial, meaning it will live for many years in the same spot. Therefore, proper bed preparation is absolutely crucial. This is where you’ll invest the most time and effort upfront, but it will pay off handsomely in the long run.
* Sunlight: Asparagus needs at least 6-8 hours of direct sunlight per day. Choose a location in your yard that receives plenty of sun.
* Soil: Asparagus prefers well-drained, sandy loam soil with a pH between 6.5 and 7.5. Heavy clay soil can be amended, but it’s best to avoid areas with standing water.
* Drainage: Excellent drainage is essential to prevent root rot. If your soil is heavy clay, you’ll need to improve drainage by adding organic matter and possibly creating raised beds.
* Weed Control: Asparagus doesn’t compete well with weeds, so it’s important to eliminate them before planting. This can be done by hand-pulling, using herbicides (carefully!), or solarizing the soil.
Step-by-Step Planting Guide
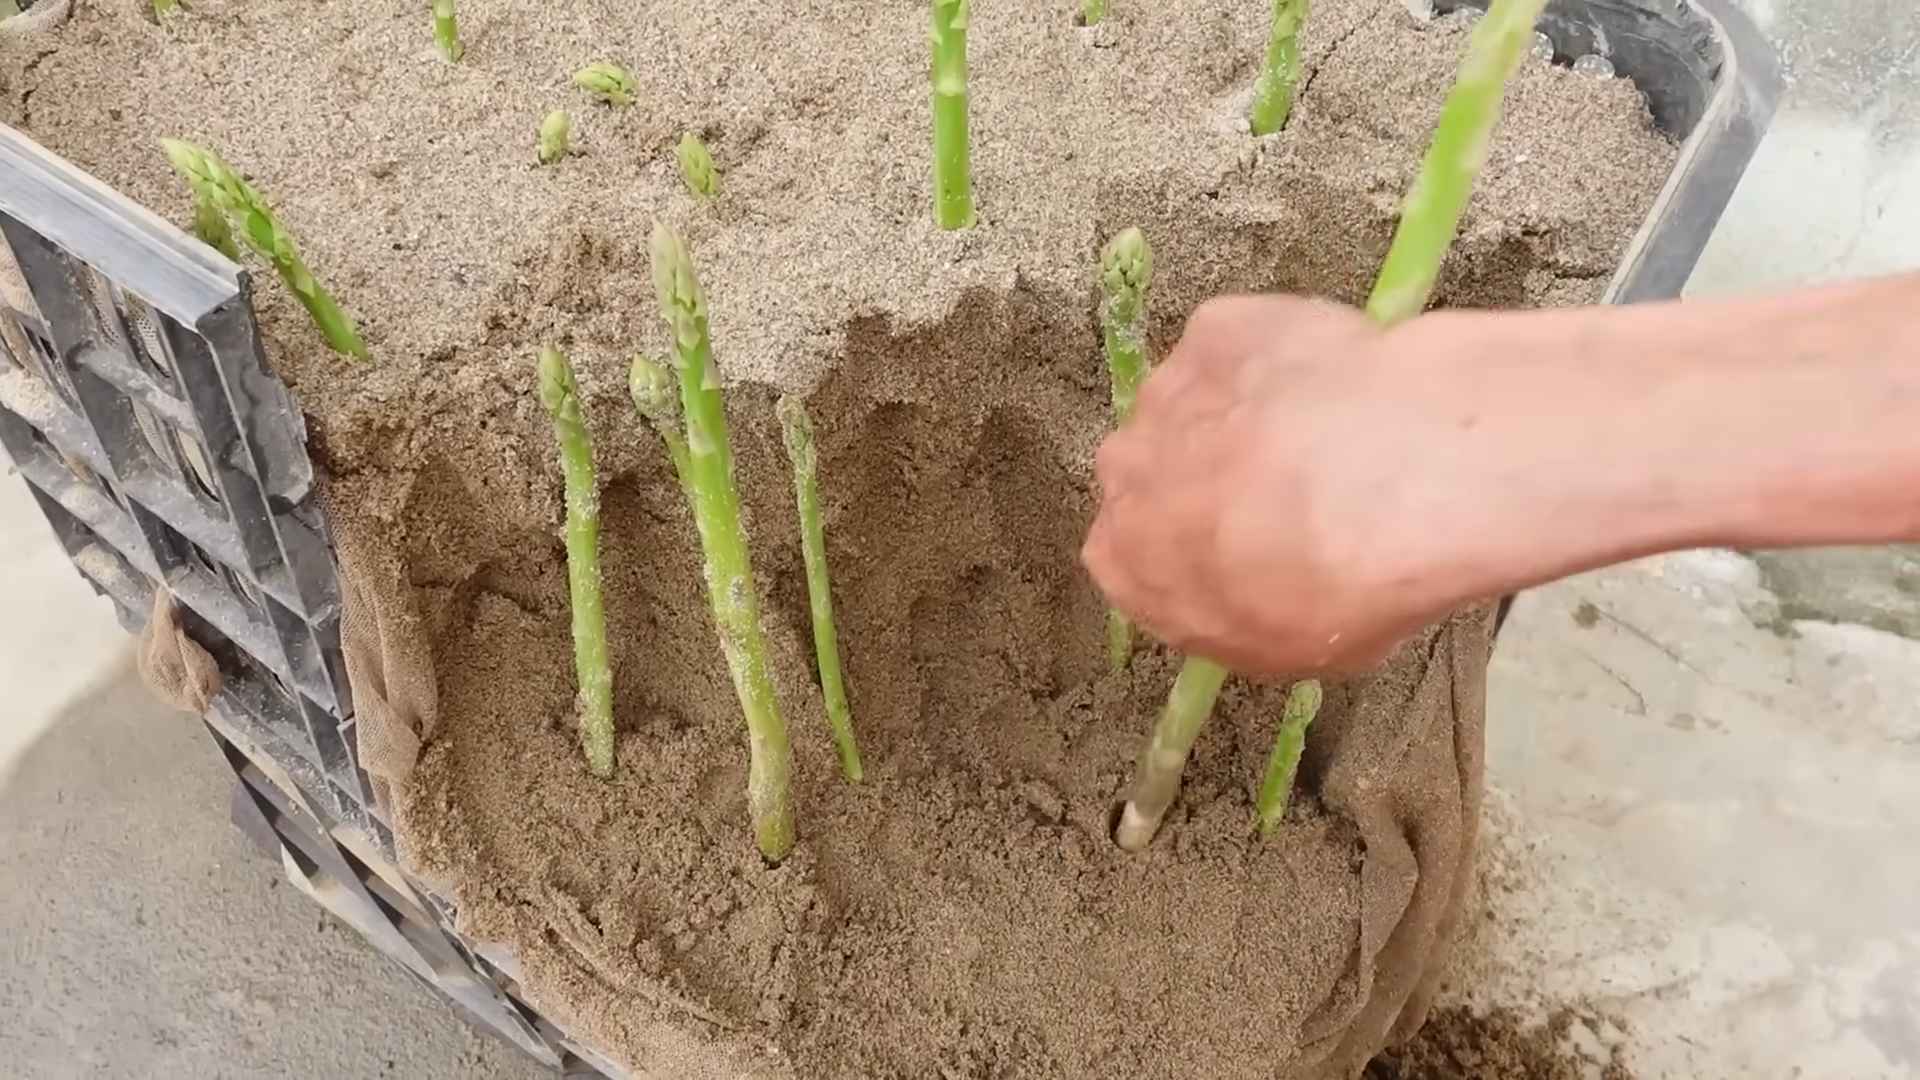
Now for the fun part – planting your asparagus! I recommend starting with one-year-old crowns, which are dormant roots. They’re easier to handle than seeds and will give you a head start.
1. Timing: The best time to plant asparagus crowns is in early spring, as soon as the soil can be worked.
2. Digging the Trench: Dig a trench that is 12-18 inches wide and 6-8 inches deep. The length of the trench will depend on how many crowns you’re planting.
3. Amending the Soil: Mix plenty of compost, well-rotted manure, or other organic matter into the soil you removed from the trench. This will provide nutrients and improve drainage.
4. Creating a Ridge: Create a small ridge of amended soil down the center of the trench. This ridge should be about 2-3 inches high.
5. Placing the Crowns: Place the asparagus crowns on top of the ridge, spacing them about 12-18 inches apart. The roots should be spread out evenly around the ridge.
6. Covering the Crowns: Gently cover the crowns with about 2 inches of the amended soil. Water thoroughly.
7. Gradual Filling: As the asparagus spears emerge, gradually fill in the trench with more soil. This will encourage the crowns to develop a strong root system. Continue filling the trench until it is level with the surrounding ground.
8. Mulching: Apply a layer of mulch around the asparagus plants to help retain moisture, suppress weeds, and regulate soil temperature. Straw, wood chips, or shredded leaves are all good options.
Caring for Your Asparagus Patch: Patience is Key
Asparagus requires patience. You won’t be able to harvest any spears in the first year, and you’ll only have a limited harvest in the second year. This allows the plants to establish a strong root system, which is essential for long-term productivity.
* Watering: Water regularly, especially during dry periods. Asparagus needs consistent moisture to thrive.
* Fertilizing: Fertilize your asparagus plants in early spring with a balanced fertilizer. You can also side-dress with compost or well-rotted manure.
* Weed Control: Keep the asparagus bed free of weeds. Hand-pulling is the best option, as herbicides can damage the asparagus plants.
* Pest and Disease Control: Asparagus is relatively pest-resistant, but watch out for asparagus beetles. These beetles can damage the spears and foliage. Hand-picking or using insecticidal soap can help control them. Rust is a common fungal disease that can affect asparagus. Choose rust-resistant varieties and ensure good air circulation to prevent rust.
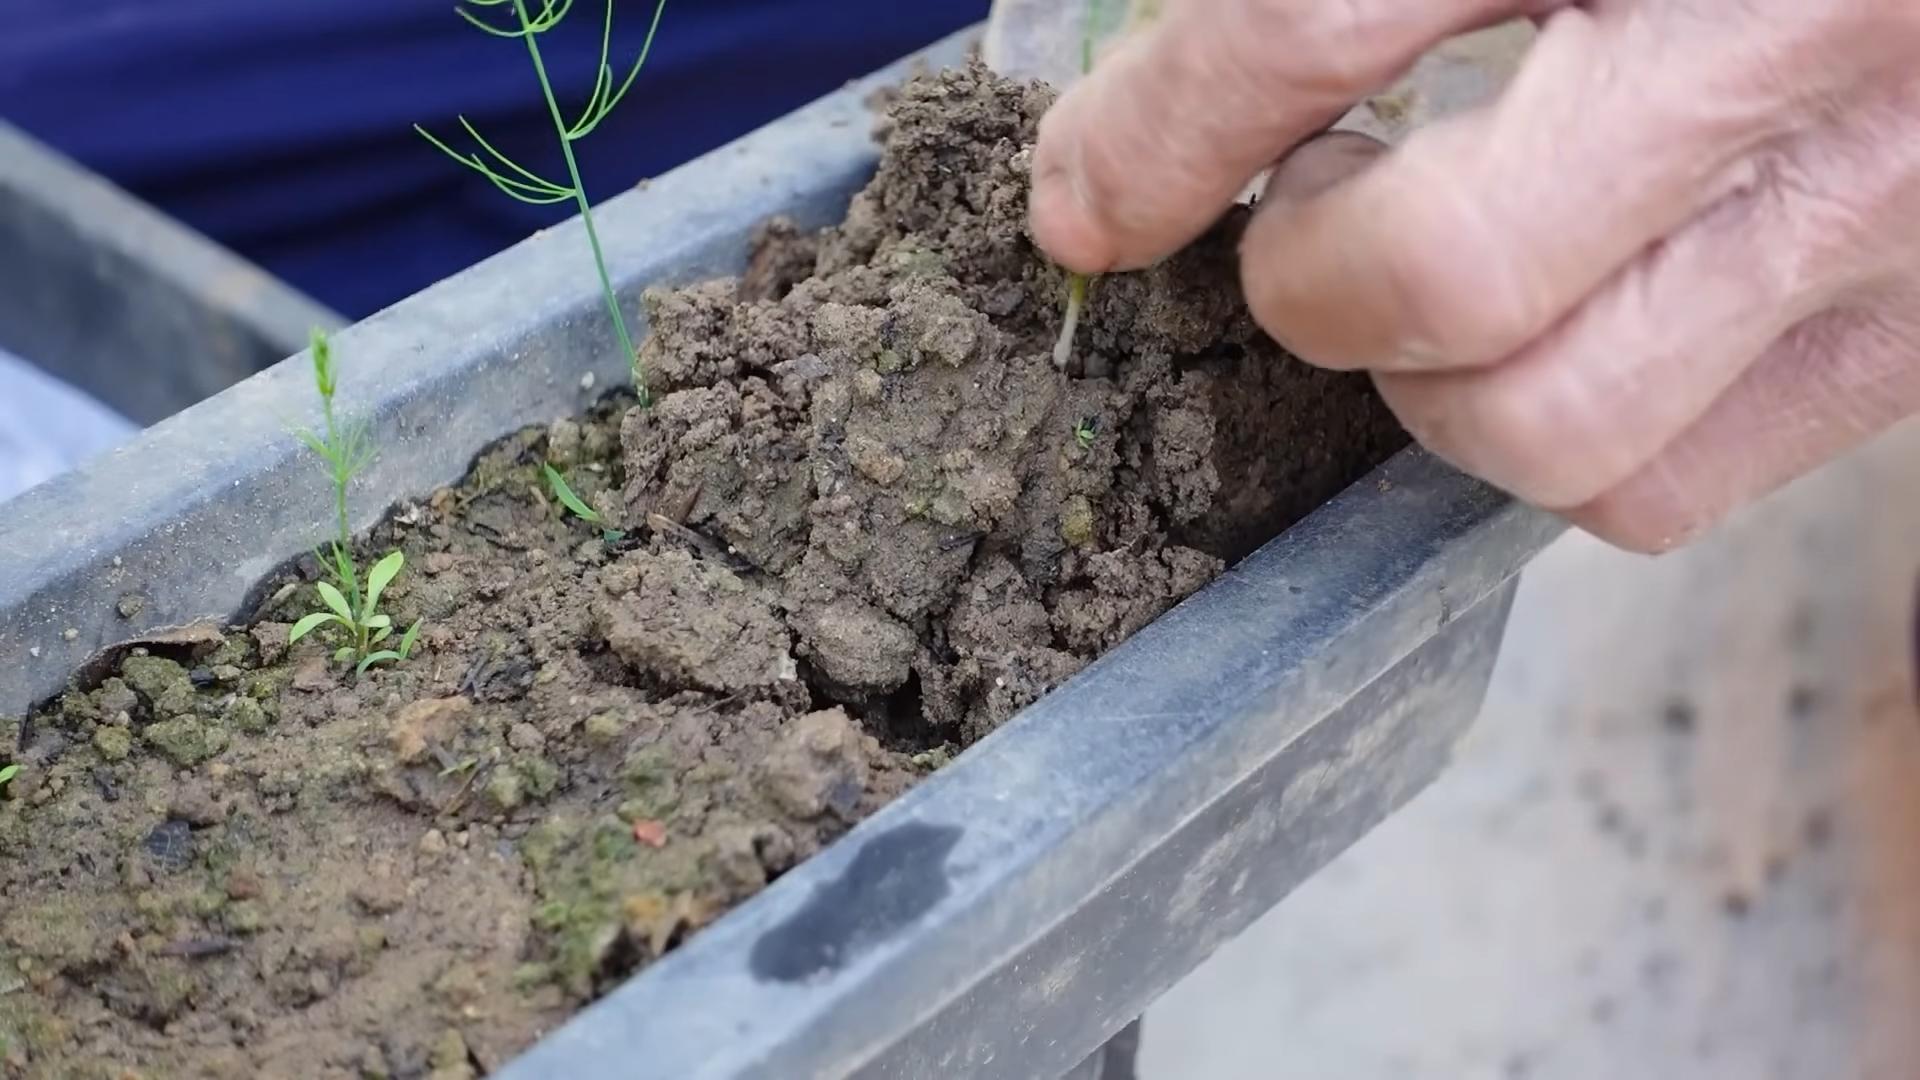
* Fern Management: After the harvest season, allow the asparagus ferns to grow and mature. These ferns will provide energy to the plant for the following year’s growth. In late fall or early winter, after the ferns have turned brown, cut them back to the ground.
Harvesting Your Asparagus: The Sweet Reward
After all your hard work and patience, it’s finally time to harvest your asparagus!
* Timing: In the third year, you can begin harvesting asparagus spears for a short period, about 2-3 weeks. In subsequent years, you can harvest for a longer period, about 6-8 weeks. Stop harvesting when the spears become thin and spindly.
* Harvesting Technique: Harvest asparagus spears when they are about 6-8 inches tall. You can snap them off at ground level or cut them with a sharp knife.
* Post-Harvest Care: After harvesting, continue to water and fertilize your asparagus plants to encourage healthy growth.
Troubleshooting Common Asparagus Problems
Even with the best care, you might encounter some problems along the way. Here are a few common issues and how to address them:
* Thin Spears: Thin spears can be a sign of nutrient deficiency, lack of water, or over-harvesting. Make sure you’re fertilizing and watering properly, and don’t harvest for too long.
* Yellowing Ferns: Yellowing ferns can be caused by nutrient deficiency, disease, or pests. Check for signs of pests or disease and address them accordingly. Fertilize with a balanced fertilizer.
* Asparagus Beetles: These beetles can damage the spears and foliage. Hand-picking or using insecticidal soap can help control them.
* Rust: Rust is a fungal disease that can affect asparagus. Choose rust-resistant varieties and ensure good air circulation to prevent rust.
Extending the Harvest: Succession Planting
If you want to extend your asparagus harvest, consider succession planting. Plant different varieties with varying maturity dates, or plant a new batch of crowns a few weeks after the first planting. This will ensure a continuous supply of fresh asparagus throughout the spring.
Enjoying Your Homegrown Asparagus
Now that you’ve successfully grown your own asparagus, it’s time to enjoy the fruits (or rather, vegetables) of your labor! Asparagus is delicious steamed, roasted, grilled, or sautéed. It’s also a great addition to salads, soups, and omelets.
Growing asparagus is a rewarding experience that will provide you with fresh, delicious vegetables for many years to come. With a little patience and effort, you can enjoy the taste of homegrown asparagus right from your own backyard. Happy gardening!
Conclusion
So, there you have it! Growing asparagus in your backyard isn’t just a gardening project; it’s an investment in years of delicious, healthy harvests. We’ve walked through the steps, demystified the process, and hopefully, inspired you to take the plunge. But why is this DIY trick a must-try? Because fresh, homegrown asparagus is simply unparalleled. The taste difference between store-bought and backyard-grown is remarkable – sweeter, more tender, and bursting with flavor that you just can’t find anywhere else. Plus, you know exactly where your food is coming from and what’s gone into growing it – no mystery chemicals or long-distance transportation.
Beyond the superior taste and health benefits, growing your own asparagus is incredibly rewarding. There’s a unique satisfaction in nurturing a plant from its early stages to a thriving, productive patch. It’s a connection to nature, a chance to learn and grow (pun intended!), and a sustainable way to enjoy one of spring’s most prized vegetables.
But the beauty of gardening lies in its adaptability. Feel free to experiment with different varieties of asparagus to find your favorite. ‘Jersey Knight’ is a popular choice for its high yields and disease resistance, while ‘Purple Passion’ offers a unique color and slightly sweeter flavor. Consider companion planting to enhance your asparagus patch. Herbs like basil and parsley can deter pests, while tomatoes and marigolds can improve soil health.
Don’t be afraid to get creative! If you’re short on space, you can even grow asparagus in raised beds or large containers. Just ensure you provide adequate drainage and plenty of room for the roots to spread. For those in colder climates, mulching heavily in the fall will protect your crowns from freezing temperatures.
We truly believe that anyone can successfully grow asparagus in their backyard with a little patience and the right knowledge. It’s a long-term commitment, yes, but the rewards are well worth the effort. Imagine stepping out into your garden each spring and harvesting a bounty of fresh, flavorful asparagus spears – a true testament to your gardening skills.
So, what are you waiting for? Grab your gardening gloves, prepare your soil, and embark on this exciting adventure. We’re confident that you’ll be thrilled with the results. And once you’ve tasted your first homegrown asparagus, you’ll never look at store-bought the same way again.
We’d love to hear about your experiences! Share your tips, tricks, and triumphs in the comments below. Let’s build a community of backyard asparagus growers and learn from each other. Don’t forget to post pictures of your asparagus patches – we can’t wait to see your progress! Happy gardening, and may your asparagus patch be bountiful! Remember, successful grow asparagus backyard endeavors start with a single seed (or crown!).
Frequently Asked Questions (FAQ)
How long does it take to harvest asparagus after planting?
This is a common question, and the answer requires patience! Asparagus is a long-term crop, and it typically takes 2-3 years after planting crowns (one-year-old plants) before you can begin harvesting. During the first year, allow the plants to establish a strong root system. In the second year, you can harvest a few spears, but only for a short period (about 2 weeks). By the third year, you can enjoy a full harvest season, which usually lasts 6-8 weeks in the spring. If you start from seed, it will take even longer, typically 3-4 years, to reach harvestable size. Resist the urge to harvest too early, as this can weaken the plants and reduce future yields.
What is the best soil for growing asparagus?
Asparagus thrives in well-drained, fertile soil with a slightly acidic to neutral pH (6.0-7.0). Sandy loam soil is ideal, as it allows for good drainage and root penetration. Heavy clay soil can be amended with compost, sand, and other organic matter to improve drainage and aeration. Before planting, conduct a soil test to determine the pH and nutrient levels. Amend the soil as needed based on the test results. Adding plenty of compost or well-rotted manure will provide essential nutrients and improve soil structure. Good drainage is crucial, as asparagus roots can rot in waterlogged conditions.
How deep should I plant asparagus crowns?
The planting depth is important for the success of your asparagus patch. Dig trenches that are 6-8 inches deep and 12 inches wide. Create a small mound of soil in the center of the trench and place the asparagus crown on top of the mound, spreading the roots out around it. Cover the crown with 2-3 inches of soil. As the spears emerge, gradually fill in the trench with soil until it is level with the surrounding ground. This method encourages the development of a strong root system.
How often should I water asparagus?
Asparagus needs consistent moisture, especially during the growing season. Water deeply and regularly, especially during dry periods. Aim for about 1-2 inches of water per week. Avoid overwatering, as this can lead to root rot. Mulching around the plants will help retain moisture and suppress weeds. During the dormant season (fall and winter), reduce watering, but don’t allow the soil to dry out completely.
What are common asparagus pests and diseases?
Asparagus beetles are a common pest that can damage the spears and foliage. Handpicking the beetles or using insecticidal soap can help control infestations. Asparagus rust is a fungal disease that can cause orange pustules on the stems and foliage. Ensure good air circulation and avoid overhead watering to prevent rust. Fusarium wilt is another fungal disease that can cause yellowing and wilting of the plants. Choose disease-resistant varieties and practice crop rotation to minimize the risk of Fusarium wilt. Regularly inspect your plants for signs of pests and diseases and take appropriate action promptly.
How do I know when to harvest asparagus?
Harvest asparagus spears when they are 6-8 inches tall and about as thick as your finger. Use a sharp knife to cut the spears at ground level. Avoid cutting spears that are too thin, as this can weaken the plants. Harvest spears every day or two during the peak of the harvest season. As the harvest season progresses, the spears will become thinner and more fibrous. At this point, stop harvesting and allow the plants to fern out, which will help them store energy for the following year.
Can I grow asparagus in containers?
Yes, you can grow asparagus in containers, but you’ll need a large container (at least 18 inches in diameter and 24 inches deep) to accommodate the extensive root system. Use a well-draining potting mix and provide regular watering and fertilization. Container-grown asparagus may not be as productive as plants grown in the ground, but it’s a good option for gardeners with limited space.
How do I fertilize asparagus?
Asparagus benefits from regular fertilization. In the spring, after the harvest season, apply a balanced fertilizer (e.g., 10-10-10) or compost to provide essential nutrients. You can also side-dress with nitrogen fertilizer to promote vigorous growth. Avoid over-fertilizing, as this can lead to excessive foliage growth at the expense of spear production. A soil test can help you determine the specific nutrient needs of your asparagus patch.
How do I prepare asparagus for winter?
In the fall, after the foliage has turned yellow and died back, cut the ferns down to ground level. Remove any debris from the area to prevent the spread of diseases. Apply a layer of mulch (e.g., straw, leaves) to protect the crowns from freezing temperatures, especially in colder climates. You can also add a layer of compost to enrich the soil.
How long will my asparagus patch last?
With proper care, an asparagus patch can last for 15-20 years or even longer. Regular fertilization, watering, and pest and disease control will help ensure the longevity of your asparagus patch. Avoid harvesting too early or too late, as this can weaken the plants. By following these guidelines, you can enjoy a bountiful harvest of fresh asparagus for many years to come.
Leave a Comment