
Growing Turnips Backyard might seem like a daunting task, conjuring images of sprawling farms and endless rows of crops. But I’m here to tell you that fresh, delicious turnips are absolutely within reach, even if all you have is a small backyard or even a few containers on your patio! For centuries, turnips have been a staple in diets across the globe, from humble peasant fare to surprisingly elegant dishes. Their resilience and nutritional value have made them a reliable food source, and now, you can tap into that rich history right in your own backyard.
Why should you bother with this DIY project? Well, store-bought turnips simply can’t compare to the crisp, slightly sweet flavor of freshly harvested ones. Plus, growing turnips backyard allows you to control exactly what goes into your food, avoiding harmful pesticides and ensuring the highest quality produce for your family. In this article, I’ll share some simple yet effective DIY tricks and hacks that will transform you into a turnip-growing pro, regardless of your experience level. Get ready to enjoy the satisfaction of harvesting your own delicious turnips – it’s easier than you think!
Growing Artichokes at Home: A Beginner’s Guide
Okay, artichoke lovers, let’s get down to business! I’m going to walk you through everything you need to know to successfully grow these delicious and impressive plants right in your own backyard. It might seem intimidating at first, but trust me, with a little patience and the right information, you’ll be harvesting your own artichokes in no time.
Choosing Your Artichoke Variety
First things first, you need to decide which artichoke variety you want to grow. There are a few popular options, each with its own characteristics:
* Green Globe: This is probably the most common variety. It produces large, round, green artichokes and is known for its reliable yields. It’s a great choice for beginners.
* Violetta: If you’re looking for something a little different, Violetta artichokes have a beautiful purple hue. They’re also known for their tender hearts.
* Imperial Star: This variety is a good choice for cooler climates because it matures earlier than some others. It produces medium-sized, green artichokes.
* Big Heart: As the name suggests, this variety is known for its large, meaty hearts.
Consider your climate and personal preferences when making your choice. I personally started with Green Globe because it’s so reliable, but I’m planning on trying Violetta next year!
Starting from Seed vs. Transplants
You have two main options for starting your artichoke plants: from seed or from transplants.
* Starting from Seed: This is the more economical option, but it requires more time and effort. Artichokes started from seed often don’t produce in their first year.
* Starting from Transplants: This is the easier and faster option. You can purchase established artichoke plants from a nursery and get a head start on the growing season.
I recommend starting with transplants, especially if you’re a beginner. It’s just less hassle and you’re more likely to get a harvest in the first year.
Preparing the Soil
Artichokes are heavy feeders, so they need rich, well-drained soil. Here’s how to prepare your soil:
* Choose a Sunny Location: Artichokes need at least 6-8 hours of sunlight per day.
* Amend the Soil: Dig in plenty of compost or well-rotted manure to improve drainage and fertility. Artichokes thrive in soil with a pH between 6.0 and 7.0. You can test your soil pH with a kit from your local garden center.
* Ensure Good Drainage: Artichokes don’t like soggy soil, so make sure your planting area has good drainage. If your soil is heavy clay, consider planting in raised beds.
Planting Your Artichokes
Now for the fun part – planting!
1. Dig a Hole: Dig a hole that’s twice as wide as the root ball of your transplant and just as deep.
2. Remove the Plant from the Container: Gently remove the artichoke plant from its container, being careful not to damage the roots.
3. Loosen the Roots: Gently loosen the roots of the plant. If the roots are circling the bottom of the container, gently tease them apart.
4. Place the Plant in the Hole: Place the plant in the hole, making sure the top of the root ball is level with the surrounding soil.
5. Backfill the Hole: Backfill the hole with soil, gently firming it around the plant.
6. Water Thoroughly: Water the plant thoroughly after planting.
Space your artichoke plants at least 3-4 feet apart. They can get quite large!
Caring for Your Artichokes
Once your artichokes are planted, they need regular care to thrive.
* Watering: Water your artichokes regularly, especially during dry periods. They need consistent moisture to produce large, healthy buds. Aim for about 1-2 inches of water per week.
* Fertilizing: Fertilize your artichokes every few weeks with a balanced fertilizer. You can also side-dress them with compost or manure.
* Mulching: Apply a layer of mulch around your artichoke plants to help retain moisture, suppress weeds, and regulate soil temperature.
* Weeding: Keep the area around your artichoke plants free of weeds. Weeds can compete with your artichokes for nutrients and water.
* Pest Control: Keep an eye out for pests like aphids and snails. You can control aphids with insecticidal soap or by hand-picking them off the plants. Snails can be controlled with snail bait or by hand-picking them off the plants at night.
* Winter Protection: In colder climates, you’ll need to protect your artichoke plants from frost. Cut back the foliage to about 12 inches and cover the plants with a thick layer of mulch or straw. You can also use a frost blanket.
Harvesting Your Artichokes
Harvesting artichokes is all about timing. You want to harvest them when the buds are still tight and firm, but before the bracts (the outer leaves) start to open.
1. Check the Buds: Check your artichoke plants regularly for mature buds.
2. Harvest When Ready: Harvest the buds when they are about 3-4 inches in diameter and the bracts are still tightly closed.
3. Cut the Stem: Cut the stem of the artichoke about 2-3 inches below the bud.
4. Enjoy Your Harvest: Enjoy your freshly harvested artichokes!
The main bud will be the largest. After you harvest it, the plant will produce smaller side shoots with smaller artichokes. You can harvest these as well.
Overwintering Artichokes
Artichokes are perennials in warmer climates (zones 7-10), meaning they will come back year after year. In colder climates, you’ll need to overwinter them to protect them from frost.
1. Cut Back Foliage: In the fall, after the first frost, cut back the foliage to about 12 inches.
2. Apply Mulch: Apply a thick layer of mulch or straw around the plants to insulate the roots.
3. Cover with a Frost Blanket (Optional): In very cold climates, you can also cover the plants with a frost blanket.
In the spring, remove the mulch and frost blanket and watch for new growth to emerge.
Dealing with Common Problems
Even with the best care, you might encounter some problems when growing artichokes. Here are a few common issues and how to deal with them:
* Aphids: These tiny insects can suck the sap from your artichoke plants, causing them to weaken and become stunted. Control aphids with insecticidal soap or by hand-picking them off the plants.
* Snails and Slugs: These pests can damage the leaves and buds of your artichoke plants. Control them with snail bait or by hand-picking them off the plants at night.
* Powdery Mildew: This fungal disease can cause a white, powdery coating on the leaves of your artichoke plants. Prevent powdery mildew by providing good air circulation and avoiding overhead watering. Treat it with a fungicide if necessary.
* Root Rot: This fungal disease can cause the roots of your artichoke plants to rot. Prevent root rot by planting in well-drained soil and avoiding overwatering.
Propagating Artichokes
If you want to expand your artichoke patch, you can propagate them by dividing the root clumps.
1. Dig Up the Plant: In the spring, dig up a mature artichoke plant.
2. Divide the Root Clump: Carefully divide the root clump into several smaller clumps, each with at least one bud.
3. Replant the Clumps: Replant the clumps in prepared soil, spacing them at least 3-4 feet apart.
4. Water Thoroughly: Water the newly planted clumps thoroughly.
Enjoying Your Homegrown Artichokes
The best part of growing your own artichokes is, of course, enjoying the harvest! Artichokes can be steamed, grilled, baked, or stuffed. They’re delicious with melted butter, aioli, or hollandaise sauce.
Here are a few of my favorite ways to enjoy artichokes:
* Steamed Artichokes: This is the classic way to prepare artichokes. Simply steam them until the bracts are tender and the heart is easily pierced with a fork.
* Grilled Artichokes: Grilling artichokes gives them a smoky flavor. Cut them in half lengthwise, brush them with olive oil, and grill them until they’re tender.
* Artichoke Dip: This is a crowd-pleasing appetizer. Combine cooked artichoke hearts with cream cheese, mayonnaise, Parmesan cheese, and garlic. Bake until bubbly and serve with crackers or bread.
Troubleshooting
Sometimes, even with the best efforts
Conclusion
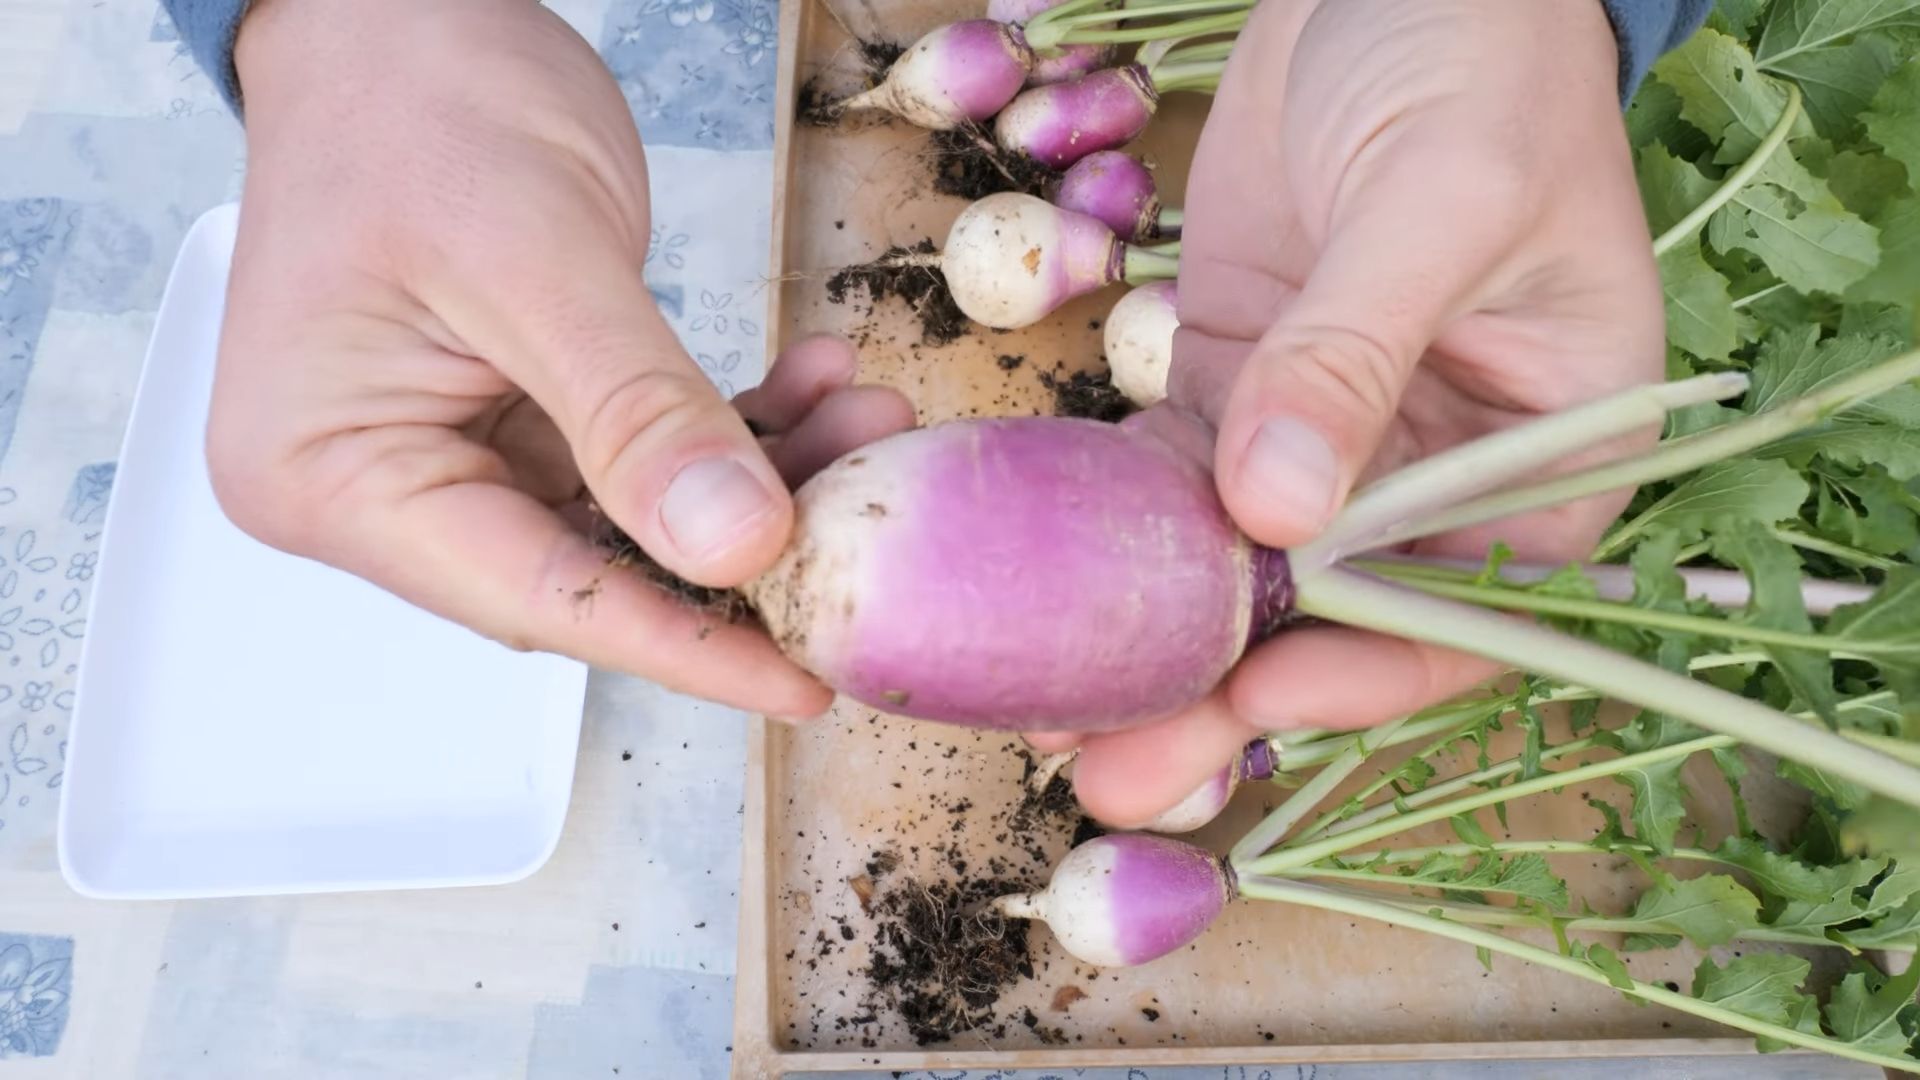
So, there you have it! Growing turnips in your backyard is not only achievable but also incredibly rewarding. From the crisp, peppery greens to the sweet, earthy roots, you’ll be amazed at the versatility and flavor this humble vegetable brings to your table. Forget those bland, store-bought turnips – nothing compares to the taste of freshly harvested, homegrown goodness.
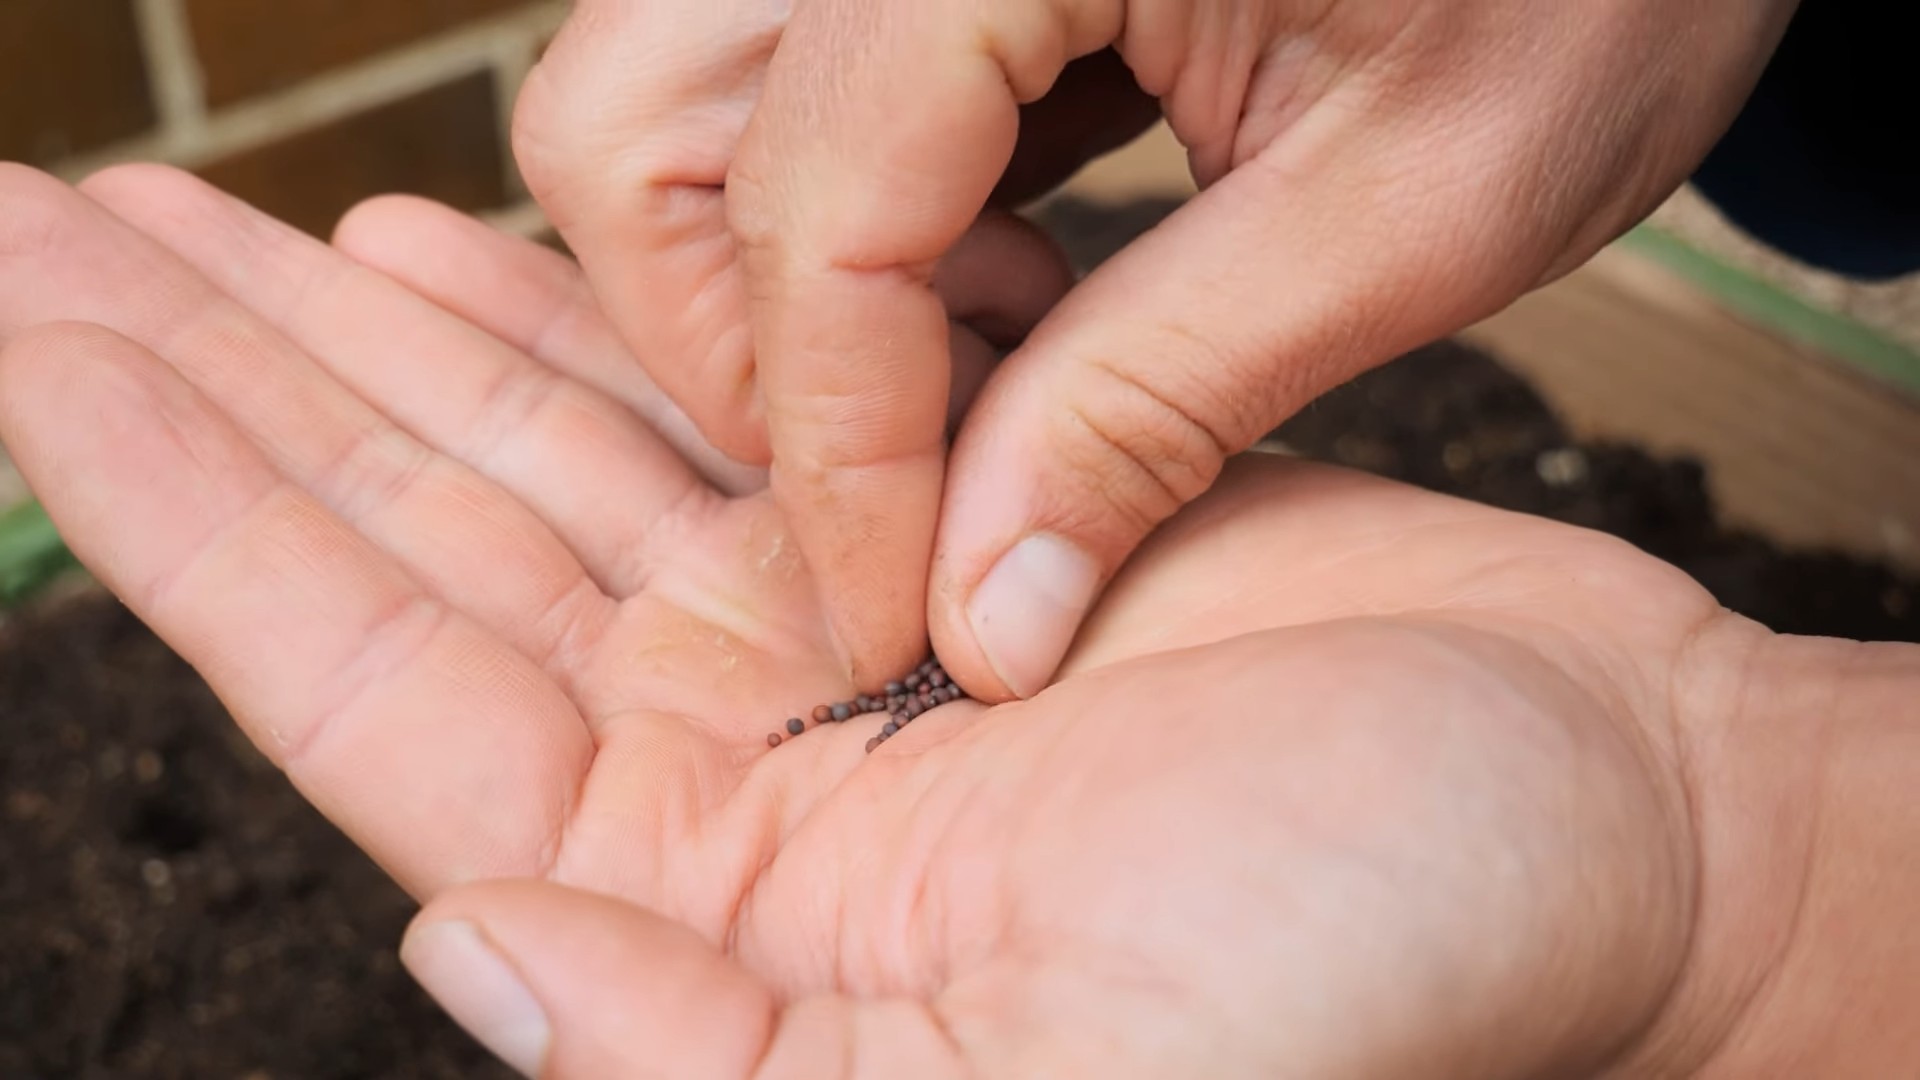
This DIY trick for successful turnip cultivation is a must-try for several reasons. First, it empowers you to control the entire growing process, ensuring your turnips are free from harmful pesticides and herbicides. You know exactly what’s going into your food, providing peace of mind and a healthier harvest. Second, it’s a fantastic way to connect with nature and experience the satisfaction of nurturing something from seed to table. There’s a unique joy in watching those tiny sprouts emerge and transform into vibrant, edible plants. Third, growing your own turnips is surprisingly economical. A single packet of seeds can yield a bountiful harvest, saving you money at the grocery store and providing a sustainable source of fresh produce.
But the benefits don’t stop there! This method also allows for customization. Want to experiment with different varieties? Go for it! Try growing ‘Purple Top White Globe’ for its classic flavor and striking appearance, or ‘Golden Ball’ for its sweeter, milder taste. You can even adjust the planting density to influence the size of your turnips – closer spacing for smaller, more tender roots, and wider spacing for larger, more mature ones.
Consider companion planting to further enhance your turnip patch. Marigolds can deter nematodes, while nasturtiums attract aphids away from your turnips. Interplanting with legumes like beans or peas can help fix nitrogen in the soil, boosting overall plant health and productivity.
Don’t be afraid to get creative with your harvest, too. While the roots are delicious roasted, mashed, or added to stews, don’t overlook the greens! Turnip greens are packed with vitamins and minerals and can be sautéed, steamed, or added to salads for a peppery kick. You can even pickle the roots for a tangy and flavorful condiment.
We’re confident that once you try this DIY trick, you’ll be hooked on growing your own turnips. It’s a simple, satisfying, and sustainable way to enjoy fresh, healthy produce right from your backyard. So, grab some seeds, prepare your soil, and get ready to experience the joy of homegrown turnips.
We encourage you to embark on this gardening adventure and share your experiences with us! Let us know what varieties you tried, what challenges you faced, and what delicious recipes you created with your homegrown turnips. Your insights and tips can inspire other gardeners and help us all learn and grow together. Share your photos and stories on our social media channels using #HomegrownTurnips – we can’t wait to see your amazing harvests!
Frequently Asked Questions (FAQ)
What is the best time of year to plant turnips?
Turnips are a cool-season crop, meaning they thrive in cooler temperatures. The best time to plant turnips is typically in the late summer or early fall for a fall harvest, or in early spring for a spring harvest. In regions with mild winters, you may even be able to grow turnips throughout the winter. For a fall harvest, aim to plant your seeds about 6-8 weeks before the first expected frost. For a spring harvest, plant as soon as the ground can be worked in the spring.
How much sunlight do turnips need?
Turnips need at least 6 hours of sunlight per day to grow well. Choose a location in your backyard that receives full sun for optimal growth and yield. If you live in a particularly hot climate, some afternoon shade can be beneficial to prevent the leaves from scorching.
What kind of soil is best for growing turnips?
Turnips prefer well-drained, fertile soil with a pH between 6.0 and 6.8. Amend your soil with compost or other organic matter before planting to improve drainage, fertility, and water retention. Avoid heavy clay soils, as they can become waterlogged and hinder root development. A soil test can help determine the pH and nutrient levels of your soil, allowing you to make necessary amendments.
How often should I water my turnips?
Turnips need consistent moisture to thrive. Water deeply and regularly, especially during dry periods. Aim to keep the soil consistently moist but not waterlogged. A good rule of thumb is to water when the top inch of soil feels dry to the touch. Mulching around your turnip plants can help retain moisture and suppress weeds.
Do I need to fertilize my turnips?
While turnips don’t require heavy fertilization, a light feeding can help boost growth and yield. Apply a balanced fertilizer at planting time, following the instructions on the package. You can also side-dress your turnips with compost tea or fish emulsion every few weeks during the growing season. Avoid over-fertilizing, as this can lead to excessive foliage growth at the expense of root development.
How do I prevent pests and diseases from affecting my turnips?
Several pests and diseases can affect turnips, including aphids, flea beetles, root maggots, and fungal diseases. To prevent problems, practice good garden hygiene, such as removing weeds and debris that can harbor pests and diseases. Use row covers to protect your plants from insect pests. Companion planting with marigolds or nasturtiums can also help deter pests. If you notice signs of disease, treat your plants with an appropriate fungicide. For root maggots, consider using beneficial nematodes or diatomaceous earth.
When are turnips ready to harvest?
Turnips are typically ready to harvest 50-60 days after planting, depending on the variety. You can harvest the greens at any time, but the roots are best harvested when they reach a diameter of 2-3 inches. To harvest, gently loosen the soil around the turnip and pull it out of the ground. Store turnips in a cool, dark place for several weeks.
Can I eat both the turnip roots and the greens?
Yes, both the turnip roots and the greens are edible and nutritious. The roots have a sweet, earthy flavor, while the greens have a peppery taste. You can roast, mash, or add the roots to stews and soups. The greens can be sautéed, steamed, or added to salads.
What are some good companion plants for turnips?
Good companion plants for turnips include beans, peas, radishes, carrots, lettuce, spinach, and herbs like rosemary and thyme. These plants can help deter pests, improve soil health, and enhance the growth of your turnips. Avoid planting turnips near members of the cabbage family, such as broccoli, cauliflower, and kale, as they can attract similar pests and diseases.
Can I grow turnips in containers?
Yes, you can grow turnips in containers, especially if you have limited space in your backyard. Choose a container that is at least 12 inches deep and wide to accommodate the root growth. Use a well-draining potting mix and water regularly. Container-grown turnips may require more frequent fertilization than those grown in the ground.
Leave a Comment