
Grow Bean Sprouts Fast? Absolutely! Imagine having a constant supply of fresh, crunchy bean sprouts right at your fingertips, ready to add a burst of flavor and nutrition to your salads, stir-fries, and sandwiches. Forget those limp, expensive sprouts from the grocery store 鈥?we’re diving into the wonderful world of DIY sprouting, and I’m going to show you how to do it quickly and easily.
Sprouting, in general, isn’t a new fad. It’s an ancient practice, with roots stretching back thousands of years to cultures in Asia, where sprouts were valued not only for their taste but also for their concentrated nutrients and ease of cultivation. Think about it: in times of scarcity, being able to grow bean sprouts fast meant having access to a vital source of vitamins and minerals, even in the dead of winter.
But why should *you* bother with sprouting today? Well, besides the satisfaction of growing your own food, bean sprouts are incredibly good for you! They’re packed with vitamins, enzymes, and protein, making them a fantastic addition to any healthy diet. Plus, let’s be honest, sometimes life gets busy, and running to the store isn’t always an option. With this simple DIY trick, you’ll always have a fresh, nutritious ingredient on hand. So, let’s get started and unlock the secrets to growing delicious bean sprouts in record time!

Grow Bean Sprouts at Home: A Super Easy DIY Guide
Hey there, fellow sprout enthusiasts! Ever wanted fresh, crunchy bean sprouts right at your fingertips? Well, you’ve come to the right place! I’m going to walk you through a super simple method to grow your own bean sprouts at home, and trust me, it’s way easier than you think. Plus, it’s a fantastic way to add a healthy and delicious boost to your meals. Let’s get sprouting!
What You’ll Need
Before we dive in, let’s gather our supplies. Don’t worry, you probably already have most of these lying around:
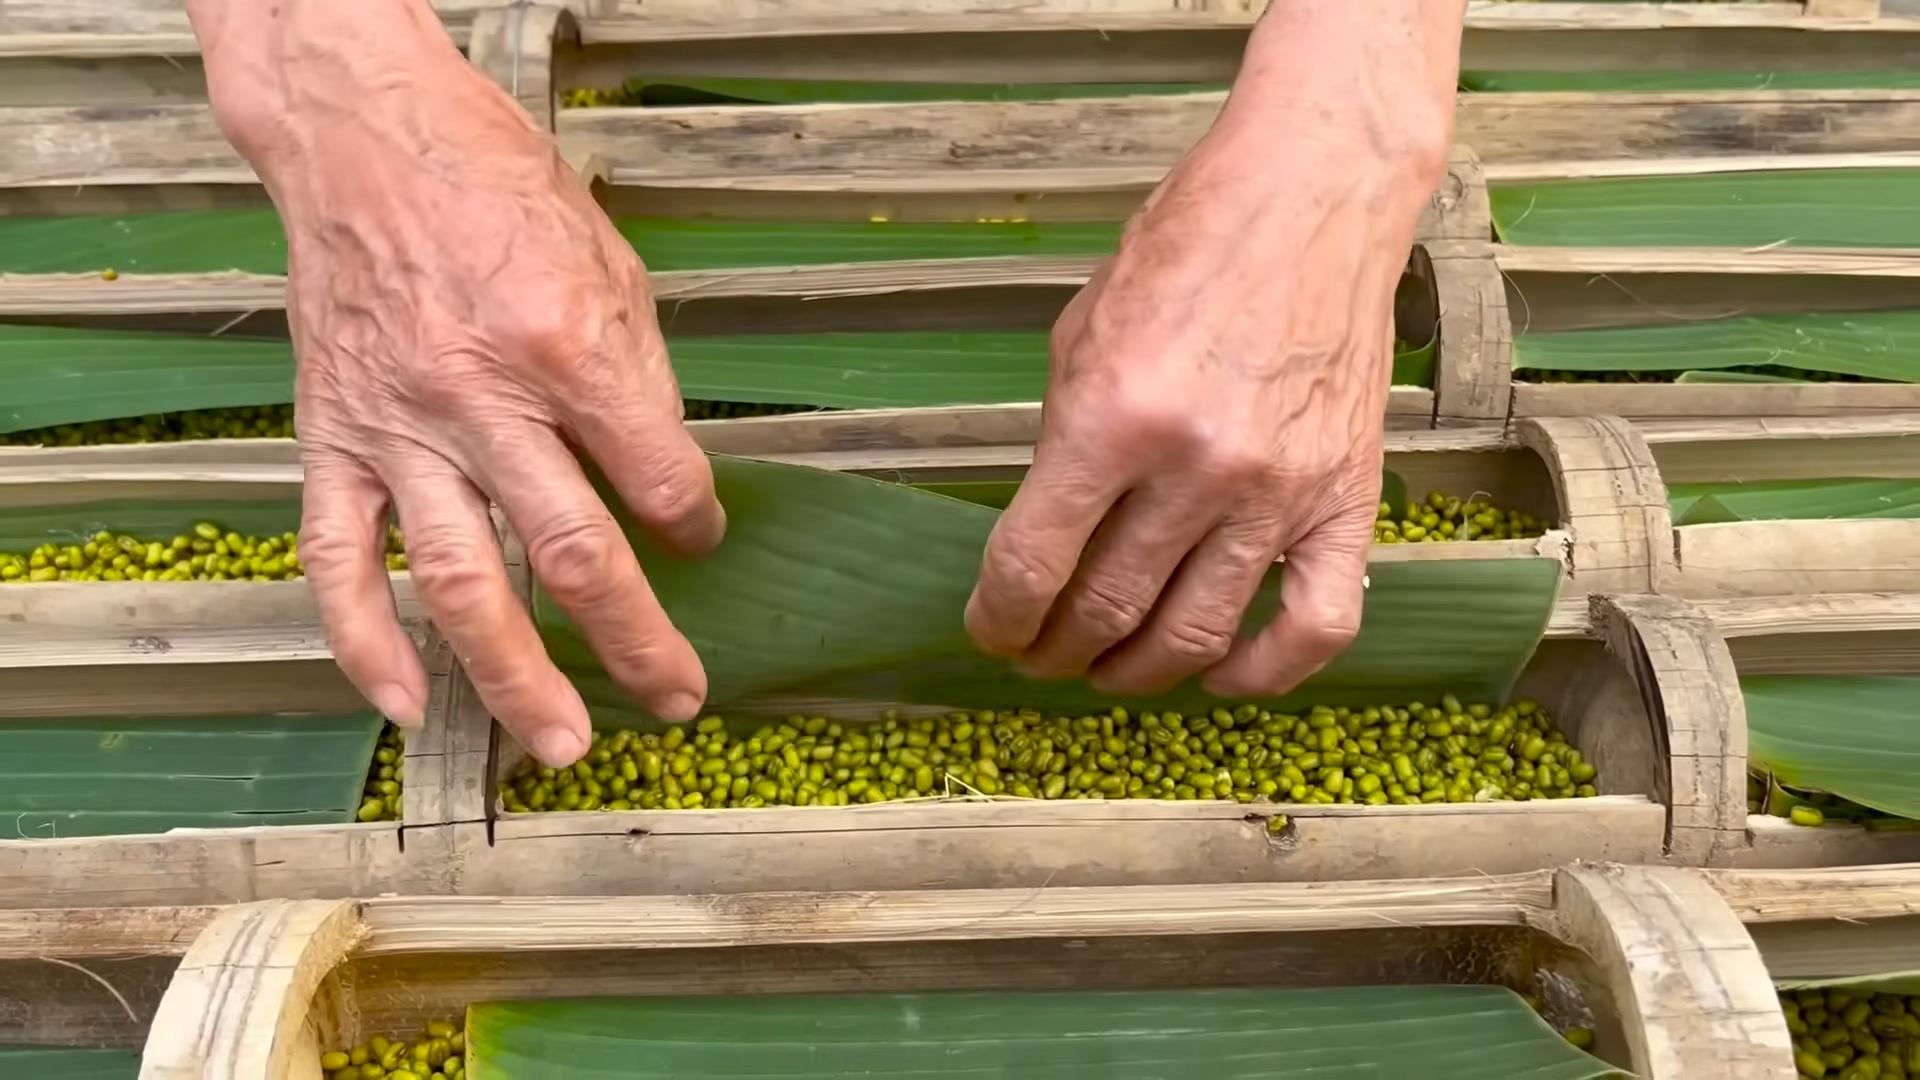
- Beans: Mung beans are the classic choice, but you can also use adzuki beans, lentils, or even chickpeas. Just make sure they’re whole and haven’t been split or processed. About 1/2 cup of dry beans is a good starting point.
- A Wide-Mouth Jar: A quart-sized mason jar works perfectly.
- Sprouting Lid or Cheesecloth: You’ll need something to cover the jar that allows for drainage and airflow. A sprouting lid is ideal, but a piece of cheesecloth secured with a rubber band will do the trick.
- Water: Clean, filtered water is best.
- A Dark Place: A cupboard, drawer, or even a covered bowl will work. Darkness is key for optimal sprout growth.
- A Bowl or Tray: To prop the jar at an angle for drainage.
Step-by-Step Sprouting Guide
Okay, now for the fun part! Follow these steps, and you’ll be munching on your own homegrown bean sprouts in no time.
Phase 1: Soaking the Beans
1. Rinse the Beans: Start by thoroughly rinsing your beans under cool water. This removes any dirt, debris, or broken beans. I usually give them a good swish in a bowl and then drain them through a fine-mesh sieve.
2. Soak the Beans: Place the rinsed beans in your wide-mouth jar. Add plenty of cool water 鈥?about three times the volume of the beans. They’ll expand as they soak, so you want to make sure they have enough room.
3. Cover and Soak: Cover the jar with your sprouting lid or cheesecloth and secure it with a rubber band.
4. Let Them Soak: Leave the beans to soak in a dark place for 8-12 hours, or even overnight. This is crucial for activating the germination process. I usually soak mine overnight so they’re ready to go in the morning.
Phase 2: Sprouting and Rinsing
1. Drain and Rinse Again: After the soaking period, drain the water from the jar. Rinse the beans thoroughly with cool water, making sure to get all the nooks and crannies. This helps prevent mold and keeps your sprouts fresh.
2. Invert and Drain: After rinsing, invert the jar and prop it at an angle in a bowl or tray. This allows excess water to drain out while still allowing air to circulate. I usually use a small dish towel folded up to create the angle.
3. Rinse Regularly: This is the most important part! Rinse the sprouts 2-3 times a day with cool water. This keeps them hydrated and prevents them from drying out or getting moldy. Make sure to drain them well after each rinse.
4. Maintain Darkness: Keep the jar in a dark place between rinses. Darkness encourages the sprouts to grow long and white.
5. Observe and Adjust: Keep an eye on your sprouts. If you notice any mold or unpleasant smells, discard the batch and start over. Proper rinsing is key to preventing these issues.
Phase 3: Harvesting and Storing
1. Harvest Time: Your bean sprouts will be ready to harvest in about 3-5 days, depending on the type of bean and the temperature. They should be about 1-2 inches long and have small leaves starting to form. I like mine when they’re nice and crunchy!
2. Final Rinse: Give your sprouts one final rinse before harvesting. This will remove any remaining seed hulls.
3. Remove Hulls (Optional): Some people prefer to remove the seed hulls. You can do this by gently agitating the sprouts in a bowl of water. The hulls will float to the top and can be skimmed off. This is a bit tedious, but it can improve the texture of your sprouts.
4. Dry Thoroughly: Drain the sprouts well and pat them dry with a clean kitchen towel or paper towels. This will help them last longer in the refrigerator.
5. Store Properly: Store your bean sprouts in an airtight container lined with a paper towel in the refrigerator. They should last for about a week. I usually try to use them within a few days for the best flavor and texture.
Troubleshooting Tips
* Mold: If you see any mold, it’s usually due to insufficient rinsing or poor drainage. Discard the batch and start over, making sure to rinse thoroughly and drain well.
* Slow Growth: If your sprouts are growing slowly, it could be due to low temperatures. Try keeping them in a slightly warmer place.
* Bitter Taste: A bitter taste can be caused by overgrowth or exposure to light. Harvest your sprouts when they’re the right size and keep them in a dark place.
* Rotting Smell: A rotting smell indicates that the sprouts are decaying. This is usually caused by poor rinsing or drainage. Discard the batch and start over.
Creative Uses for Your Homegrown Bean Sprouts
Now that you have a bounty of fresh bean sprouts, what can you do with them? The possibilities are endless! Here are a few of my favorite ways to use them:
Hey there, fellow sprout enthusiasts! Ever wanted fresh, crunchy bean sprouts right at your fingertips? Well, you’ve come to the right place! I’m going to walk you through a super simple method to grow your own bean sprouts at home, and trust me, it’s way easier than you think. Plus, it’s a fantastic way to add a healthy and delicious boost to your meals. Let’s get sprouting!
What You’ll Need
Before we dive in, let’s gather our supplies. Don’t worry, you probably already have most of these lying around:
- Beans: Mung beans are the classic choice, but you can also use adzuki beans, lentils, or even chickpeas. Just make sure they’re whole and haven’t been split or processed. About 1/2 cup of dry beans is a good starting point.
- A Wide-Mouth Jar: A quart-sized mason jar works perfectly.
- Sprouting Lid or Cheesecloth: You’ll need something to cover the jar that allows for drainage and airflow. A sprouting lid is ideal, but a piece of cheesecloth secured with a rubber band will do the trick.
- Water: Clean, filtered water is best.
- A Dark Place: A cupboard, drawer, or even a covered bowl will work. Darkness is key for optimal sprout growth.
- A Bowl or Tray: To prop the jar at an angle for drainage.
Step-by-Step Sprouting Guide
Okay, now for the fun part! Follow these steps, and you’ll be munching on your own homegrown bean sprouts in no time.
Phase 1: Soaking the Beans
1. Rinse the Beans: Start by thoroughly rinsing your beans under cool water. This removes any dirt, debris, or broken beans. I usually give them a good swish in a bowl and then drain them through a fine-mesh sieve.
2. Soak the Beans: Place the rinsed beans in your wide-mouth jar. Add plenty of cool water 鈥?about three times the volume of the beans. They’ll expand as they soak, so you want to make sure they have enough room.
3. Cover and Soak: Cover the jar with your sprouting lid or cheesecloth and secure it with a rubber band.
4. Let Them Soak: Leave the beans to soak in a dark place for 8-12 hours, or even overnight. This is crucial for activating the germination process. I usually soak mine overnight so they’re ready to go in the morning.
Phase 2: Sprouting and Rinsing
1. Drain and Rinse Again: After the soaking period, drain the water from the jar. Rinse the beans thoroughly with cool water, making sure to get all the nooks and crannies. This helps prevent mold and keeps your sprouts fresh.
2. Invert and Drain: After rinsing, invert the jar and prop it at an angle in a bowl or tray. This allows excess water to drain out while still allowing air to circulate. I usually use a small dish towel folded up to create the angle.
3. Rinse Regularly: This is the most important part! Rinse the sprouts 2-3 times a day with cool water. This keeps them hydrated and prevents them from drying out or getting moldy. Make sure to drain them well after each rinse.
4. Maintain Darkness: Keep the jar in a dark place between rinses. Darkness encourages the sprouts to grow long and white.
5. Observe and Adjust: Keep an eye on your sprouts. If you notice any mold or unpleasant smells, discard the batch and start over. Proper rinsing is key to preventing these issues.
Phase 3: Harvesting and Storing
1. Harvest Time: Your bean sprouts will be ready to harvest in about 3-5 days, depending on the type of bean and the temperature. They should be about 1-2 inches long and have small leaves starting to form. I like mine when they’re nice and crunchy!
2. Final Rinse: Give your sprouts one final rinse before harvesting. This will remove any remaining seed hulls.
3. Remove Hulls (Optional): Some people prefer to remove the seed hulls. You can do this by gently agitating the sprouts in a bowl of water. The hulls will float to the top and can be skimmed off. This is a bit tedious, but it can improve the texture of your sprouts.
4. Dry Thoroughly: Drain the sprouts well and pat them dry with a clean kitchen towel or paper towels. This will help them last longer in the refrigerator.
5. Store Properly: Store your bean sprouts in an airtight container lined with a paper towel in the refrigerator. They should last for about a week. I usually try to use them within a few days for the best flavor and texture.
Troubleshooting Tips
* Mold: If you see any mold, it’s usually due to insufficient rinsing or poor drainage. Discard the batch and start over, making sure to rinse thoroughly and drain well.
* Slow Growth: If your sprouts are growing slowly, it could be due to low temperatures. Try keeping them in a slightly warmer place.
* Bitter Taste: A bitter taste can be caused by overgrowth or exposure to light. Harvest your sprouts when they’re the right size and keep them in a dark place.
* Rotting Smell: A rotting smell indicates that the sprouts are decaying. This is usually caused by poor rinsing or drainage. Discard the batch and start over.
Creative Uses for Your Homegrown Bean Sprouts
Now that you have a bounty of fresh bean sprouts, what can you do with them? The possibilities are endless! Here are a few of my favorite ways to use them:
* Salads: Add them to salads for a crunchy and refreshing boost.
* Sandwiches and Wraps: They’re a great addition to sandwiches and wraps, adding texture and flavor.
* Stir-fries: Toss them into stir-fries for a quick and easy way to add vegetables.
* Soups: Sprinkle them on top of soups for a garnish and a bit of crunch.
* Spring Rolls: They’re a classic ingredient in spring rolls.
* Juicing: Add them to your juicer for a nutrient-packed drink.
* Snacking: Just eat them raw! They’re a healthy and delicious snack.
Why Grow Your Own Bean Sprouts?
Growing your own bean sprouts is not only easy and fun, but it also offers several benefits:
* Freshness: You can’t beat the taste of freshly grown bean sprouts.
* Cost-Effective: Growing your own sprouts is much cheaper than buying them at the store.
* Nutritious: Bean sprouts are packed with vitamins, minerals, and enzymes.
* Sustainable: Growing your own sprouts reduces your carbon footprint.
* Educational: It’s a great way to learn about plant growth and food production.
Choosing the Right Beans
While mung beans are the most common choice for sprouting, you can experiment with other types of beans and seeds. Here are a few options to consider:
* Adzuki Beans: These have a slightly sweeter flavor than mung beans.
* Lentils: Lentil sprouts are a good source of protein and fiber.
* Chickpeas: Chickpea sprouts have a nutty flavor and a crunchy texture.
* Alfalfa Seeds: Alfalfa sprouts are a good source of vitamins and minerals.
* Broccoli Seeds: Broccoli sprouts are rich in antioxidants.
* Radish Seeds: Radish sprouts have a spicy flavor.
Just make sure to use beans and seeds that are specifically intended for sprouting. Avoid using beans that are intended for cooking, as they may have been treated with chemicals that are not safe for consumption.
Maintaining a Clean Sprouting Environment
Keeping your sprouting environment clean is essential for preventing mold and bacteria growth. Here are a few tips:
* Use Clean Jars and Lids: Wash your jars and lids thoroughly with soap and water before each use.
* Use Filtered Water: Use filtered water for soaking and rinsing your sprouts.
* Rinse Regularly: Rinse your sprouts 2-3 times a day to keep them hydrated and prevent mold growth.
* Drain Well: Drain your sprouts thoroughly after each rinse to prevent them from becoming waterlogged.
* Avoid Overcrowding: Don’t overcrowd your jar with too many beans. This can restrict airflow and increase the risk of mold growth.
* Monitor for Mold: Check your sprouts regularly for any signs of mold. If you see any mold, discard the batch and start over.
Enjoy Your Homegrown Bean Sprouts!
There you have it! A simple and
Conclusion
So, there you have it! Growing bean sprouts fast at home is not only incredibly simple, but it’s also a game-changer for anyone looking to add a fresh, nutritious, and budget-friendly element to their diet. Forget those limp, expensive sprouts from the grocery store 鈥?with just a few basic supplies and a little patience, you can cultivate a vibrant batch of your own in a matter of days.
The beauty of this DIY trick lies in its accessibility. You don’t need a green thumb or fancy equipment to succeed. The process is straightforward, and the rewards are immense. Imagine the satisfaction of sprinkling your homemade bean sprouts onto salads, stir-fries, sandwiches, or even enjoying them as a crunchy snack. The possibilities are endless!
But the benefits extend beyond just taste and convenience. Homegrown bean sprouts are packed with vitamins, minerals, and enzymes, making them a nutritional powerhouse. You’ll be boosting your immune system, improving digestion, and adding a healthy dose of fiber to your diet, all while saving money and reducing your environmental impact.
Don’t be afraid to experiment with different types of beans to discover your favorite flavor profiles. Mung beans are the classic choice, but you can also try adzuki beans, lentils, or even chickpeas for a unique twist. Each variety offers a slightly different taste and texture, allowing you to customize your bean sprout experience to your liking.
Consider these variations to elevate your bean sprout game:
* **Spicy Sprouts:** Add a pinch of red pepper flakes to the sprouting jar for a subtle kick.
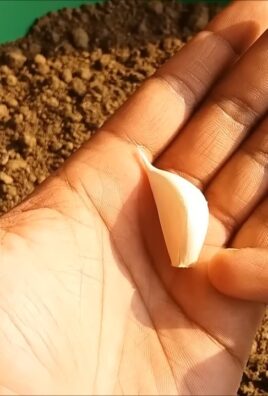
* **Garlic Infusion:** Include a clove of garlic in the jar during the soaking and rinsing stages for a savory flavor.
* **Lemon Zest:** Grate a small amount of lemon zest into the jar for a bright, citrusy aroma and taste.
We’re confident that once you try this method for growing bean sprouts fast, you’ll be hooked. It’s a fun, rewarding, and incredibly practical skill to have. So, gather your supplies, follow the steps outlined in this guide, and prepare to be amazed by the speed and ease with which you can cultivate your own delicious and nutritious bean sprouts.
We encourage you to embark on this sprouting adventure and share your experiences with us! Let us know what types of beans you tried, what variations you experimented with, and any tips or tricks you discovered along the way. Your feedback will not only help us improve this guide but also inspire others to embrace the joy of homegrown bean sprouts. Share your photos and stories on social media using #HomegrownBeanSprouts and let’s create a community of sprout enthusiasts! Happy sprouting!
Frequently Asked Questions (FAQ)
What types of beans work best for sprouting?
While mung beans are the most common and readily available option, you can successfully sprout a variety of beans and legumes. Adzuki beans, lentils, chickpeas, and even some types of peas can be sprouted. However, it’s crucial to ensure that the beans you choose are specifically intended for sprouting and are not treated with any chemicals or pesticides. Avoid using dried beans from the grocery store’s dry bean aisle, as they may not be suitable for sprouting. Look for beans specifically labeled as “sprouting beans” or “seeds for sprouting.” Also, be aware that some beans, like kidney beans, contain toxins that are neutralized by thorough cooking but not by sprouting. Therefore, it’s best to stick to beans that are known to be safe for sprouting.
How long does it really take to grow bean sprouts fast?
The time it takes to grow bean sprouts fast depends on several factors, including the type of bean, the temperature, and the humidity. Generally, you can expect to see sprouts within 24-48 hours of soaking the beans. The sprouts will typically be ready to harvest in 3-5 days, when they are about 1-2 inches long. Warmer temperatures will accelerate the sprouting process, while cooler temperatures may slow it down. It’s important to keep the sprouts moist and well-drained throughout the process to prevent mold growth and ensure optimal growth.
What if my bean sprouts start to smell bad?
A foul odor is a sign of bacterial contamination or mold growth. This usually happens when the sprouts are not rinsed frequently enough or when the sprouting environment is too warm and humid. If you notice a bad smell, discard the entire batch of sprouts immediately. To prevent this from happening, ensure that you rinse the sprouts thoroughly at least twice a day with fresh, cool water. Also, make sure the sprouting container is well-ventilated and not exposed to direct sunlight or excessive heat. Using clean water and equipment is also crucial to prevent contamination.
How do I store bean sprouts after they’re grown?
Once your bean sprouts are ready to harvest, rinse them thoroughly and drain them well. Pat them dry with a clean paper towel to remove excess moisture. Store the sprouts in an airtight container lined with a paper towel in the refrigerator. The paper towel will help absorb any excess moisture and prevent the sprouts from becoming soggy. Properly stored bean sprouts can last for up to a week in the refrigerator. However, it’s best to use them as soon as possible for optimal flavor and freshness.
Can I grow bean sprouts without a special sprouting jar?
Yes, you can absolutely grow bean sprouts without a special sprouting jar. A mason jar with a cheesecloth or mesh lid secured with a rubber band works perfectly well. You can also use a colander lined with cheesecloth or a clean kitchen towel. The key is to ensure that the sprouts are well-drained and have adequate ventilation. Avoid using containers that don’t allow for proper drainage, as this can lead to mold growth.
Are there any health risks associated with eating raw bean sprouts?
While bean sprouts are generally safe to eat raw, there is a small risk of foodborne illness, particularly from bacteria like Salmonella or E. coli. This risk is higher with commercially produced sprouts due to the potential for contamination during the growing and handling process. However, by growing your own bean sprouts at home and following proper hygiene practices, you can significantly reduce this risk. Always use clean water and equipment, rinse the sprouts thoroughly, and store them properly. If you are pregnant, elderly, or have a weakened immune system, it’s best to cook the bean sprouts before eating them to eliminate any potential risk of foodborne illness.
My bean sprouts are growing mold. What should I do?
Mold growth is a common problem when sprouting beans, especially in humid environments. If you see mold, discard the entire batch of sprouts immediately. Do not attempt to salvage any of the sprouts, as the mold may have contaminated the entire batch. To prevent mold growth, ensure that you rinse the sprouts thoroughly at least twice a day with fresh, cool water. Also, make sure the sprouting container is well-ventilated and not exposed to direct sunlight or excessive heat. Using clean water and equipment is also crucial to prevent contamination. Consider using a diluted vinegar solution (1 tablespoon of vinegar per cup of water) to rinse the sprouts, as vinegar has antifungal properties.
Can I use tap water for sprouting?
While tap water is generally safe to use, it may contain chlorine or other chemicals that can inhibit sprouting. If your tap water has a strong chlorine odor, it’s best to use filtered water or let the tap water sit for 24 hours to allow the chlorine to dissipate. Using clean, chlorine-free water will help ensure optimal sprouting and prevent any unwanted flavors or odors in your bean sprouts.
How do I know when my bean sprouts are ready to harvest?
Bean sprouts are typically ready to harvest when they are about 1-2 inches long and have a small root and a developing leaf. The sprouts should be firm and crunchy, not mushy or slimy. Taste a few sprouts to ensure they have a fresh, clean flavor. If the sprouts taste bitter or have an off-putting odor, discard the entire batch. The ideal harvest time will depend on your personal preference, so experiment with different lengths and textures to find what you enjoy most.
Leave a Comment