
Indoor Arugula Growing: Your Guide to Fresh Greens All Year Round
Indoor arugula growing is easier than you think! I’ve always loved the peppery bite of fresh arugula, but the grocery store versions often lack the vibrant flavor and crisp texture of homegrown greens. That’s why I started experimenting with indoor arugula growing, and let me tell you, it’s been a game-changer. This article is your complete guide to successfully cultivating this delicious leafy green right in your own home, regardless of the season or your gardening experience.
Historically, arugula, also known as rocket, has a rich history dating back to ancient Greece and Rome, where it was prized for its culinary and medicinal properties. Today, it’s a beloved ingredient in salads, pizzas, and countless other dishes. But accessing truly fresh, flavorful arugula can be a challenge, especially during colder months. That’s where indoor arugula growing comes in.
Why Grow Your Own Arugula Indoors?
There are so many reasons to try indoor arugula growing! Imagine having a constant supply of this nutrient-rich superfood at your fingertips, ready to add a zesty kick to any meal. You’ll control the quality, ensuring pesticide-free, flavorful leaves. Plus, it’s incredibly rewarding to watch your own arugula plants thrive from seed to plate. This DIY approach not only saves you money on grocery bills but also connects you more deeply with your food source. This guide will walk you through every step, from selecting the right seeds and containers to harvesting your delicious bounty. So, let’s get started on your journey of indoor arugula growing!

Growing Fennel at Home: A Step-by-Step Guide
I love the anise-like flavor of fennel, and nothing beats fresh fennel from your own garden! This guide will walk you through everything you need to know to successfully grow this delicious herb.
Choosing Your Fennel and Getting Started
- Select your fennel variety: There are two main types – Florence fennel (with a large, bulbous base) and common fennel (with feathery foliage and smaller bulbs). Florence fennel is great for cooking, while common fennel is better for its leaves and seeds. Decide which type best suits your needs.
- Source your seeds or seedlings: You can purchase fennel seeds online, at garden centers, or even from some grocery stores. Seedlings are also a good option, especially for impatient gardeners, as they give you a head start.
- Choose your location: Fennel needs at least six hours of sunlight per day. Select a sunny spot in your garden with well-drained soil. Fennel can be quite aggressive, so consider planting it in a container to prevent it from spreading too much.
- Prepare the soil: Fennel prefers loose, fertile soil. Amend heavy clay soils with compost or other organic matter to improve drainage and aeration. A soil pH between 6.0 and 7.0 is ideal.
Sowing Fennel Seeds (Direct Sowing)
- Timing is key: Sow fennel seeds directly outdoors after the last frost. The soil temperature should be at least 50°F (10°C). In warmer climates, you can sow seeds in the fall for a spring harvest.
- Prepare the seedbed: Lightly rake the soil to create a smooth surface. If you’re using a container, ensure it has drainage holes.
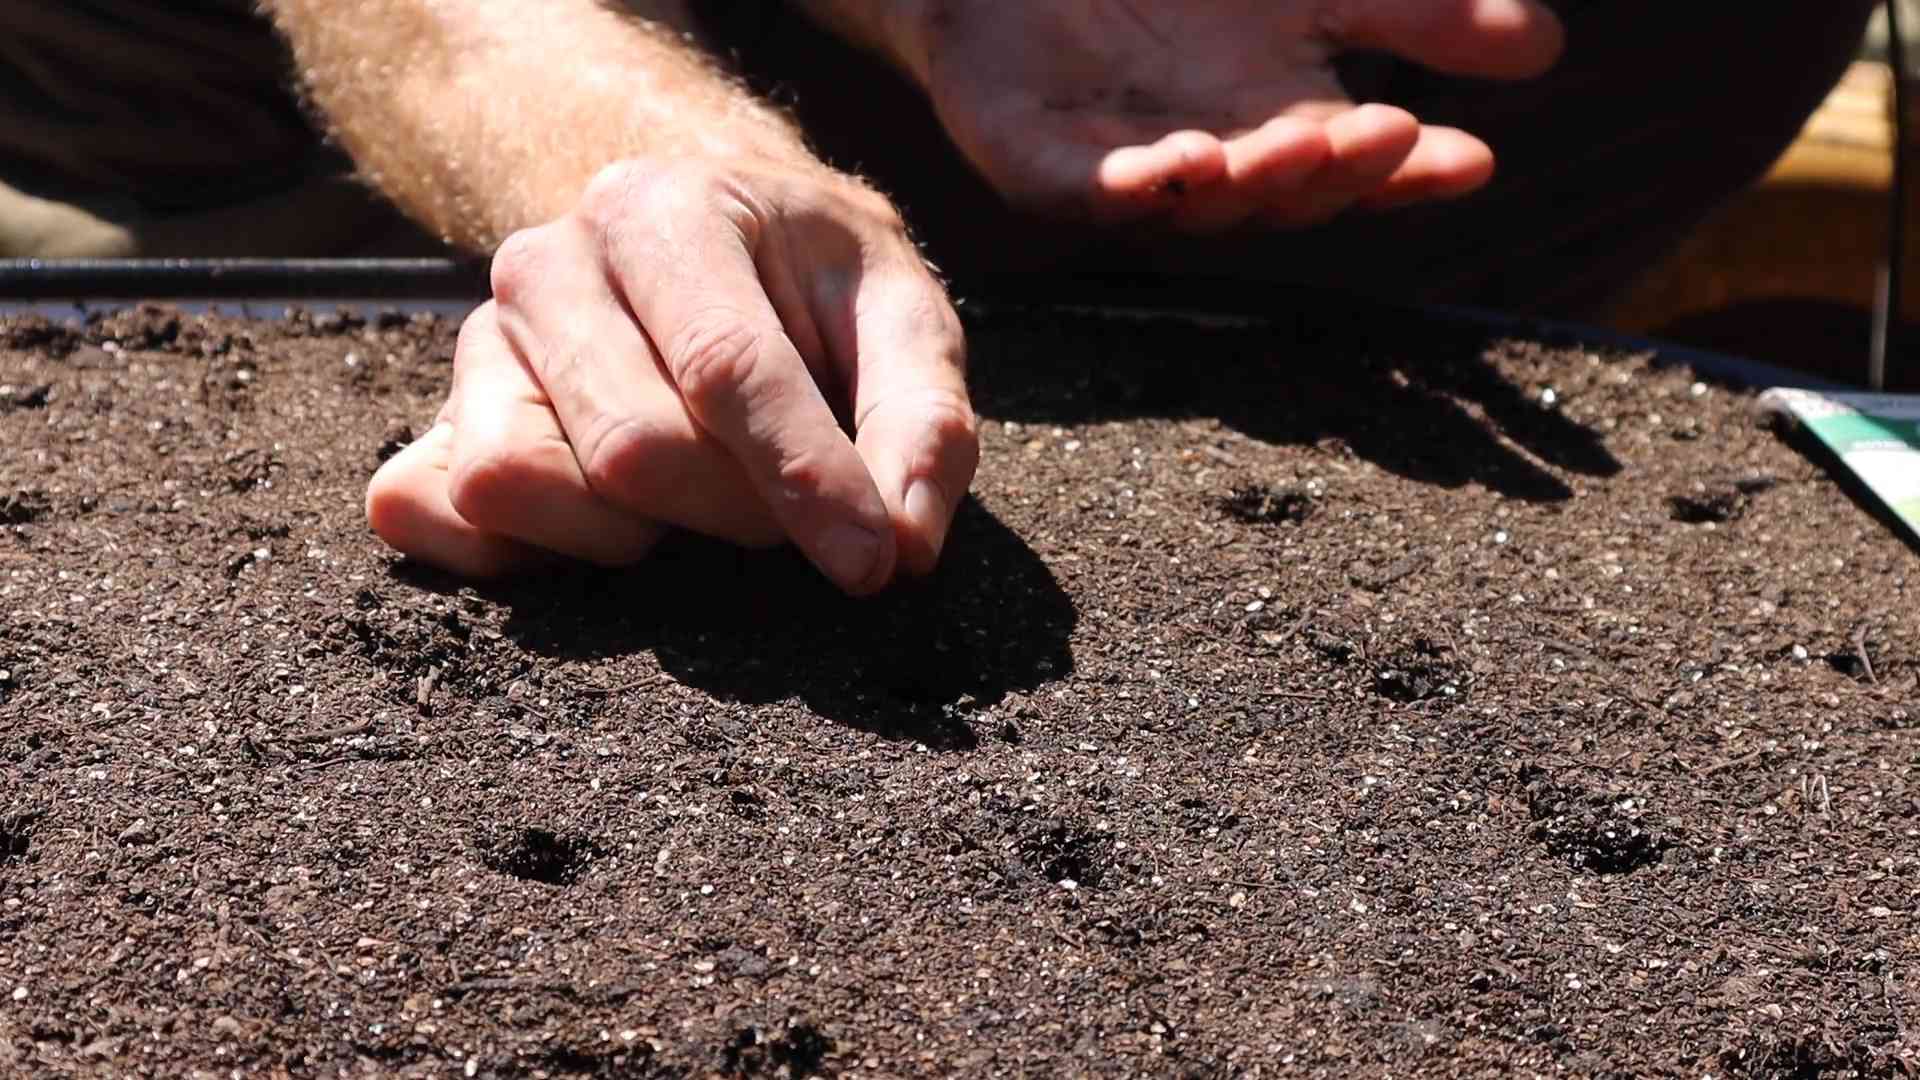
- Sow the seeds: Sow seeds about ¼ inch deep and 1 inch apart. If you’re planting multiple rows, space them 12-18 inches apart. Gently cover the seeds with soil.
- Water gently: Water the seeds thoroughly after sowing, but avoid overwatering, which can lead to rot. Keep the soil consistently moist but not soggy.
- Thinning: Once seedlings emerge and have a few true leaves, thin them to 6-12 inches apart, depending on the variety. This gives each plant enough space to grow.
Starting Fennel from Seedlings
- Purchase healthy seedlings: Choose seedlings that are strong, healthy, and free from diseases or pests. Look for plants with vibrant green foliage.
- Prepare the planting site: Ensure the soil is well-prepared and amended as described above. Dig holes slightly larger than the seedling’s root ball.
- Plant the seedlings: Gently remove the seedlings from their containers, being careful not to damage the roots. Place them in the prepared holes, ensuring the top of the root ball is level with the soil surface.
- Backfill and water: Gently backfill the holes with soil, firming it around the base of the plants. Water thoroughly after planting.
- Mulching: Apply a layer of mulch around the plants to help retain moisture, suppress weeds, and regulate soil temperature.
Caring for Your Fennel Plants
- Watering: Water regularly, especially during dry periods. Aim for consistently moist soil, but avoid overwatering, which can lead to root rot. Water deeply and less frequently rather than shallowly and often.
- Fertilizing: Fennel is a relatively light feeder. A balanced, slow-release fertilizer applied at planting time is usually sufficient. Avoid over-fertilizing, which can lead to excessive foliage growth at the expense of bulb development (in Florence fennel).
- Weeding: Regularly remove weeds to prevent competition for water and nutrients. Mulching can help significantly reduce weed growth.
- Pest and disease control: Fennel is generally pest-resistant, but aphids and spider mites can sometimes be a problem. Inspect your plants regularly and take appropriate action if pests are found. Organic pest control methods are recommended.
- Supporting tall varieties: Taller fennel varieties may need support, especially in windy areas. Use stakes or cages to prevent the plants from flopping over.
Harvesting Your Fennel
- Harvesting leaves: You can begin harvesting the leaves of common fennel when the plants are about 6 inches tall. Harvest leaves selectively, cutting only what you need to encourage bushier growth.
- Harvesting Florence fennel bulbs: Harvest Florence fennel bulbs when they are firm and about 3-4 inches in diameter. Cut the bulbs at the base with a sharp knife.
- Harvesting seeds: Allow the flower stalks to mature and dry completely before harvesting the seeds. The seeds will be ready when they are brown and easily crumble.
Troubleshooting Common Problems
Yellowing Leaves:
Yellowing leaves can indicate several problems, including nutrient deficiencies, overwatering, or pests. Check your watering practices, soil conditions, and inspect for pests.
Bolting:
Bolting (premature flowering) can occur if the plants are stressed by heat or drought. Ensure consistent watering and provide some shade during the hottest part of the day.
Pests:
Aphids and spider mites are common pests. Use insecticidal soap or neem oil to control them. Encourage beneficial insects like ladybugs to help control pest populations.
Remember to always research specific solutions for your region and the type of fennel you are growing. Happy gardening!
Conclusion
So there you have it! Growing your own indoor arugula is not only incredibly rewarding but also surprisingly simple. This DIY trick allows you to enjoy fresh, vibrant arugula year-round, regardless of the weather outside. The unparalleled flavor of homegrown arugula, bursting with peppery zest, far surpasses anything you can find in the grocery store. You’ll be amazed at the difference! Beyond the superior taste, you’ll also appreciate the convenience of having a readily available supply of this nutritious green, perfect for salads, sandwiches, or as a garnish. This method eliminates the need for expensive, often chemically treated, supermarket produce, allowing you to control the growing process from seed to plate. This Indoor Arugula Growing method is a must-try for anyone who appreciates fresh, flavorful food and the satisfaction of growing their own produce.
Beyond the basic method outlined, there are numerous ways to customize your indoor arugula garden to suit your preferences and space. Experiment with different types of arugula – some varieties have a milder, sweeter flavor, while others are intensely peppery. Consider using different containers – repurposed jars, terracotta pots, or even stylish hydroponic systems can all work wonderfully. You can also adjust the lighting based on your available space and the arugula’s growth stage. Supplemental grow lights can significantly boost growth, especially during winter months. For a truly unique experience, try incorporating your indoor arugula garden into your kitchen décor – it can be a beautiful and functional addition to your home. Don’t be afraid to get creative and personalize your growing process!
We encourage you to try this simple yet effective method of indoor arugula growing and share your experience with us! Post pictures of your thriving arugula plants on social media using #IndoorArugulaGrower and tag us – we’d love to see your success! Whether you’re a seasoned gardener or a complete beginner, this project is accessible to everyone. The satisfaction of harvesting your own fresh arugula is an unparalleled experience, and we’re confident you’ll be hooked. So, grab some seeds, find a sunny spot, and embark on your indoor arugula growing adventure today! You won’t regret it.
Frequently Asked Questions
What type of soil is best for indoor arugula?
A well-draining potting mix is ideal for indoor arugula. Avoid using heavy clay soil, which can retain too much water and lead to root rot. A good quality seed-starting mix or a blend of potting soil and perlite will work perfectly. Ensure the soil is loose and aerated to allow for proper root development.
How much sunlight does arugula need indoors?
Arugula thrives in bright, indirect sunlight. Aim for at least 6-8 hours of sunlight per day. A south-facing window is usually ideal, but you may need to supplement with grow lights, especially during winter months or if your window doesn’t provide sufficient light. Avoid direct, intense sunlight, which can scorch the leaves.
How often should I water my indoor arugula?
Water your arugula when the top inch of soil feels dry to the touch. Avoid overwatering, which can lead to root rot. It’s better to underwater slightly than to overwater. The frequency of watering will depend on factors such as the size of your container, the type of soil, and the ambient temperature and humidity. Feel the soil regularly to determine when watering is necessary.
How long does it take for arugula to grow indoors?
Arugula is a fast-growing crop. From seed to harvest, you can expect to wait approximately 4-6 weeks, depending on the variety and growing conditions. You can start harvesting baby leaves as early as 3 weeks after sowing, for a continuous supply of fresh greens.
What are the common problems when growing arugula indoors?
Common problems include overwatering (leading to root rot), insufficient light (resulting in leggy growth), and pest infestations (such as aphids). Proper watering, adequate light, and regular inspection for pests are crucial for successful indoor arugula cultivation. Using organic pest control methods can help address any pest issues.
Can I grow arugula indoors year-round?
Absolutely! One of the great advantages of indoor arugula growing is the ability to cultivate it year-round, regardless of the outdoor weather conditions. With proper lighting and care, you can enjoy fresh arugula throughout the year.
What can I do with my harvested arugula?
The possibilities are endless! Use your fresh arugula in salads, sandwiches, pizzas, pasta dishes, or as a garnish for soups and stews. Its peppery flavor adds a delightful zest to many culinary creations. You can also add it to smoothies for a nutritional boost.
What if my arugula plants are bolting?
Bolting, where the plant sends up a flower stalk, is a common occurrence in arugula, especially when exposed to heat or stress. To prevent bolting, ensure your plants receive adequate light but avoid excessive heat. Harvest frequently to encourage bushier growth and delay bolting.

Leave a Comment