
Grow Chili Peppers like a pro, even if you think you have a brown thumb! Have you ever dreamed of adding a fiery kick to your meals with homegrown chilies, bursting with flavor and heat? I know I have! But the thought of nurturing those tiny seeds into thriving plants can feel a bit daunting, right? Well, fear not, because this isn’t your grandma’s gardening guide. We’re diving into some seriously clever DIY tricks and hacks that will have you harvesting a bumper crop of chili peppers in no time.
The cultivation of chili peppers dates back thousands of years in the Americas, with evidence suggesting their use as early as 6,000 BC. From ancient rituals to culinary staples, these fiery fruits have played a significant role in cultures worldwide. Today, growing your own chili peppers is more than just a hobby; it’s a way to connect with that history and experience the satisfaction of nurturing something from seed to table.
But why bother with all the effort? Because store-bought chilies simply can’t compare to the vibrant taste and freshness of homegrown ones. Plus, let’s be honest, there’s a certain thrill in saying, “I grew these myself!” This DIY guide will equip you with the knowledge and simple techniques you need to grow chili peppers successfully, regardless of your experience level. We’ll cover everything from seed starting to pest control, ensuring you have a thriving chili pepper garden that will spice up your life – literally!
Growing Chili Peppers: From Seed to Spicy Harvest!
Hey there, fellow spice enthusiasts! I’m so excited to share my tried-and-true method for growing chili peppers at home. Whether you’re a seasoned gardener or a complete newbie, this guide will walk you through every step, from sprouting those tiny seeds to harvesting a fiery bounty. Get ready to add some serious heat to your dishes!
Choosing Your Chili Pepper Variety
Before we dive in, let’s talk about choosing the right chili pepper for you. The world of chili peppers is vast and varied, ranging from mild and sweet to face-meltingly hot. Consider your taste preferences and the space you have available. Here are a few popular options:
* **Bell Peppers:** (Capsicum annuum) Technically a chili pepper, but with zero heat! Great for stuffing and salads.
* **Jalapeños:** (Capsicum annuum) A classic medium-heat pepper, perfect for nachos and salsas.
* **Serranos:** (Capsicum annuum) A bit hotter than jalapeños, adding a nice kick to any dish.
* **Cayenne Peppers:** (Capsicum annuum) These slender peppers are commonly dried and ground into chili powder.
* **Habaneros:** (Capsicum chinense) Proceed with caution! These are seriously hot and fruity.
* **Scotch Bonnets:** (Capsicum chinense) Similar to habaneros in heat and flavor, but with a slightly different shape.
* **Ghost Peppers (Bhut Jolokia):** (Capsicum chinense) Extremely hot. Handle with care.
* **Carolina Reaper:** (Capsicum chinense) One of the hottest peppers in the world. Only for the brave!
I personally love growing a mix of jalapeños, serranos, and cayennes. It gives me a good range of heat levels to play with in the kitchen.
Starting Your Chili Pepper Seeds
Chili peppers need a long growing season, so it’s best to start your seeds indoors about 6-8 weeks before the last expected frost.
Materials You’ll Need:
* Chili pepper seeds
* Seed starting tray or small pots
* Seed starting mix (a light, well-draining soil)
* Spray bottle
* Heat mat (optional, but recommended)
* Grow light (optional, but recommended)
* Clear plastic dome or plastic wrap
Step-by-Step Instructions:
1. Prepare Your Seed Starting Tray: Fill your seed starting tray or small pots with seed starting mix. Gently tap the tray to settle the soil.
2. Sow the Seeds: Make a small indentation (about 1/4 inch deep) in the soil of each cell or pot. Place 2-3 seeds in each indentation. This increases your chances of germination.
3. Cover the Seeds: Gently cover the seeds with a thin layer of seed starting mix.
4. Water the Seeds: Use a spray bottle to lightly mist the soil. You want the soil to be moist, but not soggy.
5. Create a Humid Environment: Cover the seed starting tray with a clear plastic dome or plastic wrap. This will help to retain moisture and create a humid environment, which is essential for germination.
6. Provide Warmth: Place the seed starting tray on a heat mat. Chili pepper seeds germinate best in warm temperatures (around 80-85°F). If you don’t have a heat mat, you can place the tray in a warm spot in your house.
7. Provide Light: Place the seed starting tray under a grow light. If you don’t have a grow light, you can place the tray near a sunny window. However, grow lights provide more consistent and reliable light, which will result in stronger seedlings.
8. Monitor and Water: Check the soil moisture daily. If the soil feels dry, mist it with a spray bottle. Be careful not to overwater, as this can lead to damping off, a fungal disease that can kill seedlings.
9. Remove the Dome: Once the seeds have germinated (usually within 7-14 days), remove the plastic dome or plastic wrap.
10. Thin the Seedlings: Once the seedlings have developed their first true leaves (the leaves that appear after the initial seed leaves), thin them to one seedling per cell or pot. Choose the strongest seedling and snip off the others at the soil line.
Transplanting Your Chili Pepper Seedlings
Once your seedlings have grown to be about 4-6 inches tall and have developed several sets of true leaves, it’s time to transplant them into larger pots or directly into your garden.
Materials You’ll Need:
* Larger pots (at least 6 inches in diameter) or a garden bed
* Potting mix or garden soil
* Trowel
* Watering can
* Fertilizer (optional)
Step-by-Step Instructions:
1. Harden Off the Seedlings: Before transplanting your seedlings outdoors, you need to “harden them off.” This means gradually exposing them to outdoor conditions over a period of 7-10 days. Start by placing the seedlings outdoors in a sheltered location for a few hours each day, gradually increasing the amount of time they spend outdoors. This will help them to acclimate to the sun, wind, and temperature changes.
2. Prepare the Pots or Garden Bed: Fill your larger pots with potting mix or prepare your garden bed by loosening the soil and adding compost or other organic matter. Chili peppers prefer well-draining soil that is rich in nutrients.
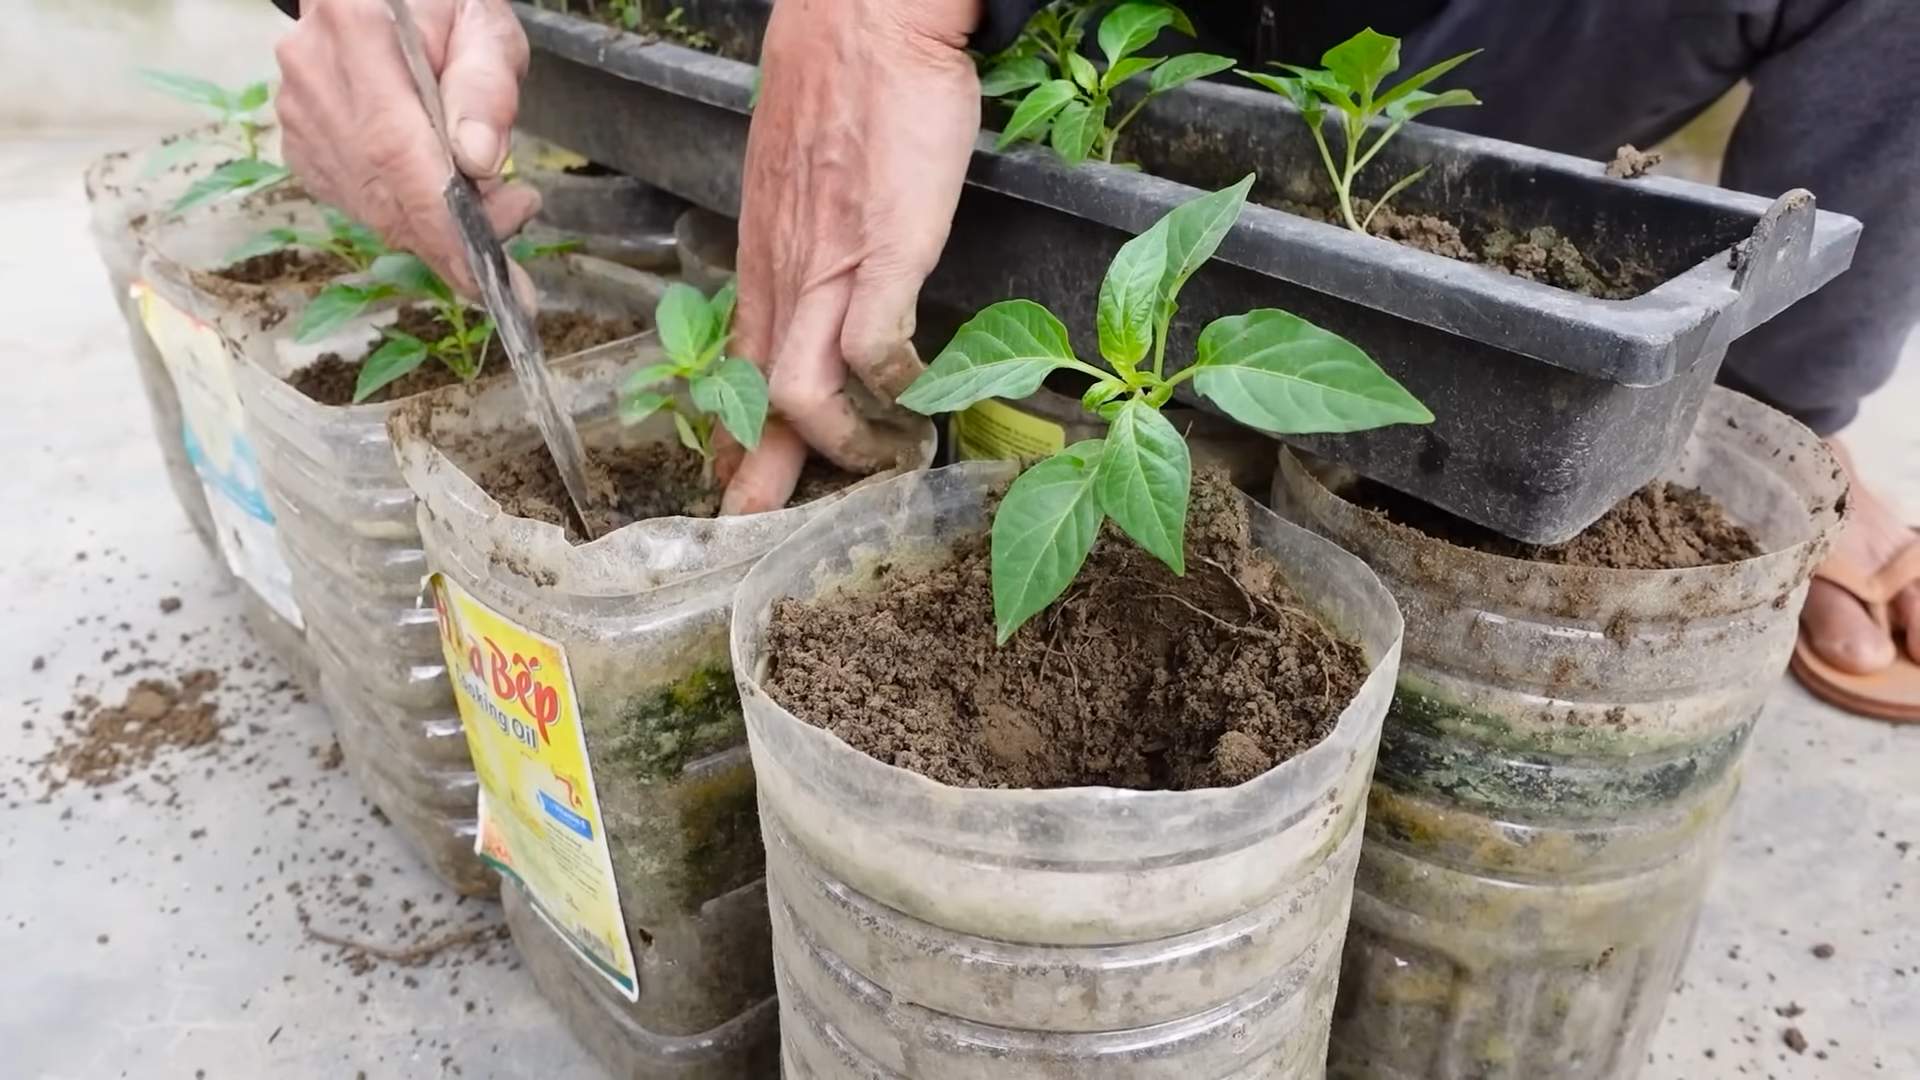
3. Transplant the Seedlings: Gently remove the seedlings from their seed starting tray or small pots. Be careful not to damage the roots.
4. Plant the Seedlings: Dig a hole in the soil that is large enough to accommodate the root ball of the seedling. Place the seedling in the hole and gently backfill with soil.
5. Water the Seedlings: Water the seedlings thoroughly after transplanting.
6. Fertilize the Seedlings (Optional): You can fertilize the seedlings with a balanced fertilizer (e.g., 10-10-10) to help them get off to a good start. Follow the instructions on the fertilizer package.
Caring for Your Chili Pepper Plants
Now that your chili pepper plants are transplanted, it’s important to provide them with the care they need to thrive.
Sunlight: Chili peppers need at least 6-8 hours of sunlight per day. Choose a location that receives plenty of sun.
Watering: Water your chili pepper plants regularly, especially during hot, dry weather. Water deeply, but allow the soil to dry out slightly between waterings. Avoid overwatering, as this can lead to root rot.
Fertilizing: Fertilize your chili pepper plants every 2-3 weeks with a balanced fertilizer or a fertilizer specifically formulated for peppers and tomatoes.
Pruning: Pruning your chili pepper plants can help to improve air circulation and encourage bushier growth. Remove any yellowing or dead leaves. You can also pinch off the tips of the branches to encourage more branching.
Pest and Disease Control: Chili peppers can be susceptible to pests such as aphids, spider mites, and whiteflies. Inspect your plants regularly for signs of pests and take action if necessary. You can use insecticidal soap or neem oil to control pests. Chili peppers can also be susceptible to diseases such as blossom end rot and fungal infections. Provide good air circulation and avoid overwatering to prevent diseases.
Support: As your chili pepper plants grow, they may need support to prevent them from falling over. You can use stakes or cages to support the plants. This is especially important for taller varieties or those with heavy fruit.
Harvesting Your Chili Peppers
The moment we’ve all been waiting for! Harvesting your chili peppers is the most rewarding part of the process.
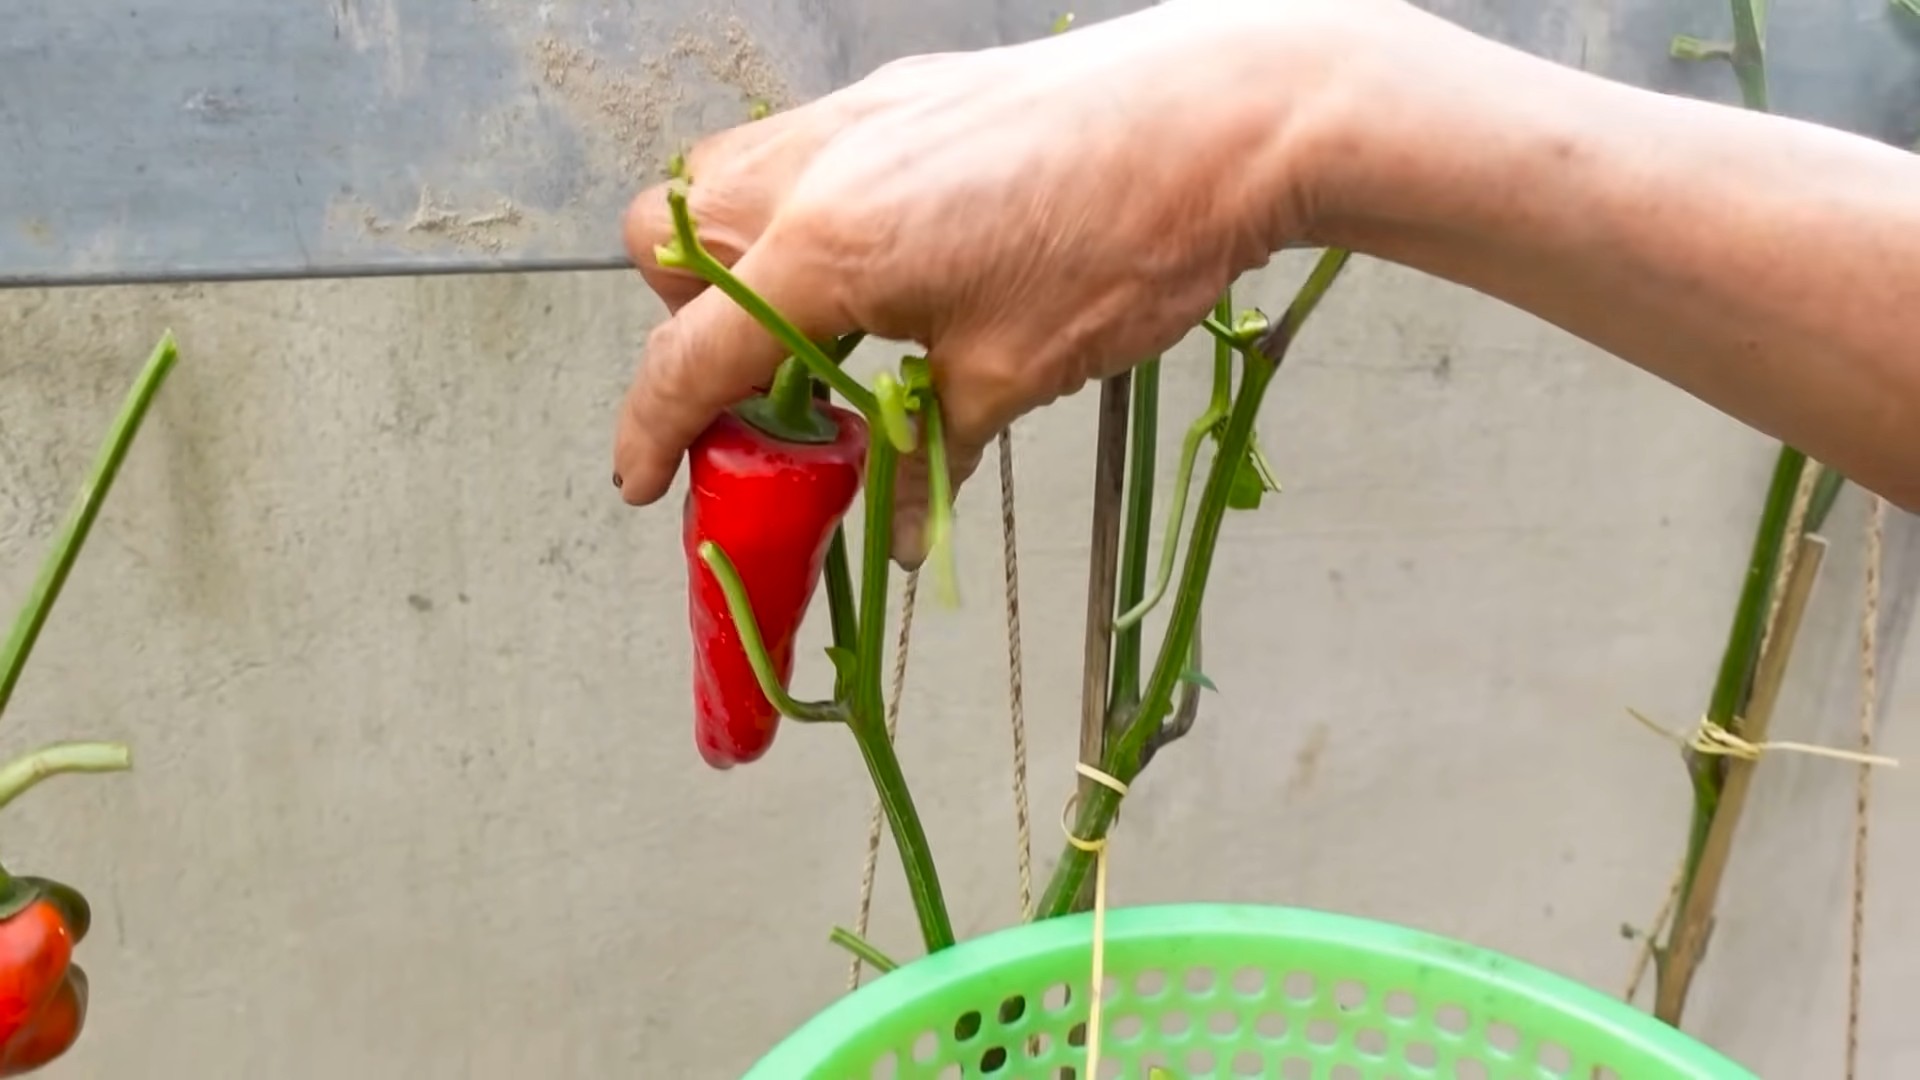
When to Harvest: The best time to harvest your chili peppers depends on the variety and your personal preference. Generally, chili peppers are ready to harvest when they have reached their mature color and size. For example, jalapeños are typically harvested when they are dark green and about 3-4 inches long. Red chili peppers are harvested when they are fully red.
How to Harvest: Use a sharp knife or scissors to cut the chili peppers from the plant. Be careful not to damage the plant. Wear gloves when harvesting hot peppers to avoid skin irritation.
Storing Your Chili Peppers: You can store your chili peppers in the refrigerator for up to a week. For longer storage, you can dry them, freeze them, or pickle them.
* **Drying:** String the peppers together and hang them in a dry, well-ventilated place. You can also use a dehydrator.
* **Freezing:** Freeze the peppers whole or chopped.
* **Pickling:** Pickle the peppers in vinegar or brine.
Troubleshooting Common Problems
Even with the best care, you might encounter some problems along the way. Here are a few common issues and how to address them
Conclusion
So, there you have it! Mastering the art of growing chili peppers doesn’t require a green thumb blessed by the gardening gods. It’s about understanding the plant’s needs, providing the right environment, and employing a few clever DIY tricks to boost your success. This method, in particular, is a game-changer because it allows you to control the crucial early stages of growth, ensuring your seedlings are strong and healthy before facing the unpredictable elements of the great outdoors.
Why is this DIY trick a must-try? Because it significantly increases your chances of a bountiful harvest. By starting your chili peppers indoors, you’re giving them a head start, protecting them from pests, diseases, and harsh weather conditions that can decimate young plants. You’re also able to select the strongest seedlings, ensuring that only the most vigorous plants make it into your garden. This translates to more peppers, bigger peppers, and a longer growing season.
But the beauty of this method lies in its adaptability. Feel free to experiment with different soil mixes. Some gardeners swear by a blend of coco coir, perlite, and vermicast, while others prefer a more traditional potting mix. The key is to ensure good drainage and aeration. You can also try different types of containers for starting your seeds. Seed trays, peat pots, or even repurposed egg cartons can work wonders. Just make sure they have drainage holes to prevent waterlogging.
Consider experimenting with different varieties of chili peppers. From the mild and fruity poblano to the fiery habanero, there’s a chili pepper out there for every palate. Growing your own allows you to explore the vast world of chili peppers and discover new favorites. You can even try cross-pollinating different varieties to create your own unique hybrids!
Don’t be afraid to get creative with your growing setup. If you don’t have a sunny windowsill, you can use grow lights to provide your seedlings with the light they need. You can also use a heat mat to warm the soil and speed up germination. The possibilities are endless!
Ultimately, the best way to learn is by doing. So, grab some seeds, gather your supplies, and give this DIY trick a try. You might be surprised at how easy and rewarding it is to grow your own chili peppers. And remember, gardening is a journey, not a destination. There will be challenges along the way, but the satisfaction of harvesting your own homegrown chili peppers is well worth the effort.
We’re confident that this method will help you achieve chili pepper success. But we also want to hear about your experiences! Share your tips, tricks, and triumphs in the comments below. Let us know what worked for you, what didn’t, and any variations you tried. Together, we can create a community of chili pepper enthusiasts and help each other grow the best peppers possible. So, get out there and start growing! Your taste buds will thank you. Embrace the joy of growing chili peppers and unlock a world of flavor right in your own backyard.
Frequently Asked Questions (FAQ)
What is the best time to start growing chili peppers indoors?
The ideal time to start your chili pepper seeds indoors is typically 6-8 weeks before the last expected frost in your area. This gives the seedlings enough time to develop a strong root system and acclimatize to outdoor conditions before being transplanted. Check your local weather forecasts and gardening resources to determine the average last frost date for your region. Starting too early can result in leggy, weak seedlings that struggle to thrive when transplanted. Starting too late can shorten your growing season and reduce your overall yield.
What kind of soil should I use for starting chili pepper seeds?
A well-draining and nutrient-rich potting mix is essential for starting chili pepper seeds. Avoid using garden soil, as it can be too heavy and may contain pests or diseases. A good option is a seed starting mix specifically formulated for seedlings. These mixes are typically lightweight and contain a blend of peat moss, vermiculite, and perlite, which provide excellent drainage and aeration. You can also create your own mix by combining equal parts of coco coir, perlite, and compost. Ensure the mix is slightly acidic, with a pH between 6.0 and 6.8, for optimal chili pepper growth.
How often should I water my chili pepper seedlings?
Water your chili pepper seedlings regularly, but avoid overwatering. The soil should be consistently moist but not soggy. Check the soil moisture level by sticking your finger about an inch into the soil. If it feels dry, it’s time to water. Water deeply, allowing the excess water to drain out of the drainage holes. Overwatering can lead to root rot, which can be fatal to seedlings. Underwatering can cause the seedlings to wilt and stunt their growth. Adjust your watering schedule based on the temperature, humidity, and type of container you’re using.
How much light do chili pepper seedlings need?
Chili pepper seedlings need plenty of light to grow strong and healthy. Aim for at least 6-8 hours of direct sunlight per day. If you don’t have a sunny windowsill, you can use grow lights to supplement the natural light. Position the grow lights a few inches above the seedlings and adjust the height as they grow. Fluorescent or LED grow lights are a good option, as they provide a broad spectrum of light that is beneficial for plant growth. Insufficient light can cause the seedlings to become leggy and weak.
When should I transplant my chili pepper seedlings outdoors?
Transplant your chili pepper seedlings outdoors after the last expected frost and when the soil has warmed up to at least 60°F (15°C). Before transplanting, harden off the seedlings by gradually exposing them to outdoor conditions for a week or two. Start by placing them in a sheltered location for a few hours each day, gradually increasing the amount of time they spend outdoors. This will help them acclimatize to the sun, wind, and temperature changes. Choose a sunny location with well-draining soil for transplanting. Space the plants about 18-24 inches apart.
What are some common pests and diseases that affect chili peppers?
Chili peppers can be susceptible to various pests and diseases, including aphids, spider mites, whiteflies, blossom end rot, and fungal diseases. Regularly inspect your plants for signs of infestation or disease. Use organic pest control methods, such as insecticidal soap or neem oil, to control pests. Ensure good air circulation to prevent fungal diseases. Blossom end rot is caused by a calcium deficiency and can be prevented by adding calcium to the soil or using a calcium-rich fertilizer.
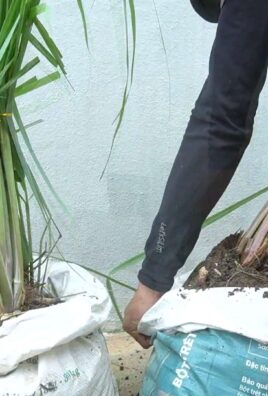
Can I grow chili peppers in containers?
Yes, chili peppers can be successfully grown in containers. Choose a container that is at least 12 inches in diameter and has drainage holes. Use a well-draining potting mix and fertilize regularly. Container-grown chili peppers may need to be watered more frequently than those grown in the ground, as the soil in containers tends to dry out faster. Place the container in a sunny location and provide support for the plants as they grow.
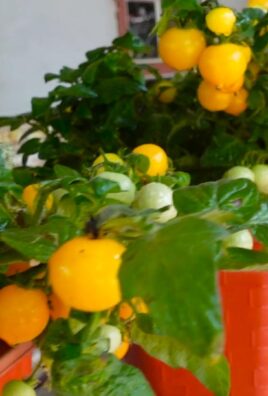
How do I know when my chili peppers are ripe?
The color of the chili pepper is a good indicator of ripeness. Most chili peppers will turn from green to red, yellow, orange, or brown when they are ripe, depending on the variety. The pepper should also feel firm and slightly waxy to the touch. You can also taste a small piece of the pepper to check for ripeness. The flavor should be fully developed and the heat level should be at its peak.
How do I store my harvested chili peppers?
There are several ways to store harvested chili peppers. You can dry them, freeze them, pickle them, or make them into hot sauce. To dry chili peppers, string them together and hang them in a well-ventilated area until they are completely dry. You can also dry them in a dehydrator or oven. To freeze chili peppers, wash them, remove the stems, and freeze them whole or chopped. To pickle chili peppers, follow a canning recipe to ensure proper preservation.
What are some creative ways to use my homegrown chili peppers?
The possibilities are endless! Use them fresh in salsas, sauces, and stir-fries. Dry them and grind them into chili powder. Make your own hot sauce. Infuse them in oil or vinegar. Add them to soups, stews, and chili. Use them to make spicy pickles or relishes. Experiment with different recipes and find your favorite ways to enjoy your homegrown chili peppers.
Leave a Comment