
Grow Dill Indoors Step by Step: Your Guide to Fresh Herbs Year-Round!
Imagine this: It’s a chilly winter evening, and you’re whipping up a creamy cucumber salad. You reach for that perfect finishing touch – fresh, fragrant dill. But instead of trekking to the grocery store, you simply snip a few sprigs from your very own indoor garden! Sounds dreamy, right? Well, it’s totally achievable, and I’m here to show you exactly how to grow dill indoors step by step.
Dill, with its feathery leaves and distinctive anise-like flavor, has been cherished for centuries. Ancient Egyptians used it for medicinal purposes, and the Romans believed it brought good fortune. Today, dill remains a culinary staple, adding a burst of freshness to everything from pickles and dips to fish and vegetable dishes. But why rely on store-bought dill when you can have a constant supply right at your fingertips?
Let’s face it, fresh herbs elevate any dish. But buying them from the store can be expensive, and they often wilt before you even get a chance to use them all. That’s where the magic of indoor gardening comes in! Learning how to grow dill indoors step by step not only saves you money but also ensures you always have access to the freshest, most flavorful dill whenever you need it. Plus, it’s incredibly rewarding to nurture your own little herb garden. So, grab your pots, soil, and dill seeds, and let’s get started on this exciting journey to fresh, homegrown flavor!
Grow Dill Indoors: A Step-by-Step Guide to Fresh Herbs Year-Round
Hey there, fellow herb enthusiasts! Ever crave the fresh, tangy flavor of dill in the dead of winter? Well, I’m here to tell you that you can have it! Growing dill indoors is surprisingly easy, and I’m going to walk you through every step of the process. Get ready to enjoy homegrown dill whenever you want!
What You’ll Need
Before we dive in, let’s gather our supplies. Having everything ready beforehand will make the whole process smoother. Here’s what you’ll need:
* **Dill Seeds:** Choose a variety suitable for containers. ‘Dukat’ and ‘Fernleaf’ are popular choices because they are compact and slow to bolt (go to seed).
* **Potting Mix:** Use a high-quality, well-draining potting mix. Avoid garden soil, as it can compact and hinder drainage in containers.
* **Container:** Select a pot that’s at least 6-8 inches deep and wide. Dill has a taproot, so depth is important. Make sure your pot has drainage holes!
* **Grow Lights (Optional but Recommended):** Dill needs plenty of light, especially indoors. A grow light will ensure your dill gets the light it needs, especially during the darker months.
* **Watering Can or Spray Bottle:** For gentle watering.
* **Small Shovel or Trowel:** For handling the potting mix.
* **Seed Starting Tray (Optional):** If you prefer to start your seeds in a tray before transplanting.
* **Plant Food (Optional):** A balanced liquid fertilizer can help your dill thrive.
Getting Started: Planting Your Dill Seeds
Okay, let’s get our hands dirty! This is the fun part. We’re going to plant those tiny seeds and watch them sprout into fragrant dill plants.
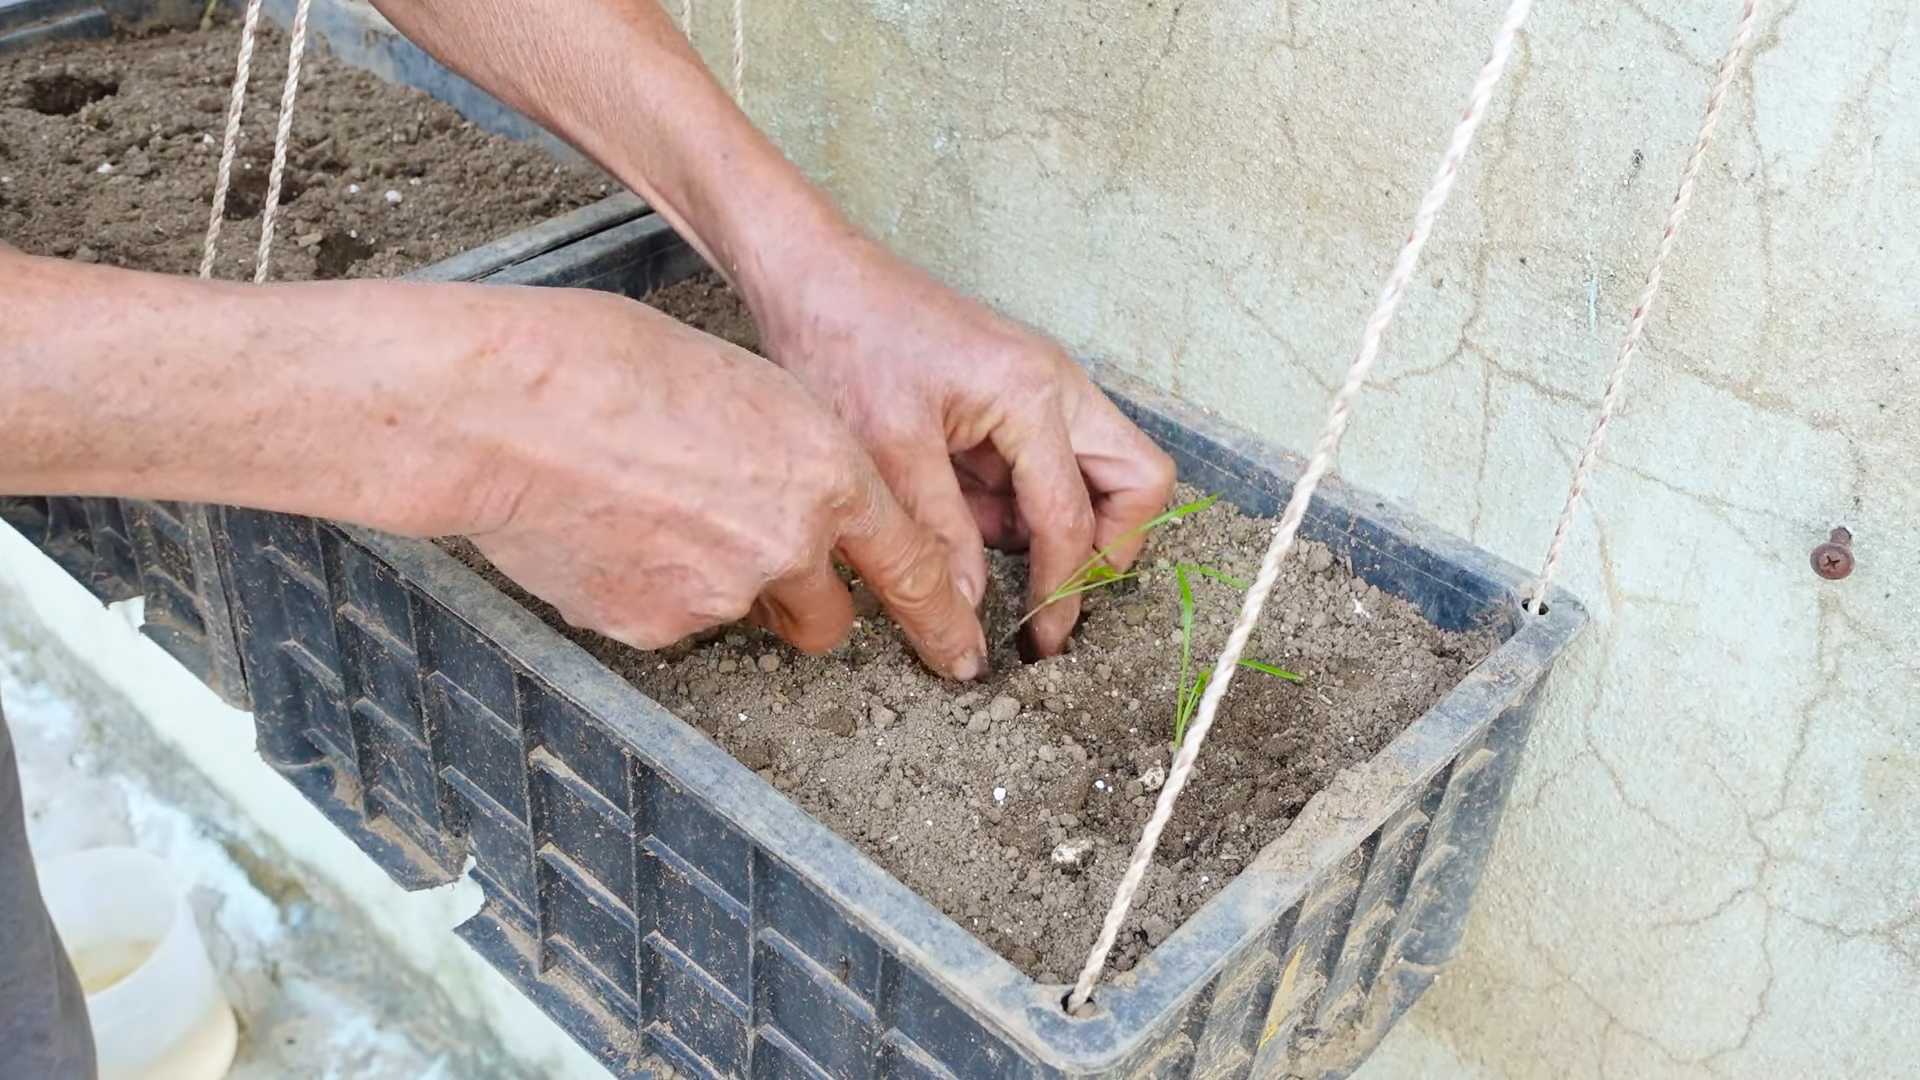
1. **Prepare Your Container:** Fill your chosen container with the potting mix, leaving about an inch of space at the top. Gently pat down the soil to remove any large air pockets, but don’t compact it too much. We want the roots to be able to breathe!
2. **Sow the Seeds:** Dill seeds are small, so sprinkle them evenly over the surface of the soil. I like to aim for about 2-3 seeds per inch. Don’t worry about being too precise; we can thin them out later if needed.
3. **Cover the Seeds:** Lightly cover the seeds with a thin layer of potting mix, about 1/4 inch deep. Dill seeds need light to germinate, so don’t bury them too deep.
4. **Water Gently:** Use a watering can or spray bottle to gently moisten the soil. Be careful not to dislodge the seeds. The goal is to dampen the soil without soaking it.
5. **Provide Light and Warmth:** Place your container in a warm location with plenty of light. A sunny windowsill that gets at least 6 hours of direct sunlight is ideal. If you don’t have enough natural light, use a grow light. Keep the light a few inches above the soil surface.
6. **Maintain Moisture:** Keep the soil consistently moist but not soggy. Check the soil moisture daily by sticking your finger into the soil. If the top inch feels dry, it’s time to water.
Germination and Early Growth
Now comes the waiting game! Dill seeds typically germinate in 7-14 days. Be patient, and you’ll soon see tiny green sprouts emerging from the soil.
1. **Monitor Germination:** Keep an eye on your container for signs of germination. Once the seedlings emerge, make sure they’re getting enough light. If they start to look leggy (tall and spindly), it means they need more light.
2. **Thin Seedlings (If Necessary):** Once the seedlings have a few sets of true leaves (the leaves that look like dill, not the initial seed leaves), you may need to thin them out. This means removing some of the seedlings to give the remaining ones more space to grow. Choose the strongest-looking seedlings and snip off the weaker ones at the soil line with small scissors. Aim for about 2-3 inches between plants.
3. **Water Regularly:** Continue to water regularly, keeping the soil consistently moist. Avoid overwatering, as this can lead to root rot.
4. **Provide Air Circulation:** Good air circulation is important to prevent fungal diseases. Make sure your dill plants have enough space around them, and avoid overcrowding. You can also use a small fan to gently circulate the air.
Caring for Your Indoor Dill Plants
Once your dill plants are established, it’s time to focus on providing them with the care they need to thrive.
1. **Light:** Dill needs at least 6 hours of direct sunlight per day. If you’re not getting enough natural light, use a grow light. Position the light a few inches above the plants and adjust it as they grow.
2. **Watering:** Water regularly, keeping the soil consistently moist but not soggy. Allow the top inch of soil to dry out slightly between waterings. Overwatering can lead to root rot, so be careful not to overdo it.
3. **Fertilizing (Optional):** If you want to give your dill plants a boost, you can fertilize them every 2-3 weeks with a balanced liquid fertilizer. Follow the instructions on the fertilizer label. I personally like to use a diluted fish emulsion fertilizer.
4. **Pinching and Pruning:** Pinching off the flower buds will encourage the plant to produce more leaves. Dill tends to bolt (go to seed) quickly, especially in warm conditions. Pinching off the buds will delay bolting and extend the harvest period. You can also prune your dill plants to maintain their shape and size.
5. **Pest Control:** Indoor dill plants are generally less susceptible to pests than outdoor plants, but it’s still a good idea to keep an eye out for any problems. Common pests that can affect dill include aphids and spider mites. If you notice any pests, you can try spraying them with insecticidal soap or neem oil.
Harvesting Your Dill
The best part! You can start harvesting dill leaves as soon as the plants are about 6-8 inches tall.
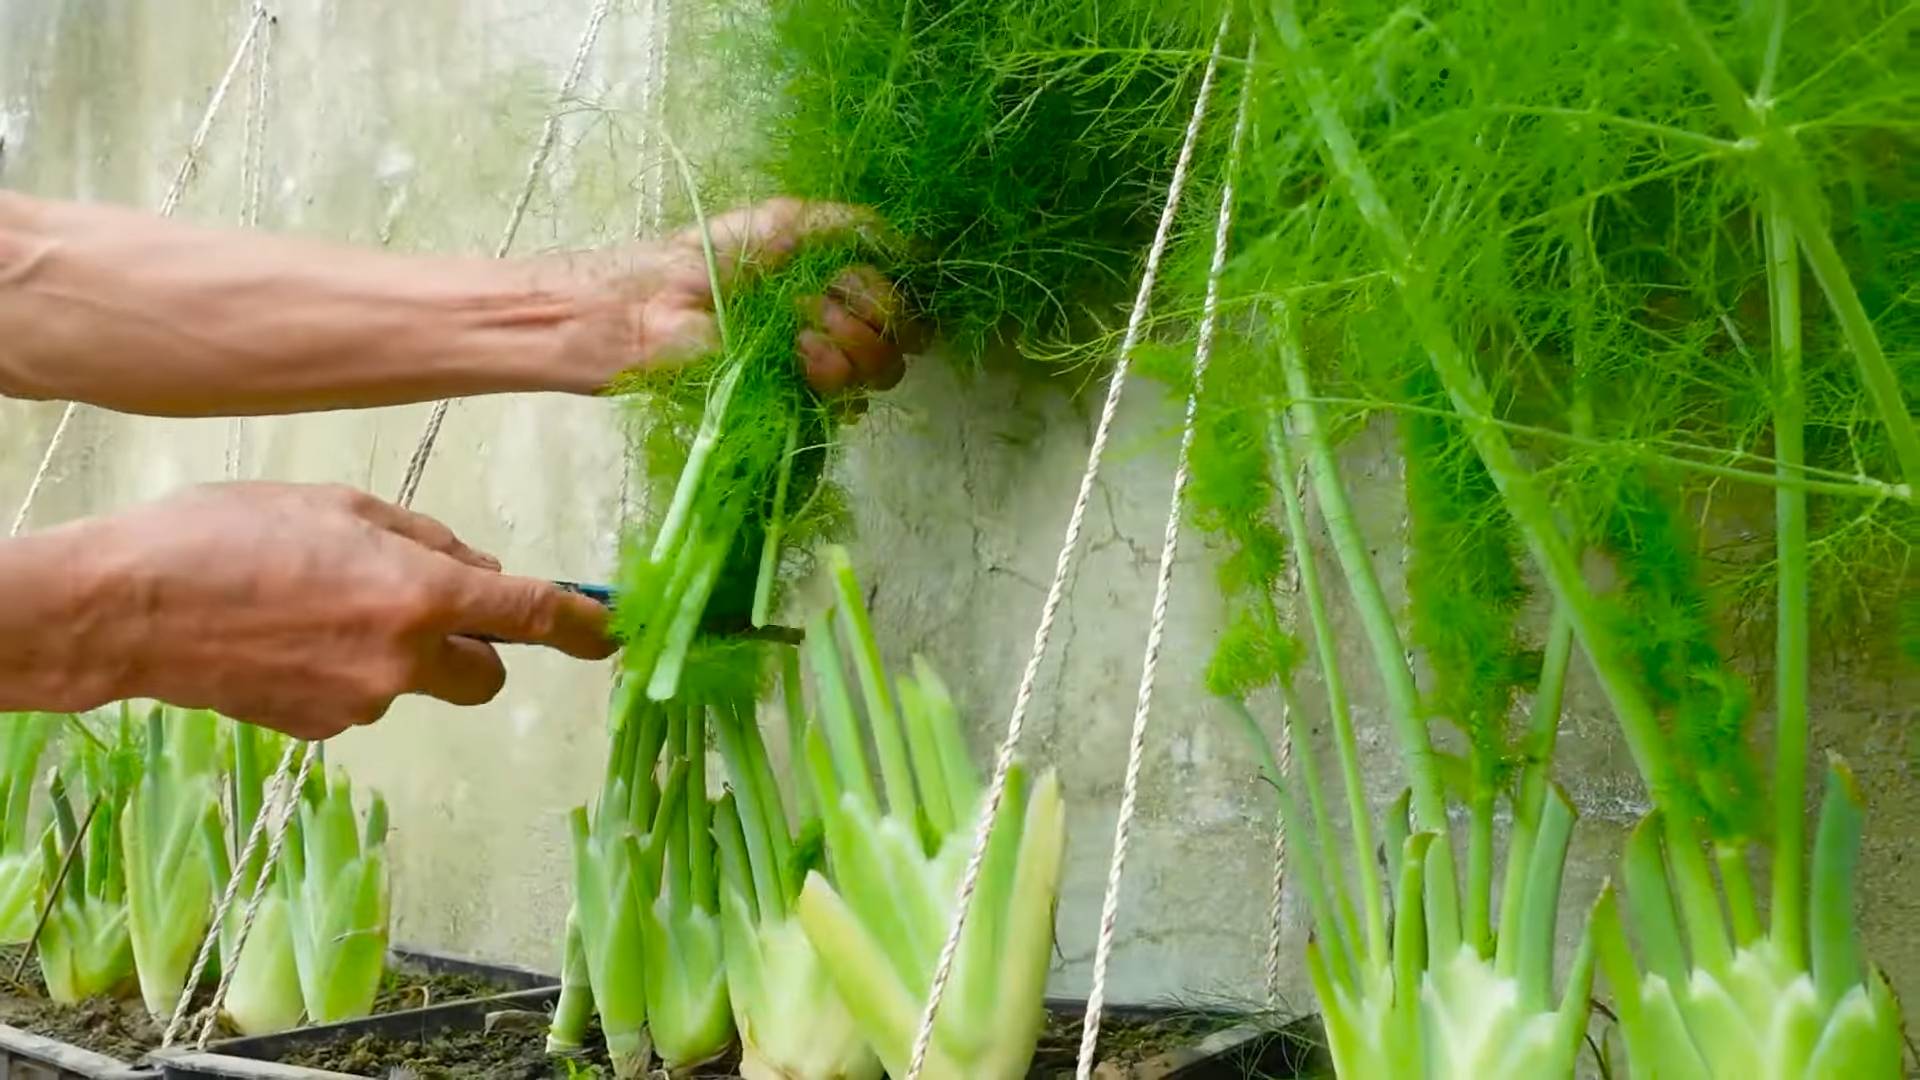
1. **Harvesting Leaves:** To harvest dill leaves, simply snip them off with scissors or your fingers. Start with the outer leaves and work your way inwards. You can harvest as much or as little as you need.
2. **Harvesting Seeds (Optional):** If you allow your dill plants to flower, you can harvest the seeds. Dill seeds have a stronger flavor than the leaves and can be used in pickling, soups, and other dishes. To harvest the seeds, wait until the seed heads are dry and brown. Cut off the seed heads and place them in a paper bag. Shake the bag to release the seeds.
3. **Extending the Harvest:** To extend the harvest period, continue to pinch off the flower buds and harvest the leaves regularly. You can also succession plant dill seeds every few weeks to ensure a continuous supply of fresh dill.
Troubleshooting
Even with the best care, you might encounter a few challenges when growing dill indoors. Here are some common problems and how to solve them:
* **Leggy Growth:** This is usually a sign of insufficient light. Move your dill plants to a sunnier location or use a grow light.
* **Yellowing Leaves:** This could be caused by overwatering, underwatering, or nutrient deficiencies. Check the soil moisture and adjust your watering accordingly. If the leaves are yellowing all over, try fertilizing with a balanced liquid fertilizer.
* **Bolting:** Dill tends to bolt quickly, especially in warm conditions. Pinch off the flower buds to delay bolting.
* **Pests:** Keep an eye out for pests like aphids and spider mites. Spray them with insecticidal soap or neem oil.
* **Root Rot:** This is caused by overwatering. Make sure your pot has drainage holes and allow the top inch of soil to dry out slightly between waterings.
Enjoying Your Homegrown Dill
Now that you’ve successfully grown dill indoors, it’s time to enjoy the fruits (or rather, leaves) of your labor! Fresh dill adds a delicious flavor to a wide variety of dishes. Here are some ideas:
* **Salads:** Add chopped dill to salads for a fresh, tangy flavor.
* **Dips:** Mix dill with sour cream or yogurt to make a delicious dip for vegetables or chips.
* **Fish:** Dill is a classic pairing with fish. Use it to season grilled, baked, or poached fish.
* **Soups:** Add dill to soups for a burst of flavor.
* **Pickles:** Dill is an essential ingredient in pickles.
* **Eggs:** Sprinkle chopped dill over scrambled eggs or omelets.
* **Potatoes:** Dill is a great addition to potato salad or mashed potatoes.
And there you have it! Growing dill indoors is a rewarding experience that allows you to enjoy fresh herbs year-round. With a little bit of care and attention, you can have a thriving dill plant that provides you with a constant supply of flavorful leaves.
Conclusion
So, there you have it! Growing dill indoors is not only achievable, but it’s also a rewarding experience that brings the fresh, vibrant flavor of this beloved herb right to your fingertips, all year round. Forget those sad, wilted bunches from the grocery store – imagine snipping fresh dill sprigs whenever you need them, adding a burst of herbaceous goodness to your salads, soups, dips, and more.
This DIY trick is a must-try for several compelling reasons. First and foremost, it grants you unparalleled control over the quality of your dill. You know exactly what goes into its growth – no pesticides, no questionable fertilizers, just pure, natural goodness. Secondly, it’s incredibly convenient. No more last-minute trips to the store when you realize you’re out of dill. Your own personal supply is always ready and waiting. Thirdly, it’s surprisingly easy and cost-effective. With just a few simple supplies and a little bit of patience, you can cultivate a thriving dill plant indoors.
But the benefits don’t stop there. Growing dill indoors can also be a therapeutic and enjoyable hobby. Watching your seeds sprout and your plants flourish is a deeply satisfying experience, and it’s a great way to connect with nature, even when you’re stuck inside. Plus, the fragrant aroma of dill can fill your home with a refreshing and uplifting scent.
Ready to take your indoor dill growing to the next level? Consider experimenting with different varieties of dill. ‘Bouquet’ dill is a popular choice for its compact size and abundant foliage, while ‘Long Island Mammoth’ dill is known for its tall, sturdy stalks and flavorful seeds. You can also try growing dill in different types of containers, such as terracotta pots or self-watering planters, to see what works best for you. Another variation is to use grow lights to supplement natural sunlight, especially during the darker winter months. This will ensure that your dill receives the optimal amount of light for healthy growth.
Don’t be afraid to get creative and personalize your indoor dill garden. You can even companion plant dill with other herbs, such as basil or parsley, to create a mini herb garden on your windowsill. Just be sure to choose plants that have similar growing requirements.
We wholeheartedly encourage you to give this DIY trick a try. It’s a simple, affordable, and rewarding way to enjoy fresh dill year-round. And once you’ve experienced the joy of growing your own dill, we’re confident that you’ll be hooked.
So, grab your seeds, your potting mix, and your favorite container, and get ready to embark on your indoor dill-growing adventure. And most importantly, don’t forget to share your experience with us! We’d love to hear about your successes, your challenges, and any tips or tricks that you’ve discovered along the way. Share your photos and stories on social media using [Your Hashtag Here] and let’s create a community of indoor dill enthusiasts! Happy growing! Remember, growing your own dill indoors is easier than you think!
Frequently Asked Questions (FAQ)
What kind of soil is best for growing dill indoors?
Dill thrives in well-draining soil that is rich in organic matter. A good potting mix specifically formulated for herbs is ideal. You can also create your own mix by combining equal parts of potting soil, perlite, and compost. The perlite helps to improve drainage, while the compost provides essential nutrients. Avoid using garden soil, as it can be too heavy and may contain pests or diseases. Ensure the soil pH is between 6.0 and 7.5 for optimal growth.
How much sunlight does indoor dill need?
Dill requires at least 6 hours of direct sunlight per day to thrive. A south-facing window is usually the best option. If you don’t have access to a sunny window, you can supplement with grow lights. Position the grow lights a few inches above the plants and keep them on for 12-14 hours per day. Insufficient light can lead to leggy growth and reduced flavor. Rotate the pot regularly to ensure even light exposure on all sides of the plant.
How often should I water my indoor dill plant?
Water dill regularly, but avoid overwatering. Allow the top inch of soil to dry out between waterings. When you water, water deeply until the water drains out of the bottom of the pot. Empty the saucer beneath the pot to prevent the roots from sitting in water, which can lead to root rot. During the warmer months, you may need to water more frequently than during the cooler months. Check the soil moisture regularly to determine when watering is needed.
How do I fertilize my indoor dill plant?
Dill is not a heavy feeder, but it will benefit from occasional fertilization. Use a balanced liquid fertilizer diluted to half strength every 2-4 weeks during the growing season (spring and summer). Avoid over-fertilizing, as this can lead to leggy growth and reduced flavor. Alternatively, you can use a slow-release fertilizer at the time of planting. Follow the instructions on the fertilizer packaging for application rates.
When and how should I harvest dill?
You can start harvesting dill leaves as soon as the plant is about 6 inches tall. Simply snip off the leaves with scissors or your fingers. Harvest from the top of the plant to encourage bushier growth. You can also harvest the dill seeds once the flower heads have dried and turned brown. Cut off the entire flower head and hang it upside down in a paper bag to dry. Once the seeds are dry, they will fall out of the bag. Store the seeds in an airtight container in a cool, dark place.
What are some common problems with growing dill indoors?
Some common problems with growing dill indoors include aphids, spider mites, and powdery mildew. Aphids and spider mites can be controlled with insecticidal soap or neem oil. Powdery mildew can be prevented by providing good air circulation and avoiding overhead watering. Overwatering can also lead to root rot, so be sure to allow the soil to dry out slightly between waterings.
Can I grow dill from seed indoors?
Yes, you can easily grow dill from seed indoors. Sow the seeds directly into your chosen container, about ¼ inch deep. Keep the soil moist but not soggy. The seeds should germinate in 7-14 days. Once the seedlings have emerged, thin them out so that there are only a few plants per pot.
How do I prevent dill from bolting (going to seed) indoors?
Bolting is a natural process that occurs when dill is exposed to high temperatures or stress. To prevent bolting, keep your dill plant in a cool location and provide it with plenty of water and sunlight. You can also pinch off the flower buds as soon as they appear.
Is growing dill indoors worth it?
Absolutely! Growing dill indoors provides you with fresh, flavorful dill year-round, regardless of the weather outside. It’s a cost-effective and rewarding way to enjoy this versatile herb. Plus, it adds a touch of greenery to your home and can be a therapeutic and enjoyable hobby. The superior flavor of homegrown dill compared to store-bought varieties makes it a worthwhile endeavor for any culinary enthusiast.
Leave a Comment