
Grow Peas Kitchen Counter – sounds impossible, right? I thought so too, until I stumbled upon a few clever DIY tricks that transformed my kitchen into a mini-pea paradise! Forget waiting for spring and battling unpredictable weather; you can enjoy fresh, crisp peas practically year-round, all from the comfort of your own home.
The history of growing peas stretches back millennia, with evidence suggesting cultivation as early as the Neolithic era. From humble beginnings as a foraged food, peas have become a staple in cuisines worldwide. While traditionally grown in sprawling gardens, the modern desire for fresh, locally sourced food, coupled with limited space, has sparked a resurgence in innovative, indoor gardening techniques.
Why should you learn how to grow peas kitchen counter style? Well, imagine adding a handful of freshly picked peas to your salad in the dead of winter, or impressing your friends with a homegrown garnish on your next dinner party dish. Beyond the culinary delights, growing your own peas is incredibly rewarding. It’s a fantastic way to connect with nature, even in a small apartment, and a fun project for the whole family. Plus, it’s a sustainable way to reduce your carbon footprint and enjoy delicious, healthy food. So, ditch the store-bought veggies and let’s get growing! I’m excited to share my favorite DIY tricks and hacks that will have you harvesting your own peas in no time.
Growing Peas Indoors: A DIY Guide to Fresh Greens on Your Countertop
Hey there, fellow plant enthusiasts! Ever dreamt of having fresh, crisp peas right at your fingertips, even when the weather outside is frightful? Well, dream no more! I’m going to walk you through a super easy and rewarding DIY project: growing peas indoors, right on your kitchen counter. Trust me, it’s simpler than you think, and the taste of homegrown peas is absolutely unbeatable.
What You’ll Need
Before we dive in, let’s gather our supplies. This is a pretty low-cost project, and you probably have some of these items already lying around.
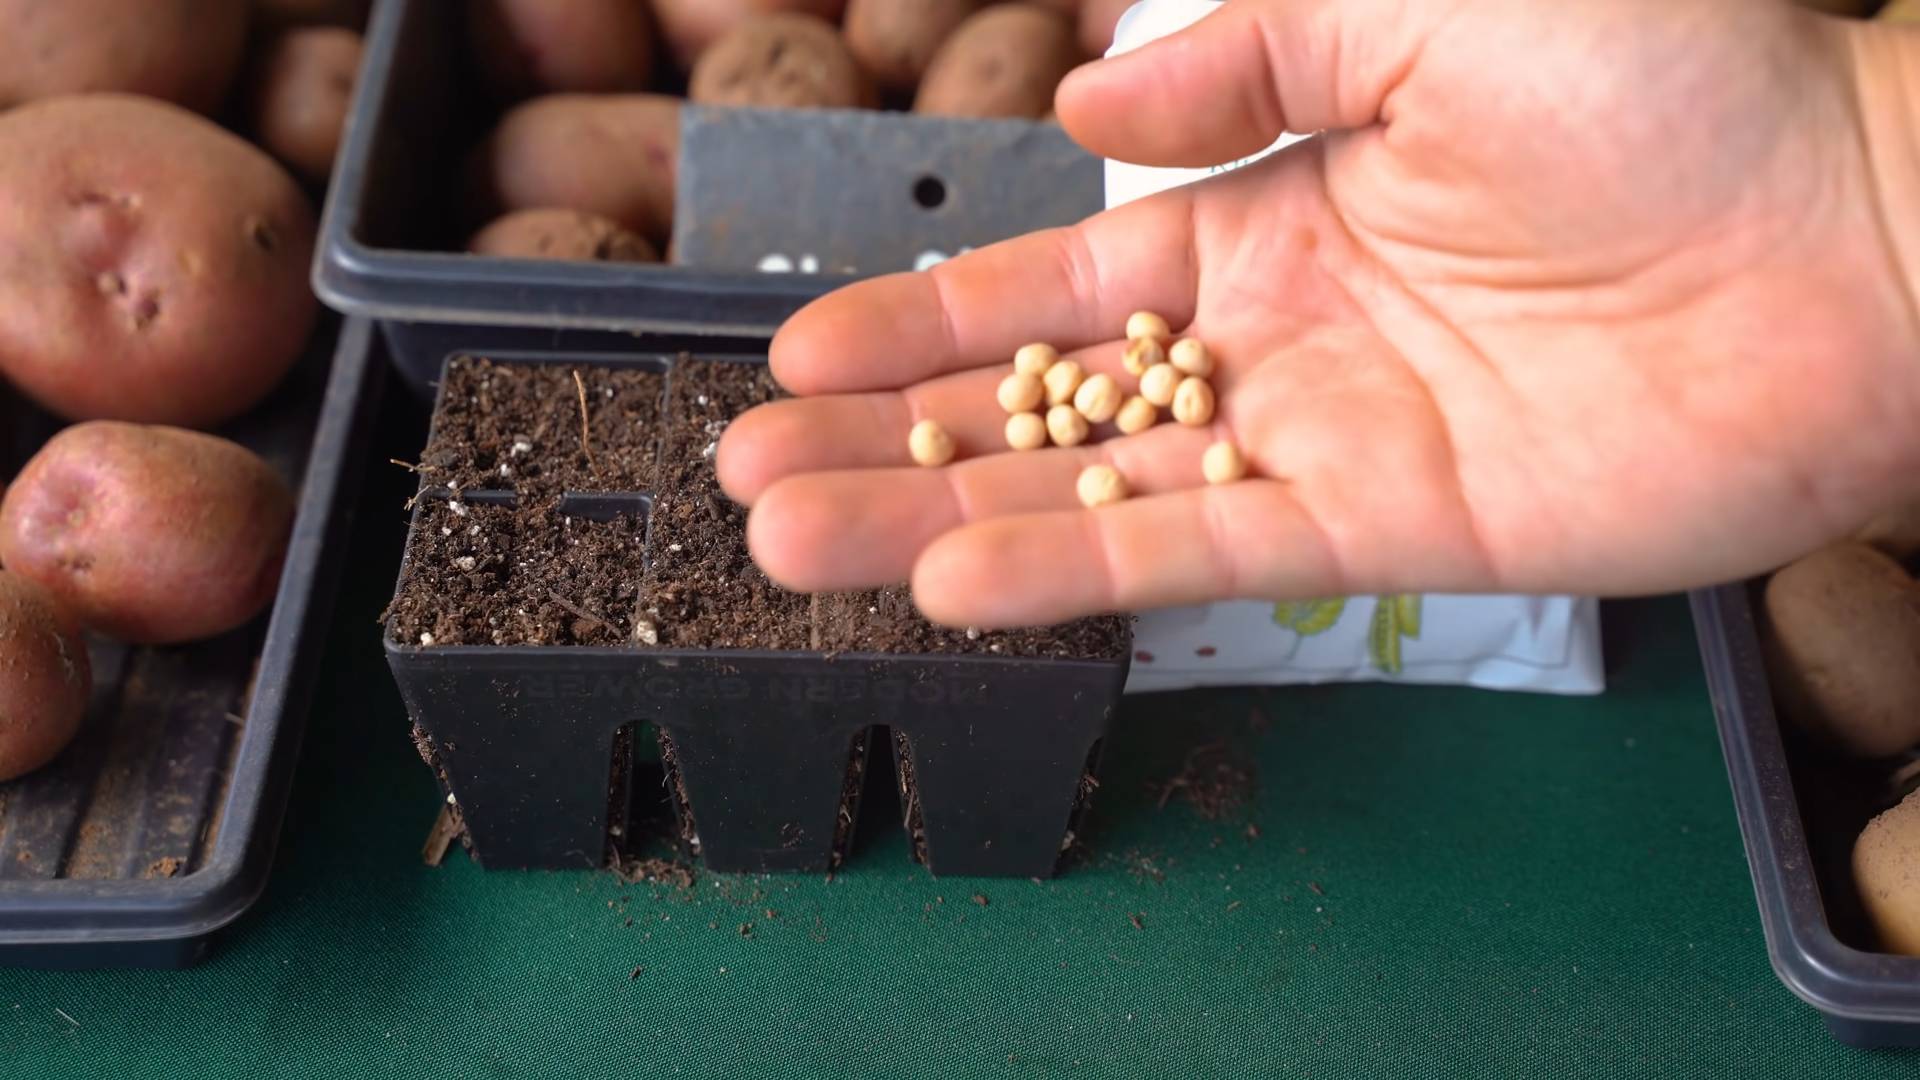
* **Pea Seeds:** This is the most important part! You can use dried peas from the grocery store (look for split peas or whole dried peas intended for cooking), but for the best results, I recommend using pea seeds specifically sold for gardening. Look for varieties that are known to do well indoors, like dwarf or bush peas. These tend to stay smaller and more manageable.
* **Containers:** You’ll need something to grow your peas in. I’ve had great success with recycled plastic containers (yogurt tubs, takeout containers – just make sure they’re clean!), but you can also use terracotta pots or even a dedicated seed starting tray. The size will depend on how many peas you want to grow, but aim for something at least 6 inches deep.
* **Potting Mix:** Don’t use garden soil! It’s too heavy and doesn’t drain well. Instead, opt for a good quality potting mix that’s specifically formulated for containers. This will provide the right nutrients and drainage for your peas to thrive.
* **Watering Can or Spray Bottle:** You’ll need a way to water your peas gently. A watering can with a rose head or a spray bottle works perfectly.
* **Grow Lights (Optional but Recommended):** While peas can grow indoors with natural light, they’ll do much better with supplemental grow lights, especially during the darker months. A simple fluorescent shop light or an LED grow light will make a huge difference.
* **Small Trellis or Support (Optional):** Some pea varieties, even dwarf ones, might need a little support as they grow. A small trellis, some bamboo stakes, or even just some twigs stuck into the soil can help keep them upright.
* **Scissors or Snips:** For harvesting your pea shoots and pods.
Getting Started: Prepping Your Seeds and Containers
This initial phase is all about setting the stage for success. We want to give our pea seeds the best possible start.
1. **Soak Your Pea Seeds:** This is a crucial step to help speed up germination. Place your pea seeds in a bowl of lukewarm water and let them soak for 12-24 hours. You’ll notice they’ll plump up as they absorb water. This softens the seed coat and makes it easier for the sprout to emerge.
2. **Prepare Your Containers:** Make sure your containers are clean and have drainage holes. If you’re using recycled containers, drill a few holes in the bottom. Good drainage is essential to prevent root rot.
3. **Fill Your Containers with Potting Mix:** Fill your containers with potting mix, leaving about an inch of space at the top. Gently pat down the soil to remove any air pockets.
4. **Water the Soil:** Before planting, thoroughly water the potting mix until it’s evenly moist but not soggy. This will help the seeds make good contact with the soil.
Planting Your Pea Seeds
Now for the fun part – planting those little seeds!
1. **Make Small Indentations:** Using your finger or a pencil, create small indentations in the soil, about 1 inch deep and 1-2 inches apart.
2. **Place the Seeds:** Place one pea seed in each indentation.
3. **Cover the Seeds:** Gently cover the seeds with potting mix.
4. **Water Again:** Lightly water the soil again to settle everything in.
Providing the Right Environment: Light, Water, and Temperature
Peas are pretty adaptable, but providing the right environment will ensure they thrive.
1. **Light:** Place your containers in a location that receives at least 6 hours of direct sunlight per day. If you’re using grow lights, position them about 6-12 inches above the soil surface and keep them on for 12-16 hours per day.
2. **Watering:** Keep the soil consistently moist but not waterlogged. Water when the top inch of soil feels dry to the touch. Avoid overwatering, as this can lead to root rot.
3. **Temperature:** Peas prefer cooler temperatures, ideally between 60-70°F (15-21°C). Avoid placing them near heat sources or in drafty areas.
4. **Air Circulation:** Good air circulation is important to prevent fungal diseases. Make sure your plants have enough space around them and consider using a small fan to gently circulate the air.
Caring for Your Growing Peas
This is where the magic happens! Watch your little seeds sprout and grow into beautiful pea plants.
1. **Monitor Germination:** You should start to see sprouts emerge within 7-14 days.
2. **Thinning (If Necessary):** If you planted your seeds too close together, you may need to thin them out. Choose the strongest seedlings and remove the weaker ones.
3. **Provide Support (If Needed):** As your pea plants grow, they may start to lean or fall over. Provide them with a small trellis, bamboo stakes, or twigs to climb on.
4. **Fertilizing (Optional):** If your pea plants are looking pale or growing slowly, you can give them a light feeding of a balanced liquid fertilizer. Follow the instructions on the fertilizer package. I usually don’t fertilize unless I see a clear need.
5. **Pest Control:** Keep an eye out for pests like aphids or spider mites. If you spot any, you can try spraying them with insecticidal soap or neem oil.
Harvesting Your Pea Shoots and Pods
The best part! Enjoy the fruits (or rather, vegetables) of your labor.
1. **Harvesting Pea Shoots:** You can start harvesting pea shoots (the tender leaves and tendrils) about 2-3 weeks after germination. Simply snip off the top few inches of the plant, leaving a few leaves behind so it can continue to grow. Pea shoots are delicious in salads, stir-fries, or as a garnish.
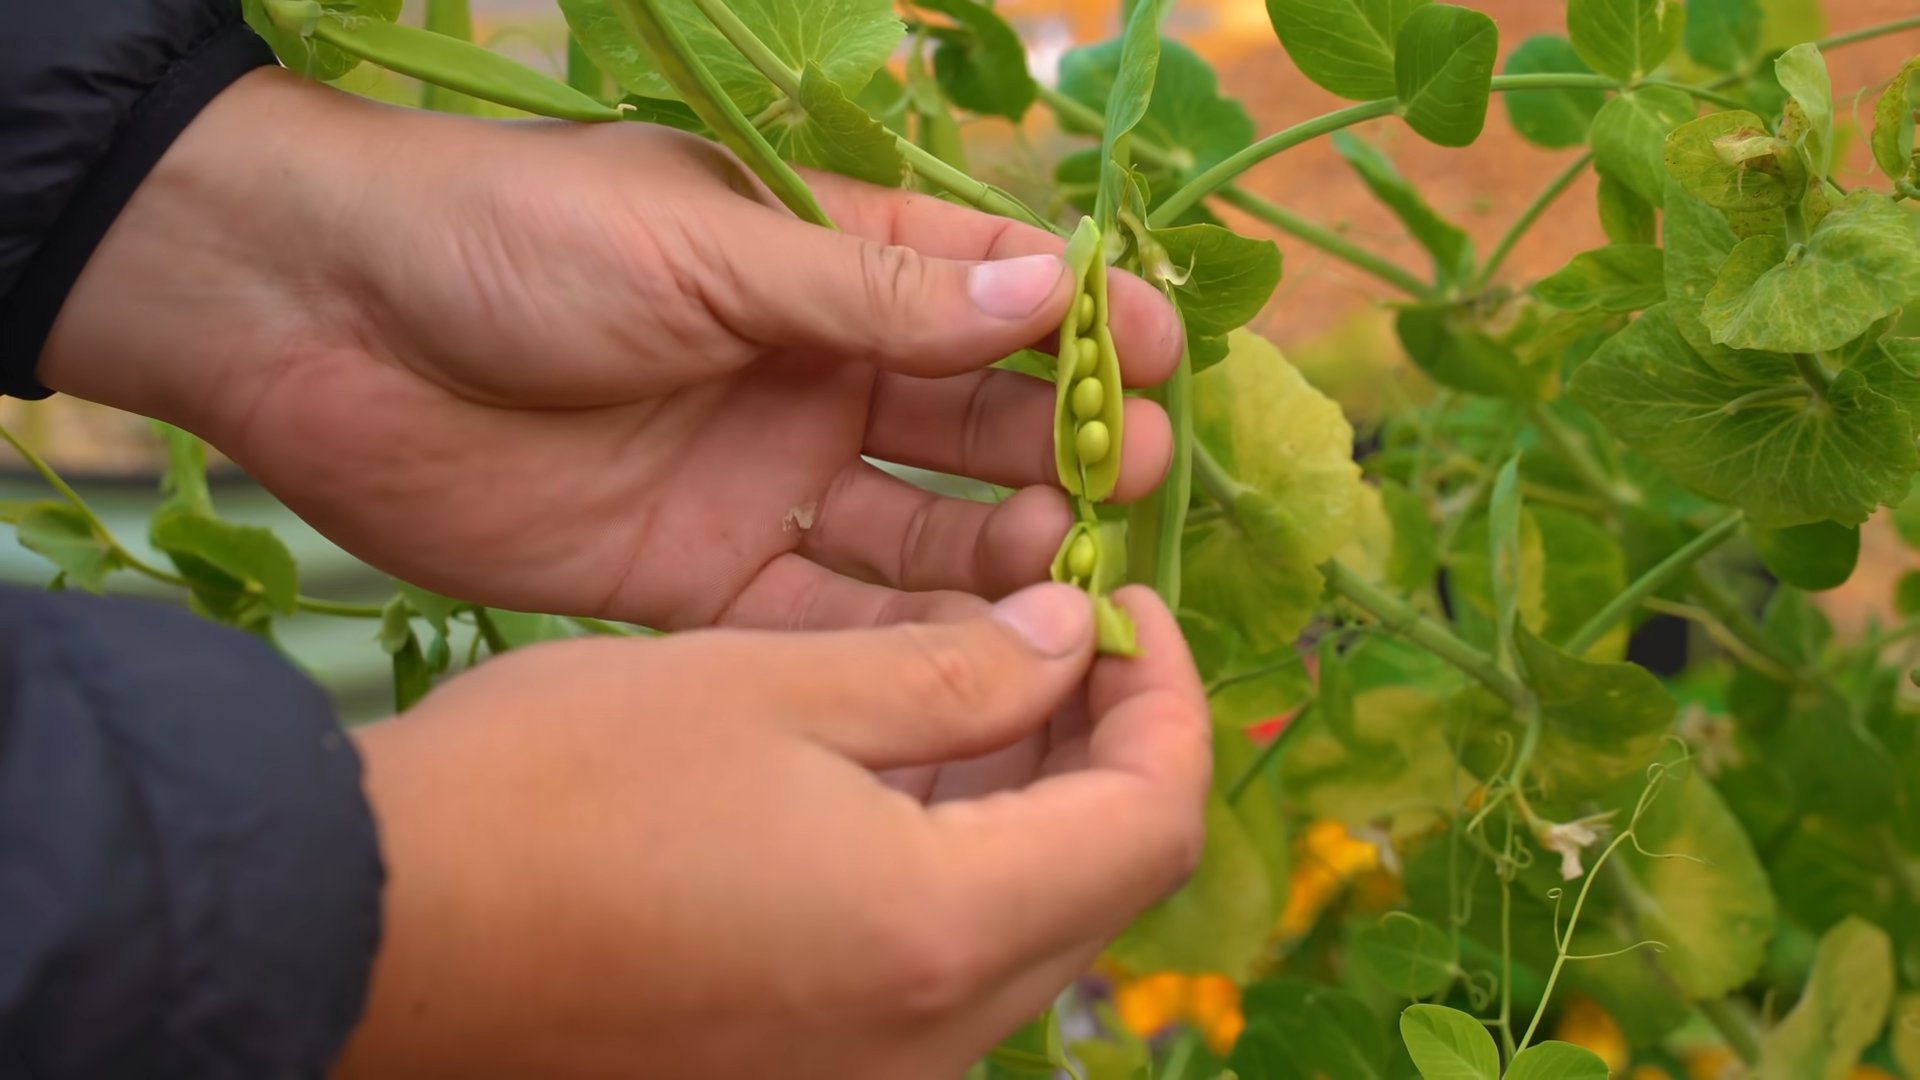
2. **Harvesting Pea Pods:** Depending on the variety, you can start harvesting pea pods about 60-70 days after planting. Pick the pods when they are plump and filled with peas. Snap peas can be eaten whole, while shelling peas need to be shelled before eating.
3. **Succession Planting:** To extend your harvest, consider planting new pea seeds every few weeks. This is called succession planting and will ensure you have a continuous supply of fresh peas.
Troubleshooting
Even with the best intentions, things can sometimes go wrong. Here are a few common problems and how to fix them:
* **Seeds Not Germinating:** Make sure your seeds are fresh and viable. Try soaking them for a longer period of time. Also, ensure the soil is warm enough.
* **Yellowing Leaves:** This could be a sign of overwatering, underwatering, or nutrient deficiency. Check the soil moisture and adjust your watering accordingly. If the soil is dry, water more frequently. If it’s soggy, water less frequently. You can also try fertilizing with a balanced liquid fertilizer.
* **Leggy Growth:** This is usually caused by insufficient light. Move your plants to a brighter location or use grow lights.
* **Pests:** Inspect your plants regularly for pests. If you find any, treat them with insecticidal soap or neem oil.
Enjoying Your Homegrown Peas
Congratulations! You’ve successfully grown peas indoors. Now it’s time to enjoy the delicious results of your hard work.
* **Eat Them Fresh:** Freshly picked peas are the most delicious! Enjoy them raw in salads, as a snack, or as a side dish.
* **Cook Them:** Peas can be cooked in a variety of ways, such as steaming, boiling, or stir-frying.
* **Freeze Them:** If you have a surplus of peas, you can freeze them for later use. Simply blanch them in boiling water for a few minutes, then transfer them to an ice bath to stop the cooking process. Drain them well and freeze them in freezer bags or containers.
Growing peas indoors is a fun and rewarding project that anyone can do. With a little bit of care and attention, you can enjoy fresh, homegrown peas all year round. So, grab some seeds, get your hands dirty, and start growing! Happy gardening!
Conclusion
So, there you have it! Growing peas on your kitchen counter is not just a fun experiment; it’s a rewarding way to bring a touch of spring indoors, even in the dead of winter. Forget those bland, store-bought sprouts – with minimal effort and a few simple supplies, you can cultivate a vibrant crop of fresh, flavorful pea shoots right at your fingertips.
Why is this DIY trick a must-try? Because it’s incredibly easy, even for those without a green thumb. It’s a fantastic way to introduce children to the wonders of gardening and where their food comes from. Plus, it’s a sustainable way to enjoy fresh produce without relying on grocery store chains or contributing to long-distance transportation. And let’s not forget the taste! Homegrown pea shoots are bursting with a sweetness and crispness that you simply can’t find anywhere else. They elevate salads, sandwiches, stir-fries, and even act as a beautiful garnish.
But the best part? The possibilities are endless! Experiment with different varieties of peas to discover your favorite flavor profile. Try using different growing mediums, such as coconut coir or even just damp paper towels. You can also adjust the lighting conditions to see how it affects the growth rate and flavor of your pea shoots.
Consider adding a sprinkle of microgreen fertilizer to the water every few days for an extra boost of nutrients. If you’re feeling adventurous, try growing other types of sprouts alongside your peas, such as radish or broccoli sprouts, for a colorful and nutritious mix. You can even get creative with your containers – repurpose old jars, plastic containers, or even egg cartons to create a unique and eco-friendly growing setup.
Don’t be afraid to experiment and find what works best for you. The beauty of this DIY project is its flexibility and adaptability.
We wholeheartedly encourage you to give this DIY trick a try. It’s a simple, satisfying, and delicious way to connect with nature and enjoy fresh, homegrown produce, regardless of the season. Once you’ve experienced the joy of harvesting your own pea shoots, you’ll be hooked!
And now, we want to hear from you! Share your experiences, tips, and photos of your homegrown pea shoots in the comments below. What varieties did you try? What challenges did you face? What delicious recipes did you create? Let’s build a community of indoor gardeners and inspire others to discover the magic of growing peas on their kitchen counter. Happy growing!
Frequently Asked Questions (FAQ)
What kind of peas should I use for sprouting?
The best type of peas to use for sprouting are dried, whole green peas or snow peas specifically intended for sprouting or gardening. Avoid using split peas, as they won’t germinate properly. Look for packages labeled “sprouting peas” or “garden peas” at your local garden center or online retailer. Make sure the peas are untreated, meaning they haven’t been coated with any chemicals or fungicides. Organic peas are always a good choice to ensure you’re growing healthy, chemical-free sprouts.
How long does it take for pea shoots to grow?
Typically, pea shoots will be ready to harvest in about 10-14 days. The exact time will depend on factors such as temperature, humidity, and the variety of peas you’re using. You’ll know they’re ready when the shoots are several inches tall and have developed several leaves. The shoots should be a vibrant green color and have a crisp, tender texture.
What kind of light do pea shoots need?
Pea shoots need adequate light to grow properly. While they don’t need direct sunlight, they do require bright, indirect light. A spot near a sunny window is ideal. If you don’t have a sunny window, you can use a grow light to provide supplemental lighting. Position the grow light a few inches above the pea shoots and leave it on for 12-16 hours per day. Insufficient light can result in leggy, pale shoots that are less flavorful.
How often should I water my pea shoots?
It’s important to keep the growing medium consistently moist, but not waterlogged. Water your pea shoots every day or every other day, depending on the humidity and temperature. Use a spray bottle to gently mist the shoots and the growing medium. Avoid overwatering, as this can lead to mold or mildew growth. The goal is to keep the medium damp, like a wrung-out sponge.
Can I eat the pea roots?
While the focus is on the shoots, the roots of pea sprouts are technically edible, but they are generally not consumed due to their texture and flavor. They can be a bit tough and earthy. It’s best to stick to harvesting and enjoying the tender, flavorful shoots.
How do I harvest pea shoots?
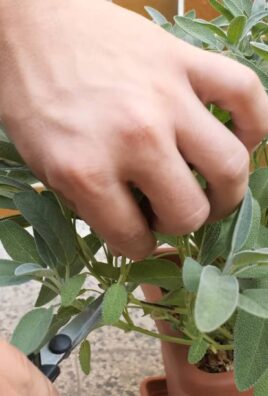
Harvesting pea shoots is easy! Simply use scissors or your fingers to snip the shoots just above the lowest set of leaves. This will encourage the plant to produce more shoots, giving you multiple harvests. You can harvest pea shoots several times before the plant stops producing.
How long will pea shoots last after harvesting?
Freshly harvested pea shoots are best consumed immediately for optimal flavor and texture. However, you can store them in the refrigerator for up to a week. To store them, gently rinse the shoots and pat them dry with a paper towel. Place them in a plastic bag or container lined with a paper towel to absorb excess moisture.
Can I grow pea shoots in soil?
Yes, you can definitely grow pea shoots in soil. Use a well-draining potting mix and sow the peas densely on the surface. Cover them lightly with soil and keep the soil moist. The process is similar to growing them on a damp paper towel, but the soil provides more nutrients and support for the roots.
What if my pea shoots start to mold?
Mold growth is usually a sign of overwatering or poor ventilation. If you notice mold, remove the affected shoots immediately. Improve ventilation by opening a window or using a fan. Reduce watering frequency and ensure the growing medium is not waterlogged. You can also try spraying the shoots with a diluted solution of hydrogen peroxide to kill the mold.
Are pea shoots nutritious?
Absolutely! Pea shoots are packed with vitamins, minerals, and antioxidants. They are a good source of vitamins A, C, and K, as well as folate, iron, and fiber. They are also low in calories and fat, making them a healthy and delicious addition to your diet.
Can I regrow pea shoots after harvesting?
Yes, you can often get a second or even third harvest from your pea shoots. After harvesting, continue to water and provide light as usual. The plant will send out new shoots from the remaining stems. However, the subsequent harvests may be less abundant than the first.
What are some ways to use pea shoots in cooking?
Pea shoots are incredibly versatile in the kitchen. They can be eaten raw in salads, sandwiches, and wraps. They can also be lightly sautéed, stir-fried, or added to soups and stews. They make a beautiful and flavorful garnish for a variety of dishes. Try adding them to pasta dishes, omelets, or even smoothies for a boost of nutrients.
Can I grow pea shoots indoors year-round?
Yes, one of the great advantages of growing pea shoots indoors is that you can do it year-round, regardless of the weather outside. As long as you provide adequate light, water, and ventilation, you can enjoy fresh pea shoots any time of the year.
Are there any pests or diseases that affect pea shoots grown indoors?
Generally, pea shoots grown indoors are less susceptible to pests and diseases than those grown outdoors. However, they can sometimes be affected by aphids or fungus gnats. If you notice any pests, you can try spraying the shoots with a diluted solution of insecticidal soap. To prevent fungal diseases, ensure good ventilation and avoid overwatering.
What is the best way to dispose of the spent pea plants after harvesting?
After you’ve harvested all the pea shoots you can, you can compost the spent plants. They are a great source of nitrogen and will break down quickly in your compost pile. Alternatively, you can simply discard them in your green waste bin.

Leave a Comment